


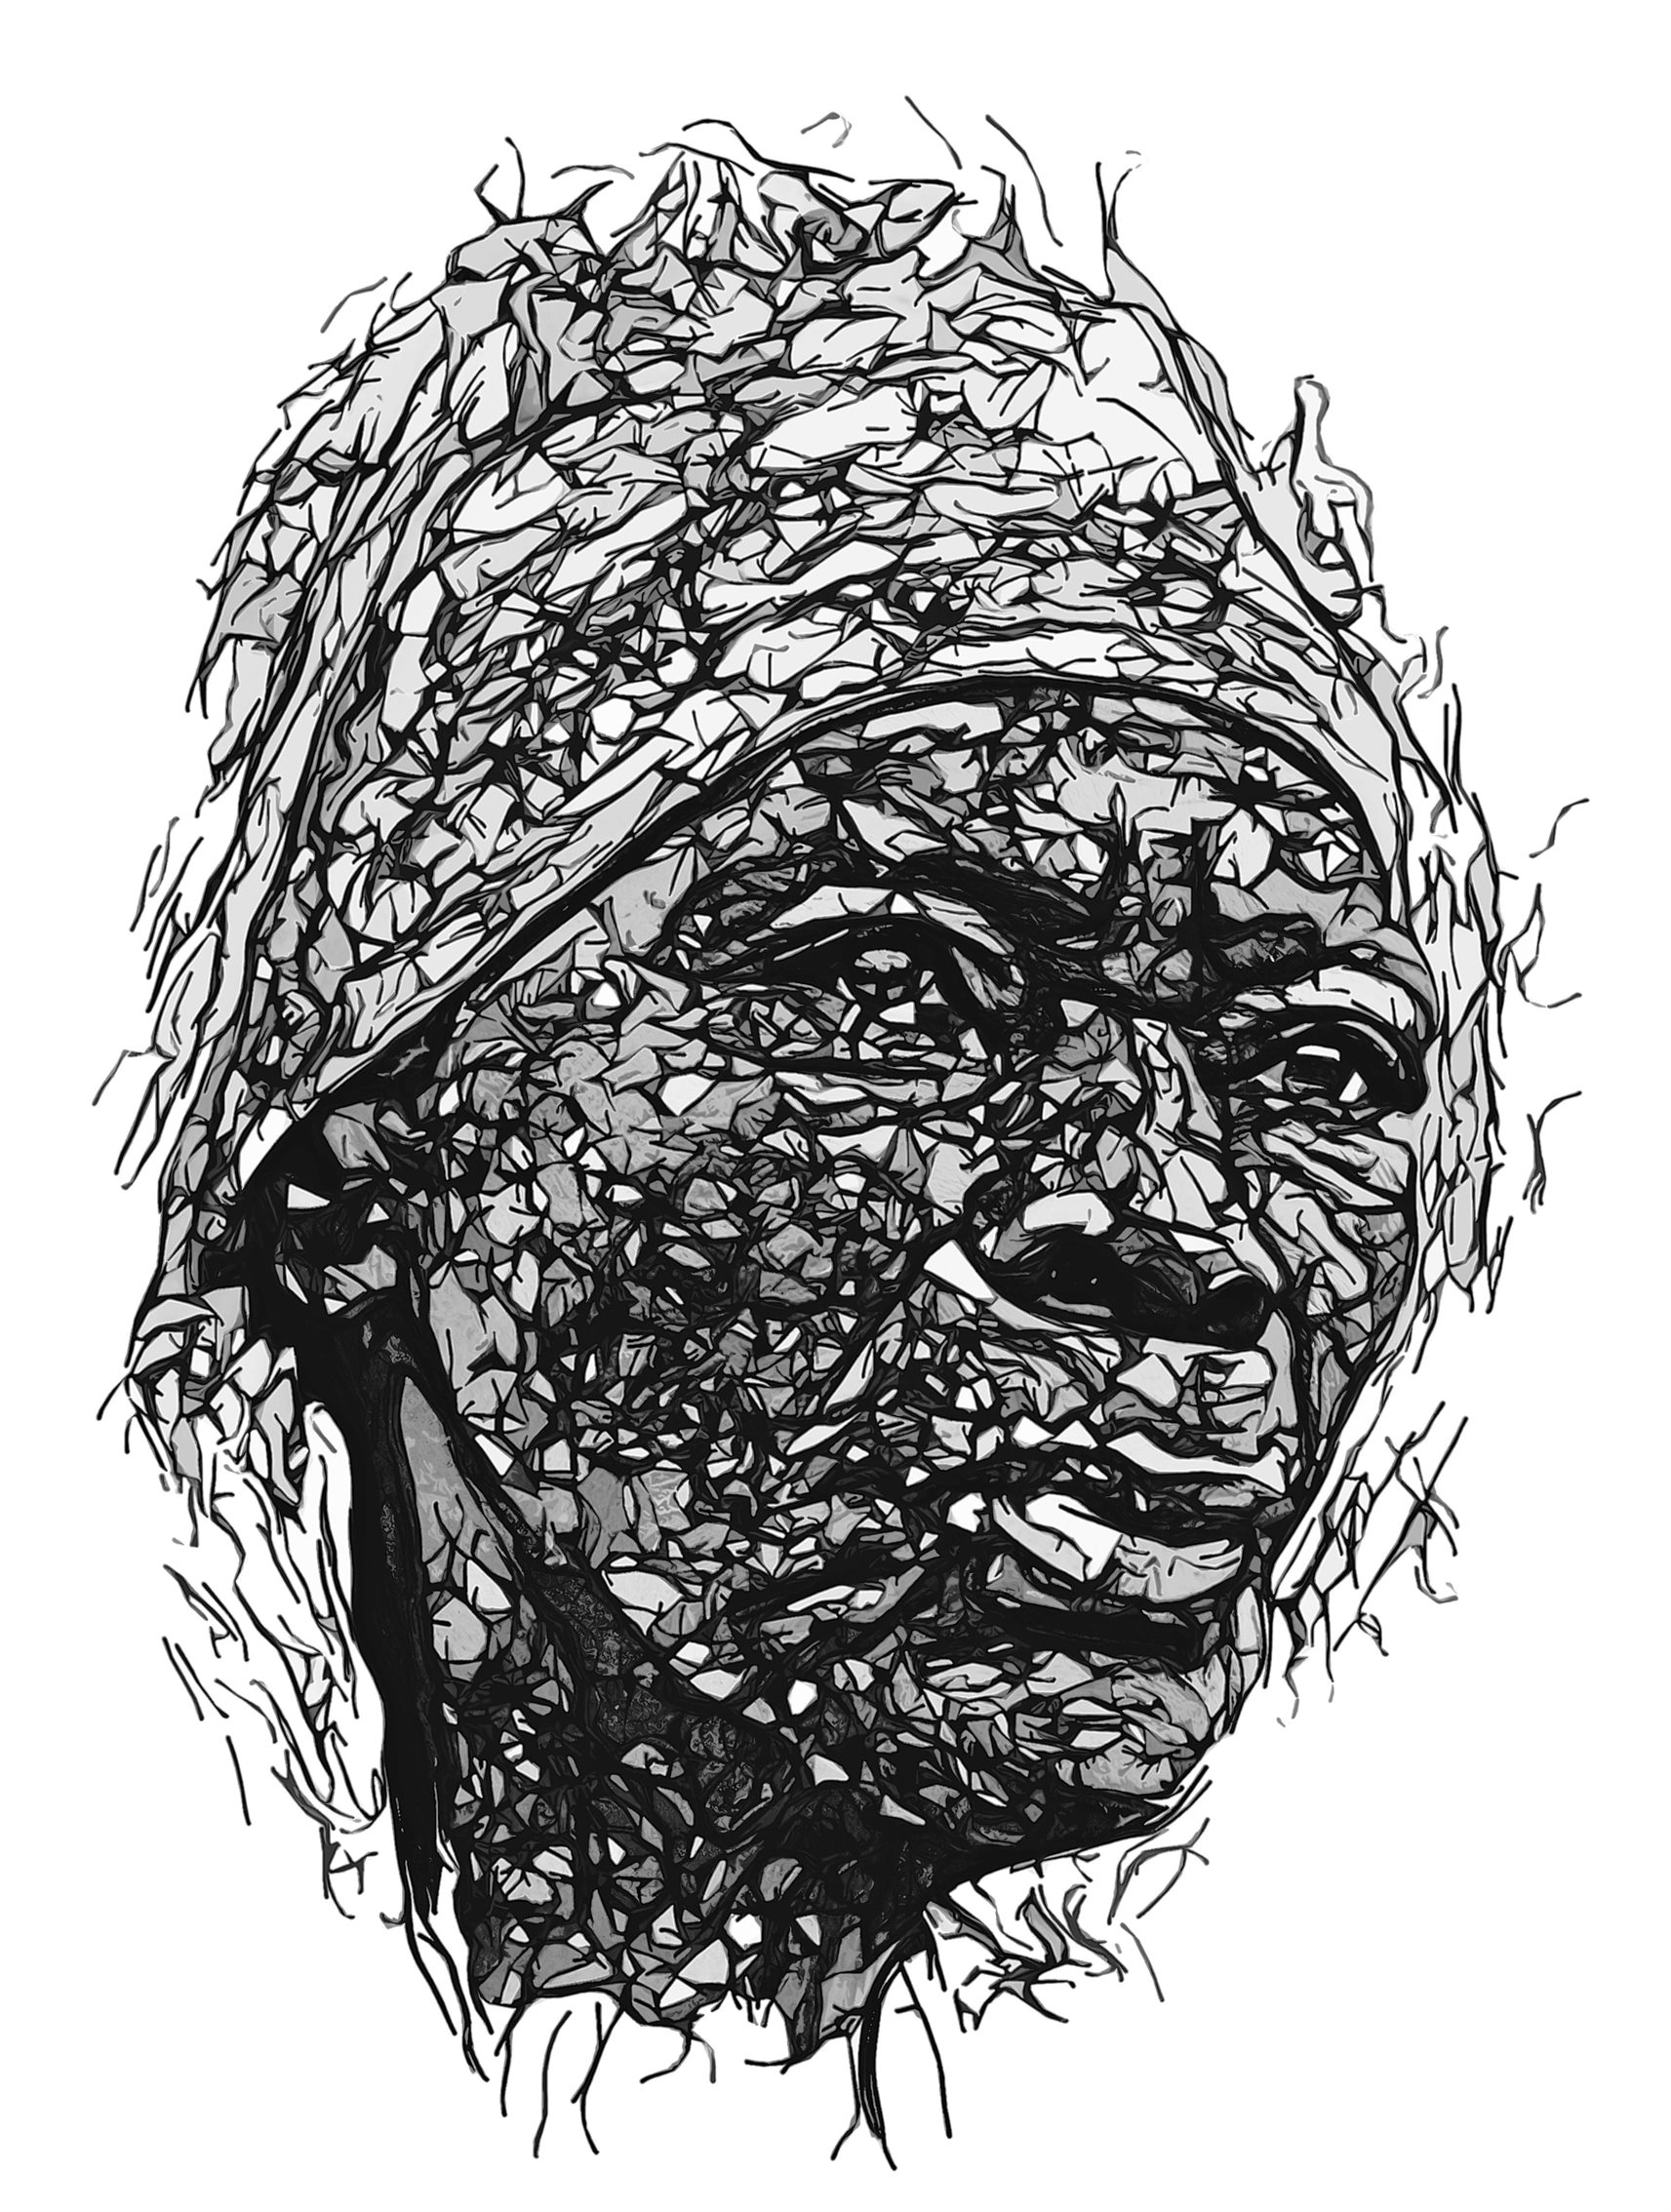
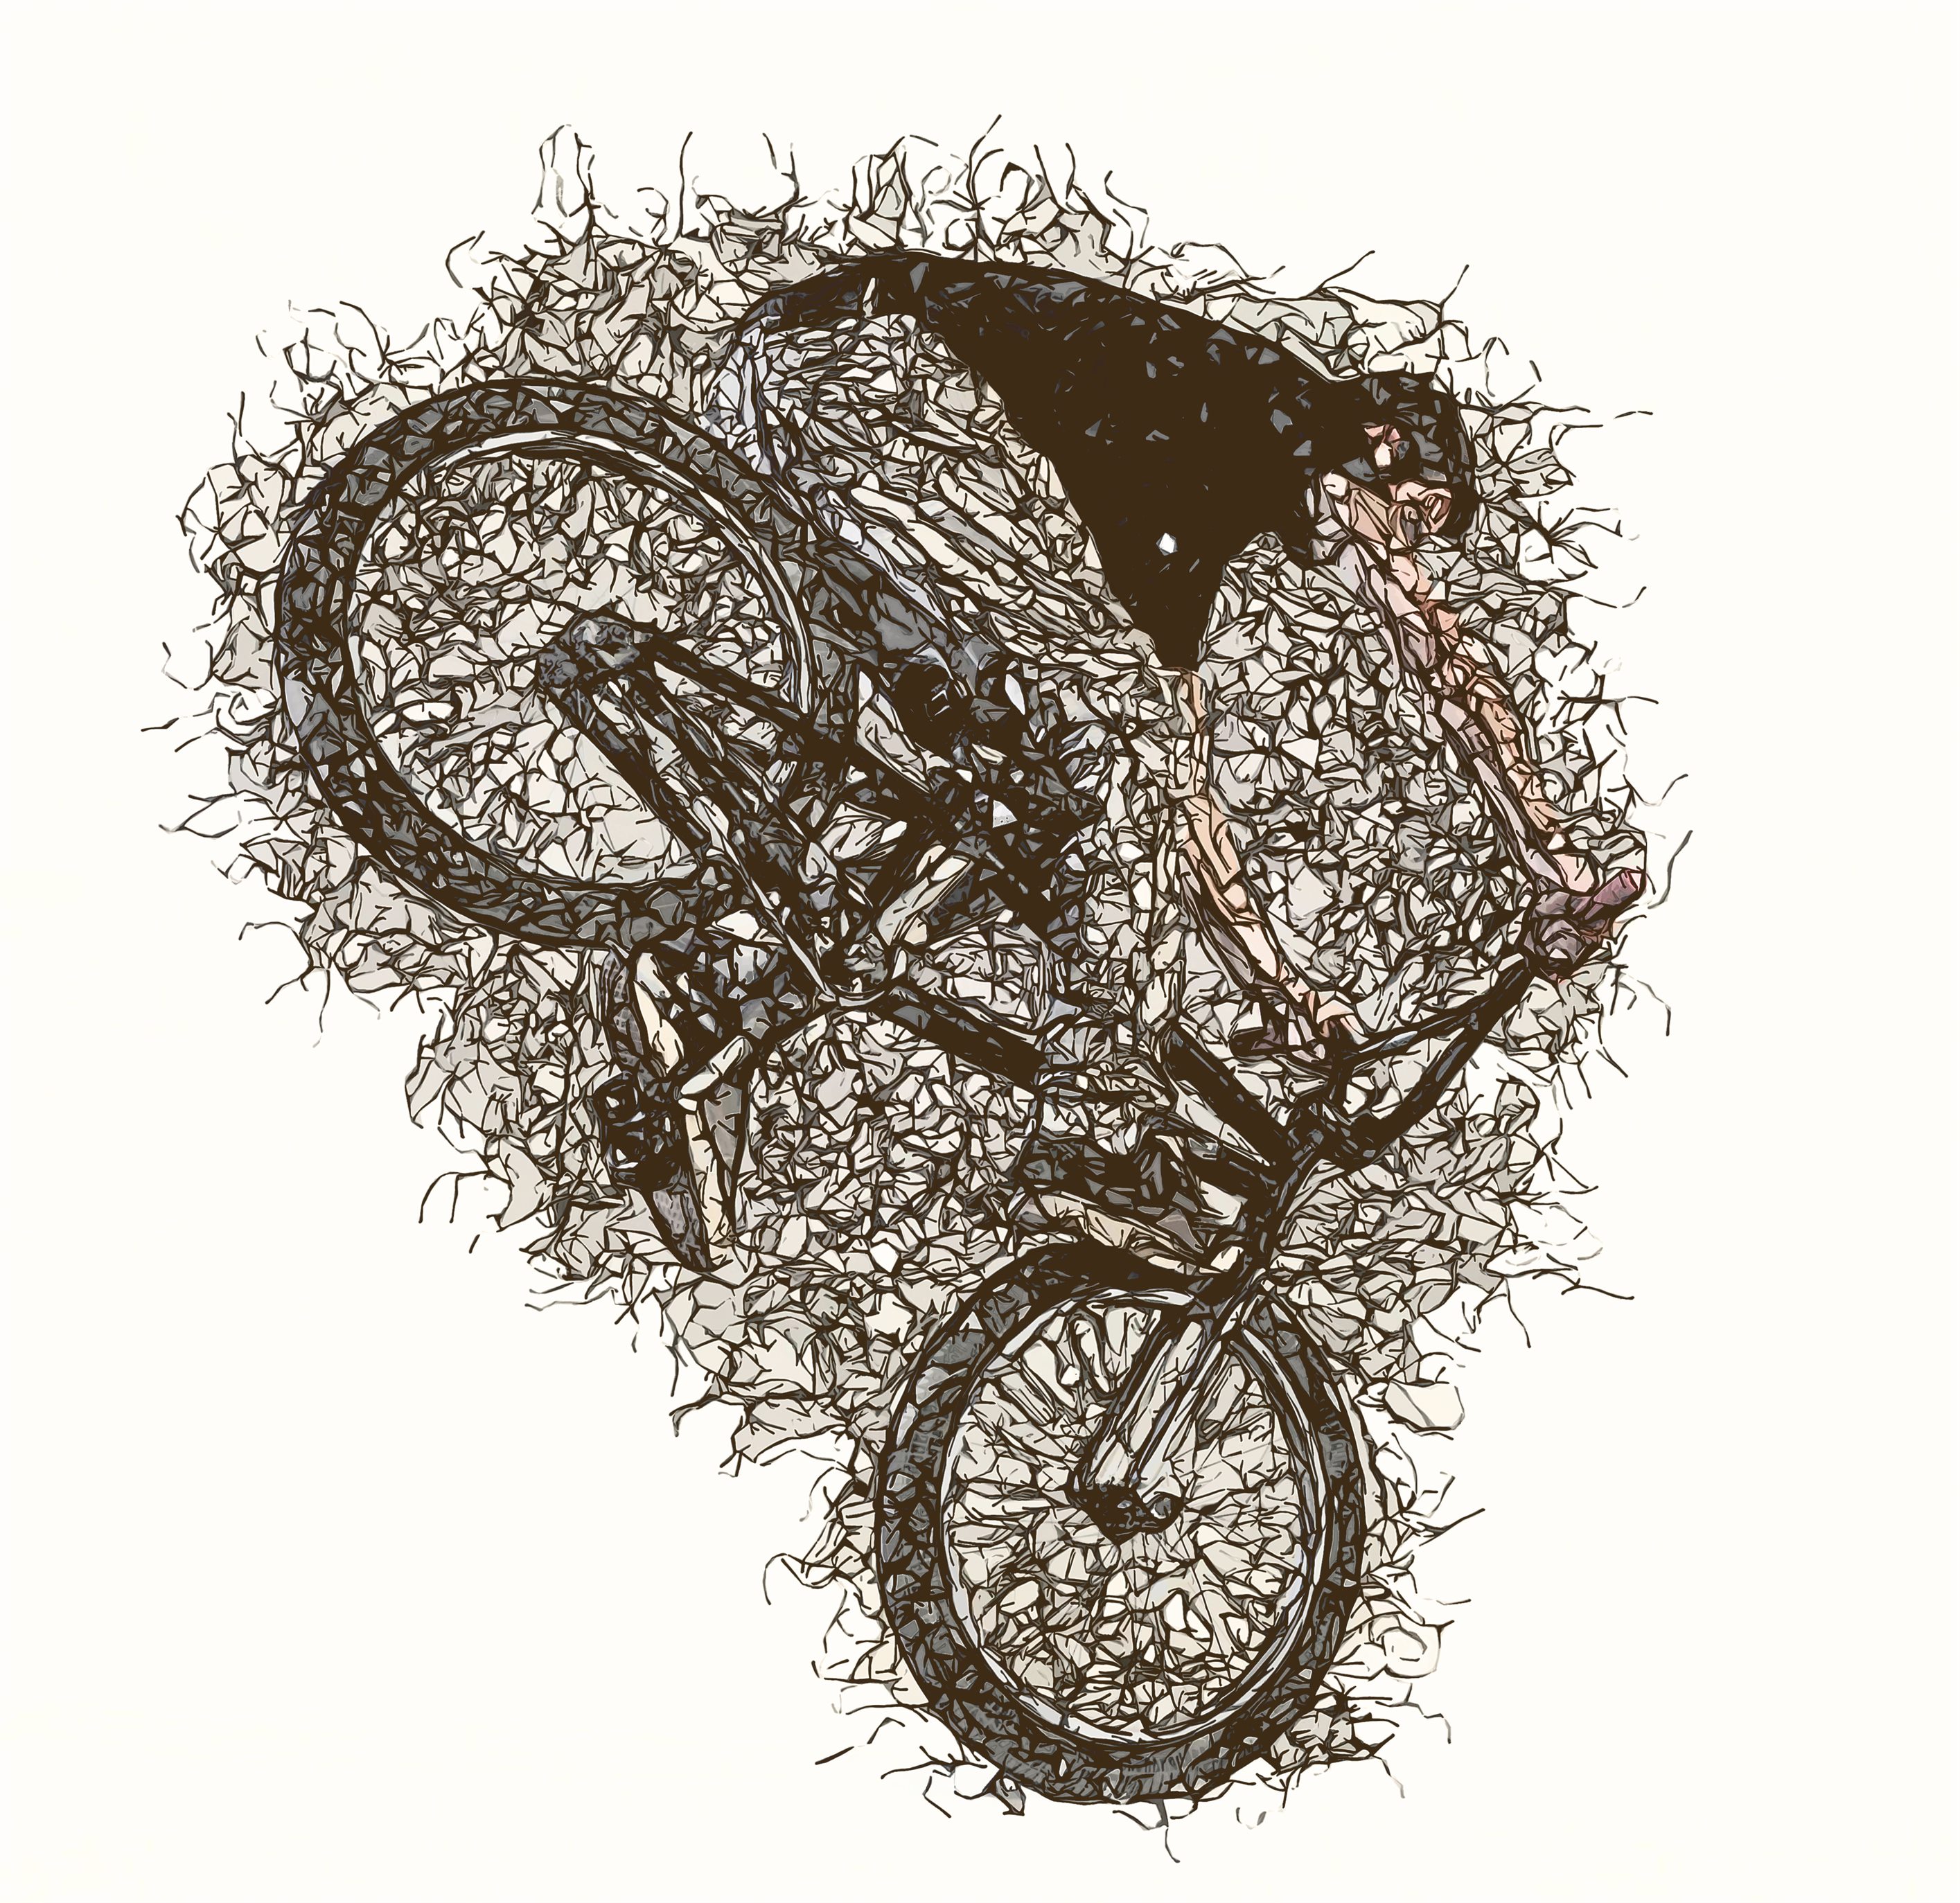
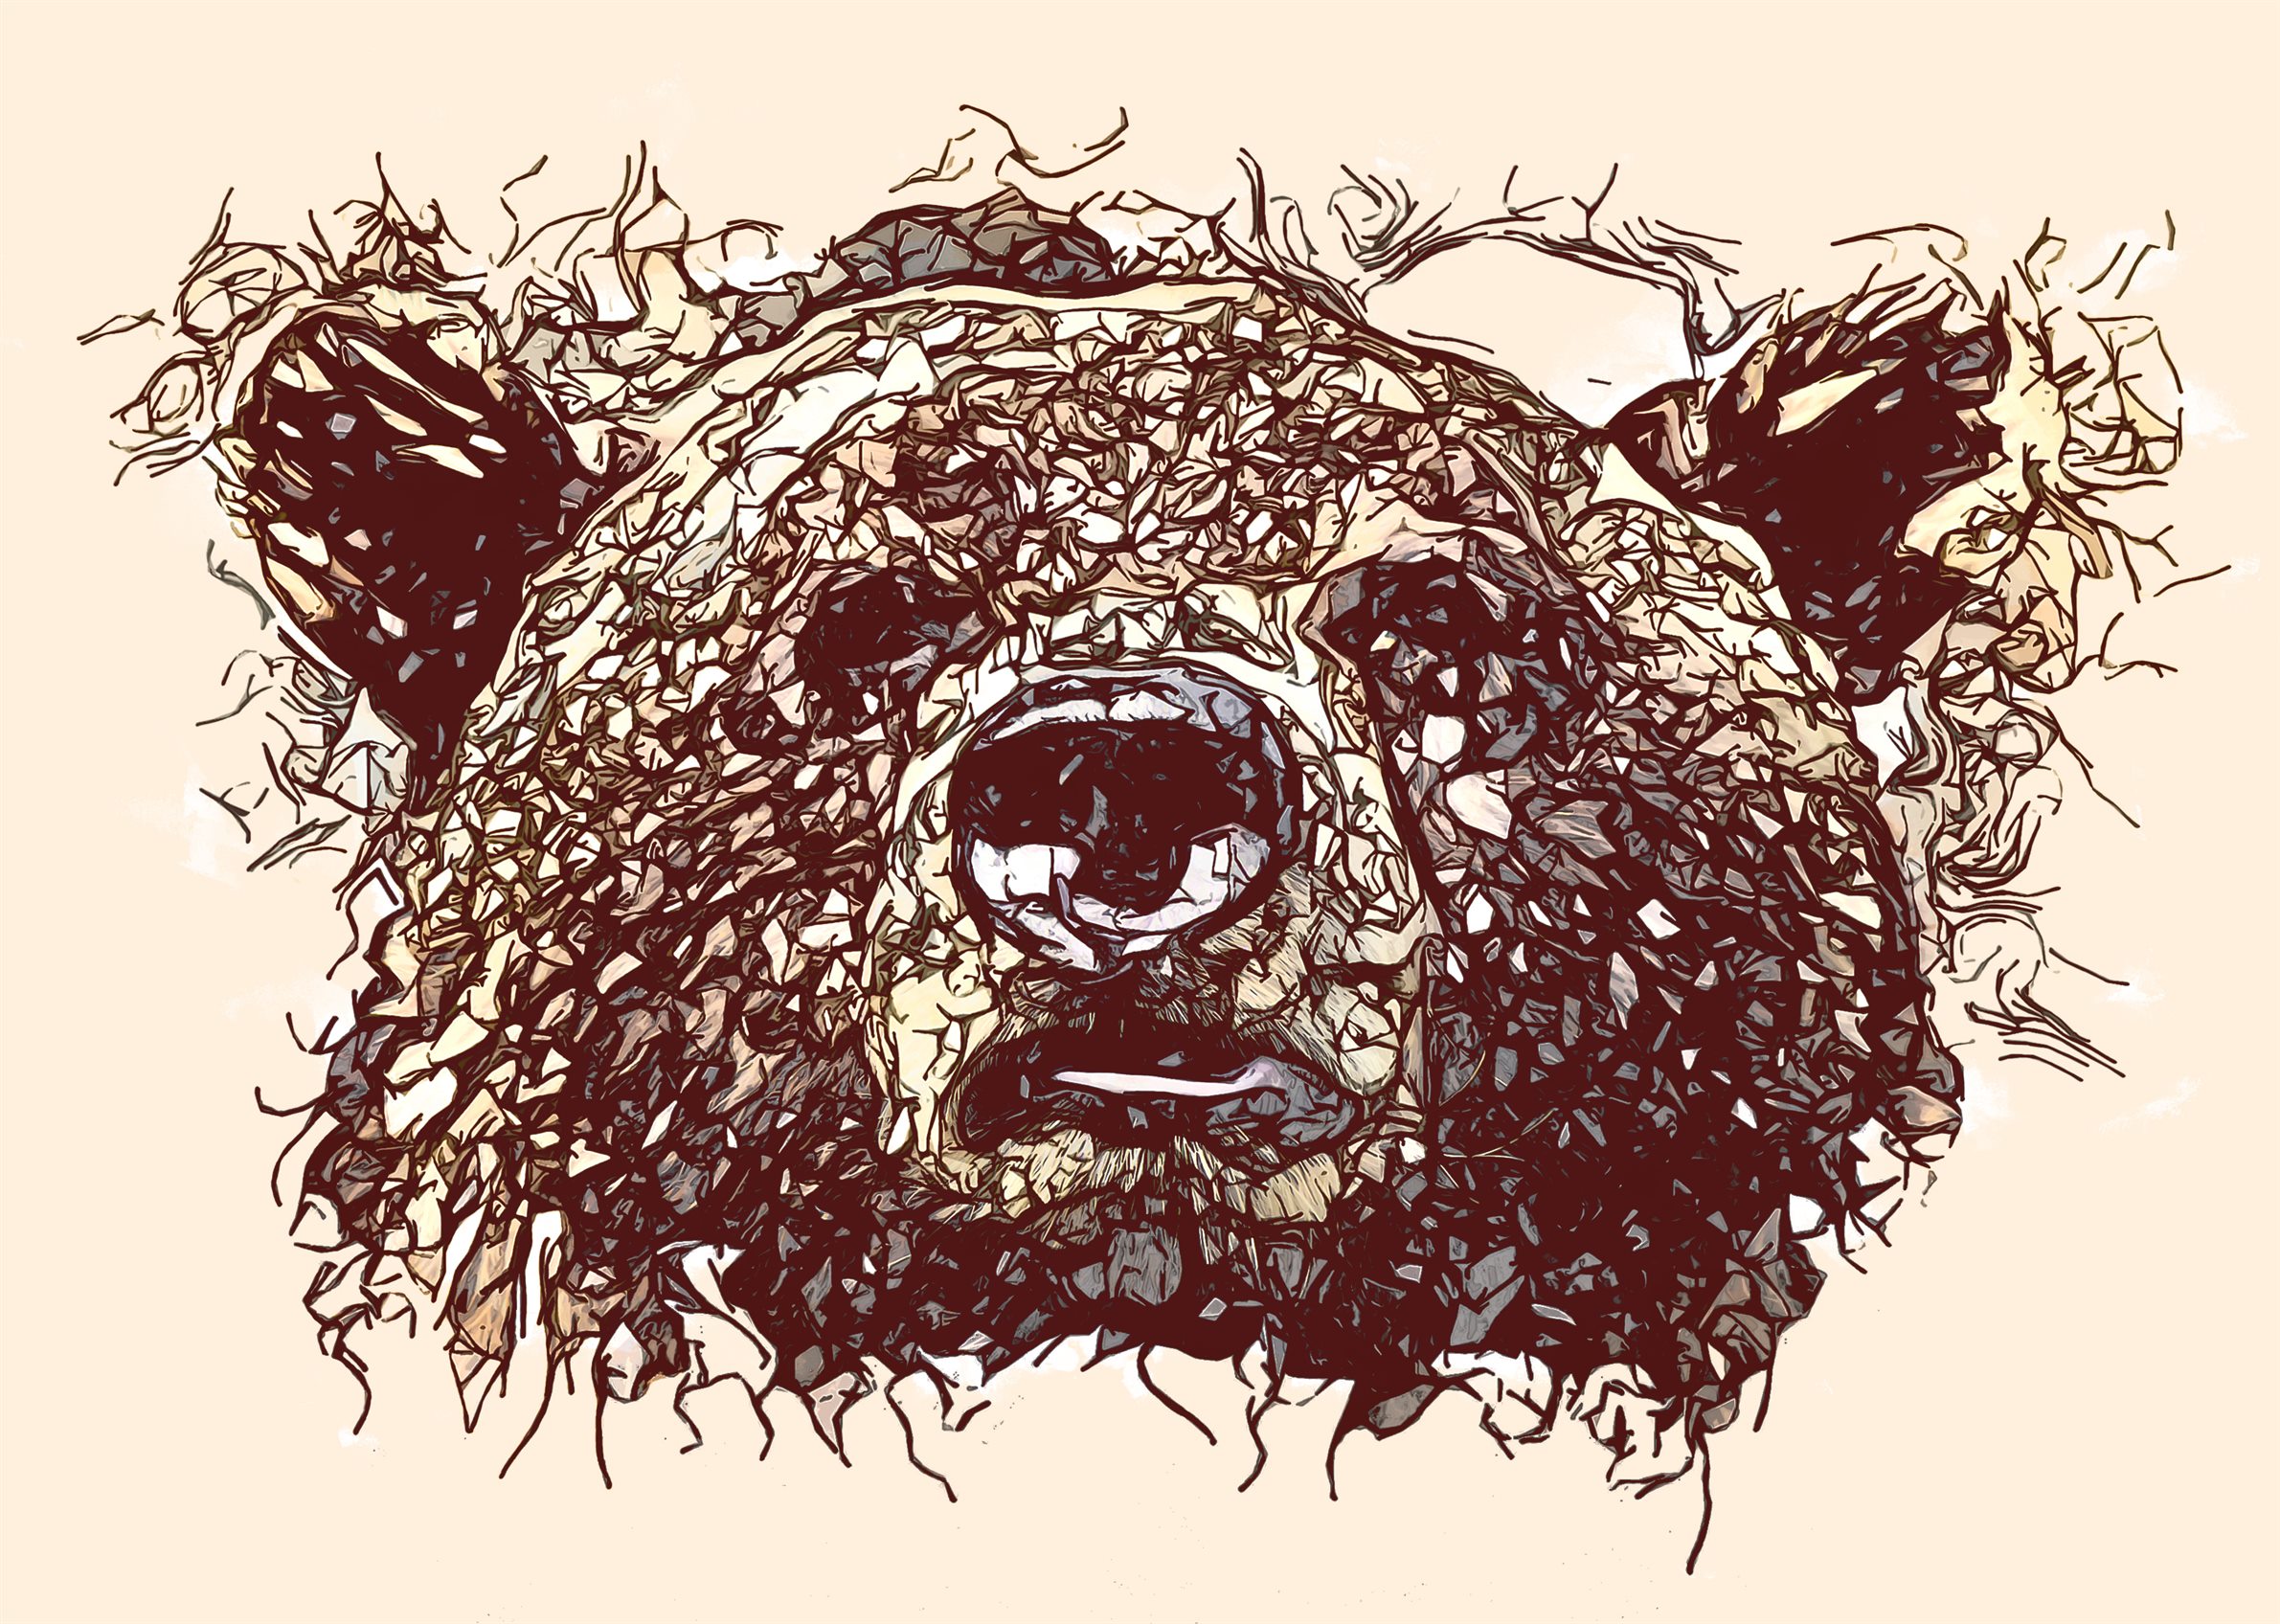
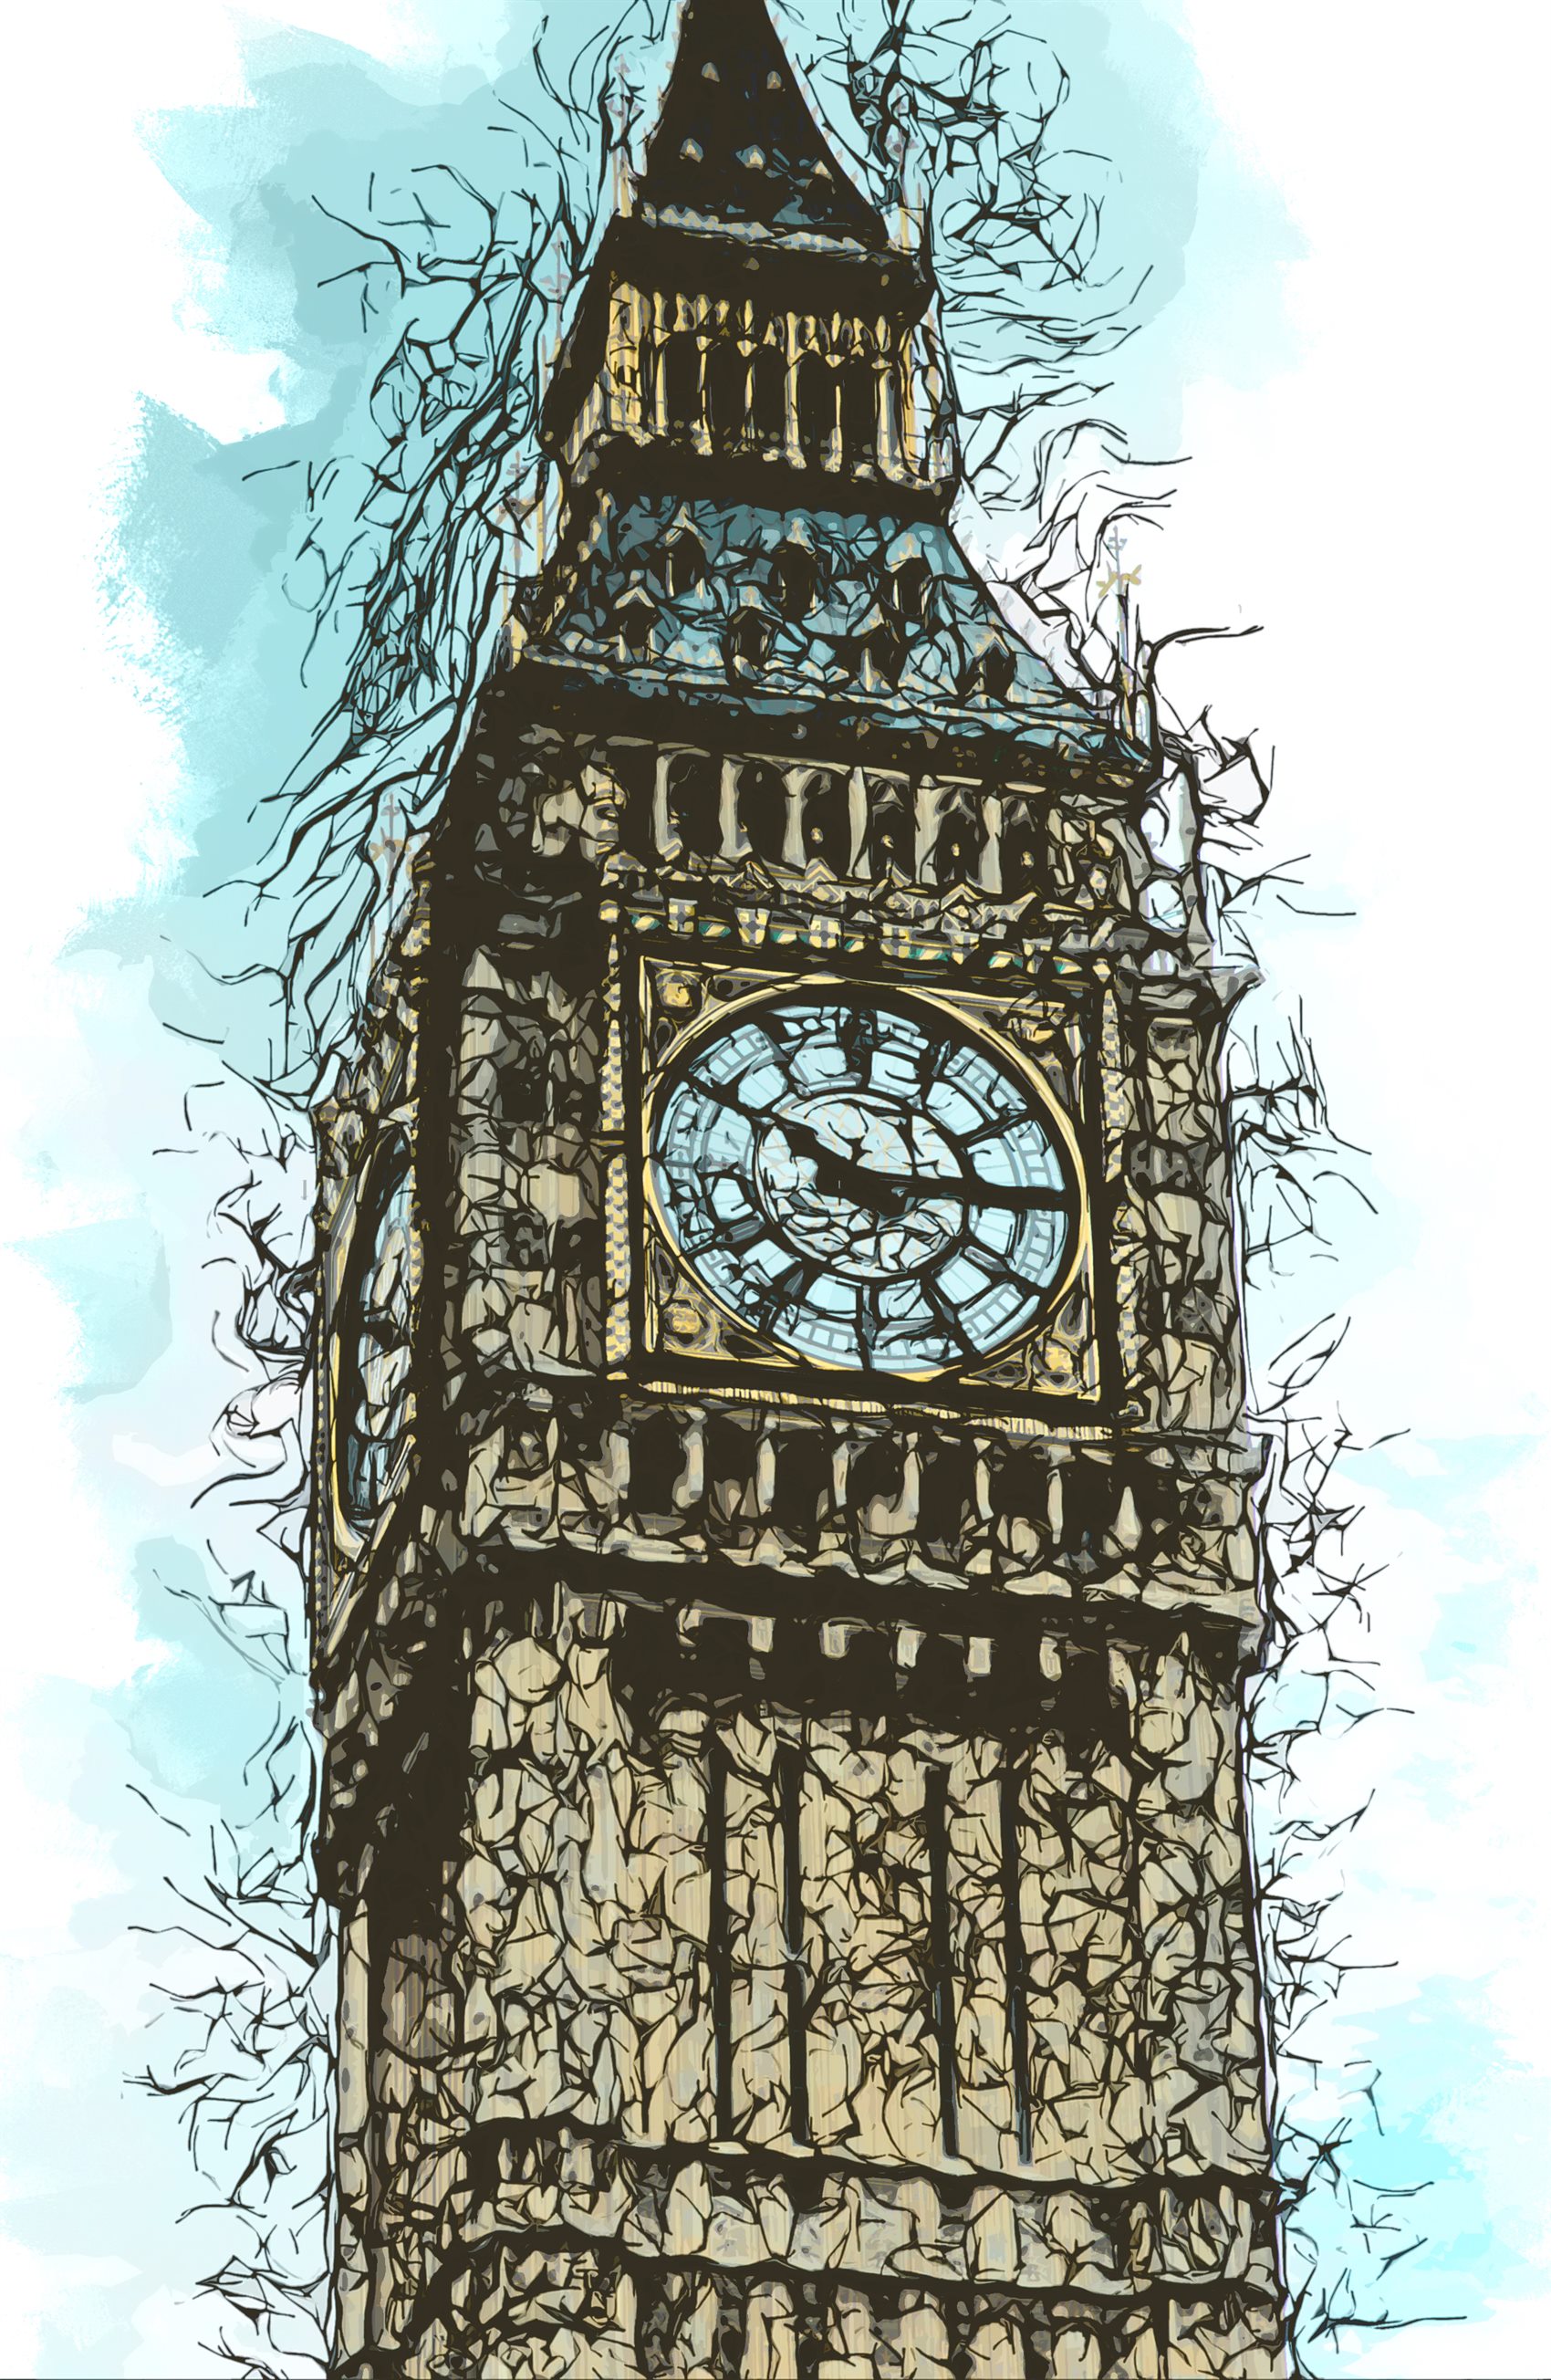
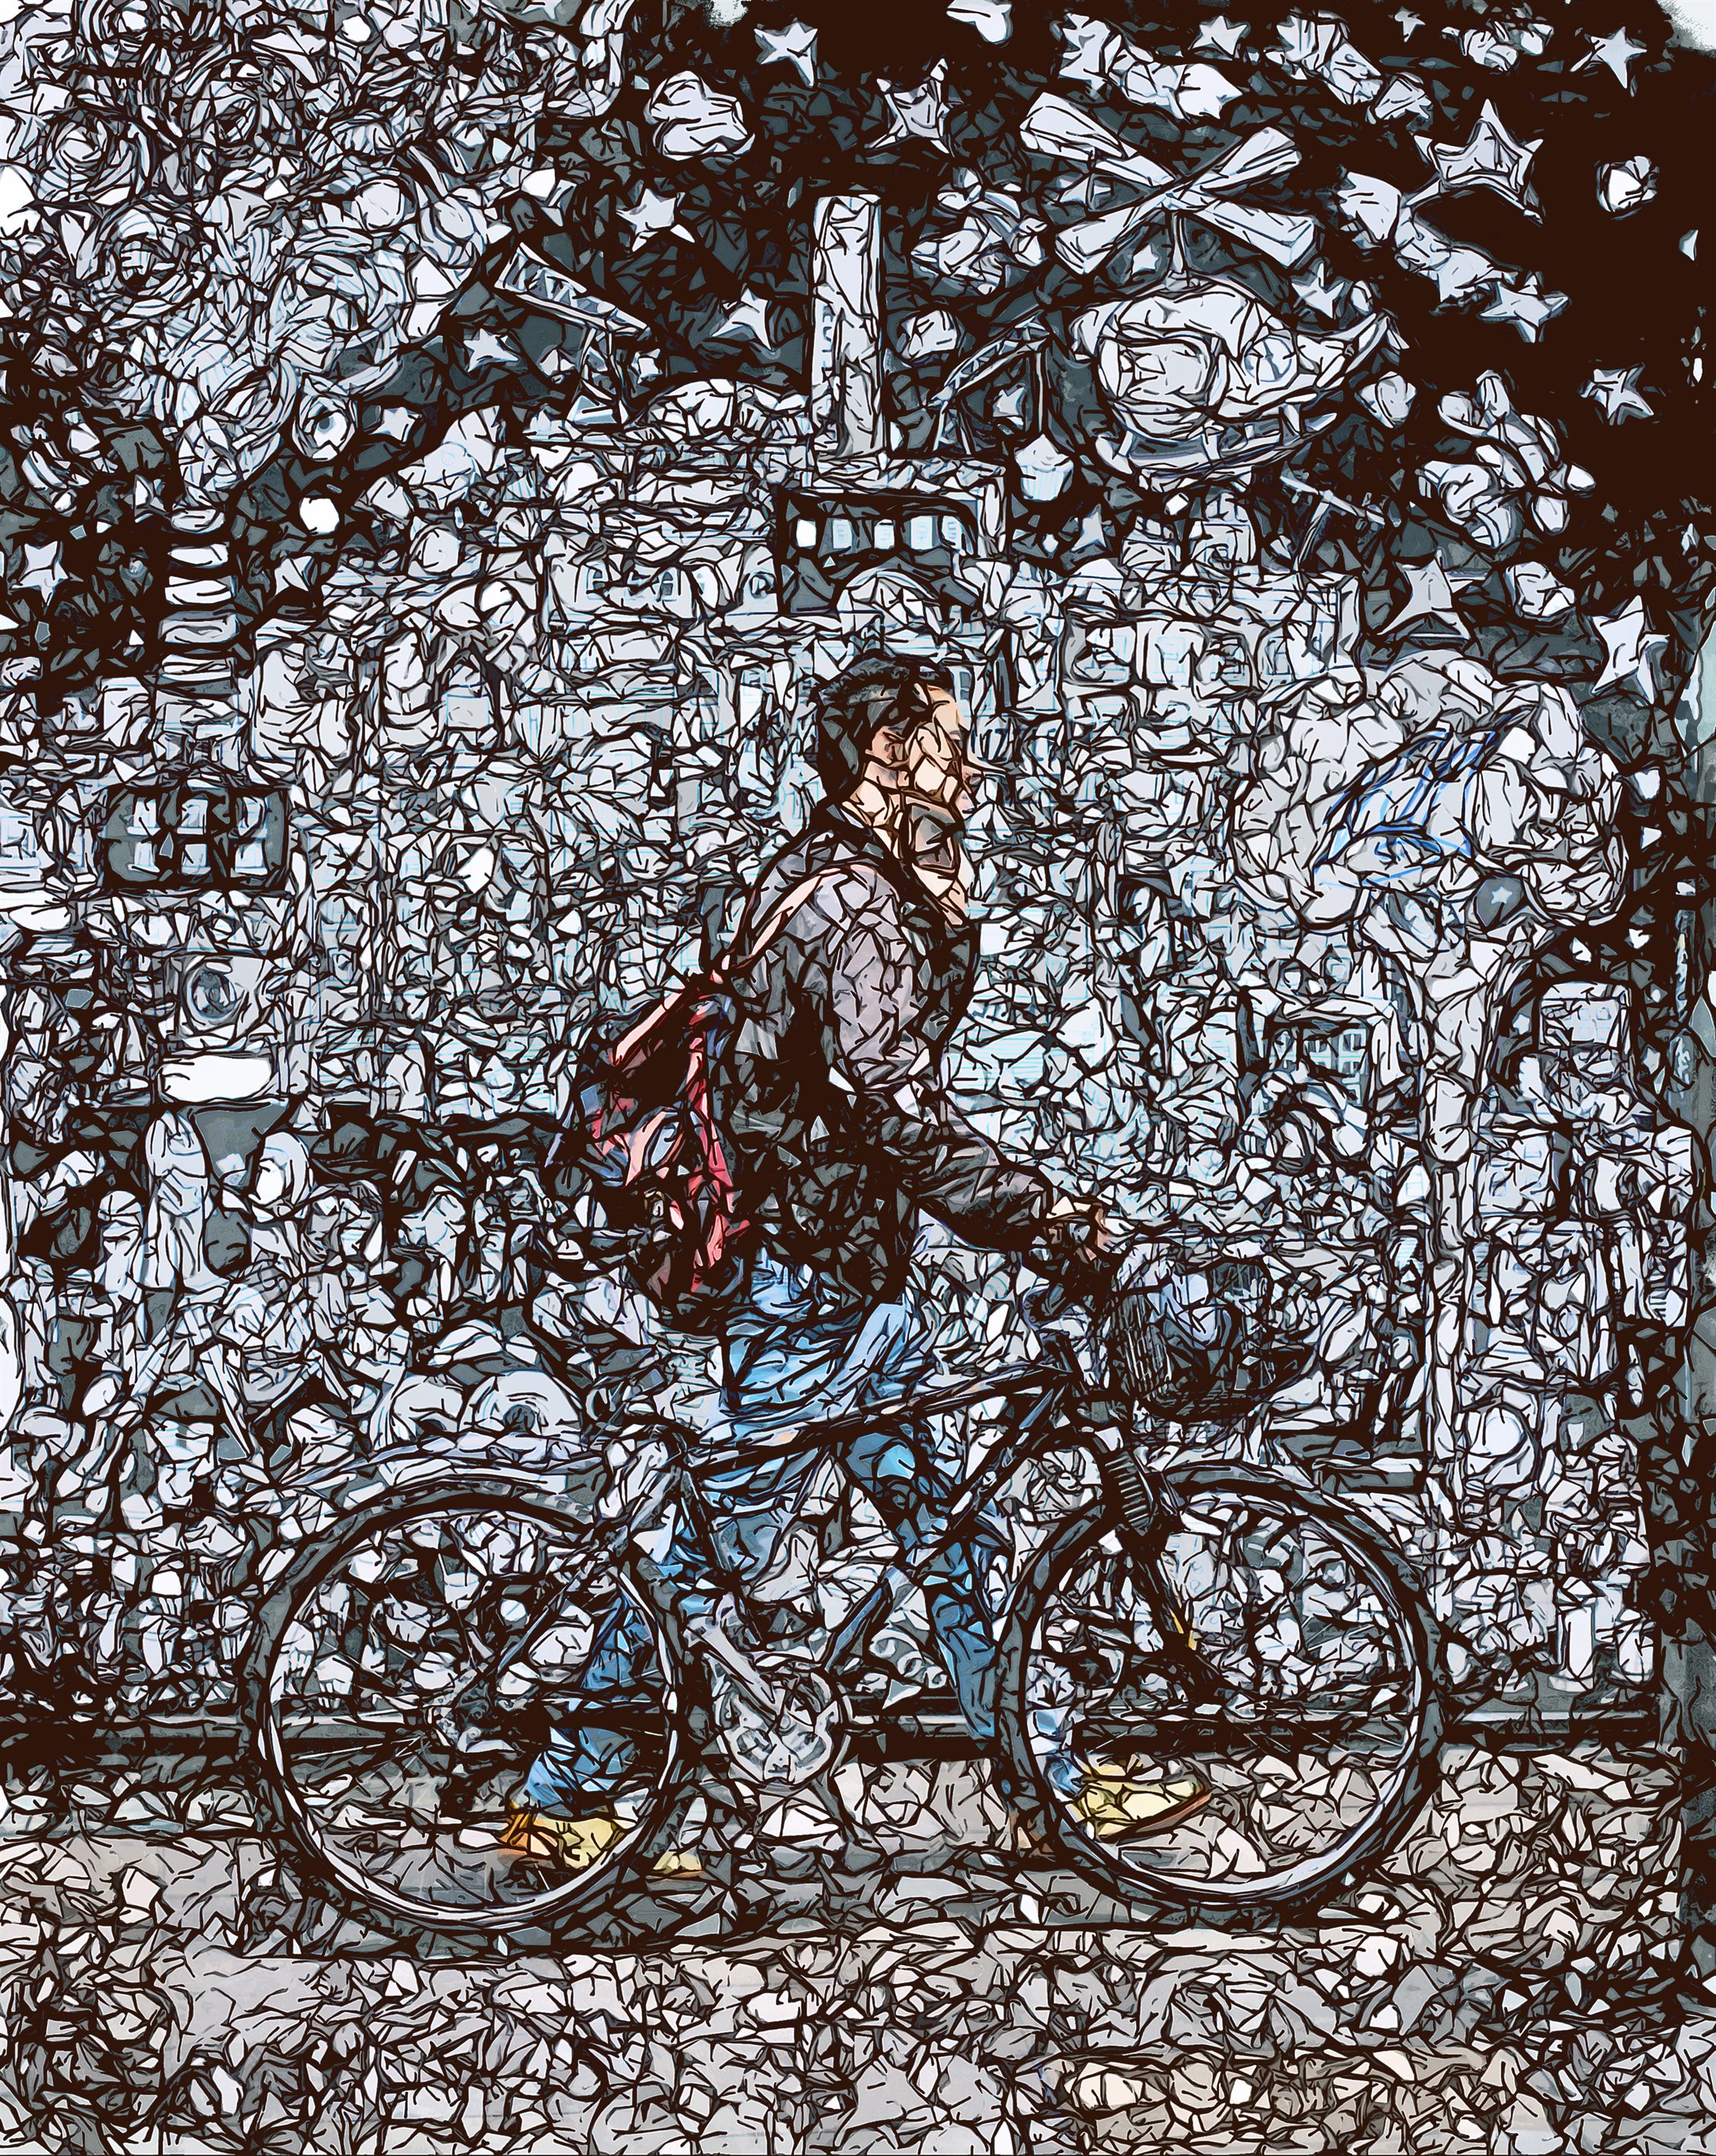
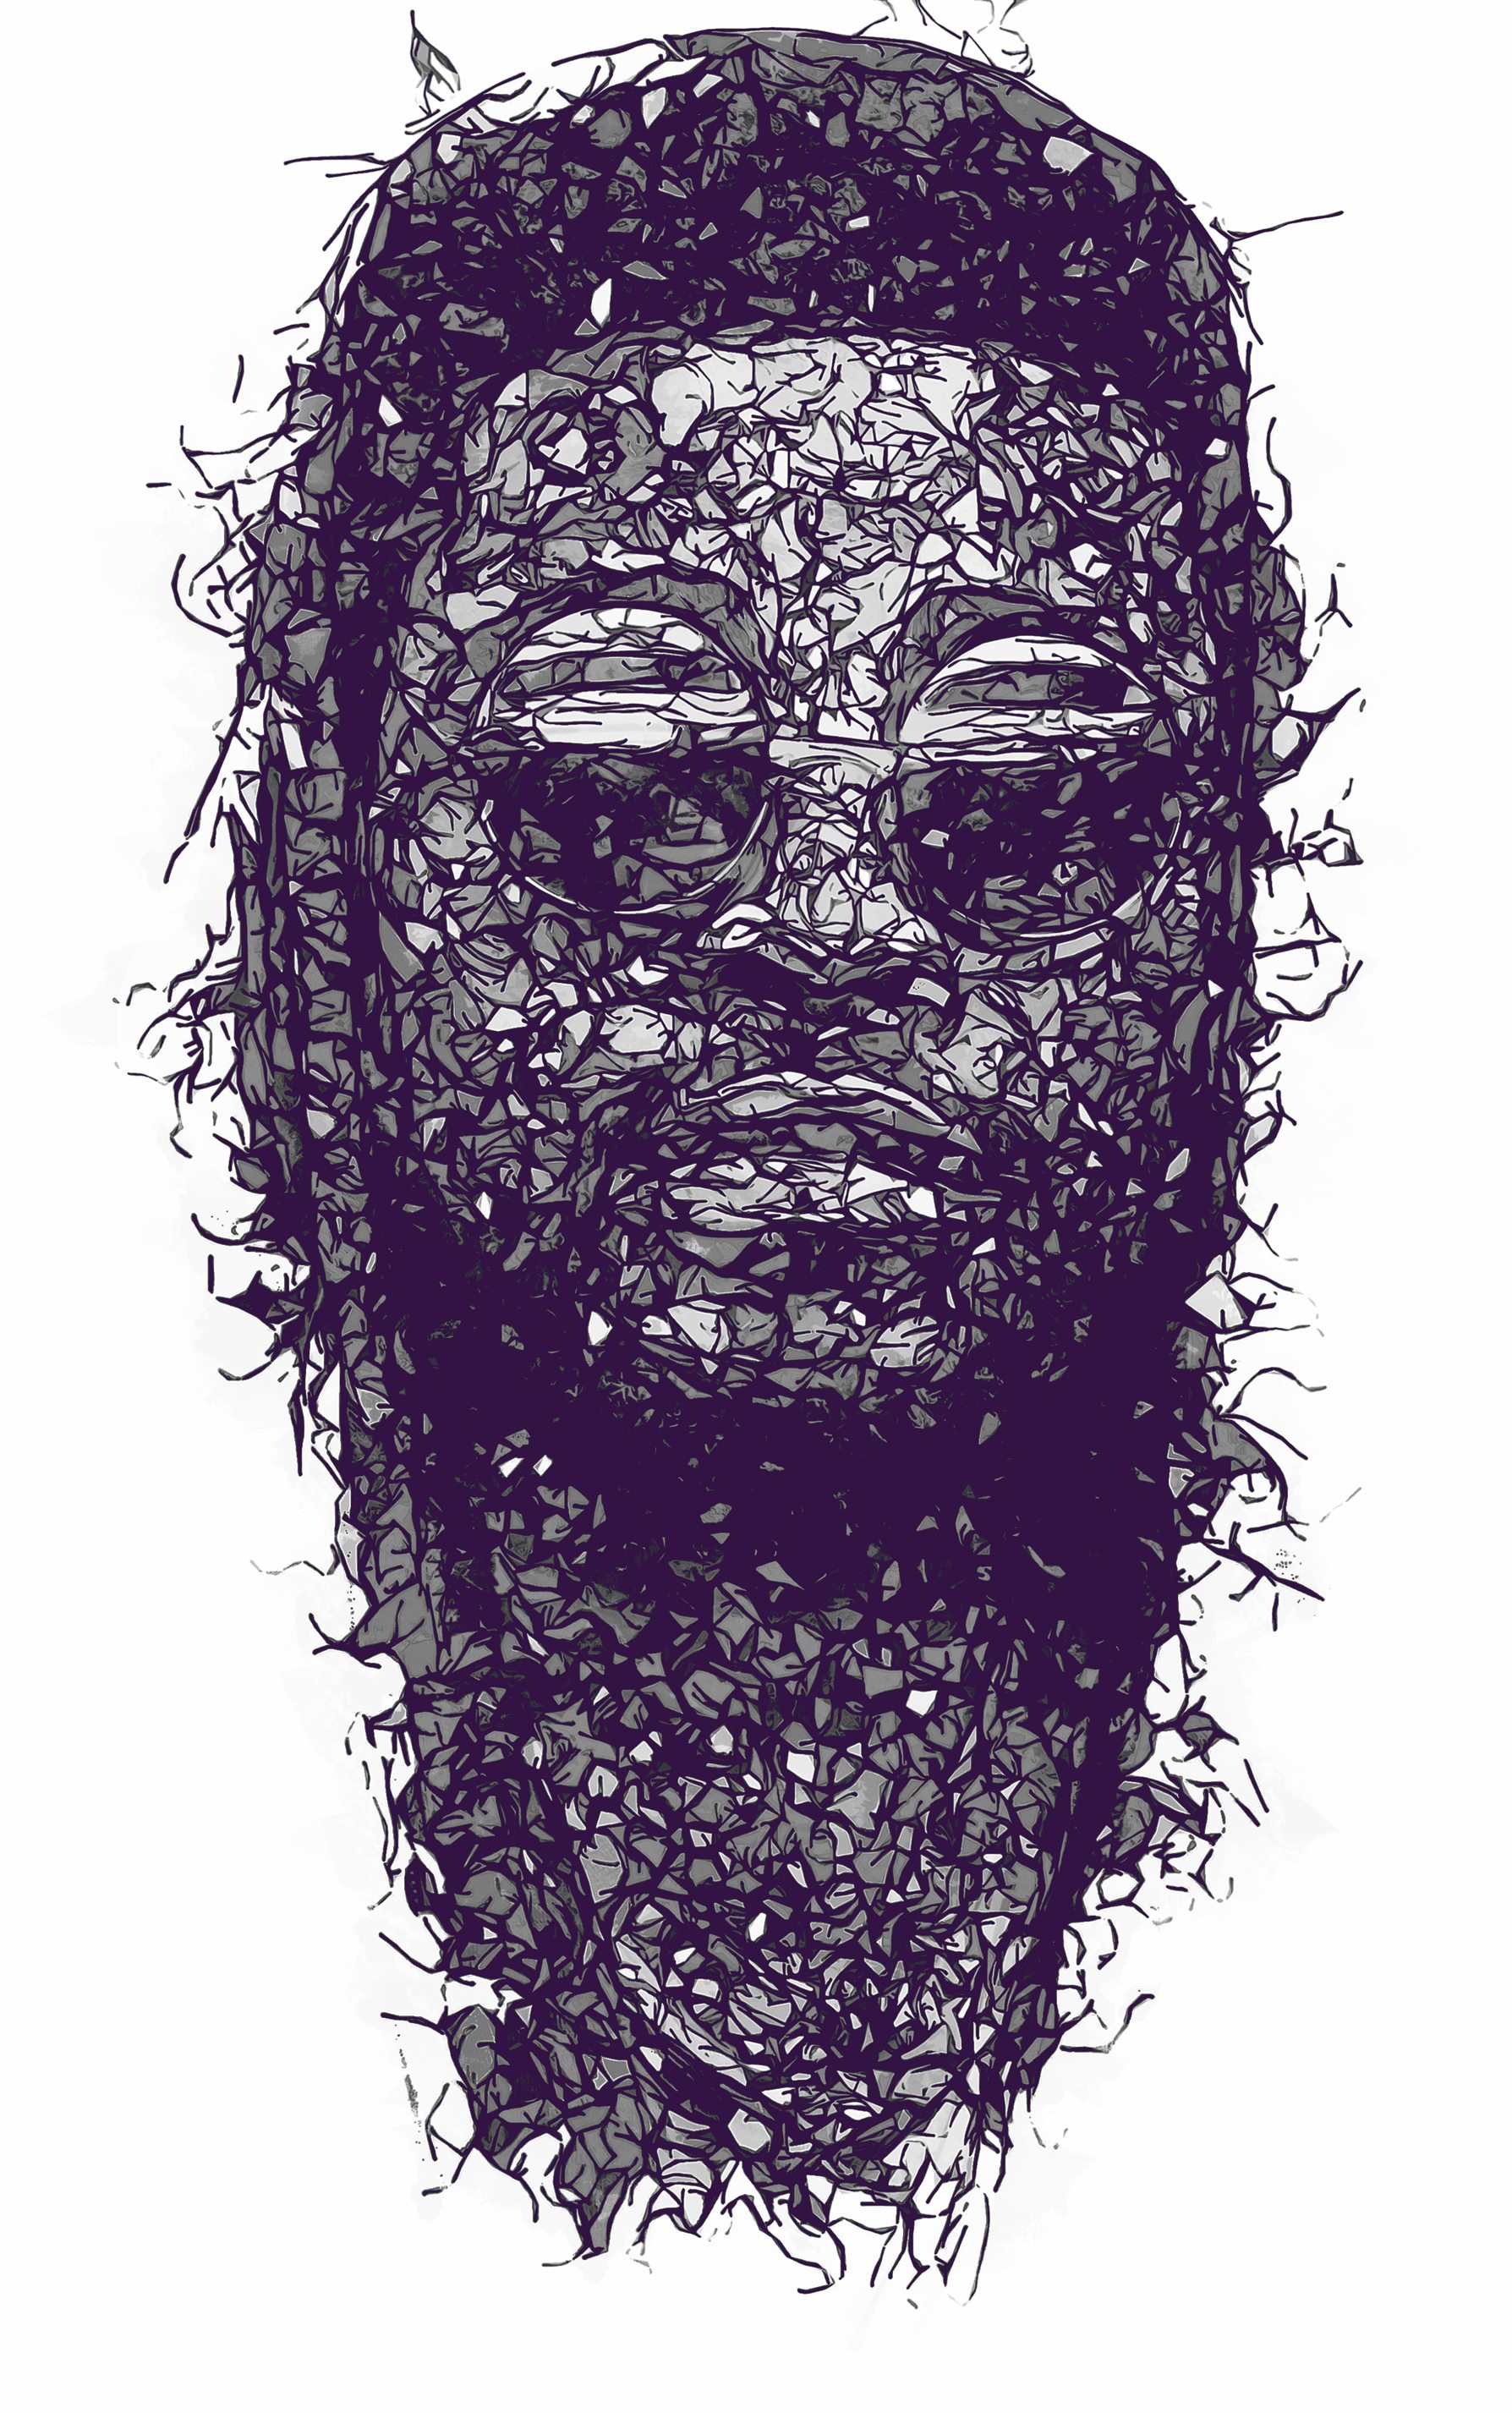
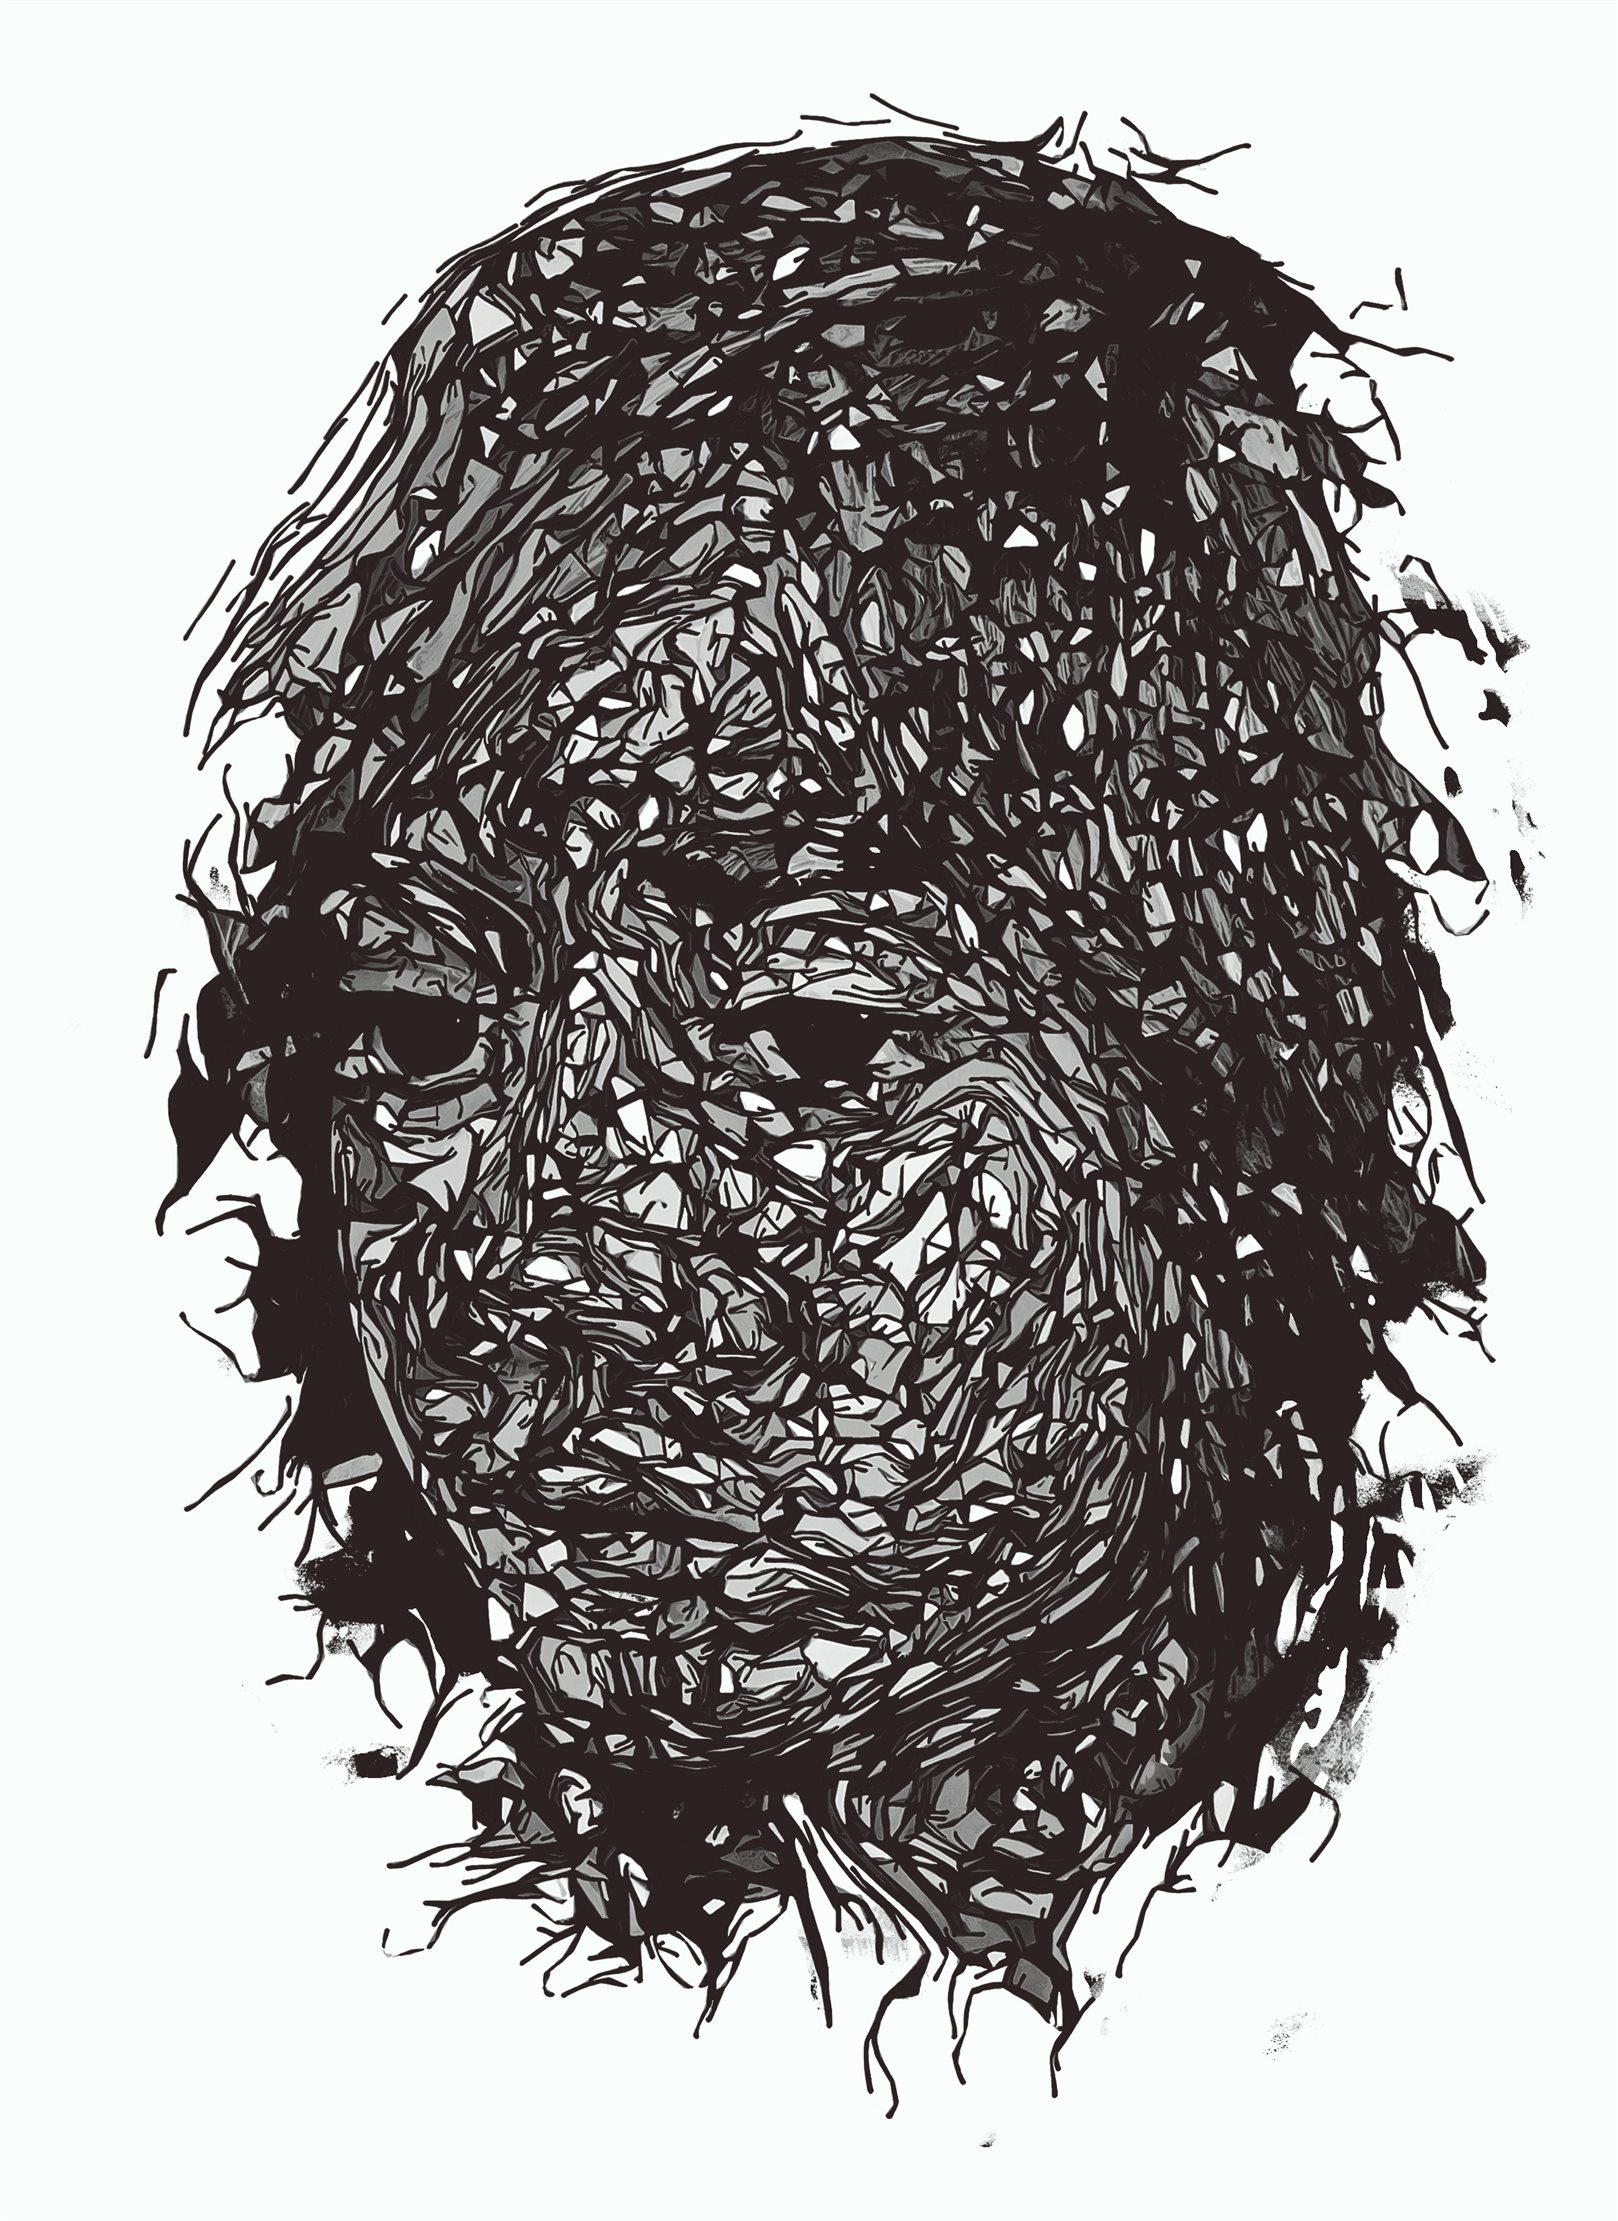
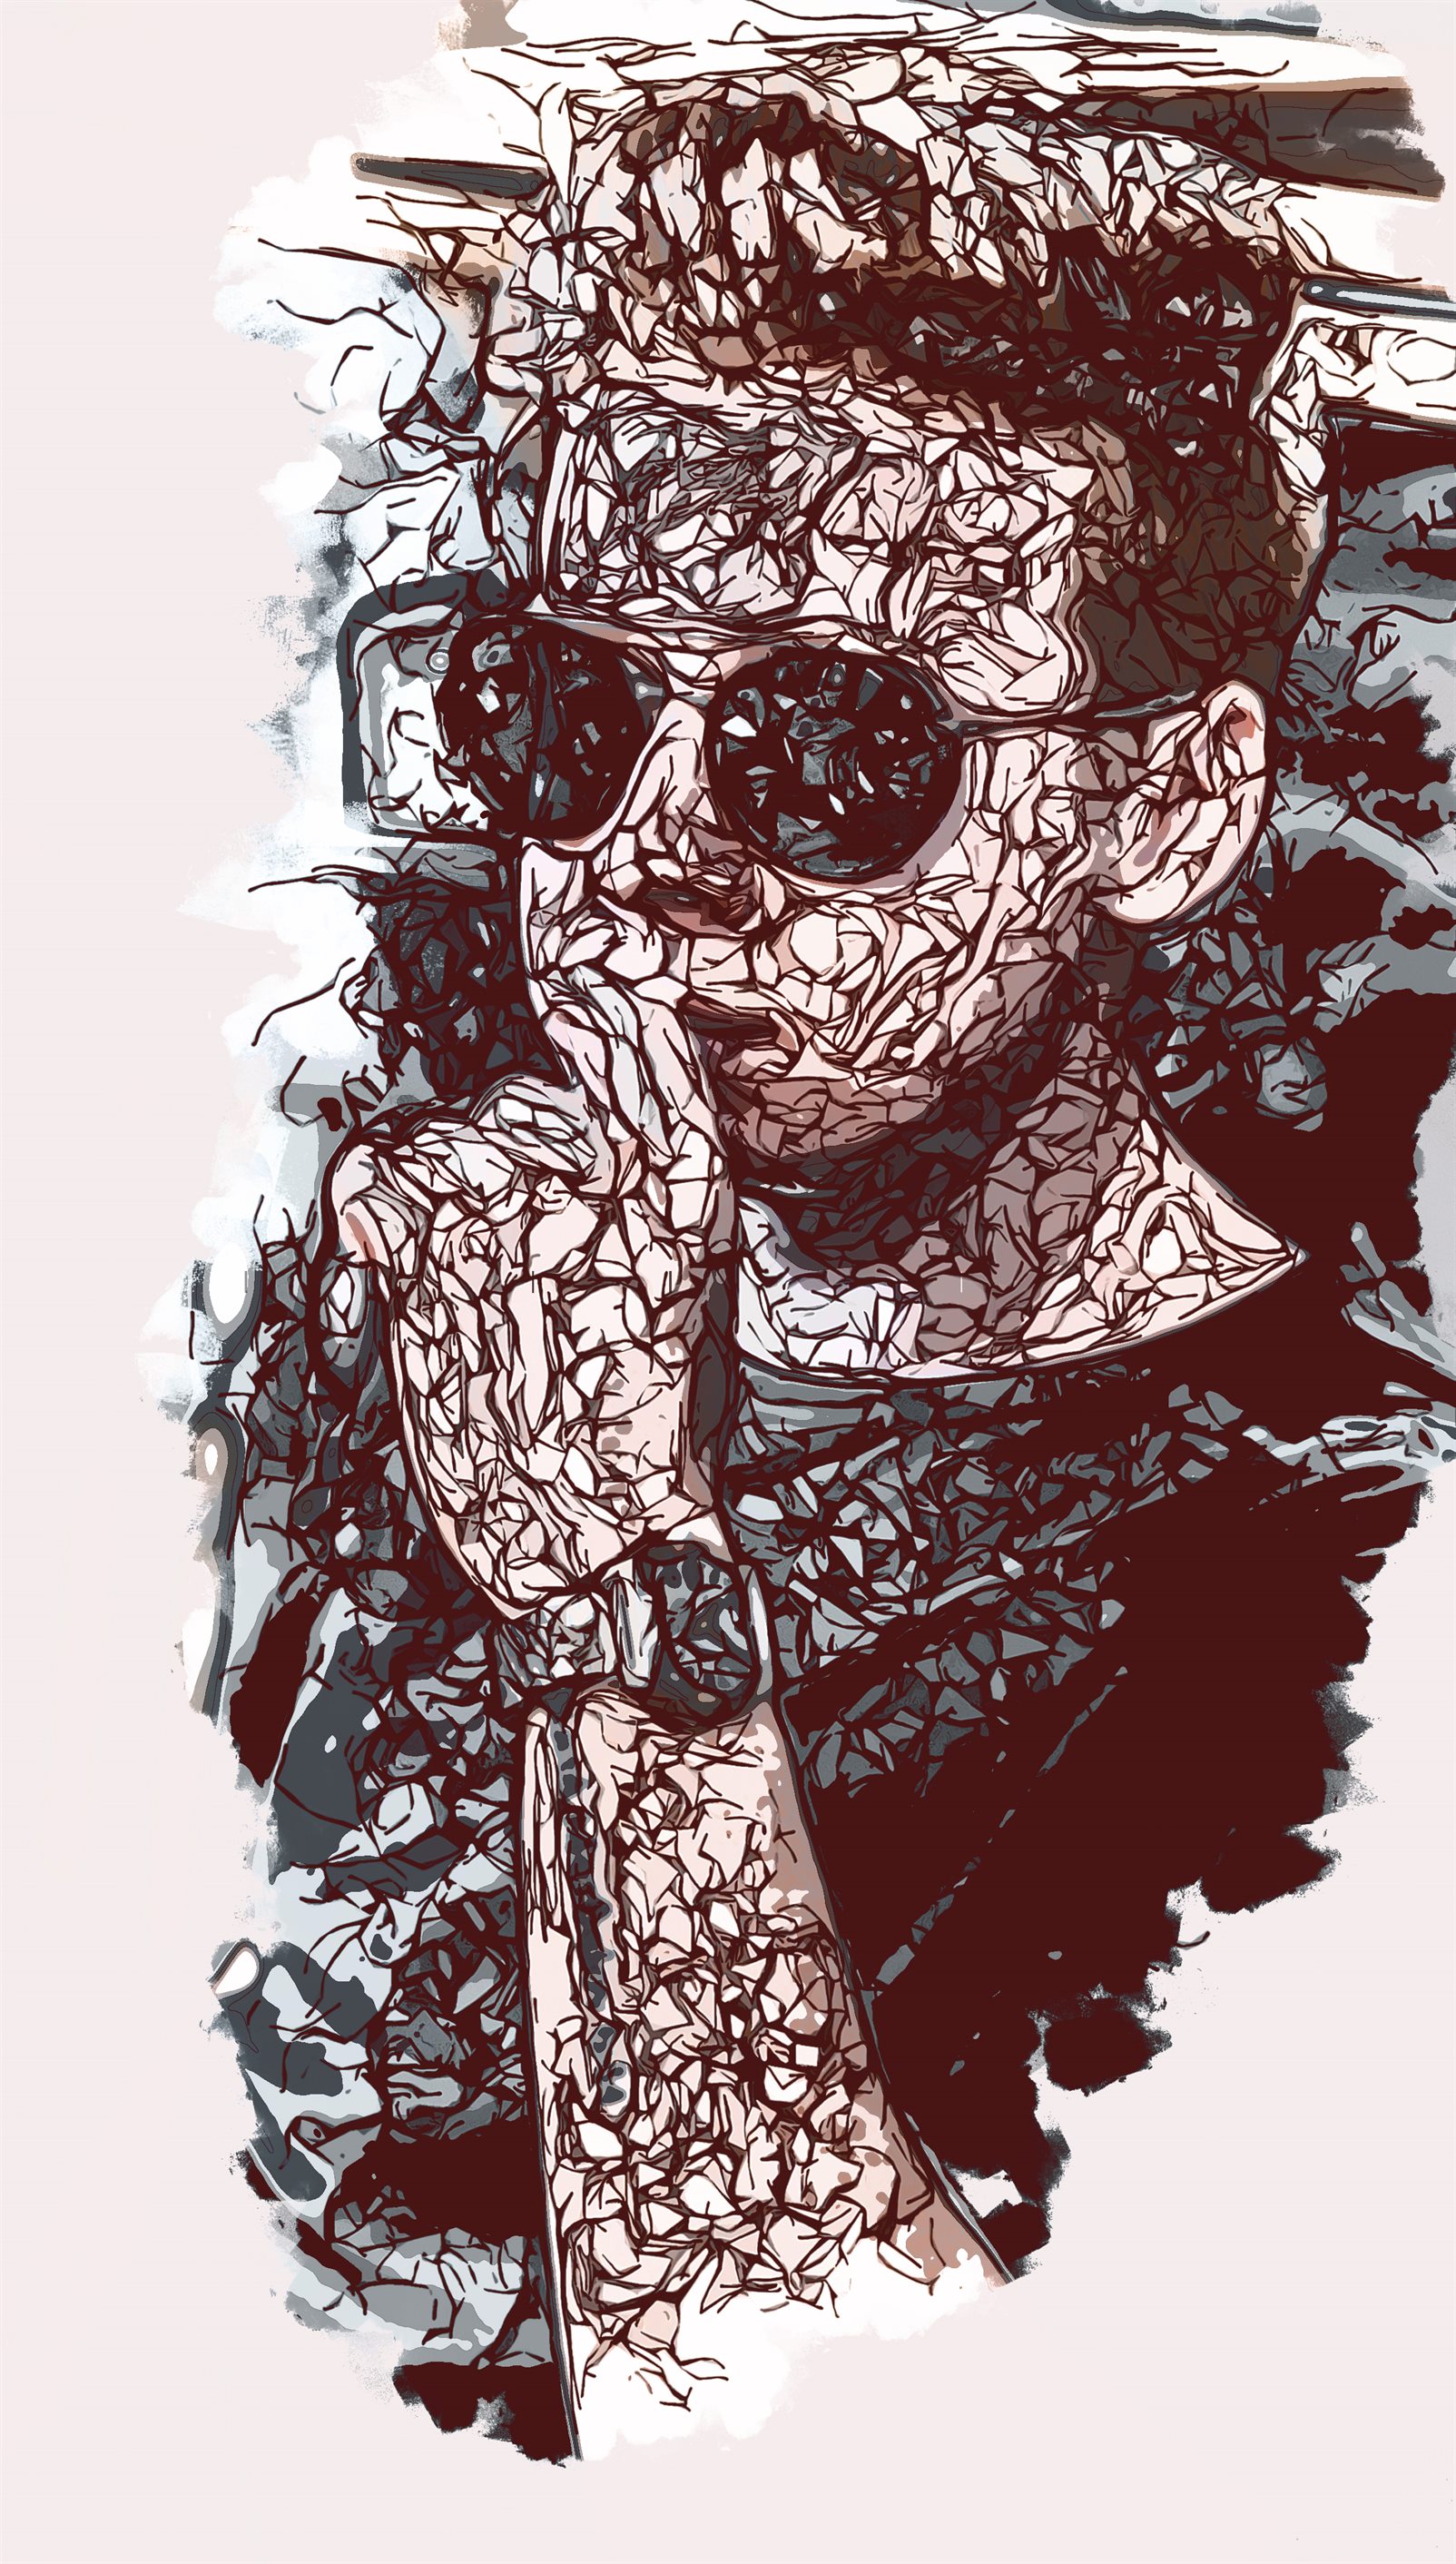
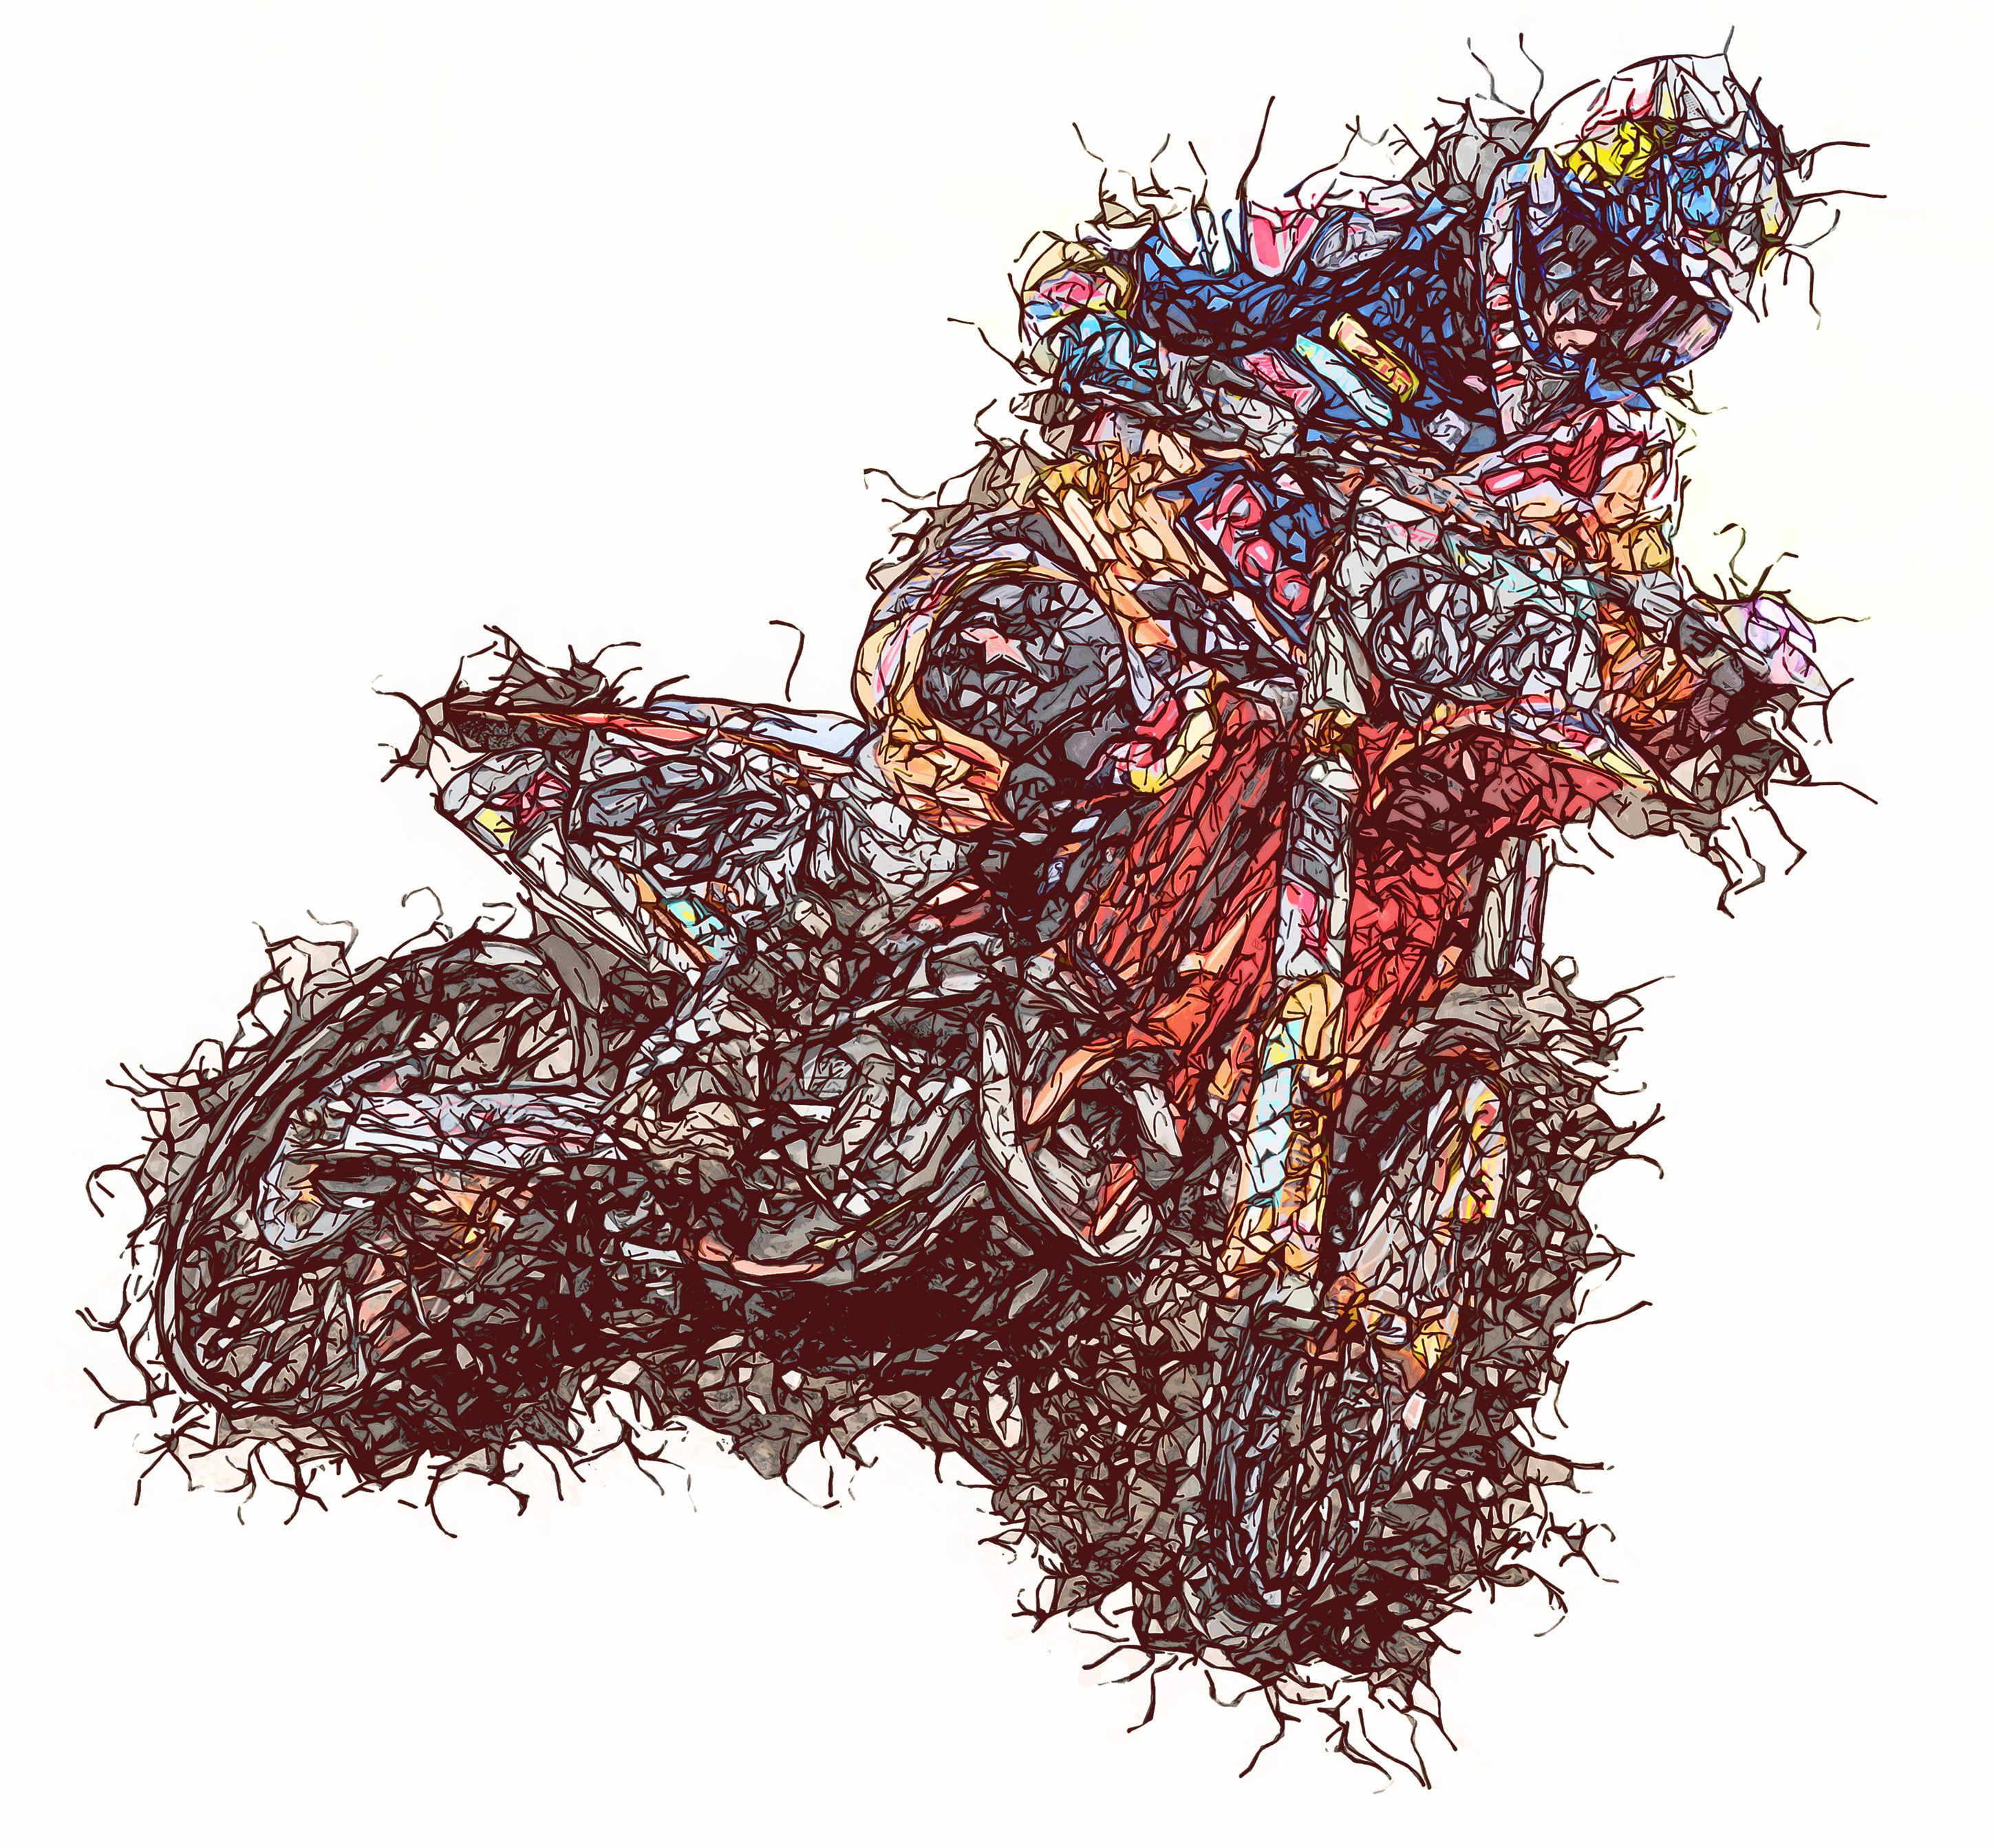
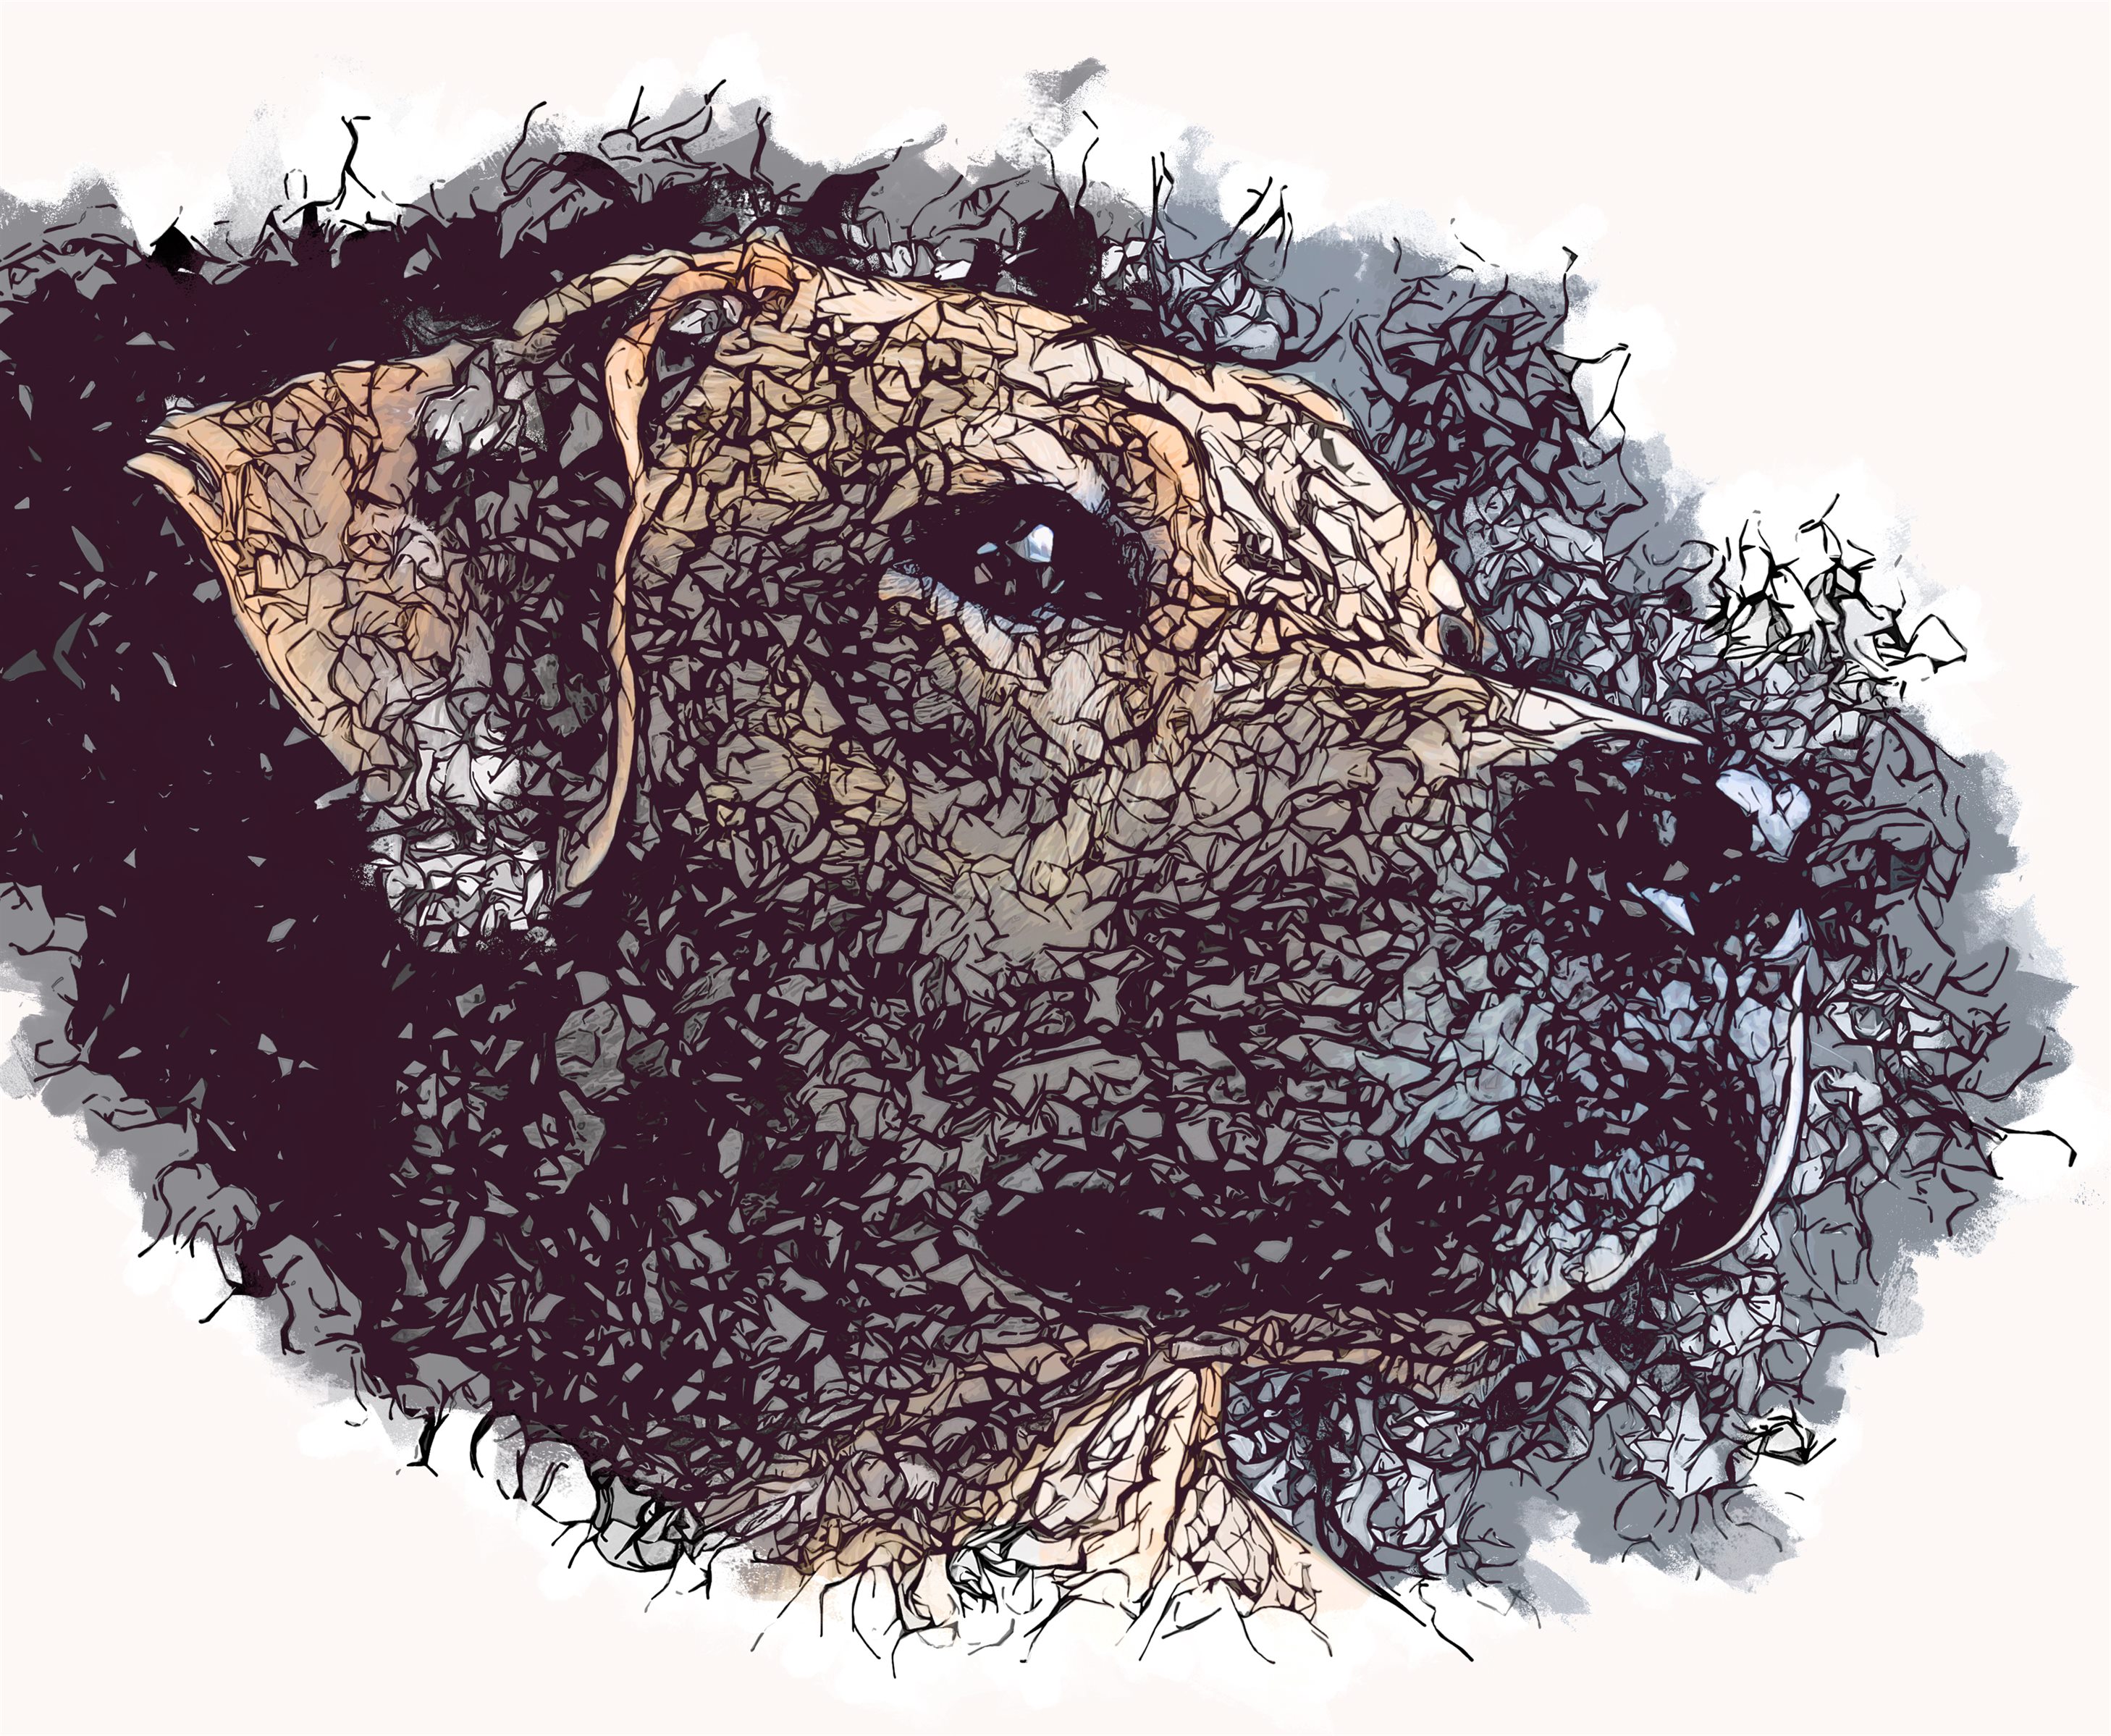
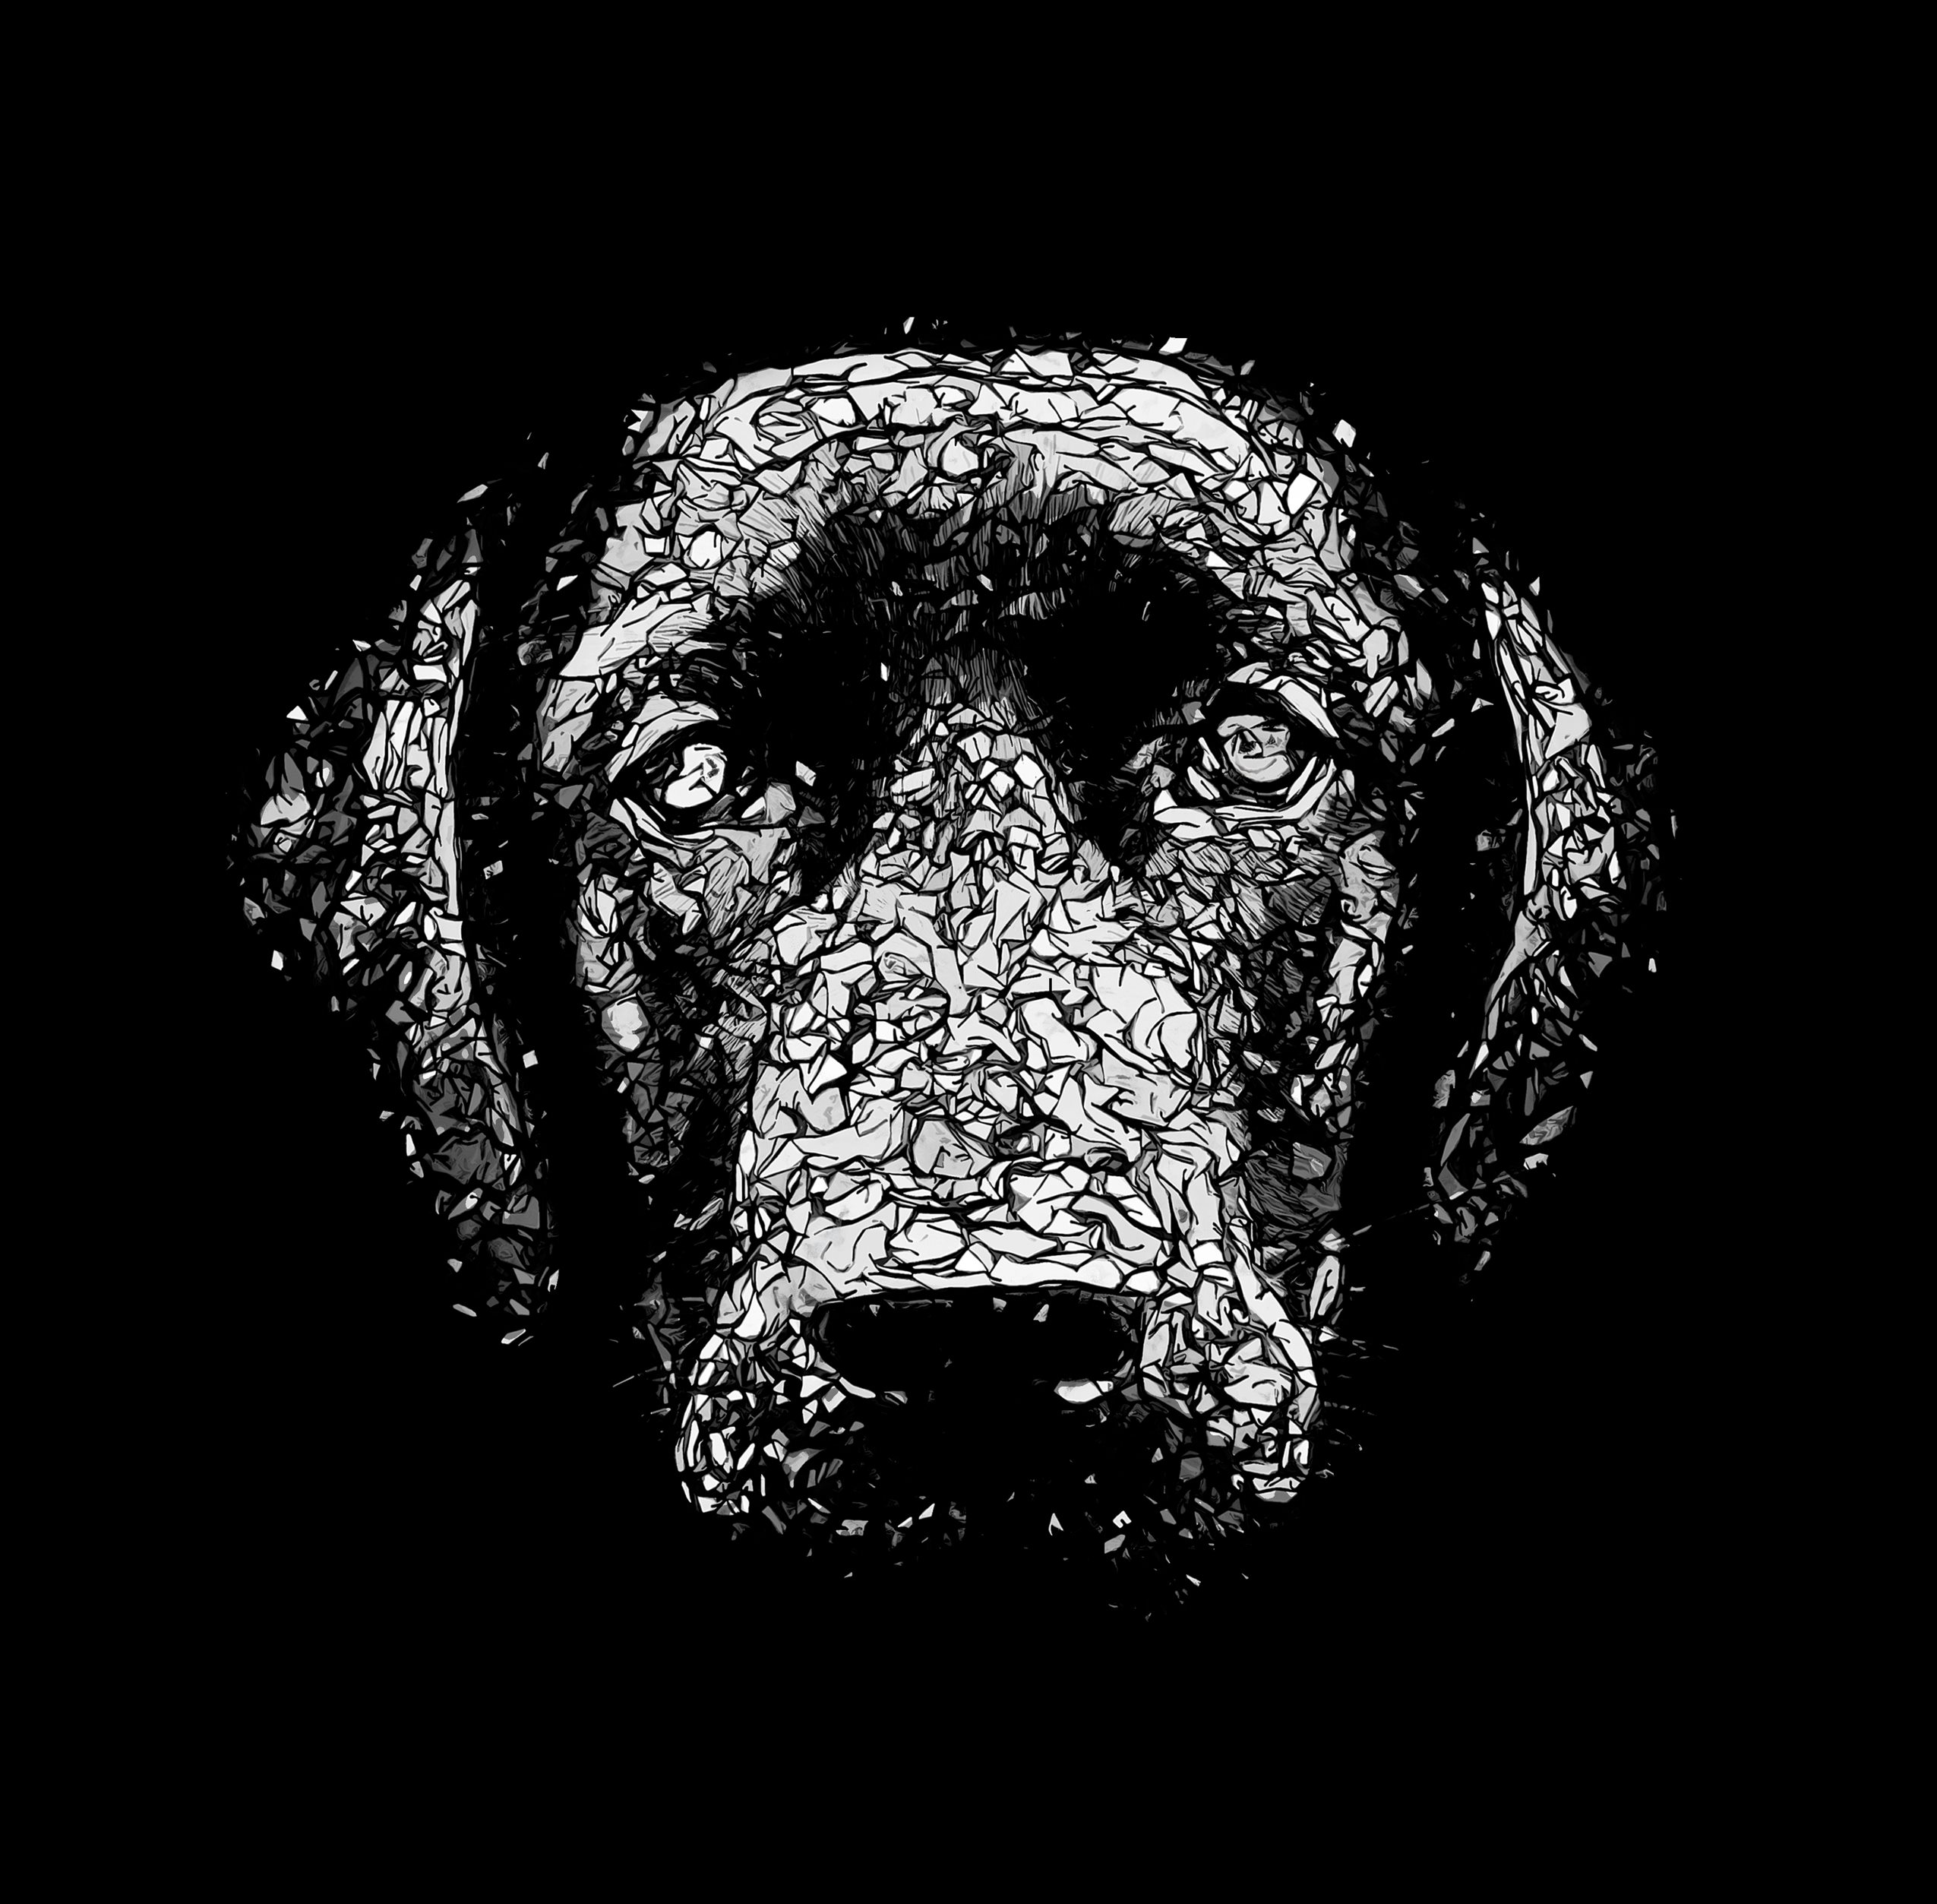
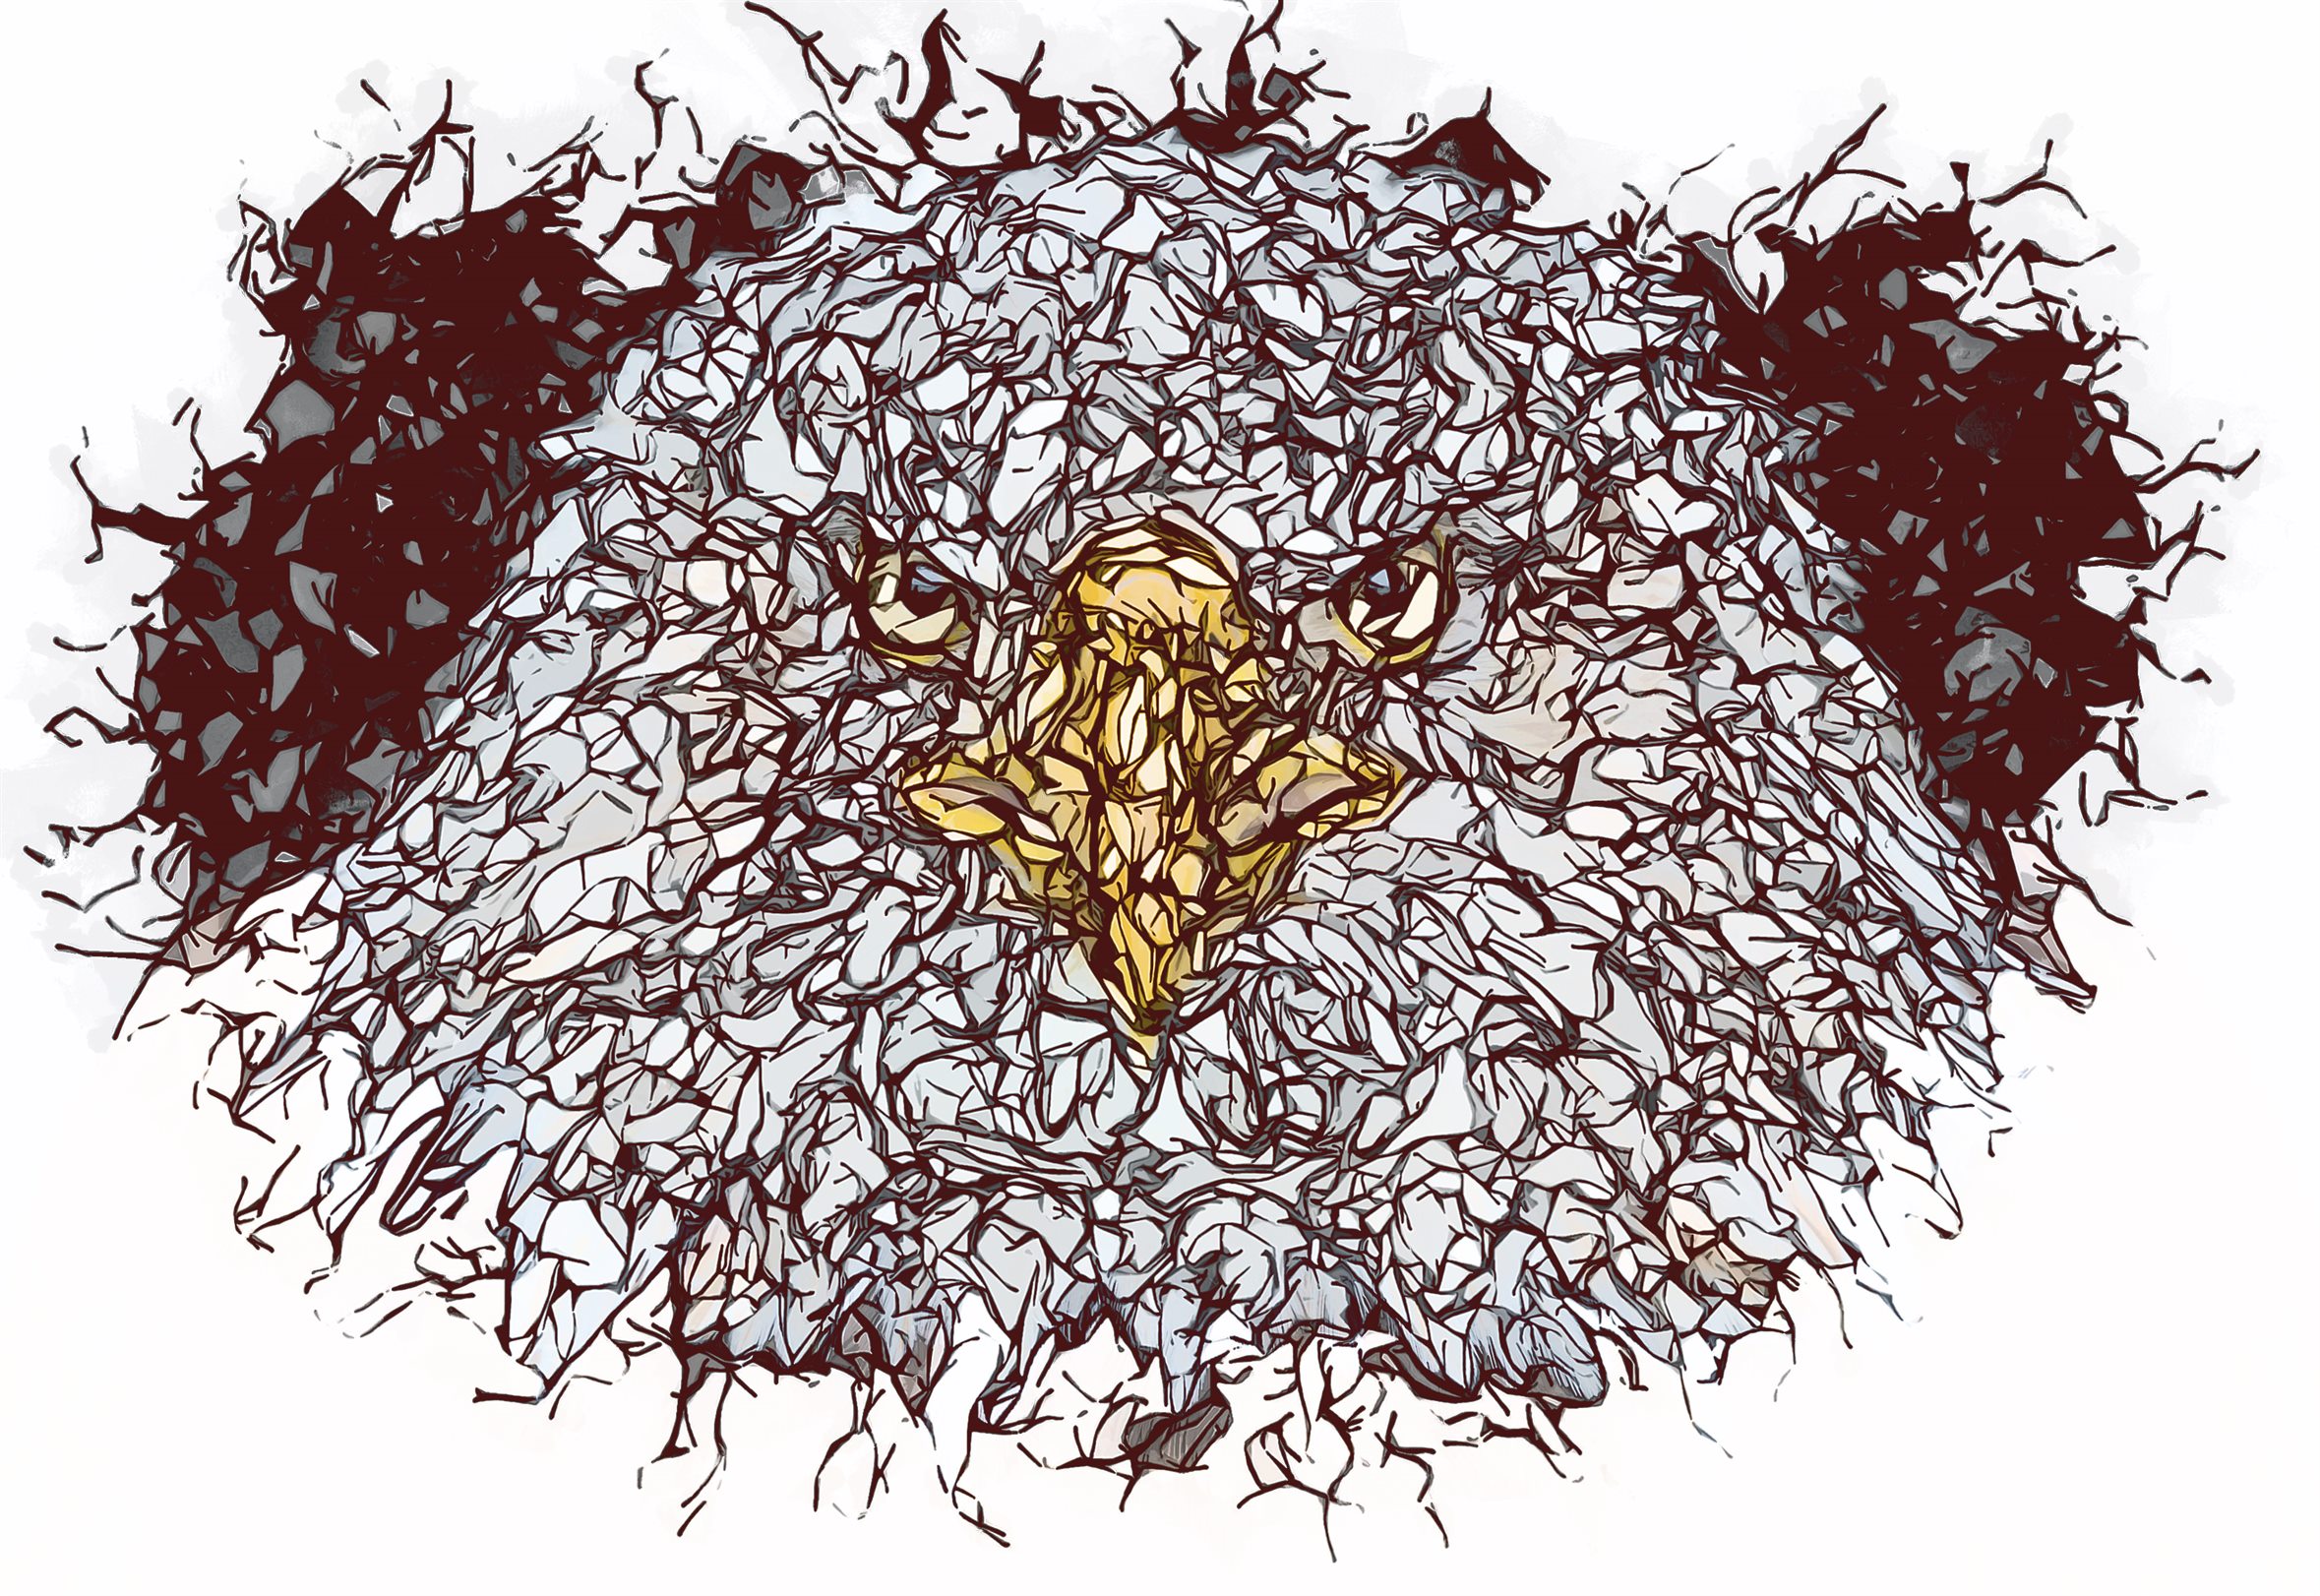
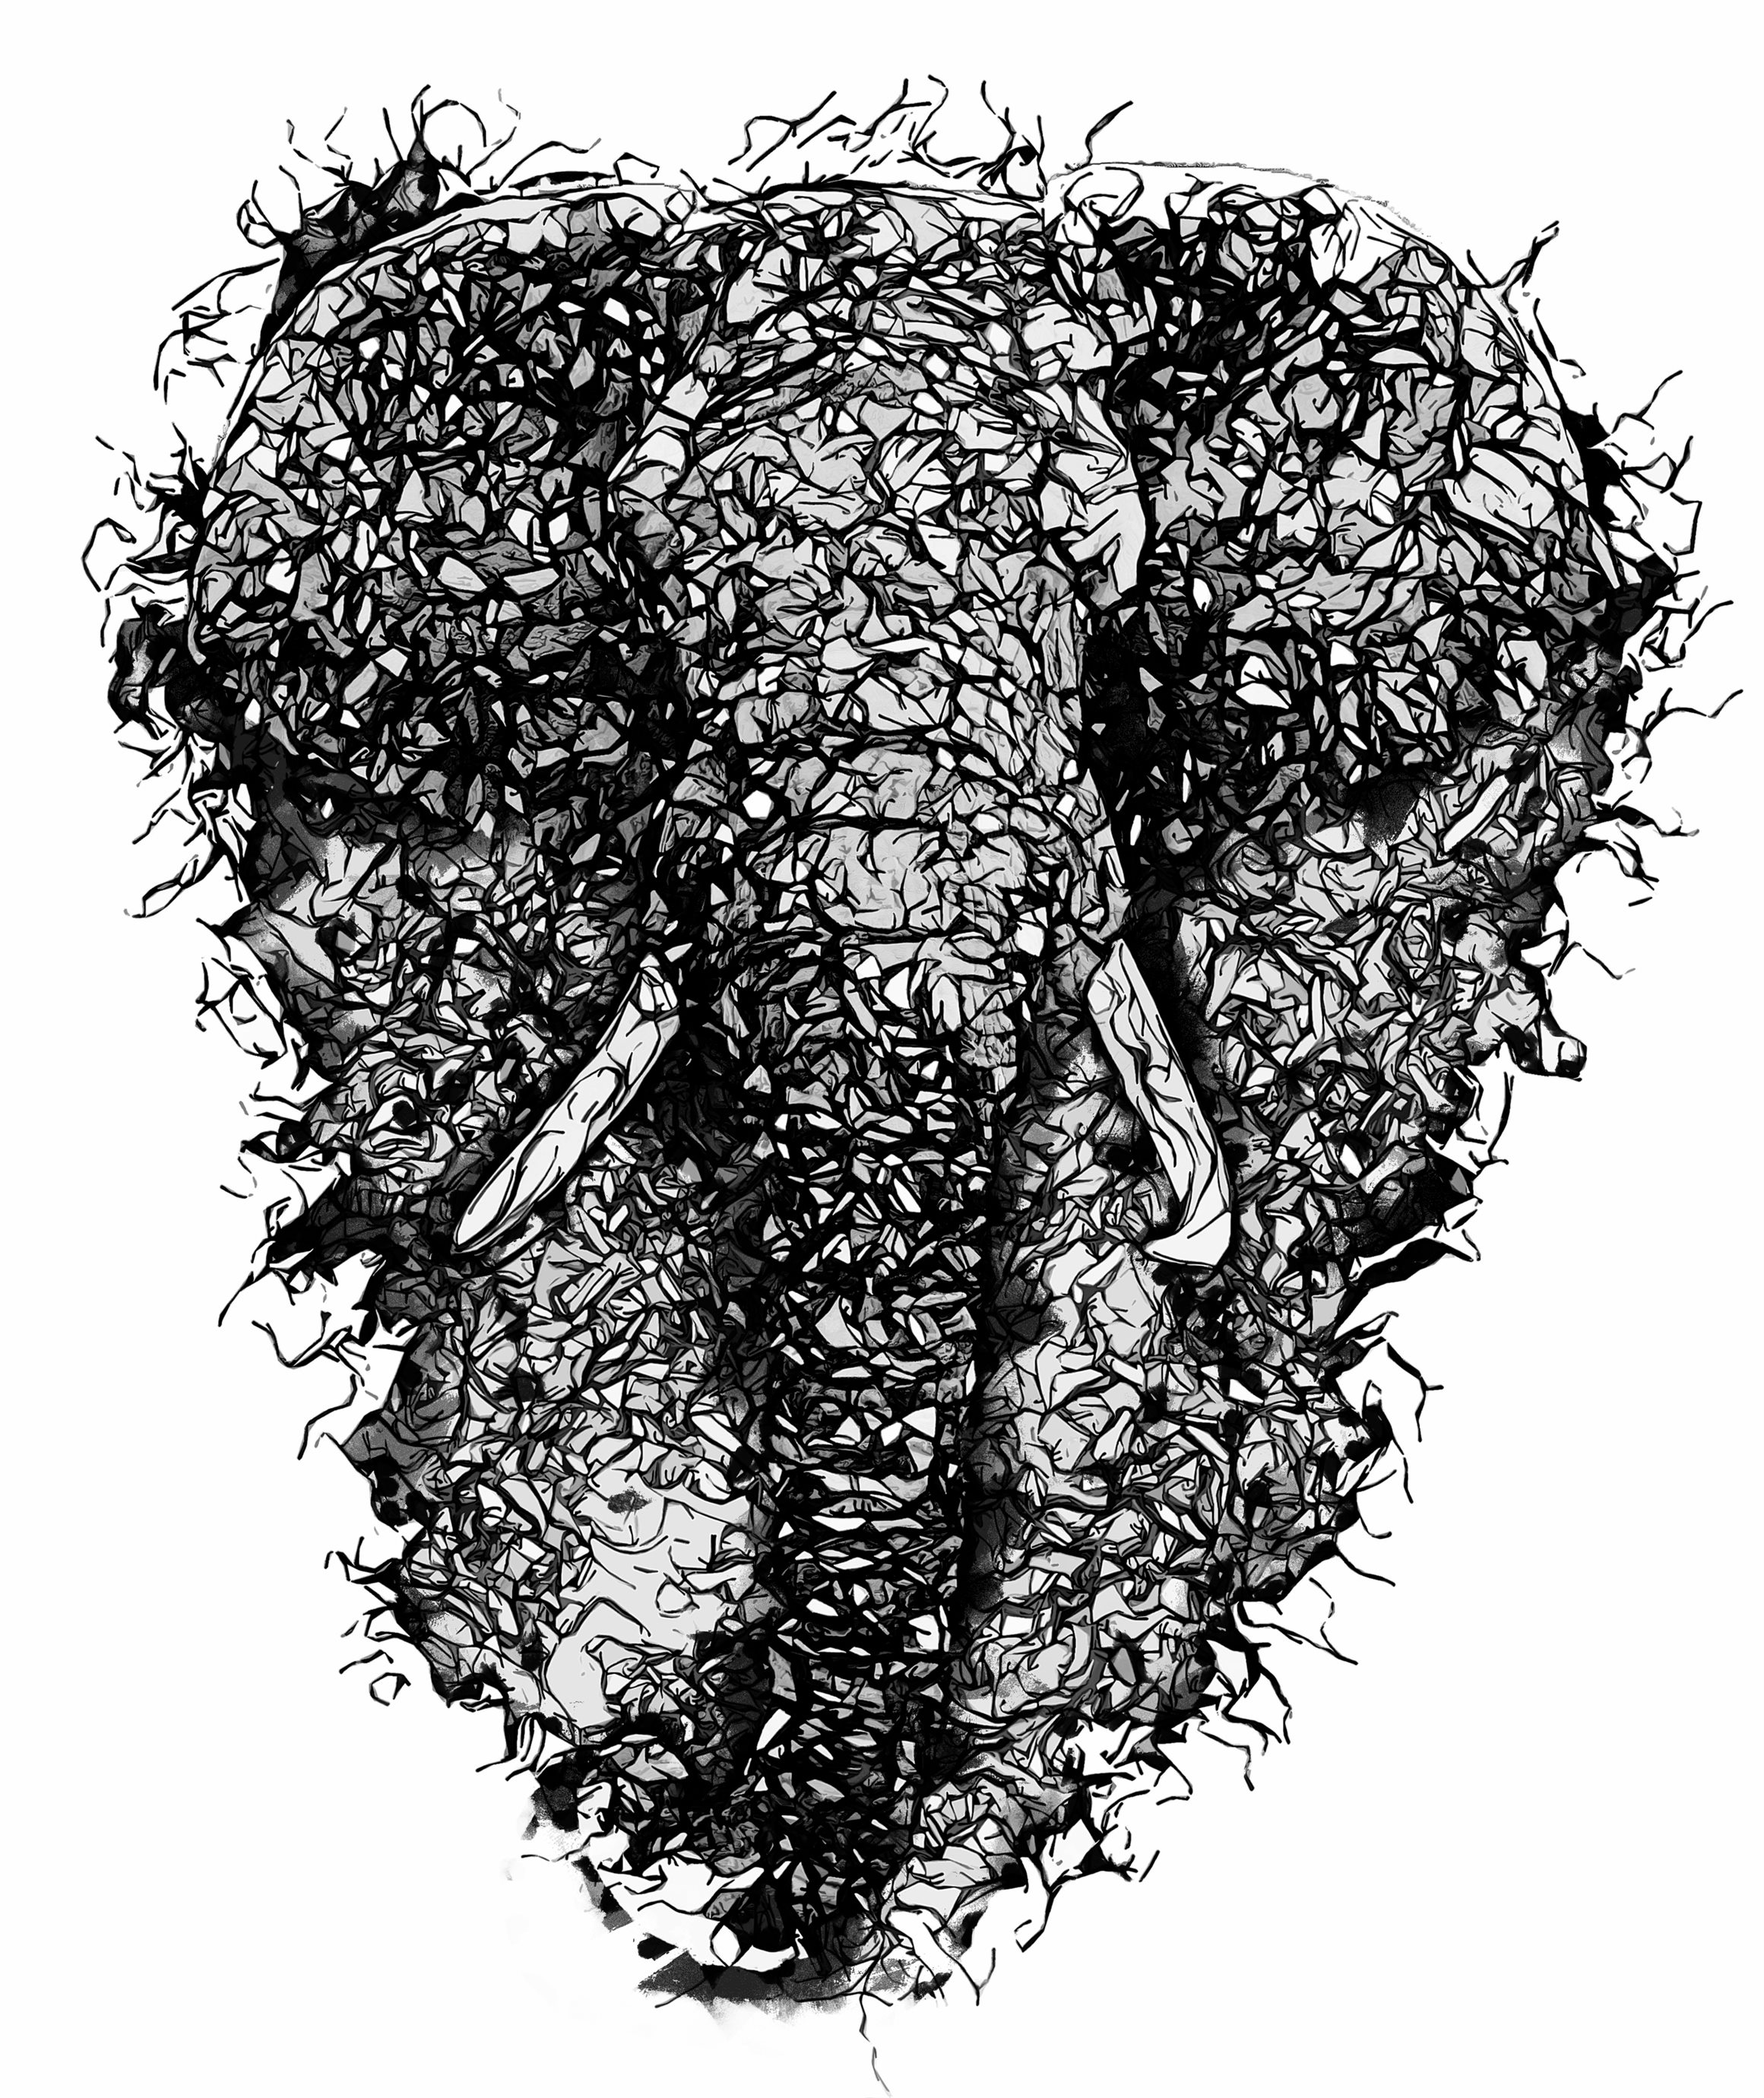
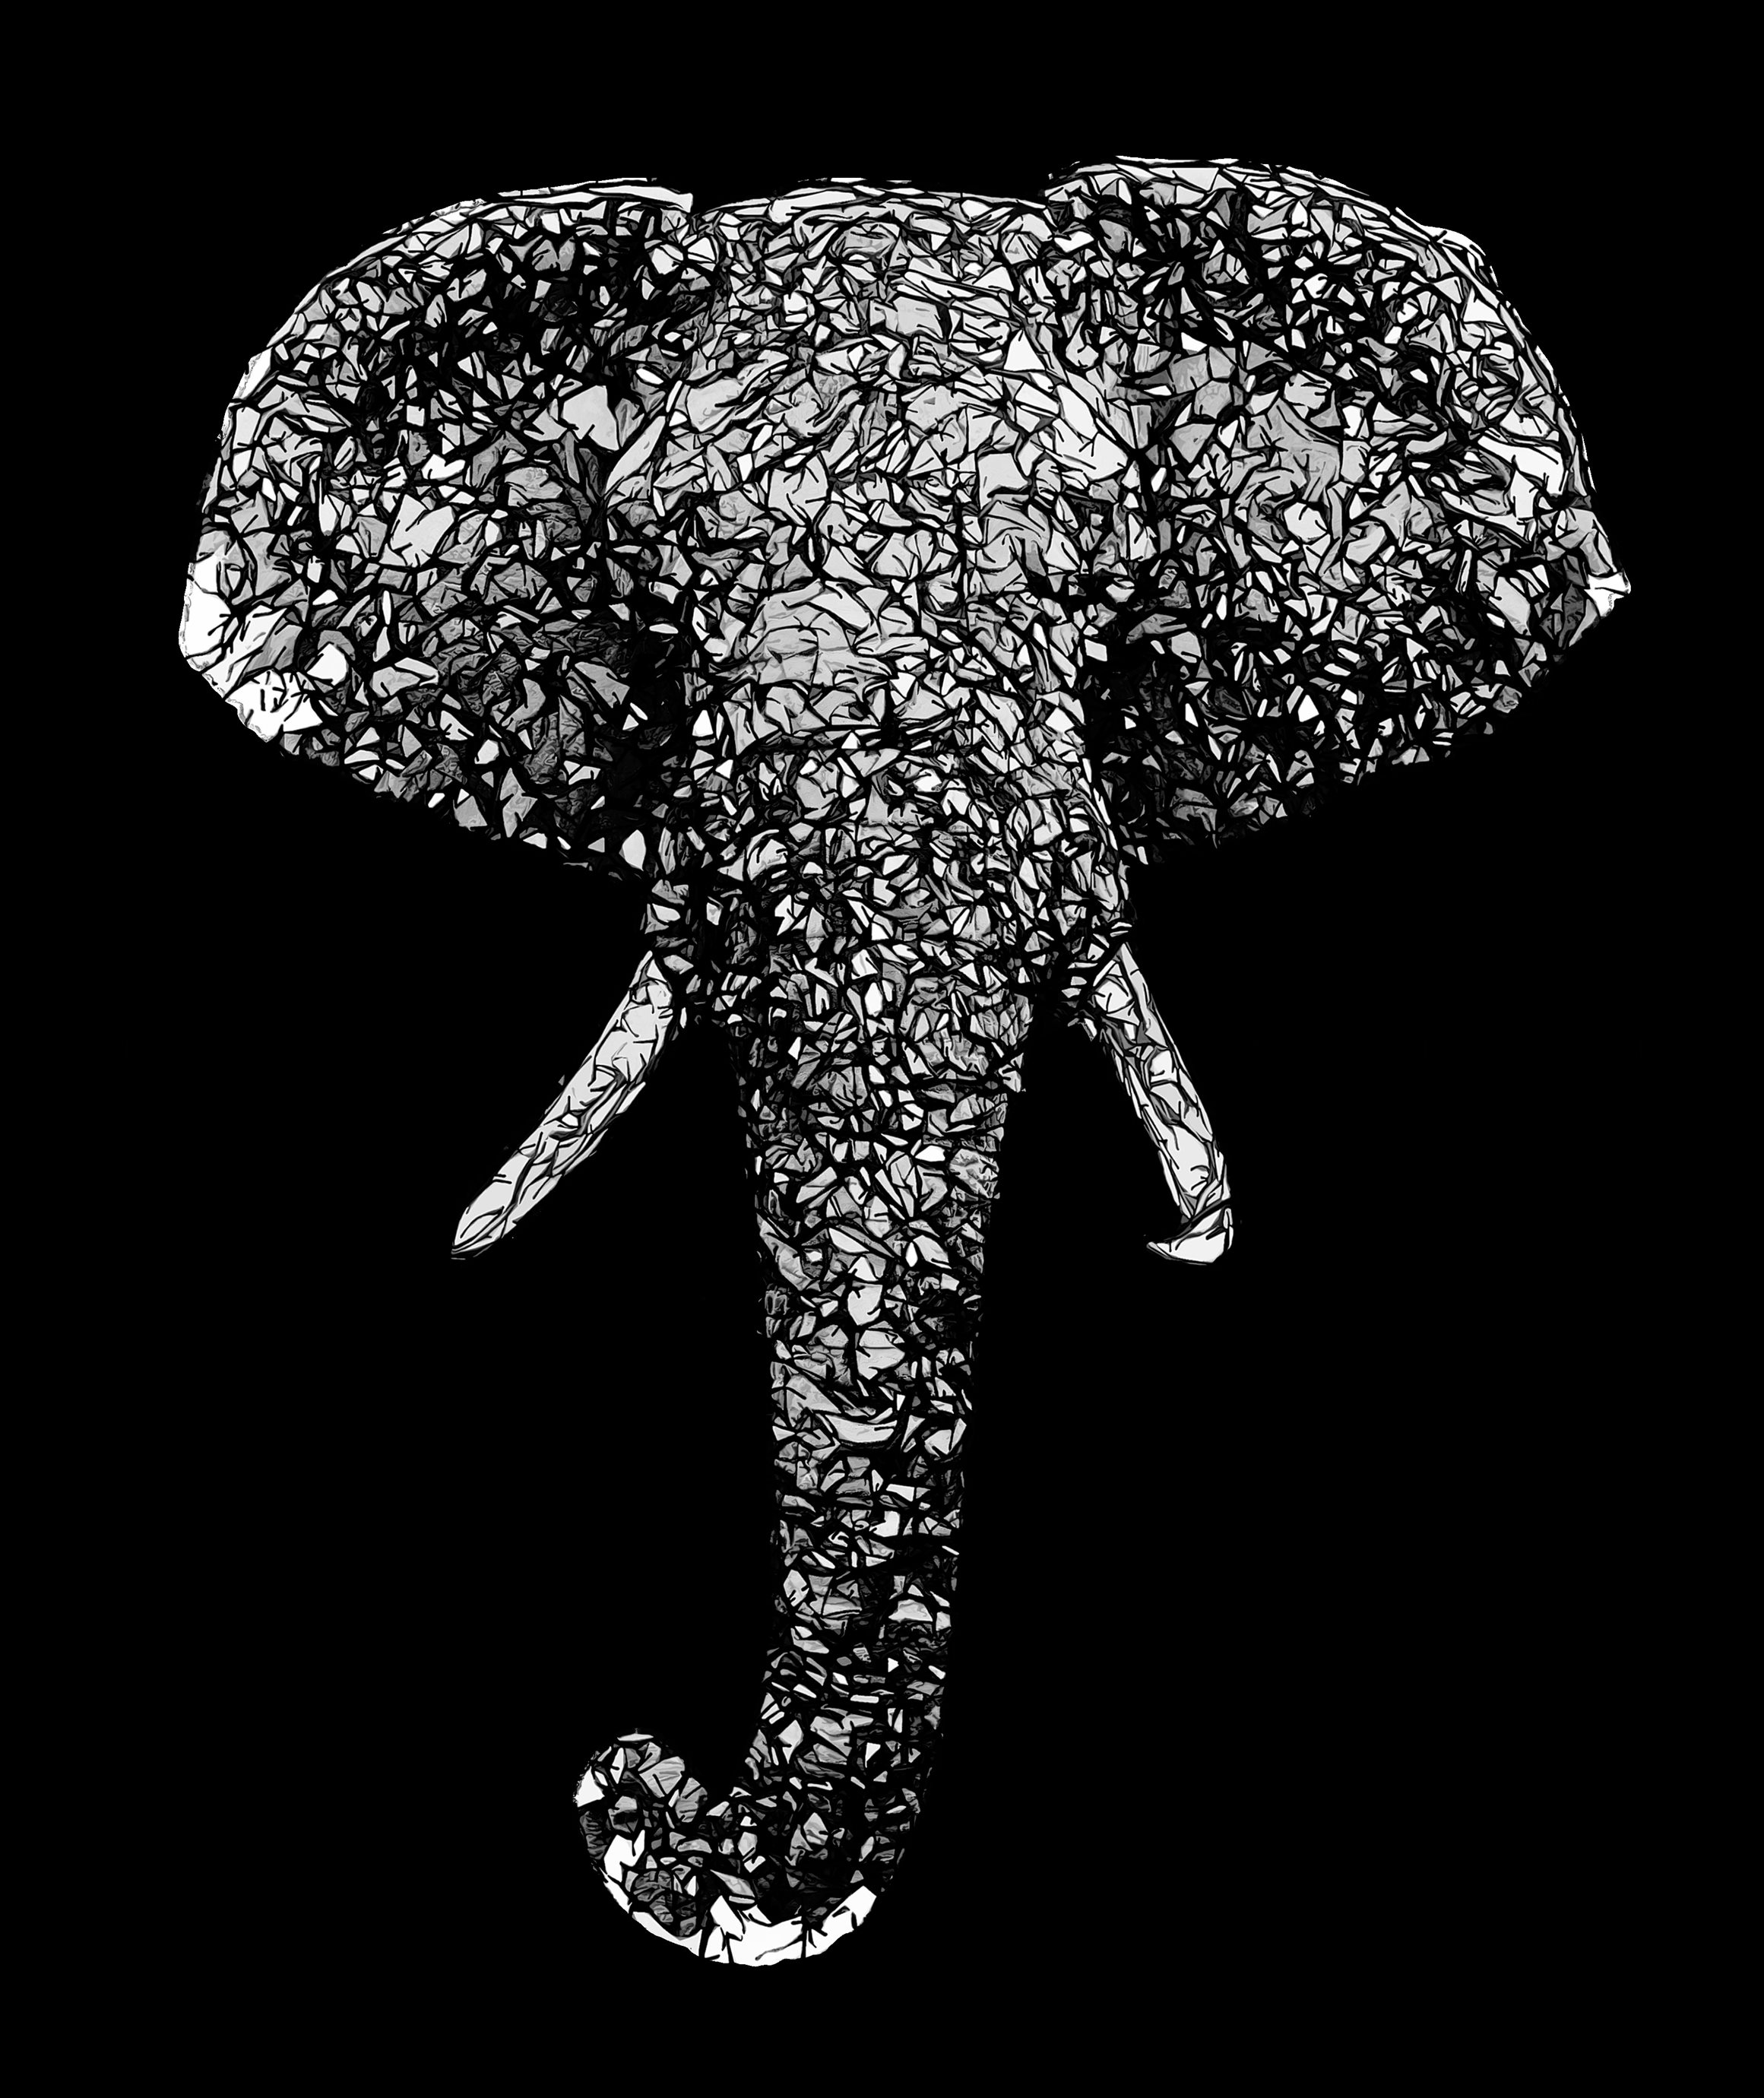
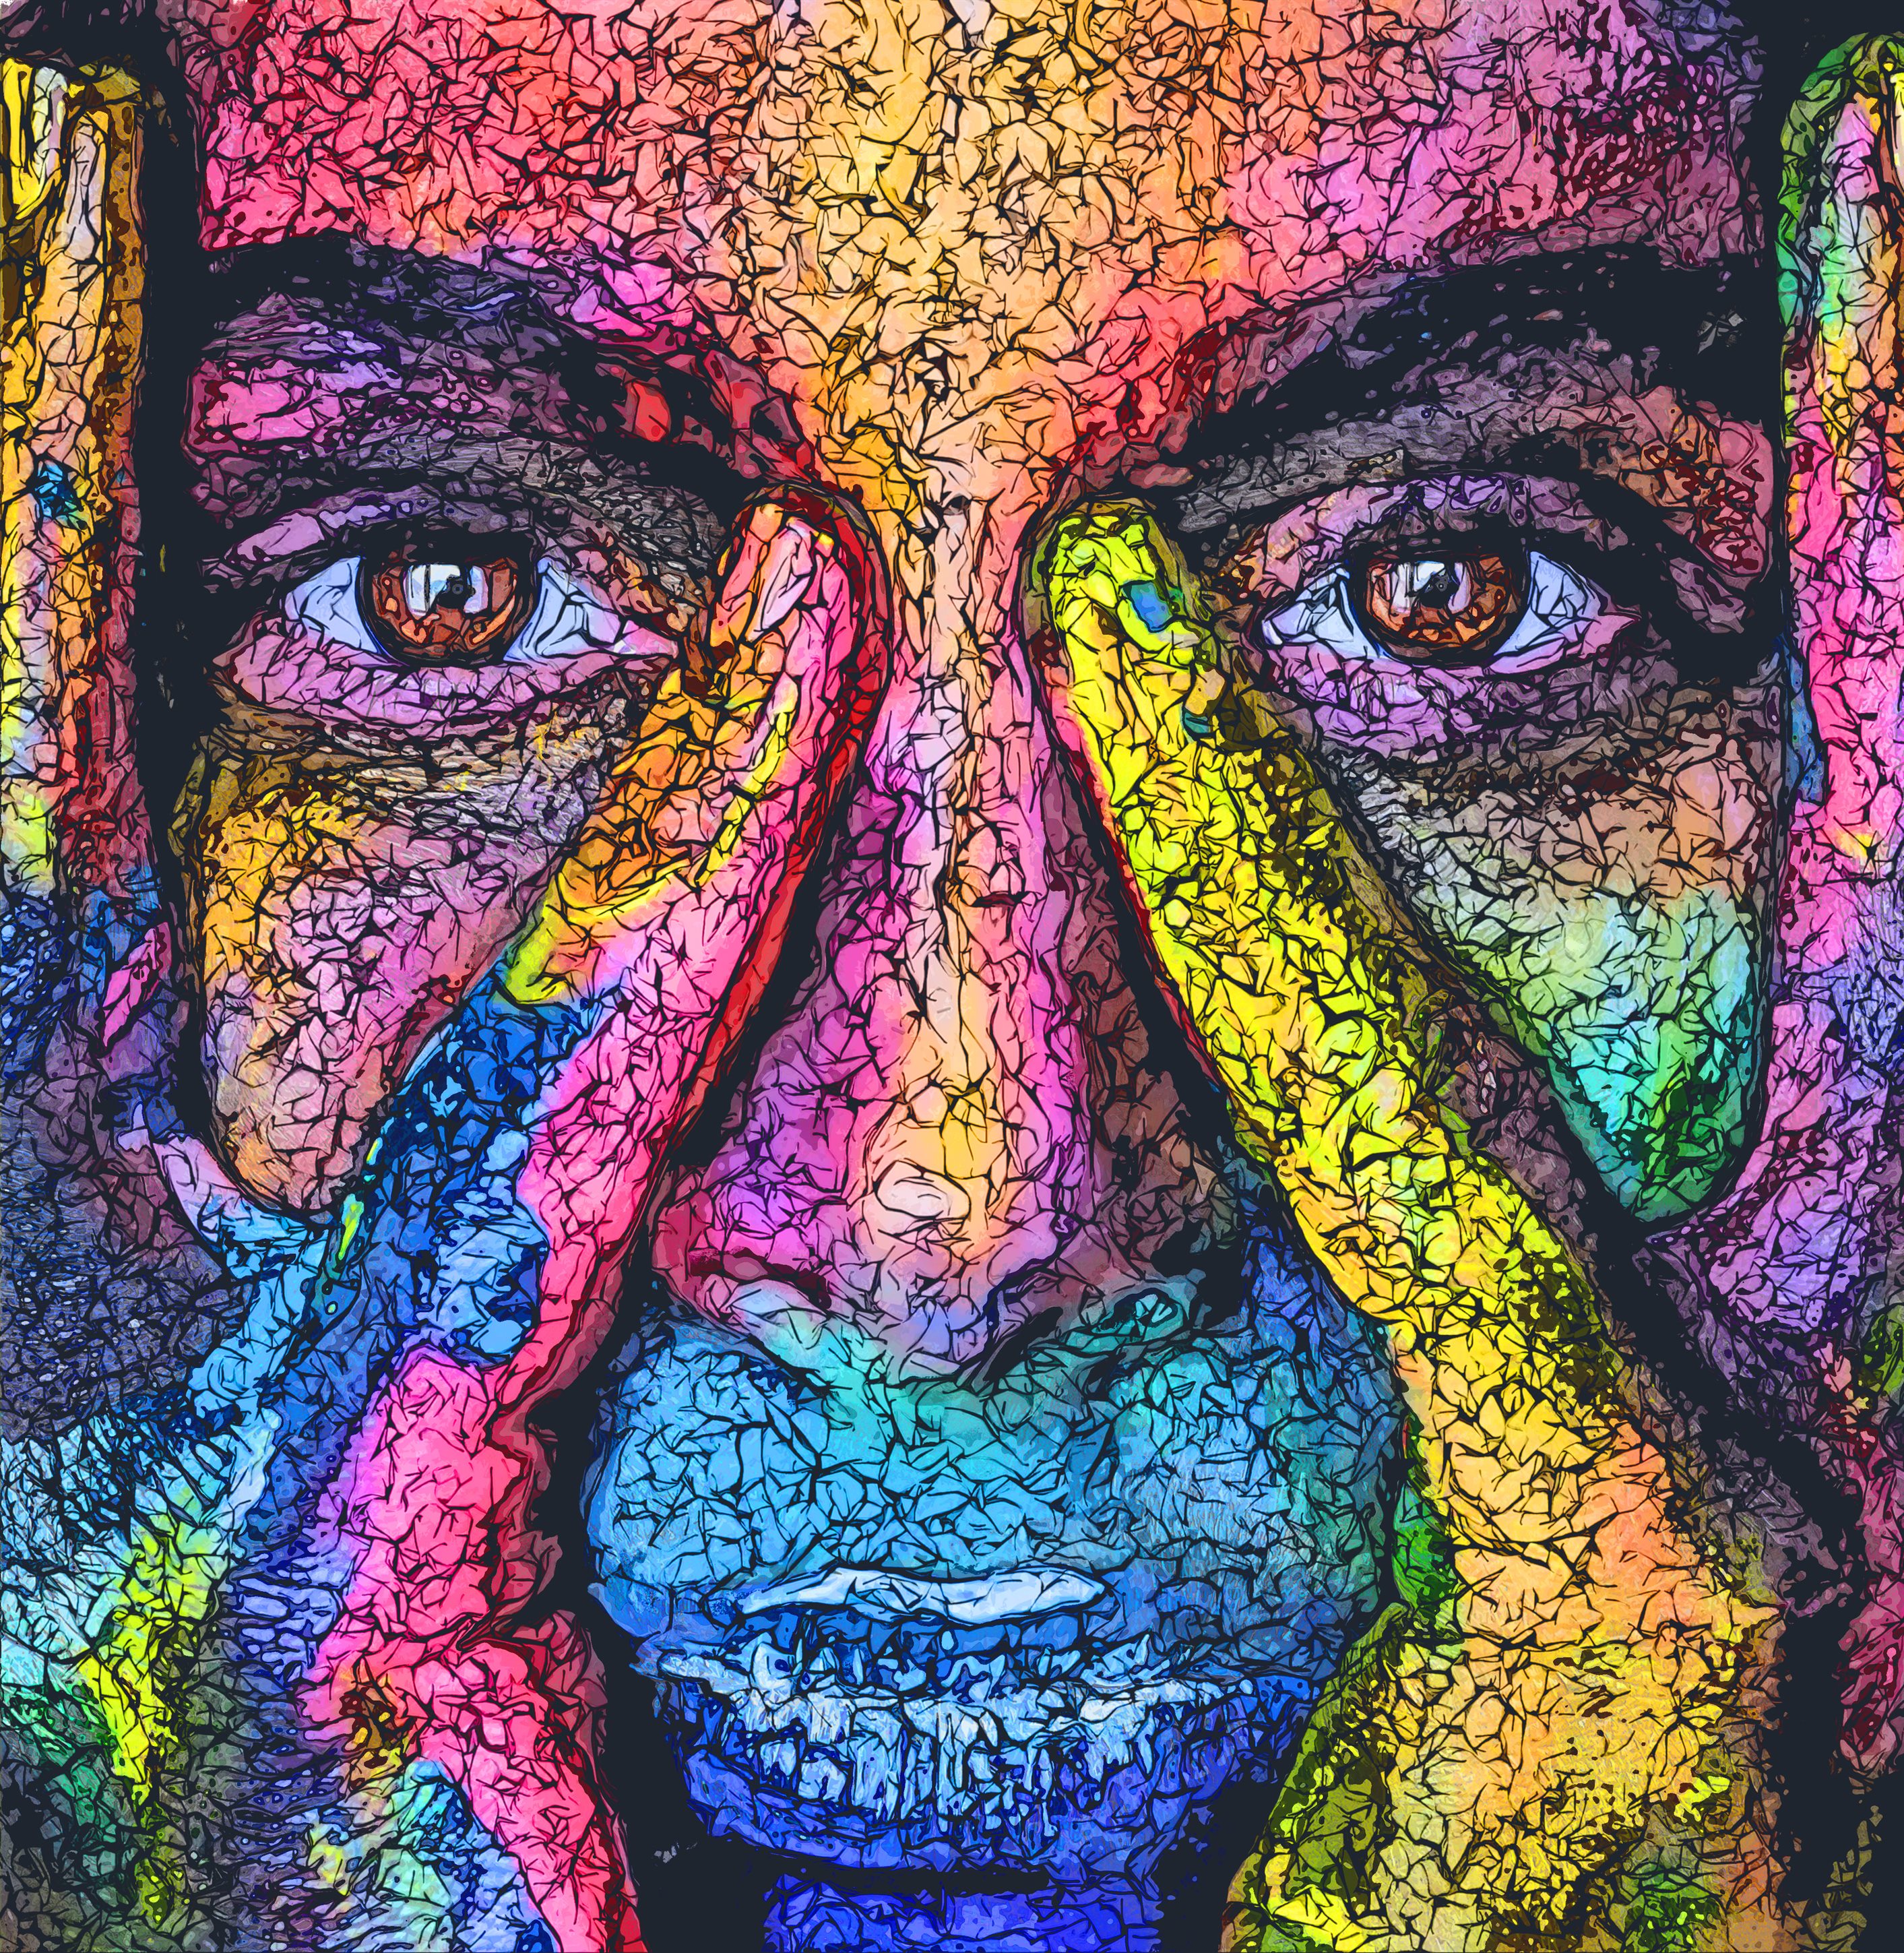
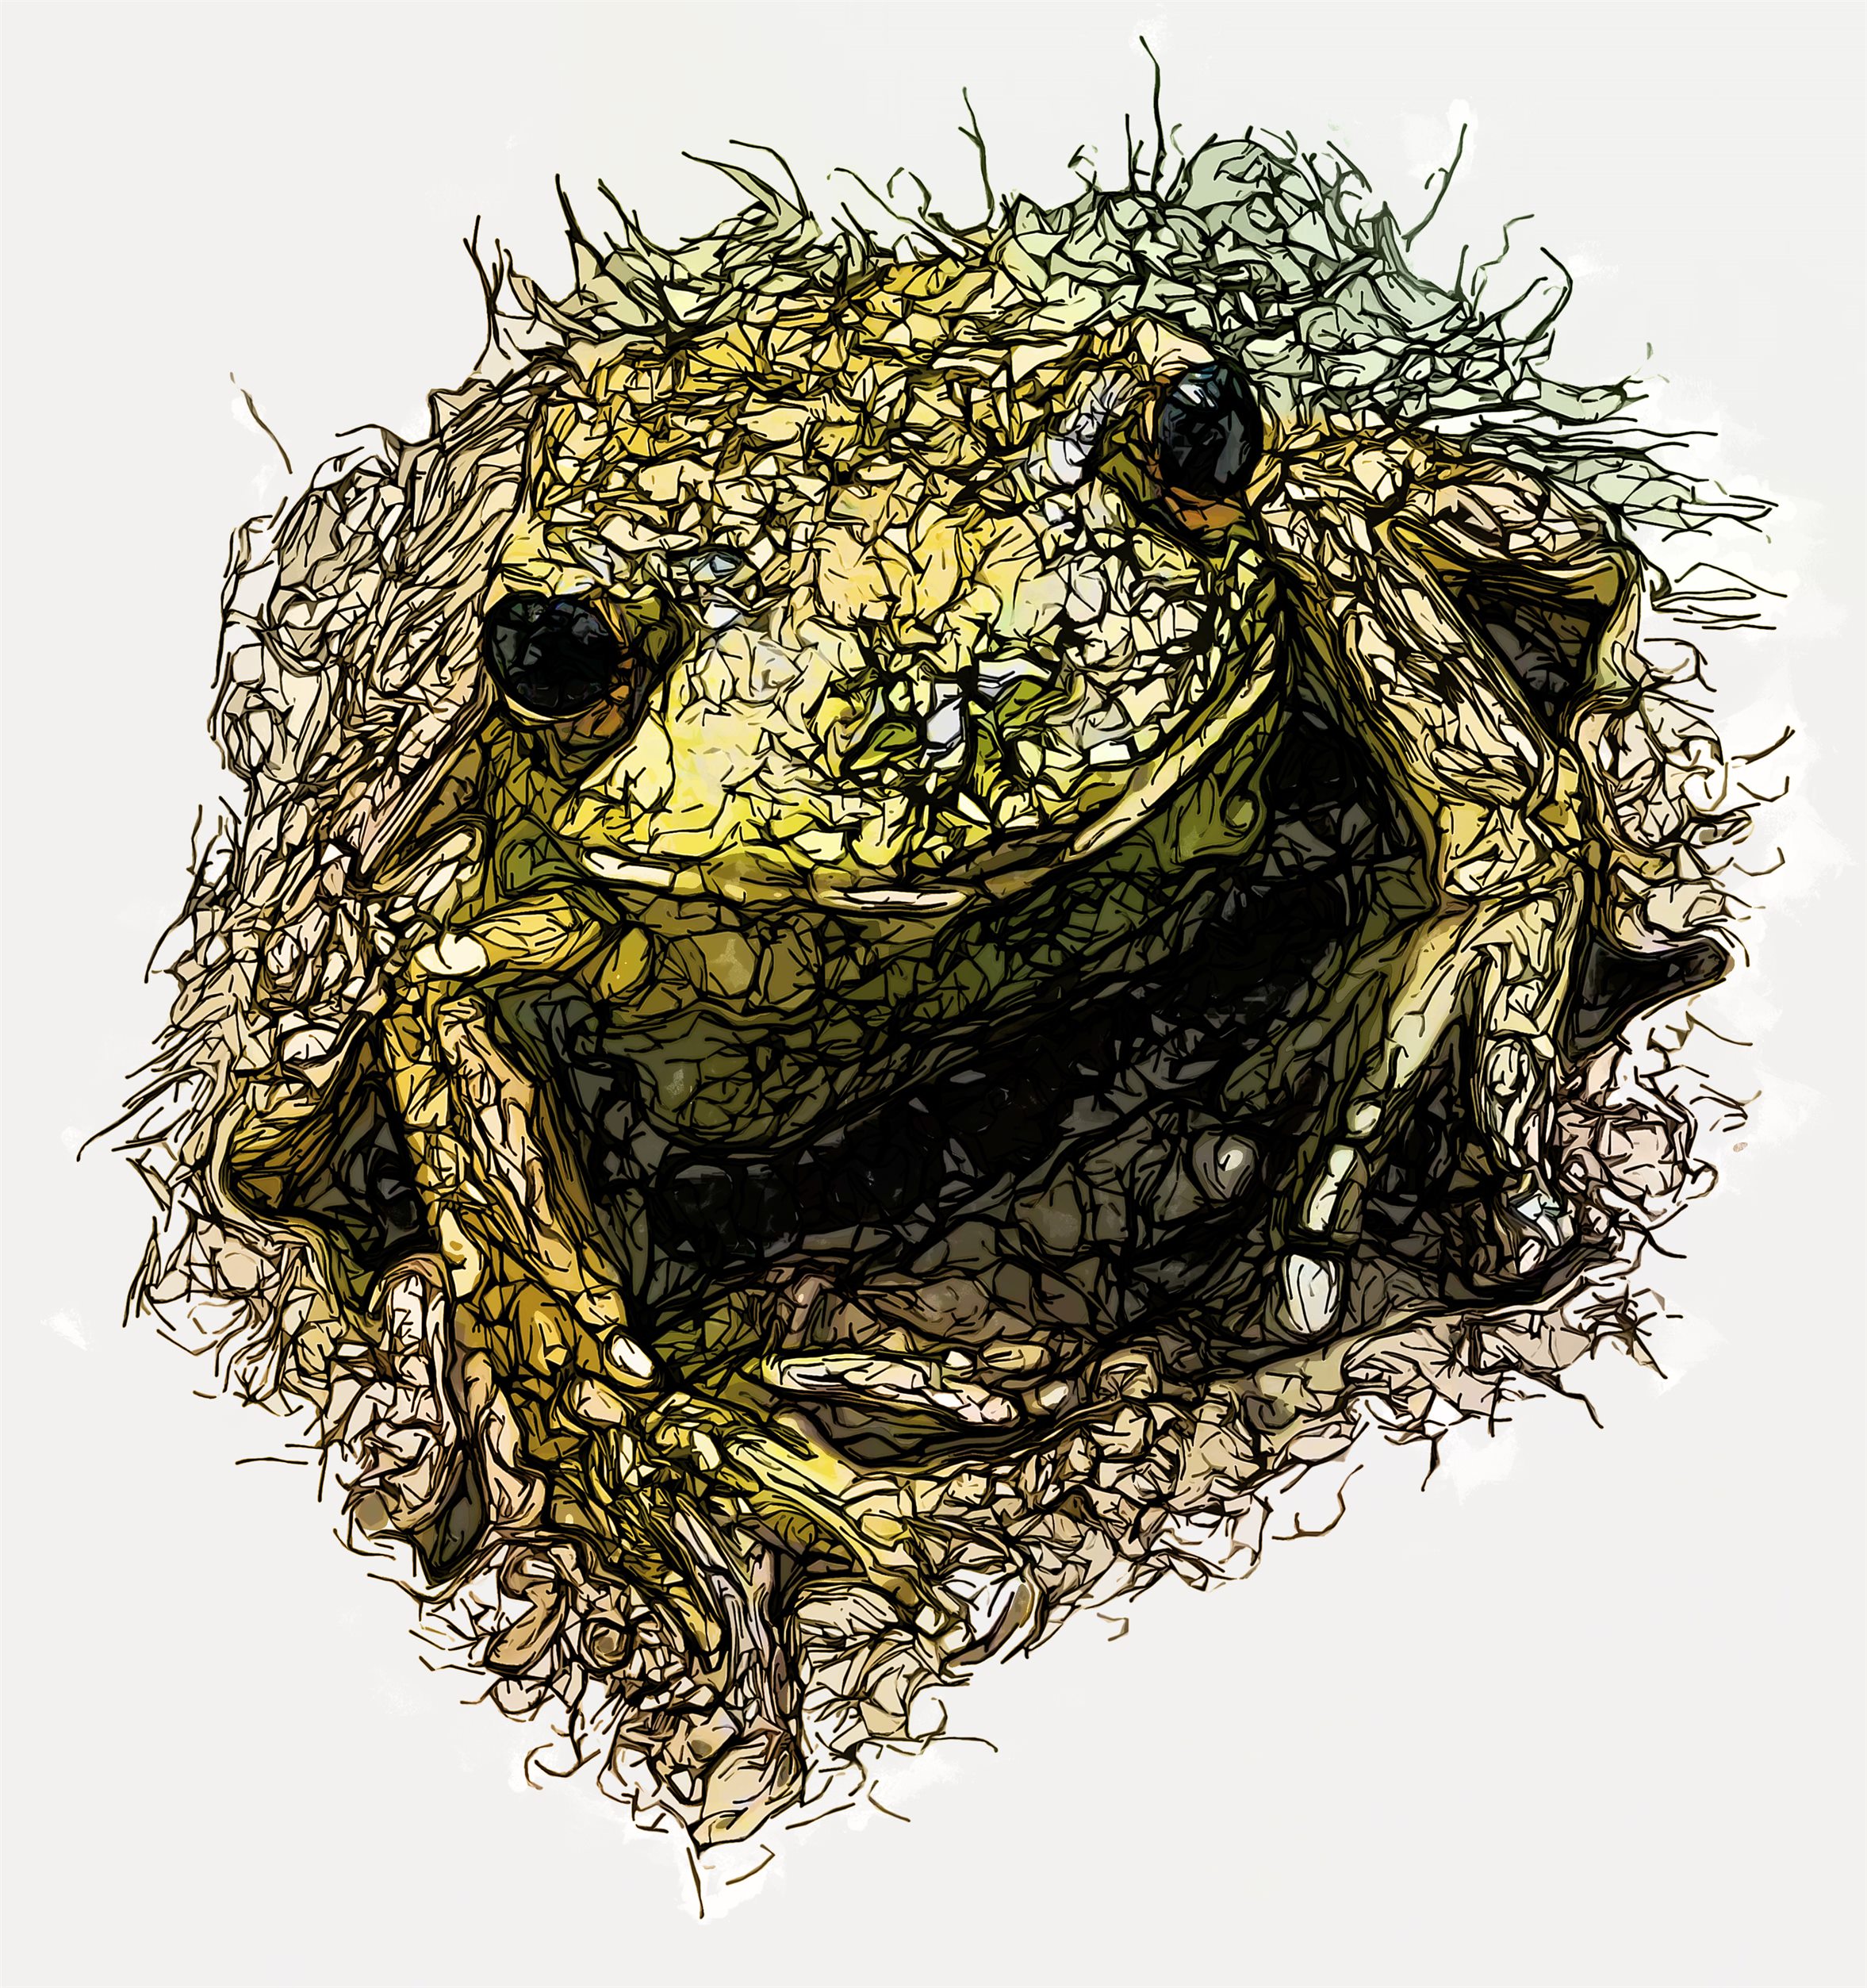
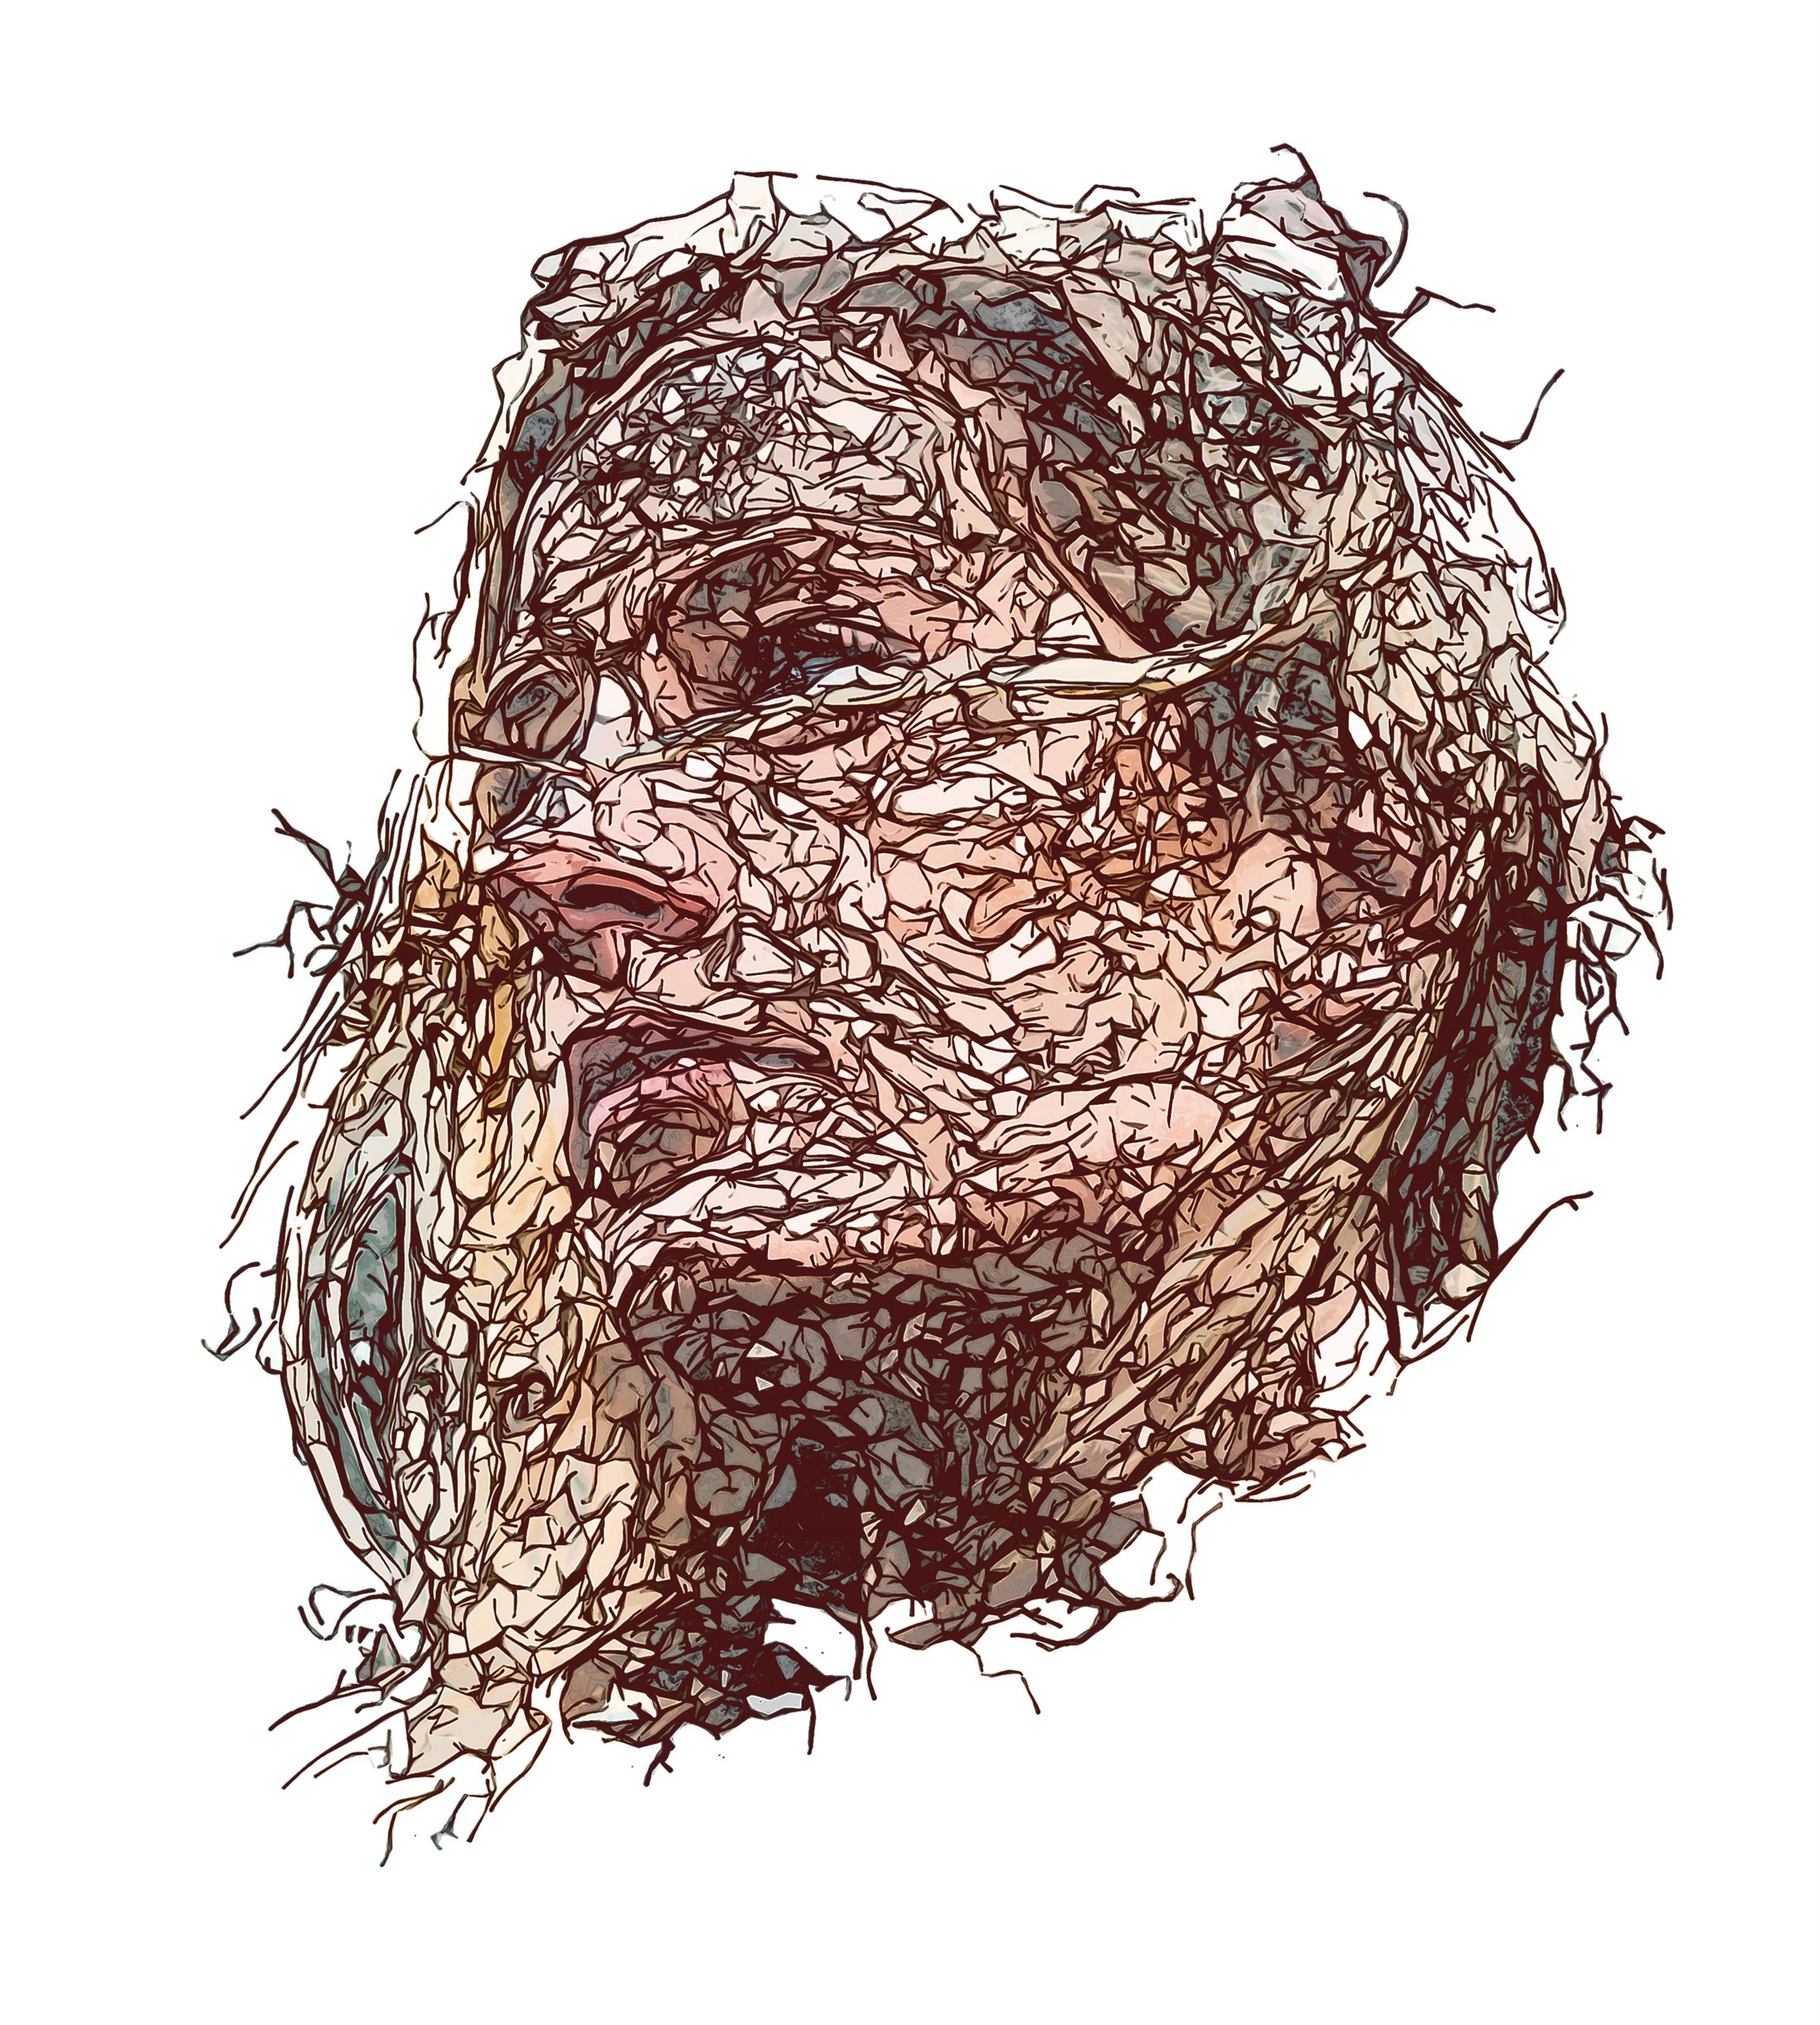
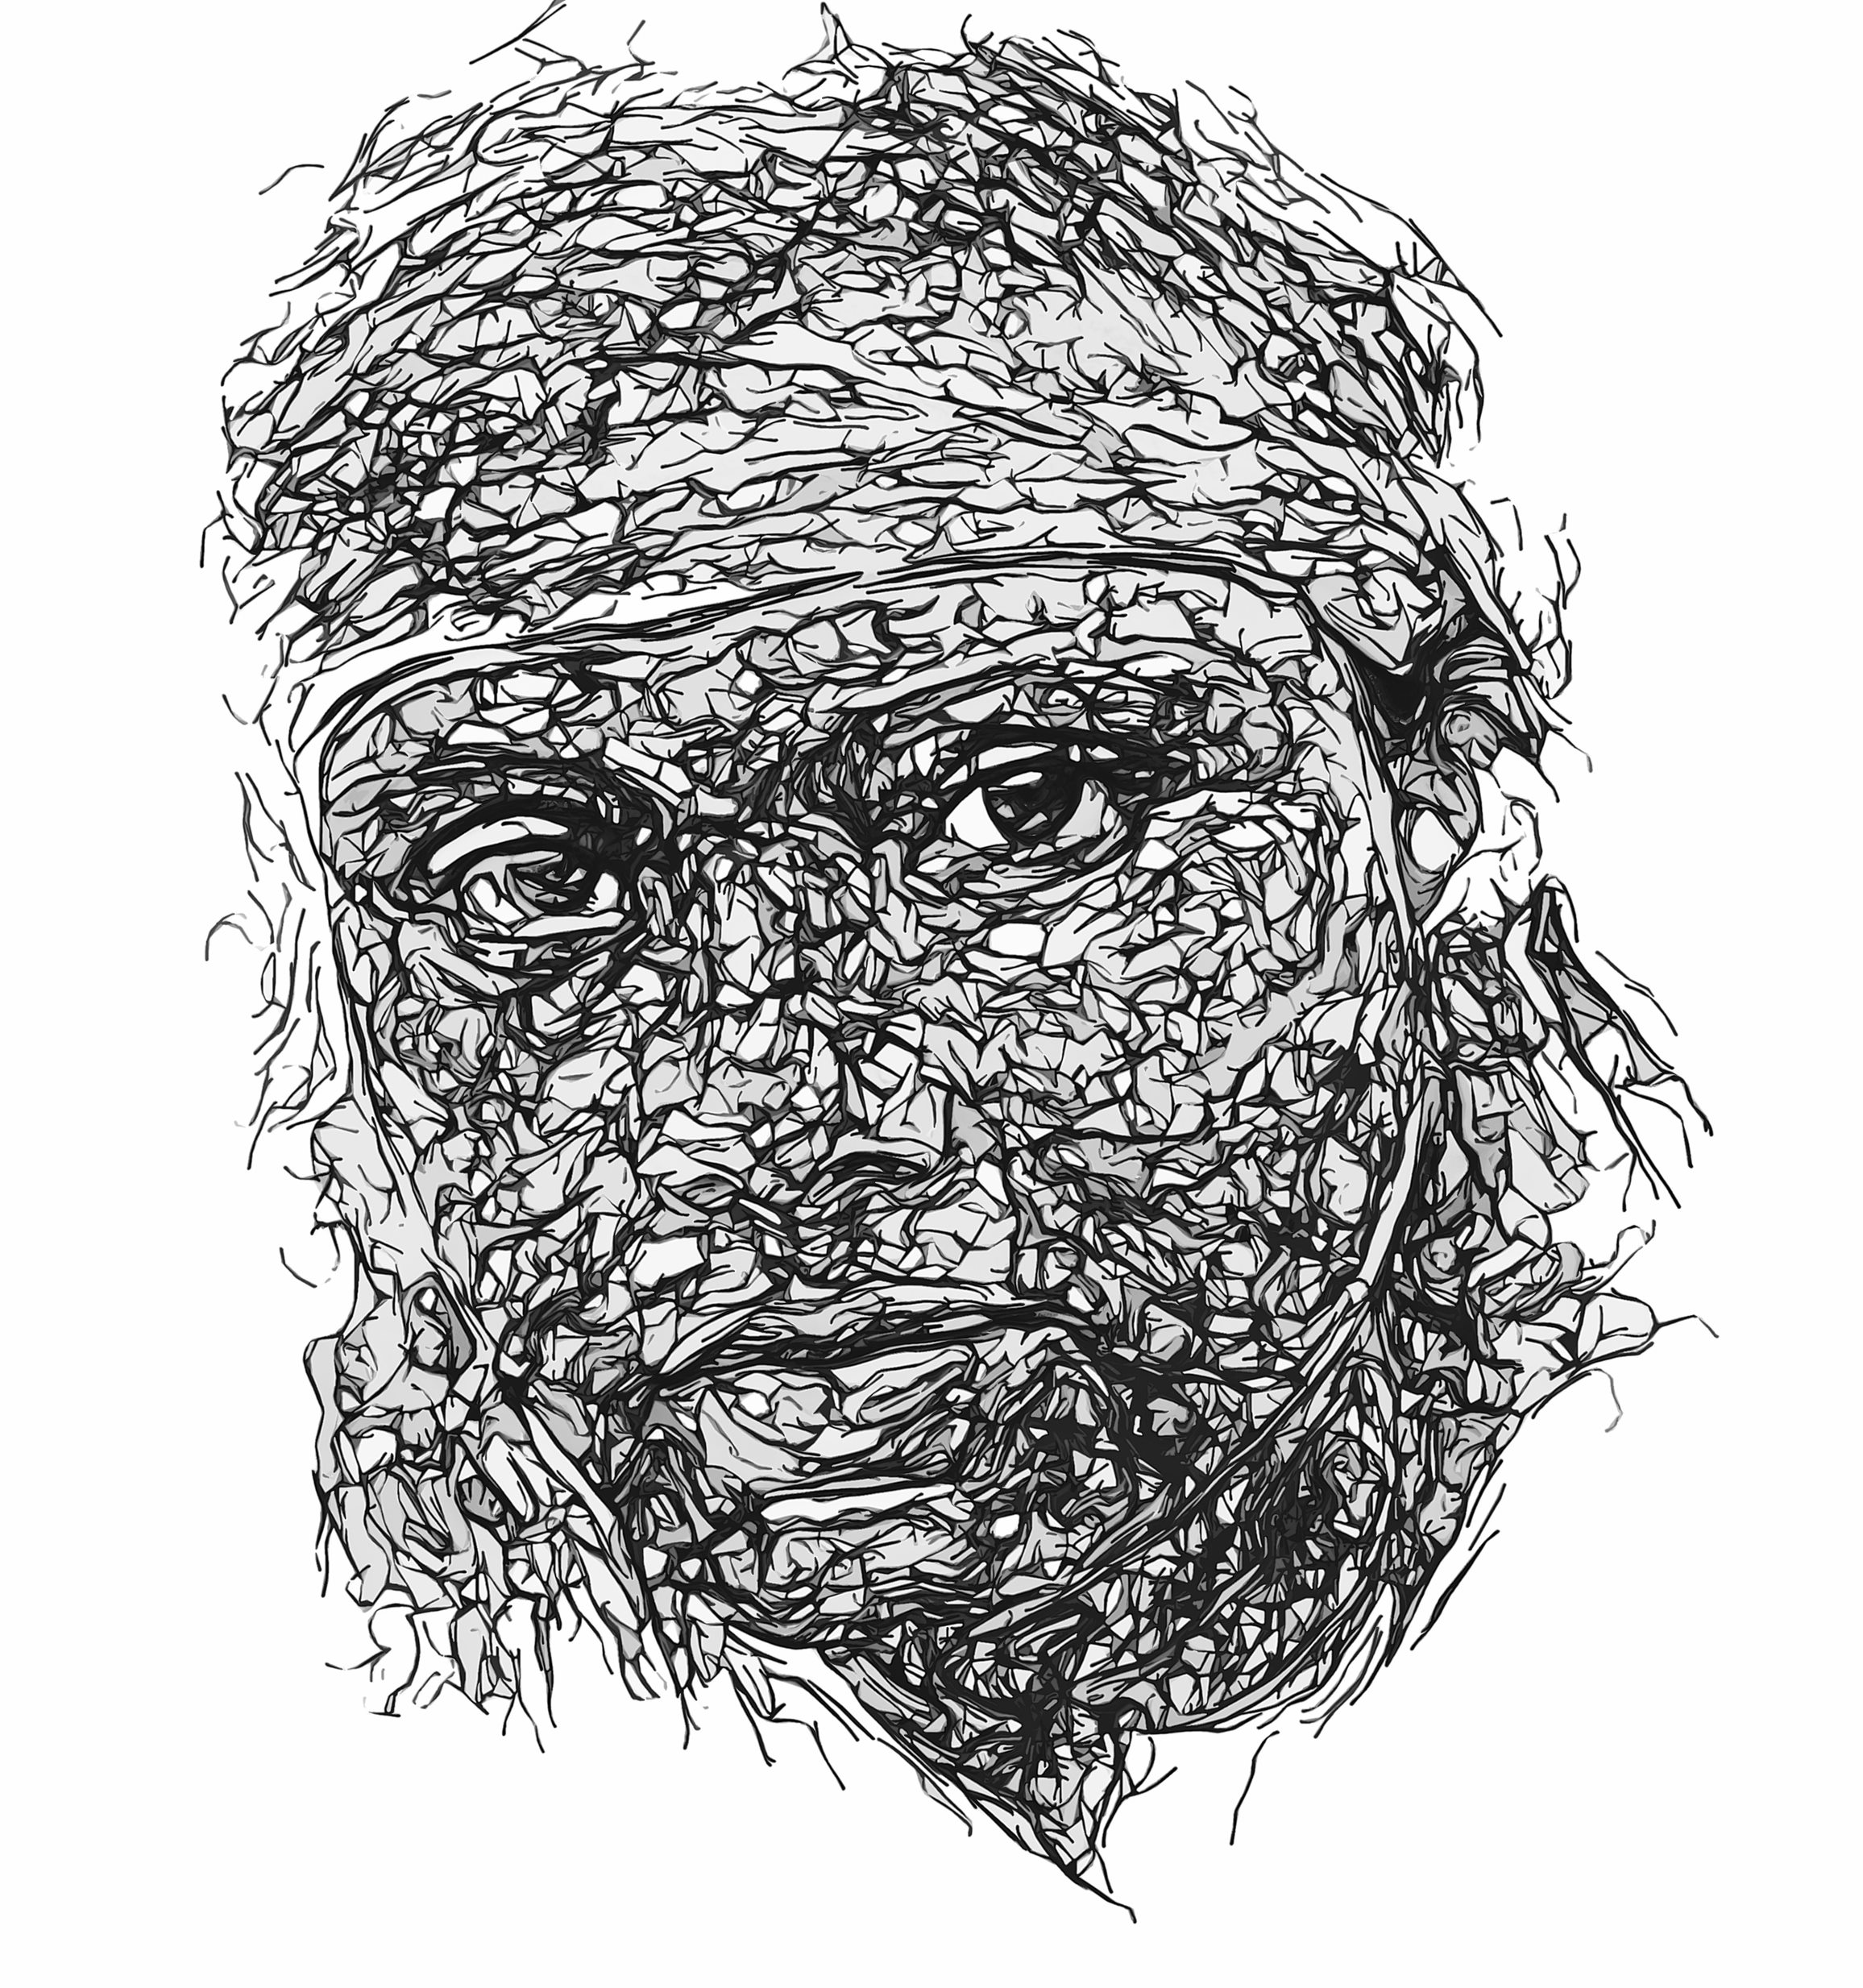
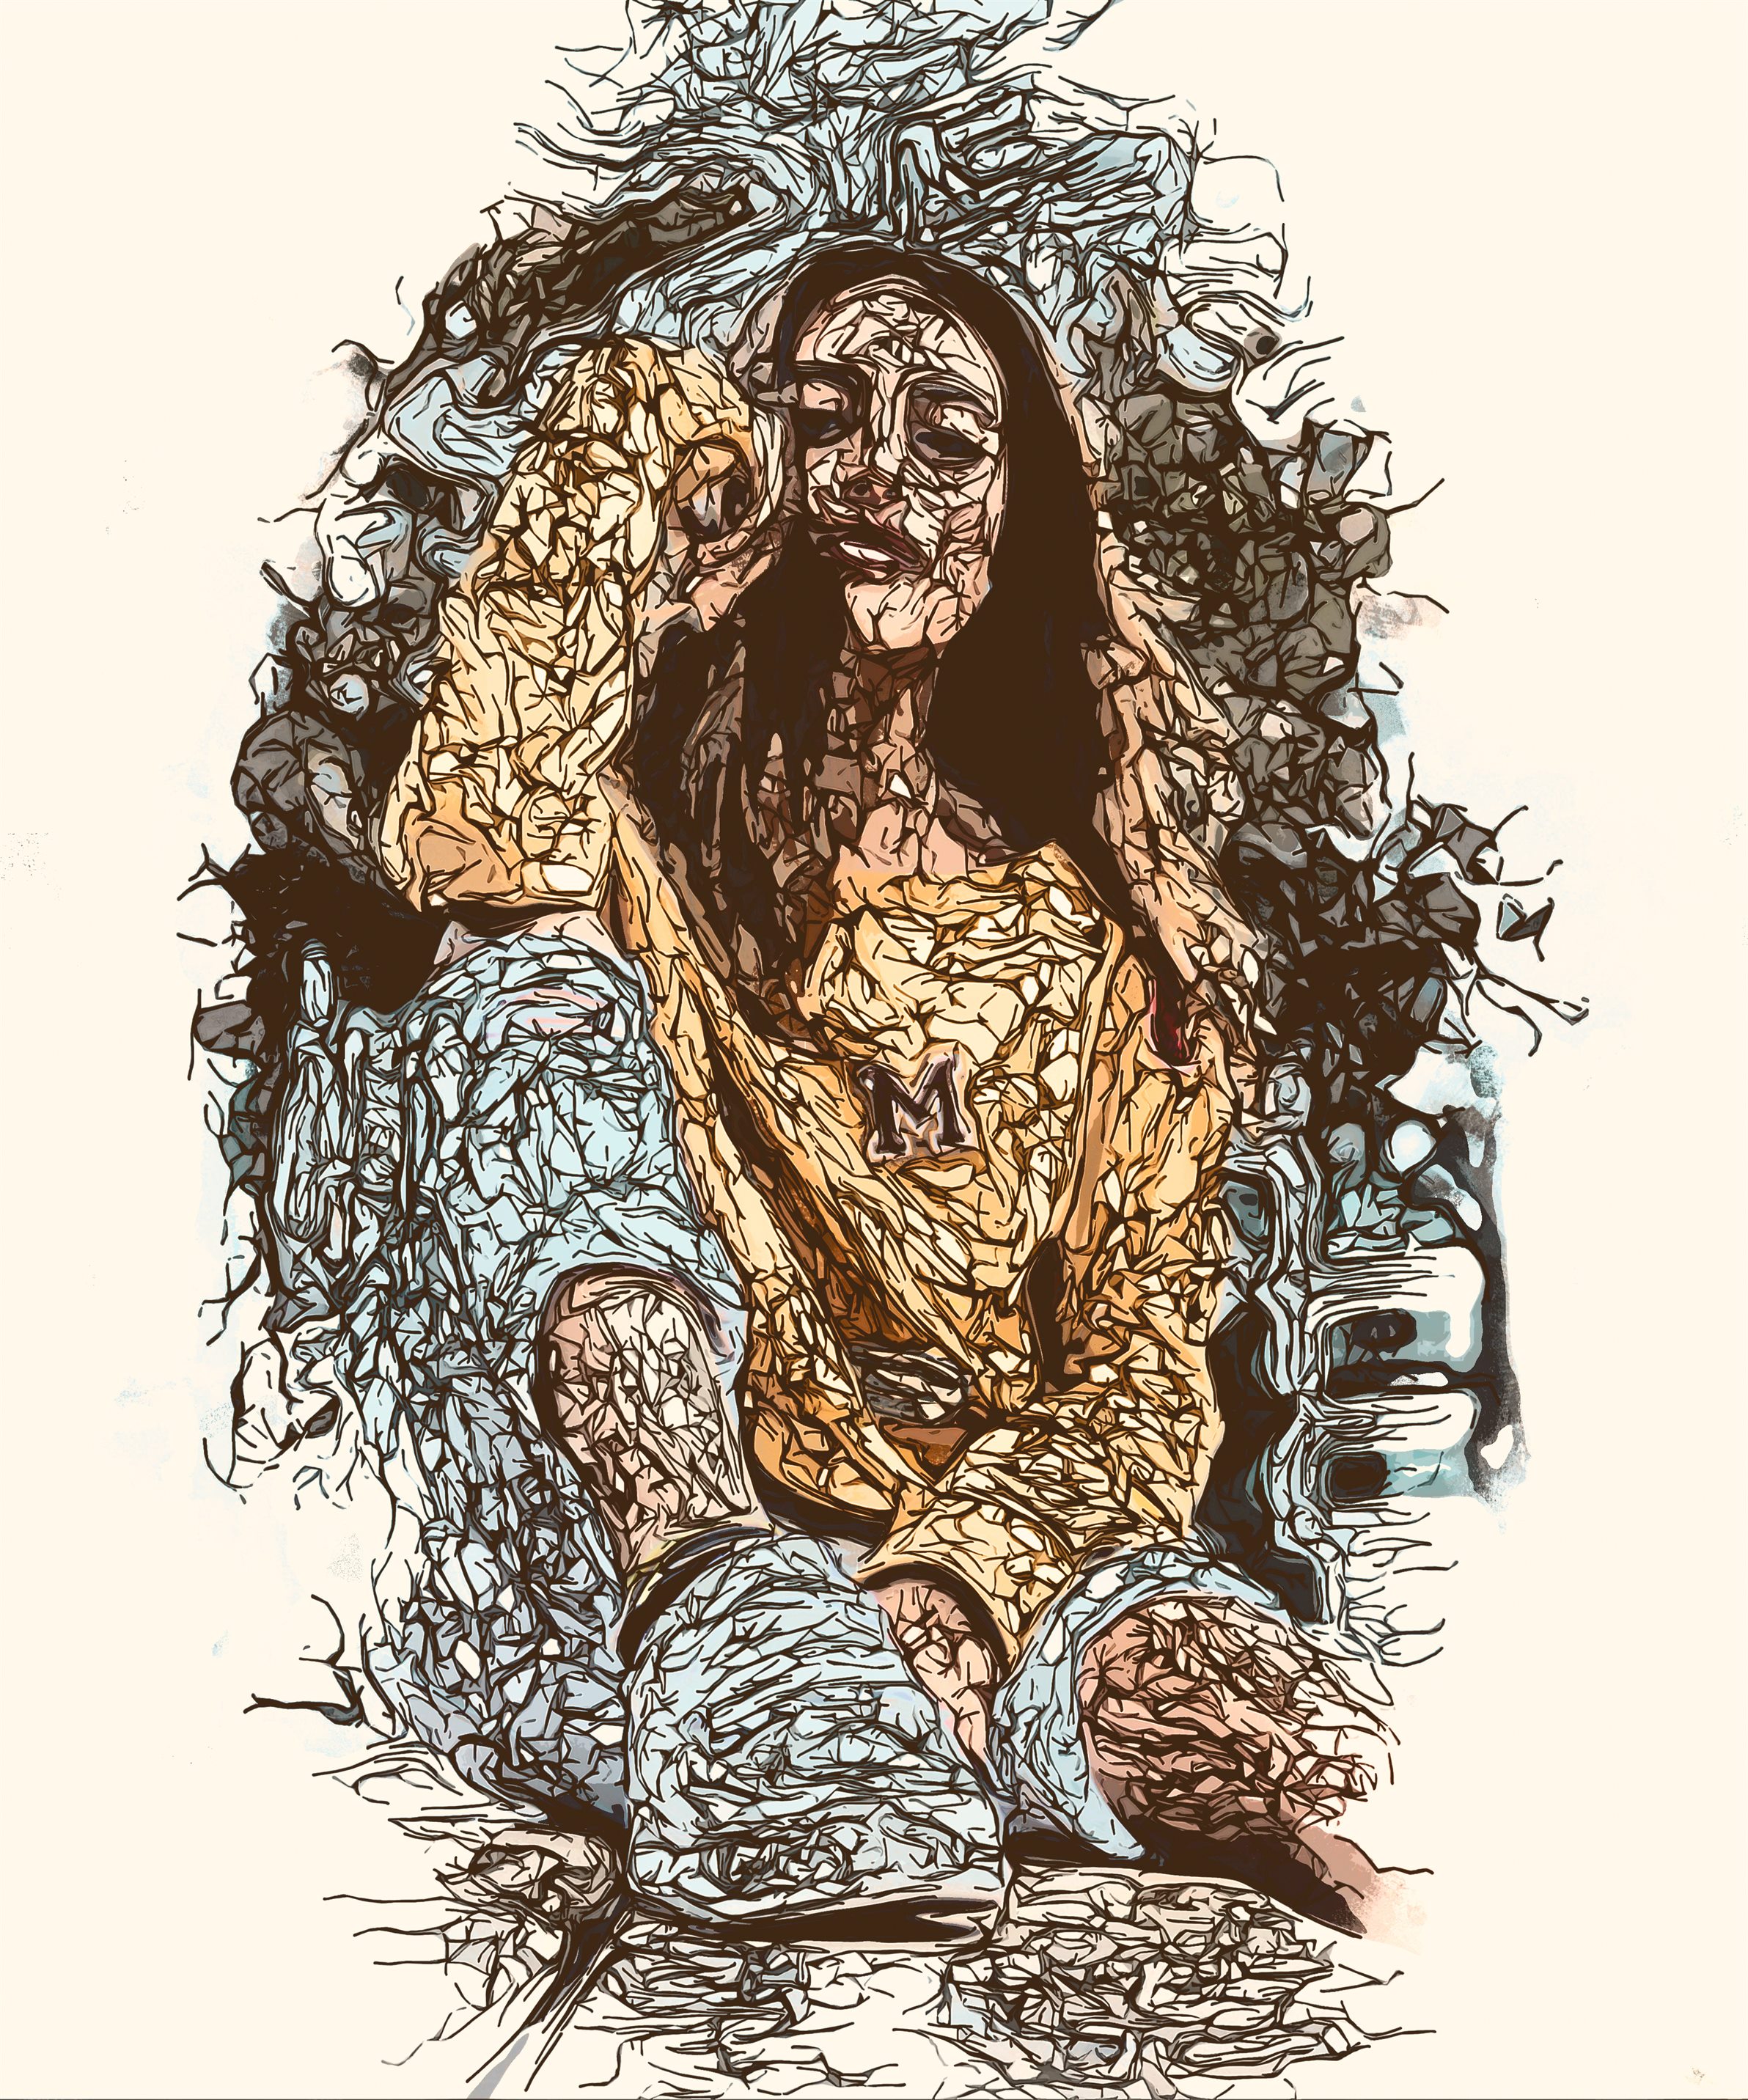
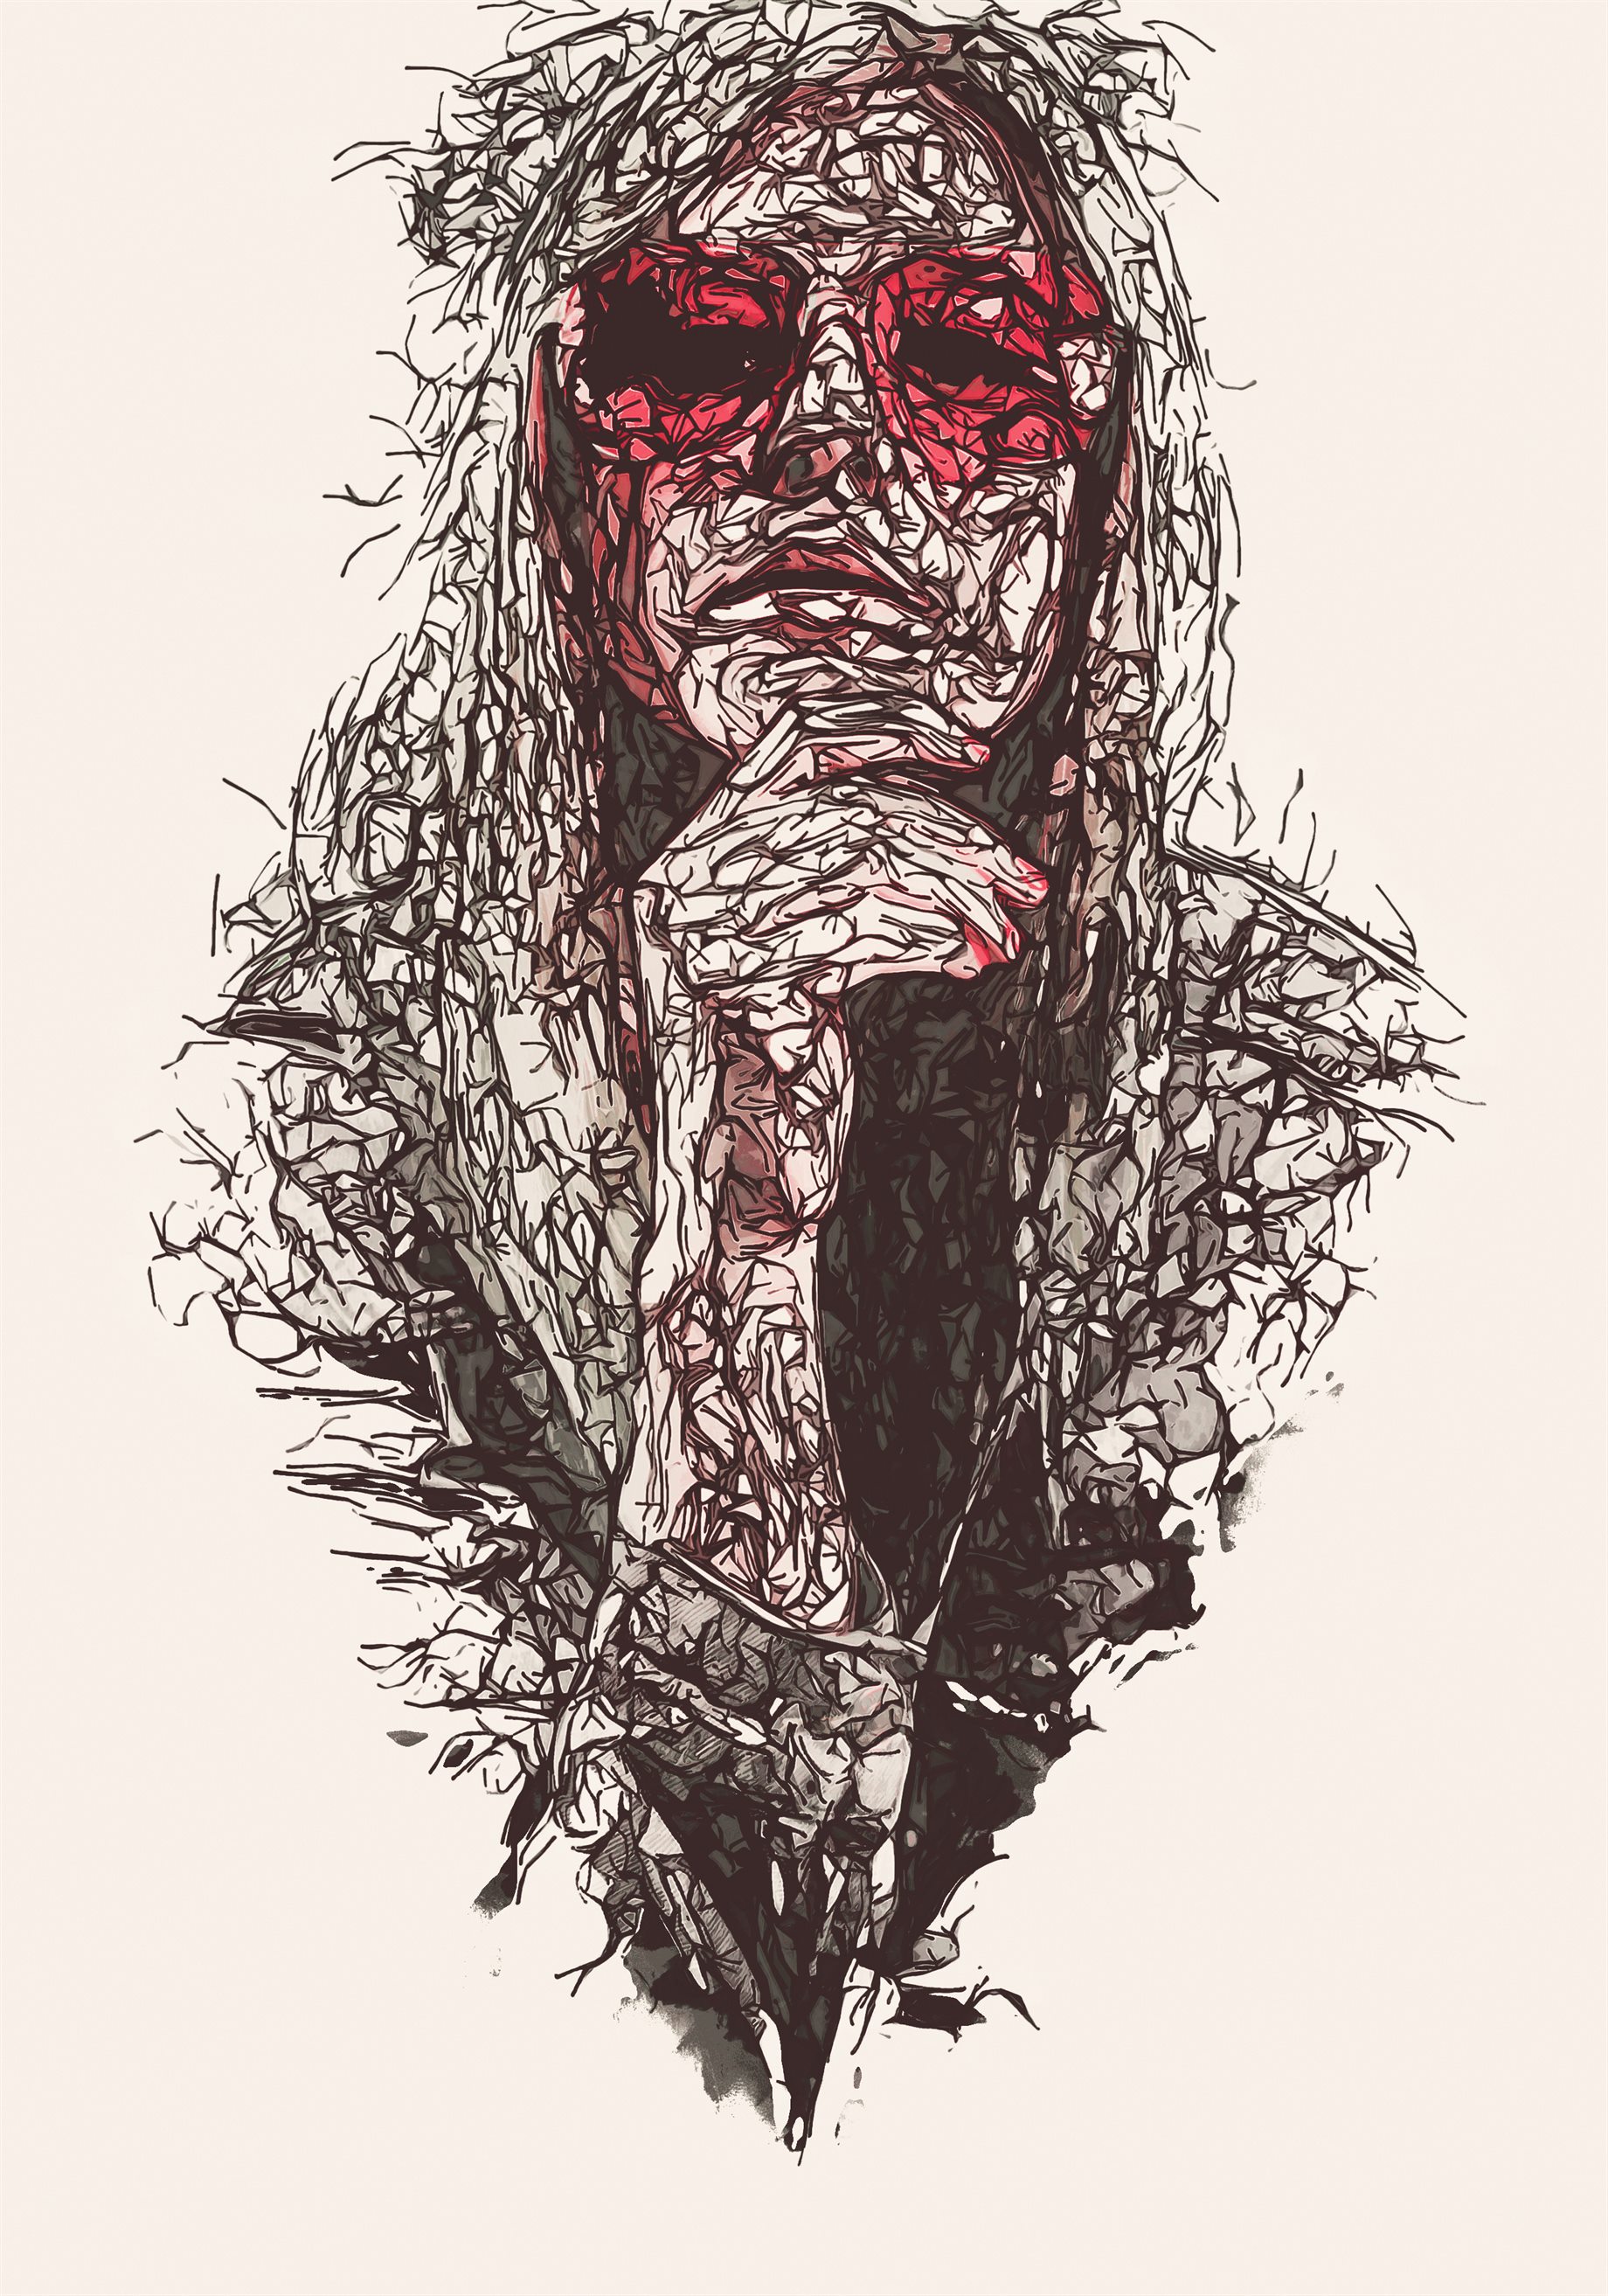
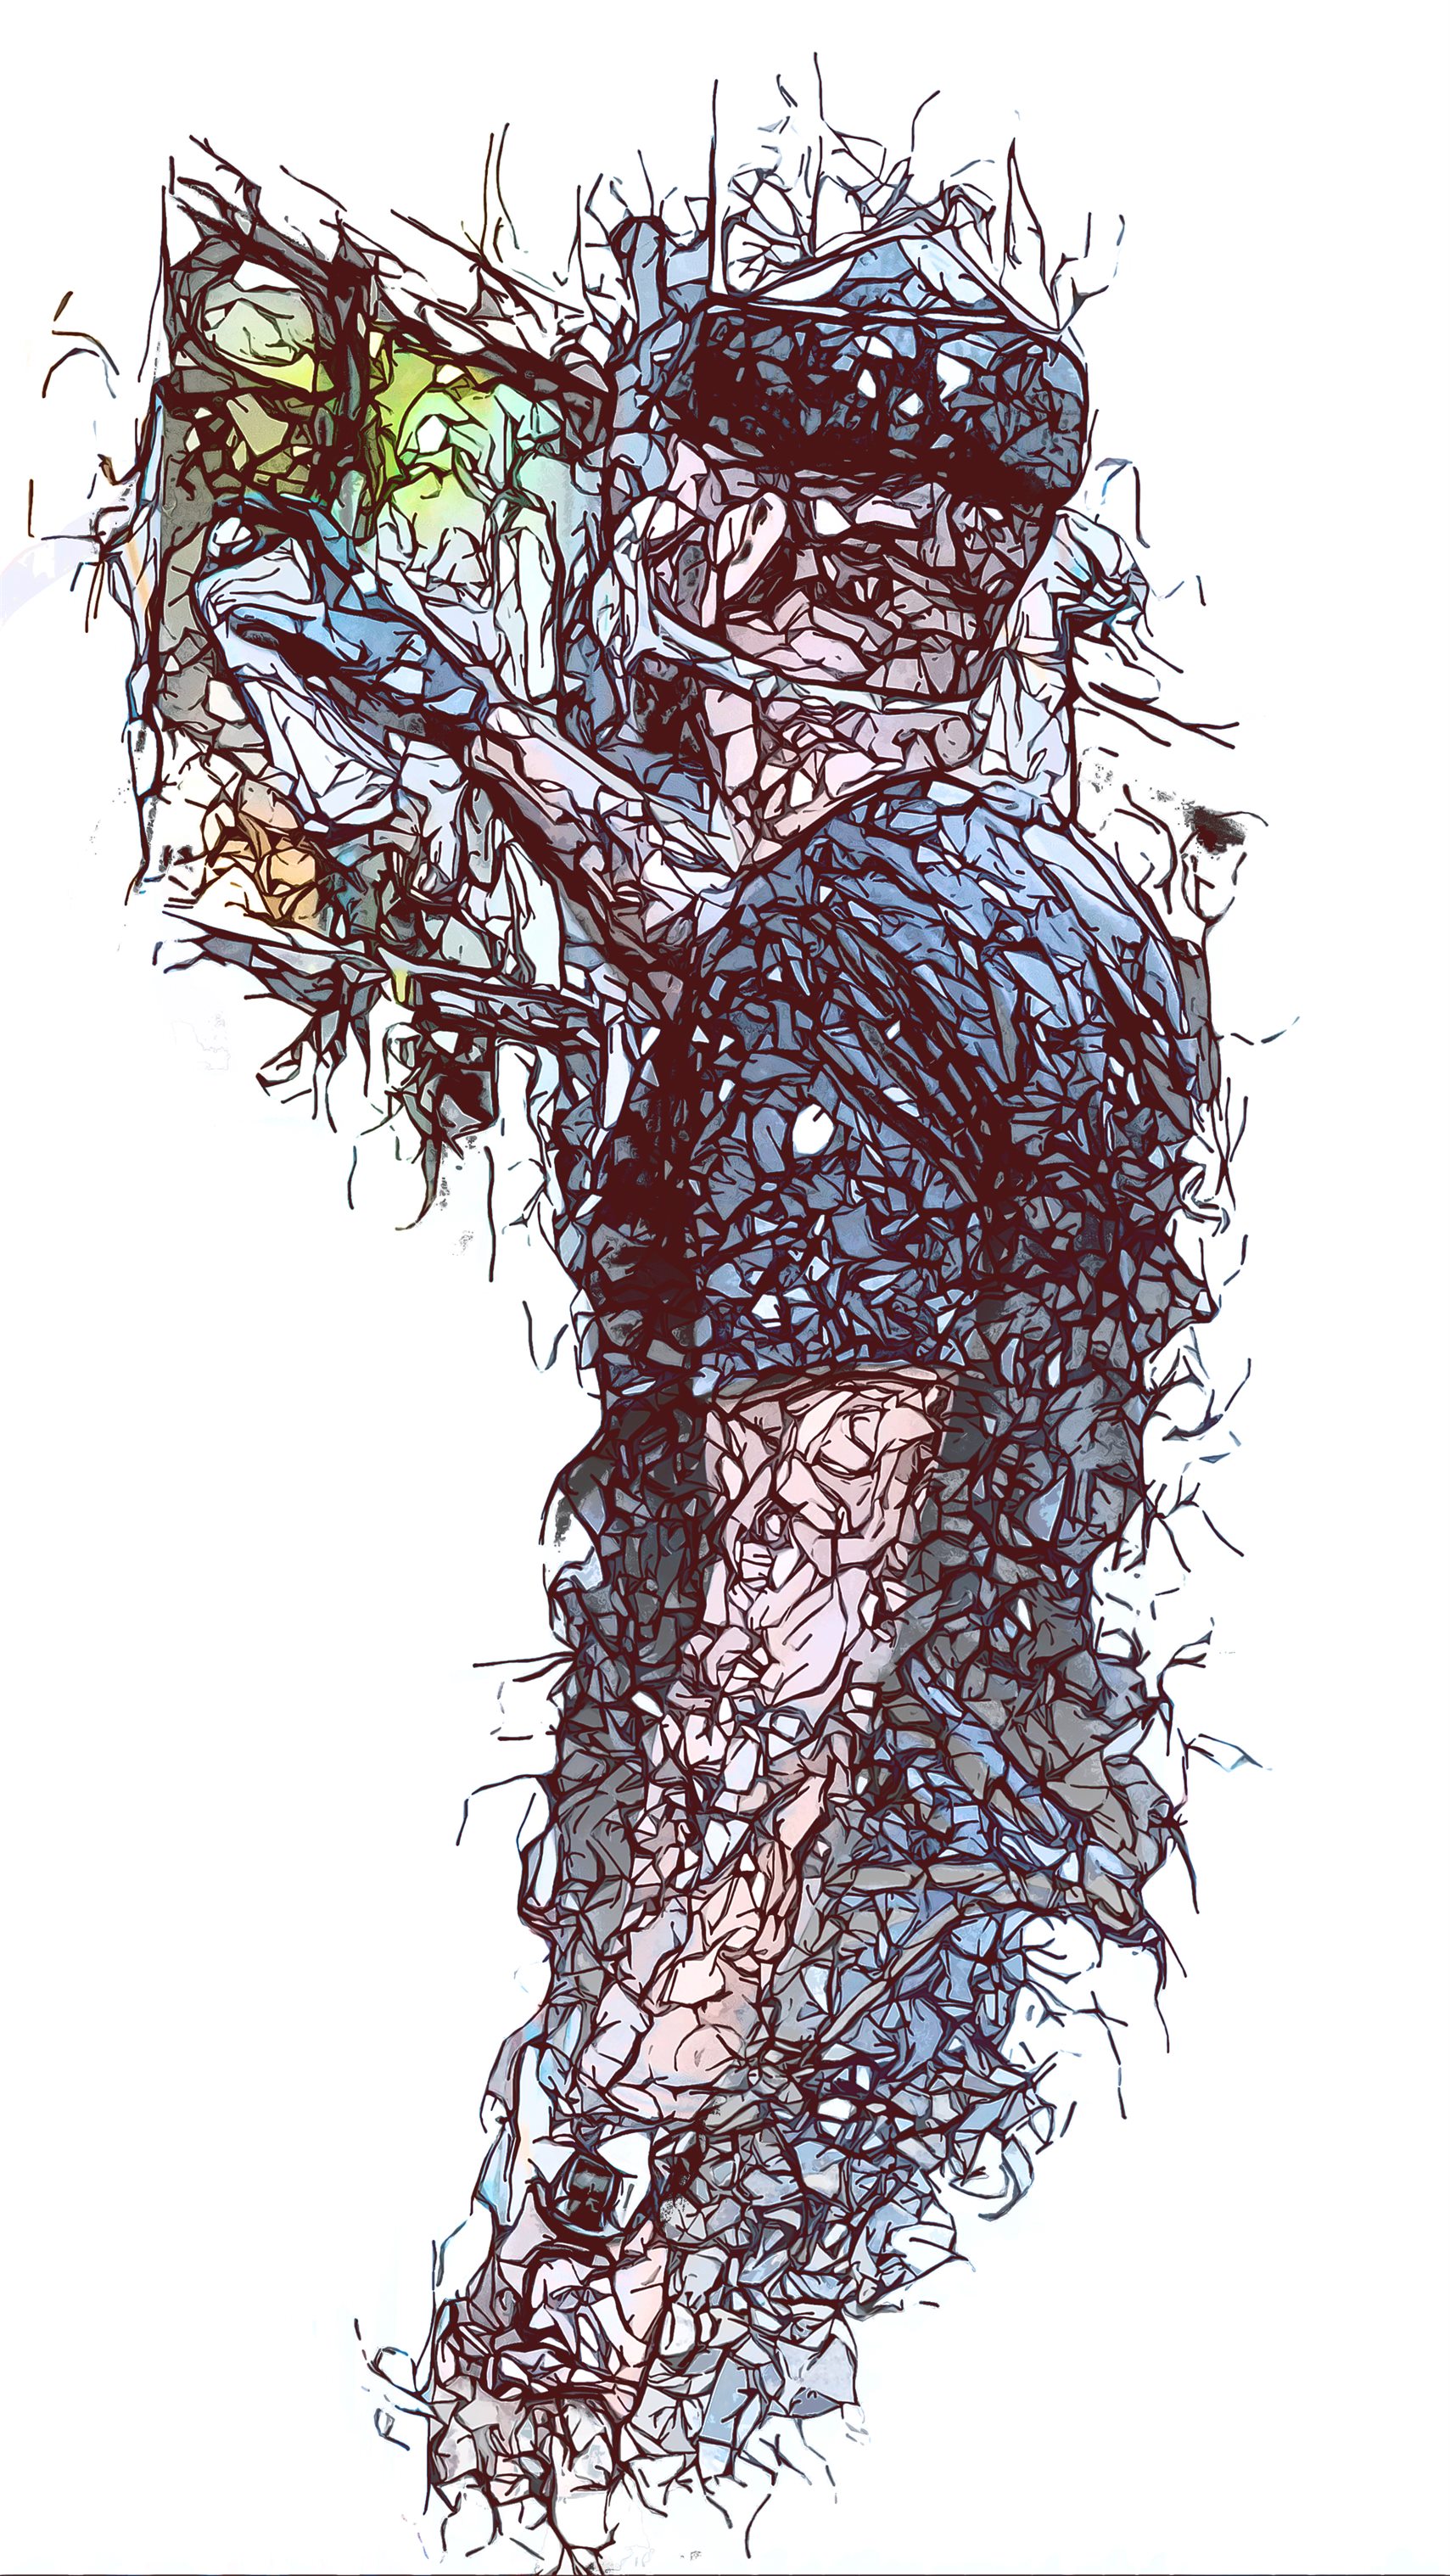
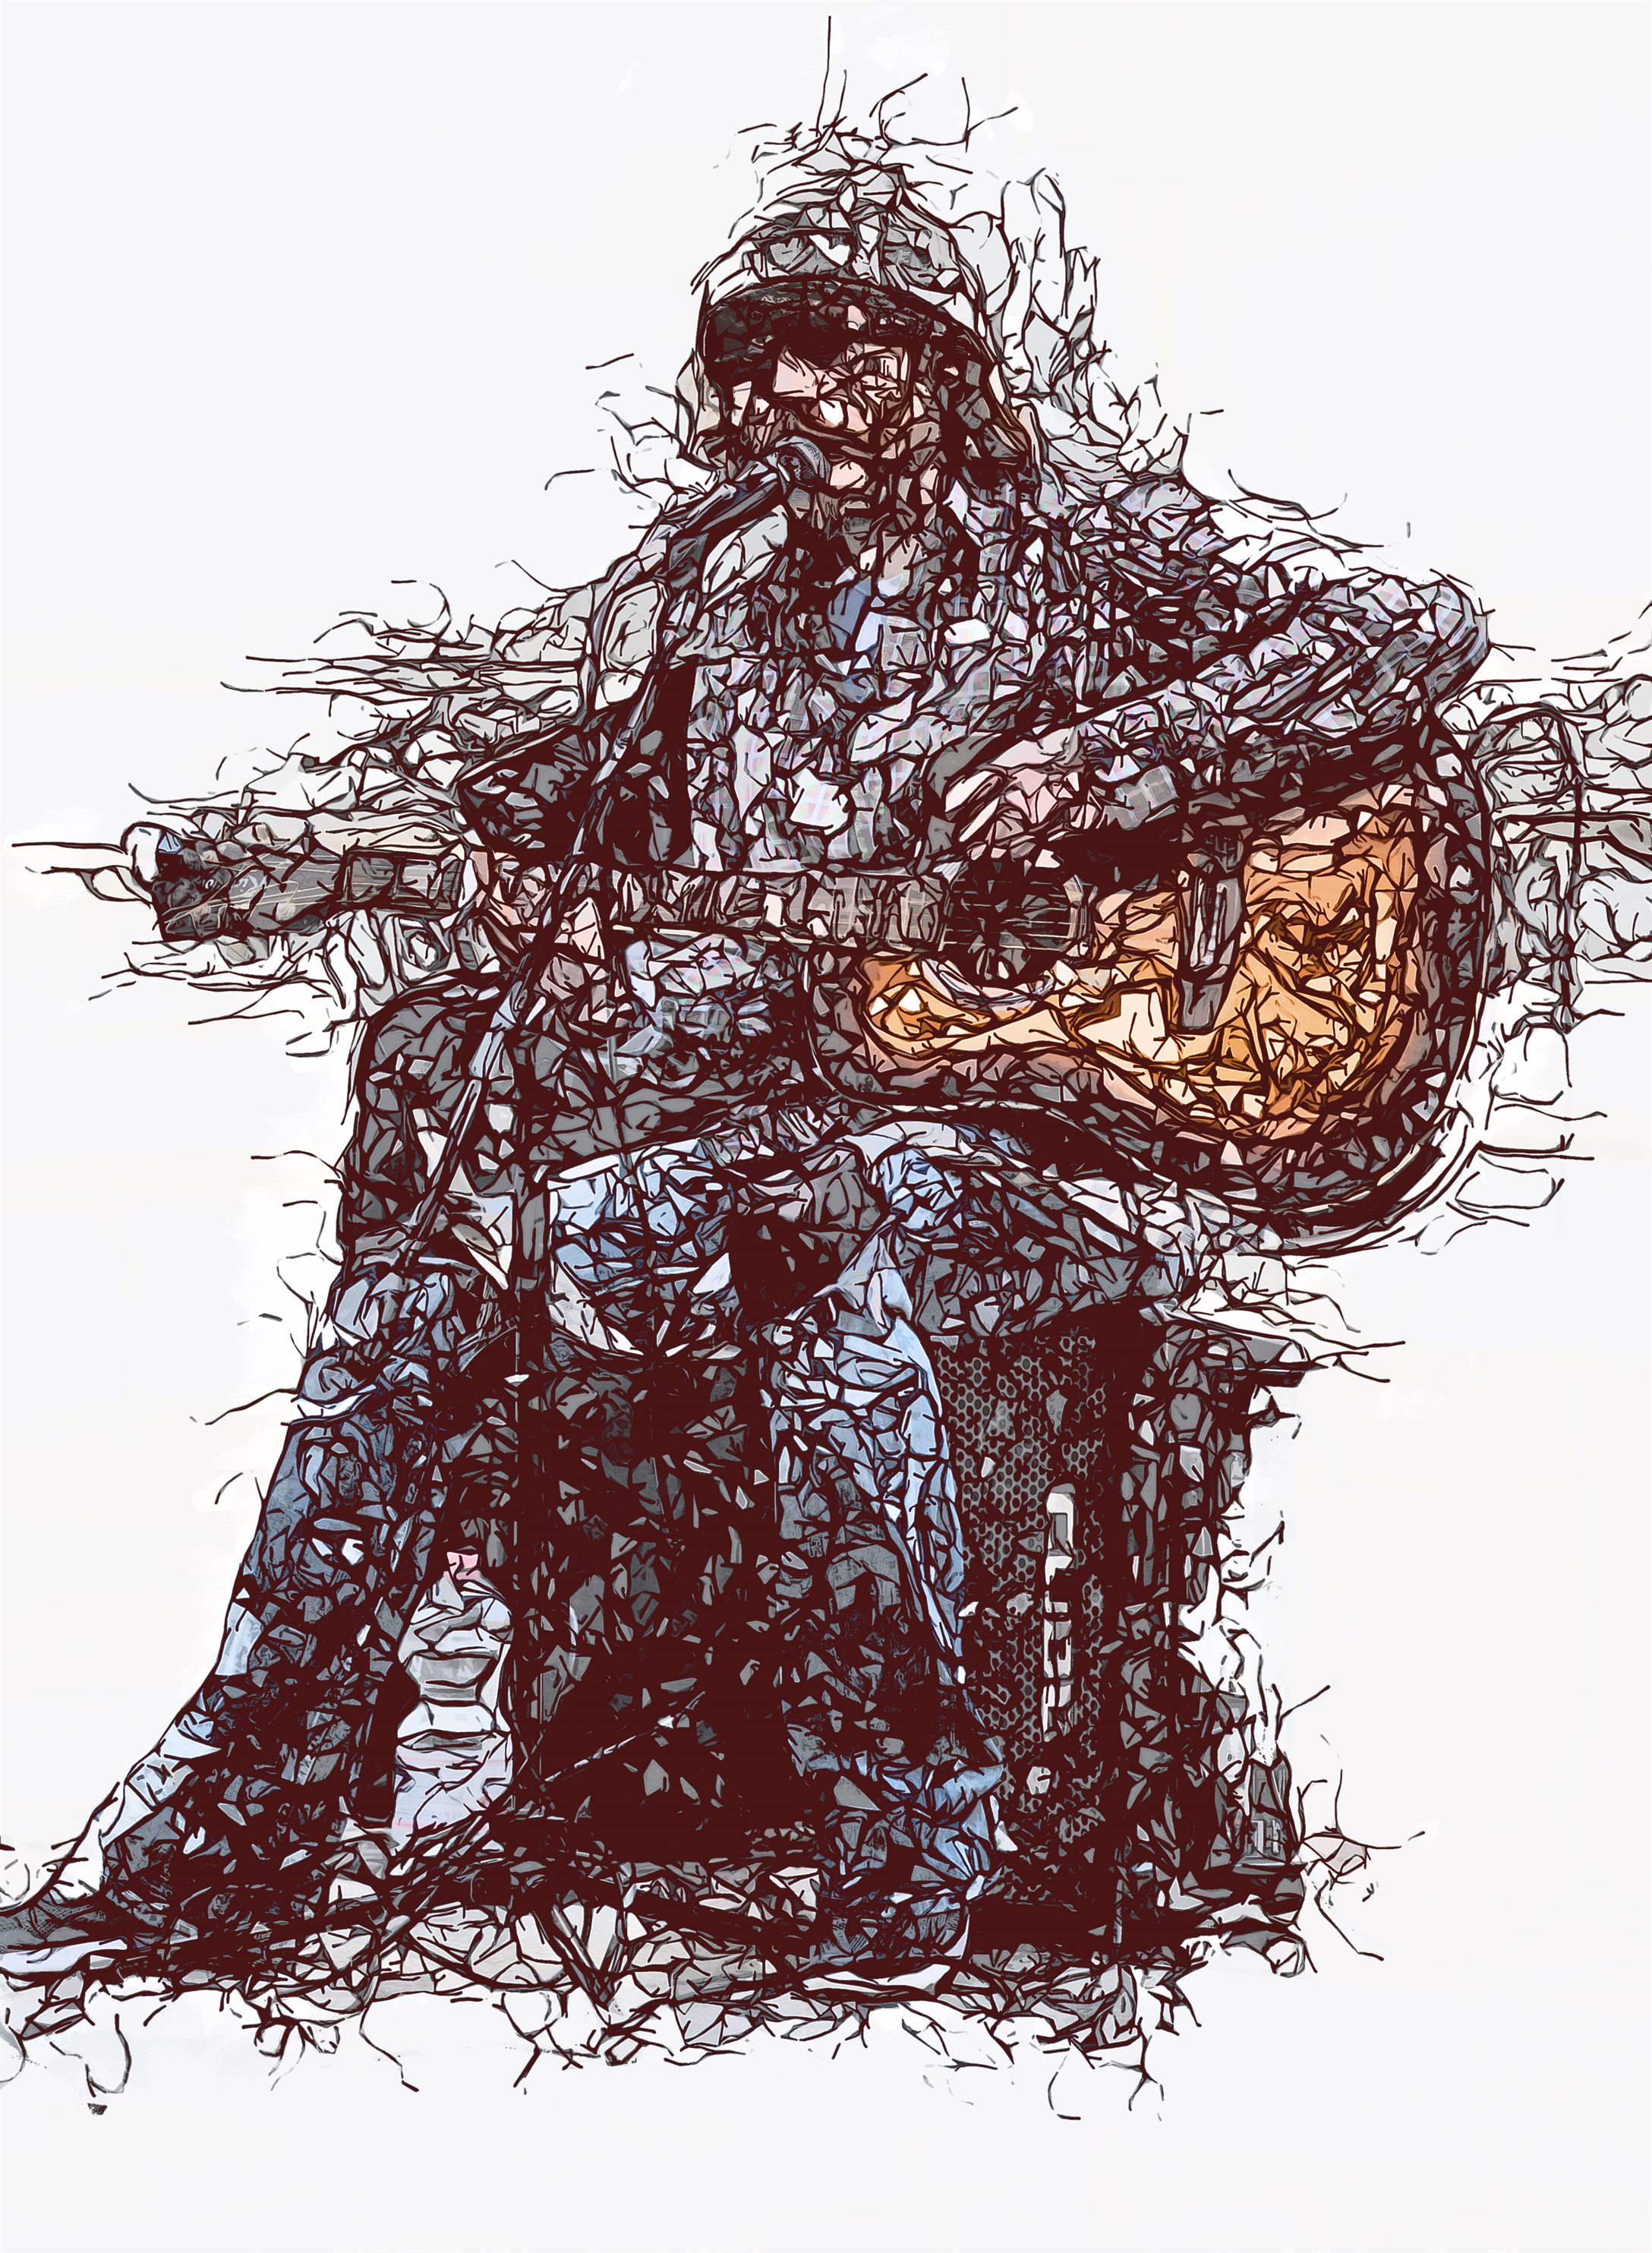
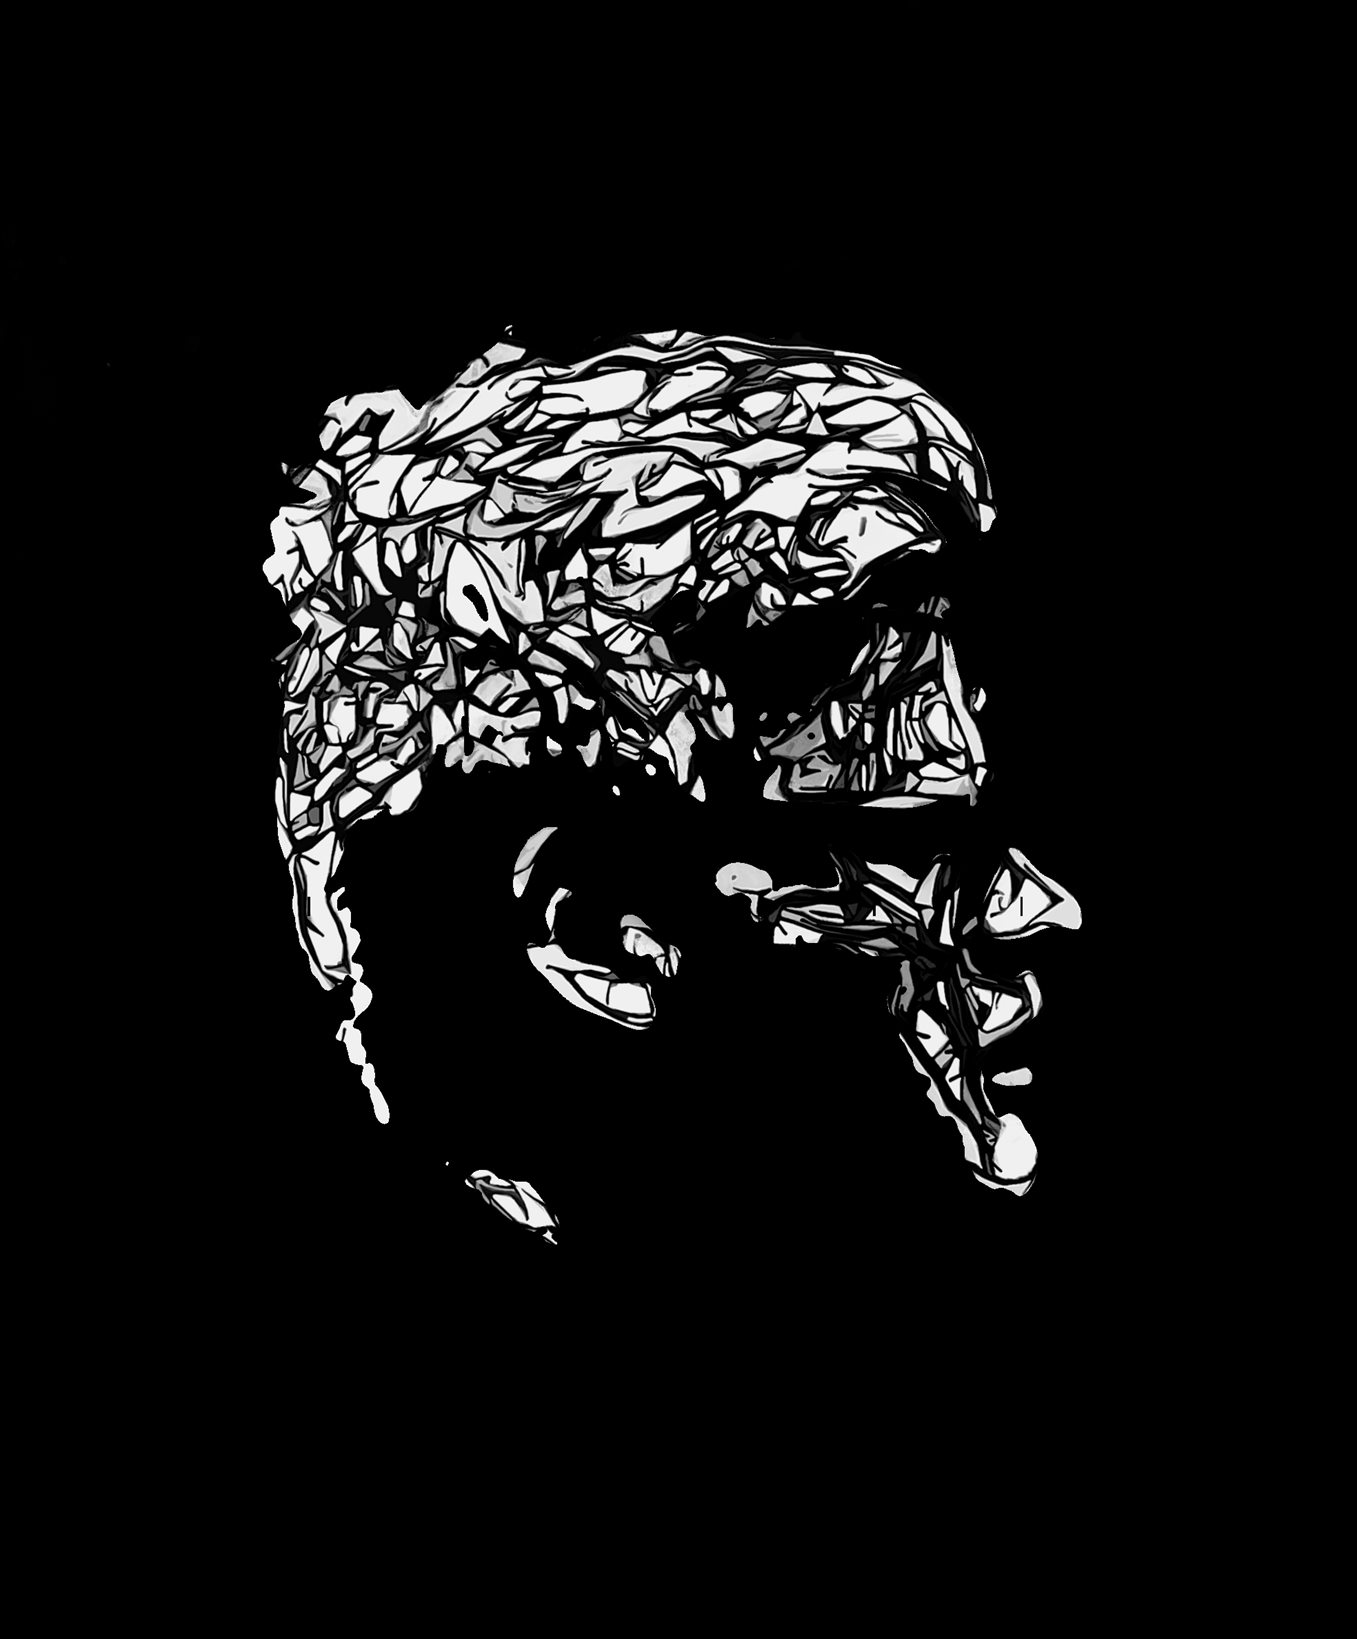
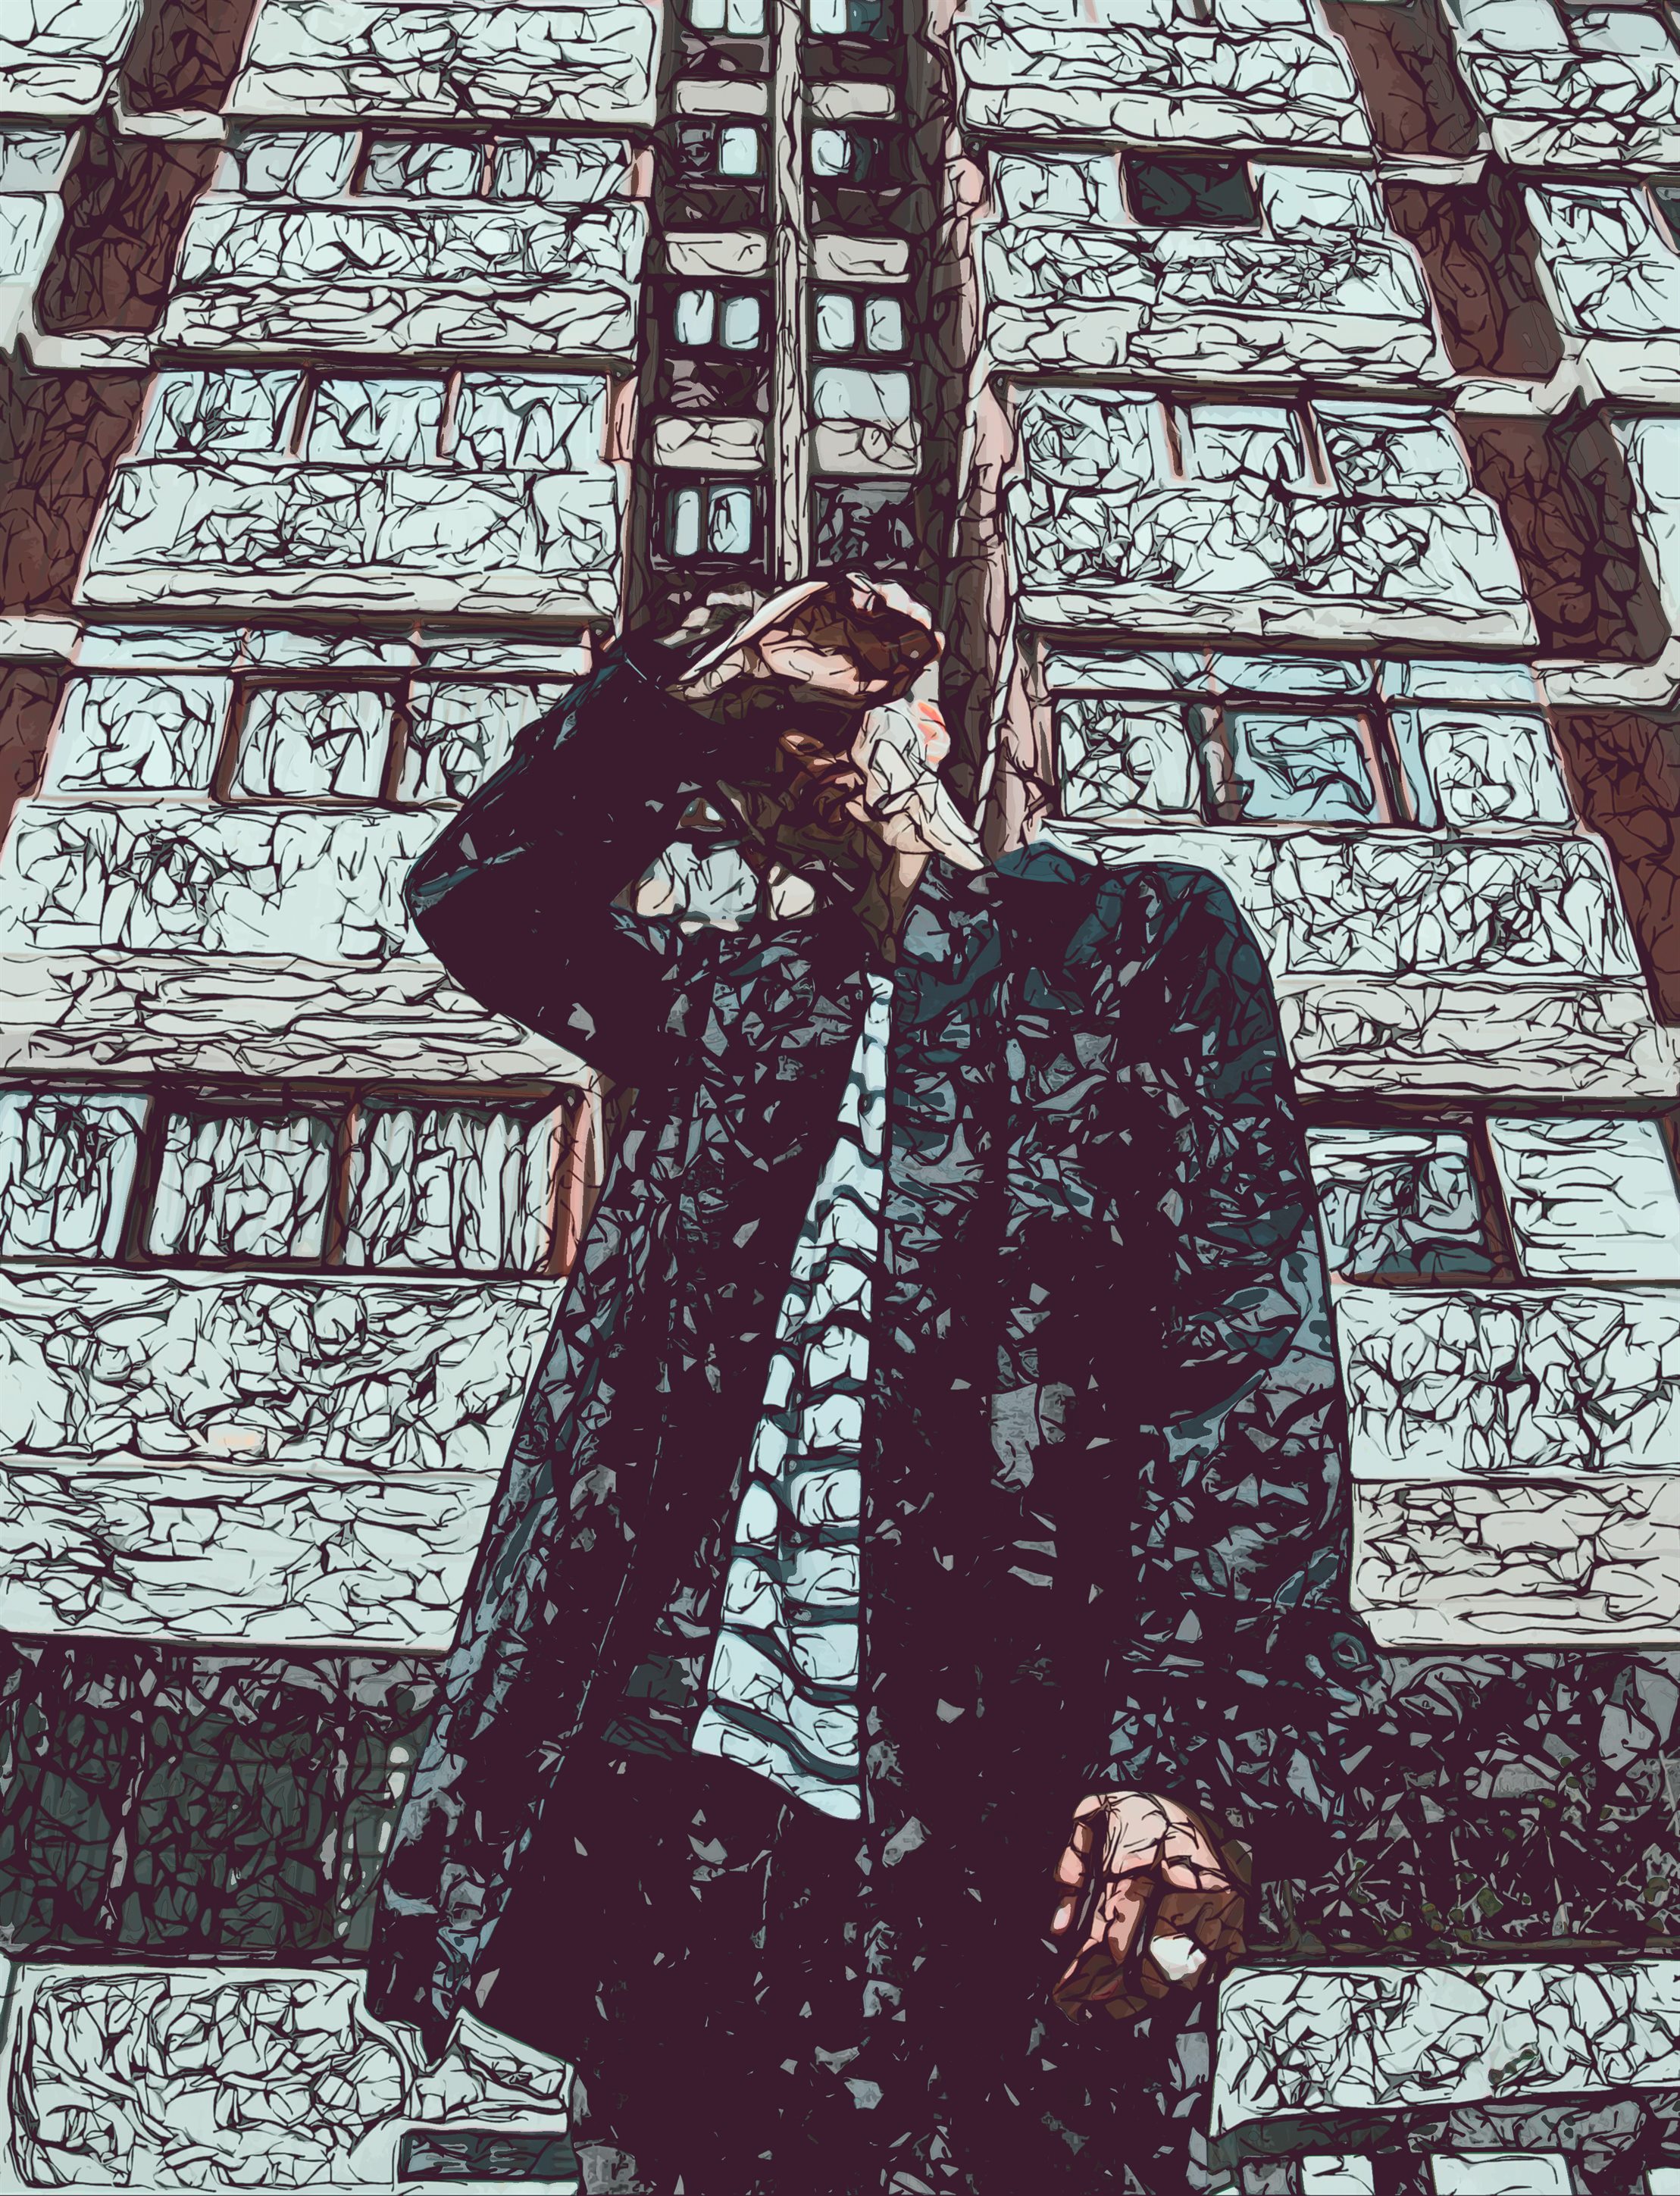
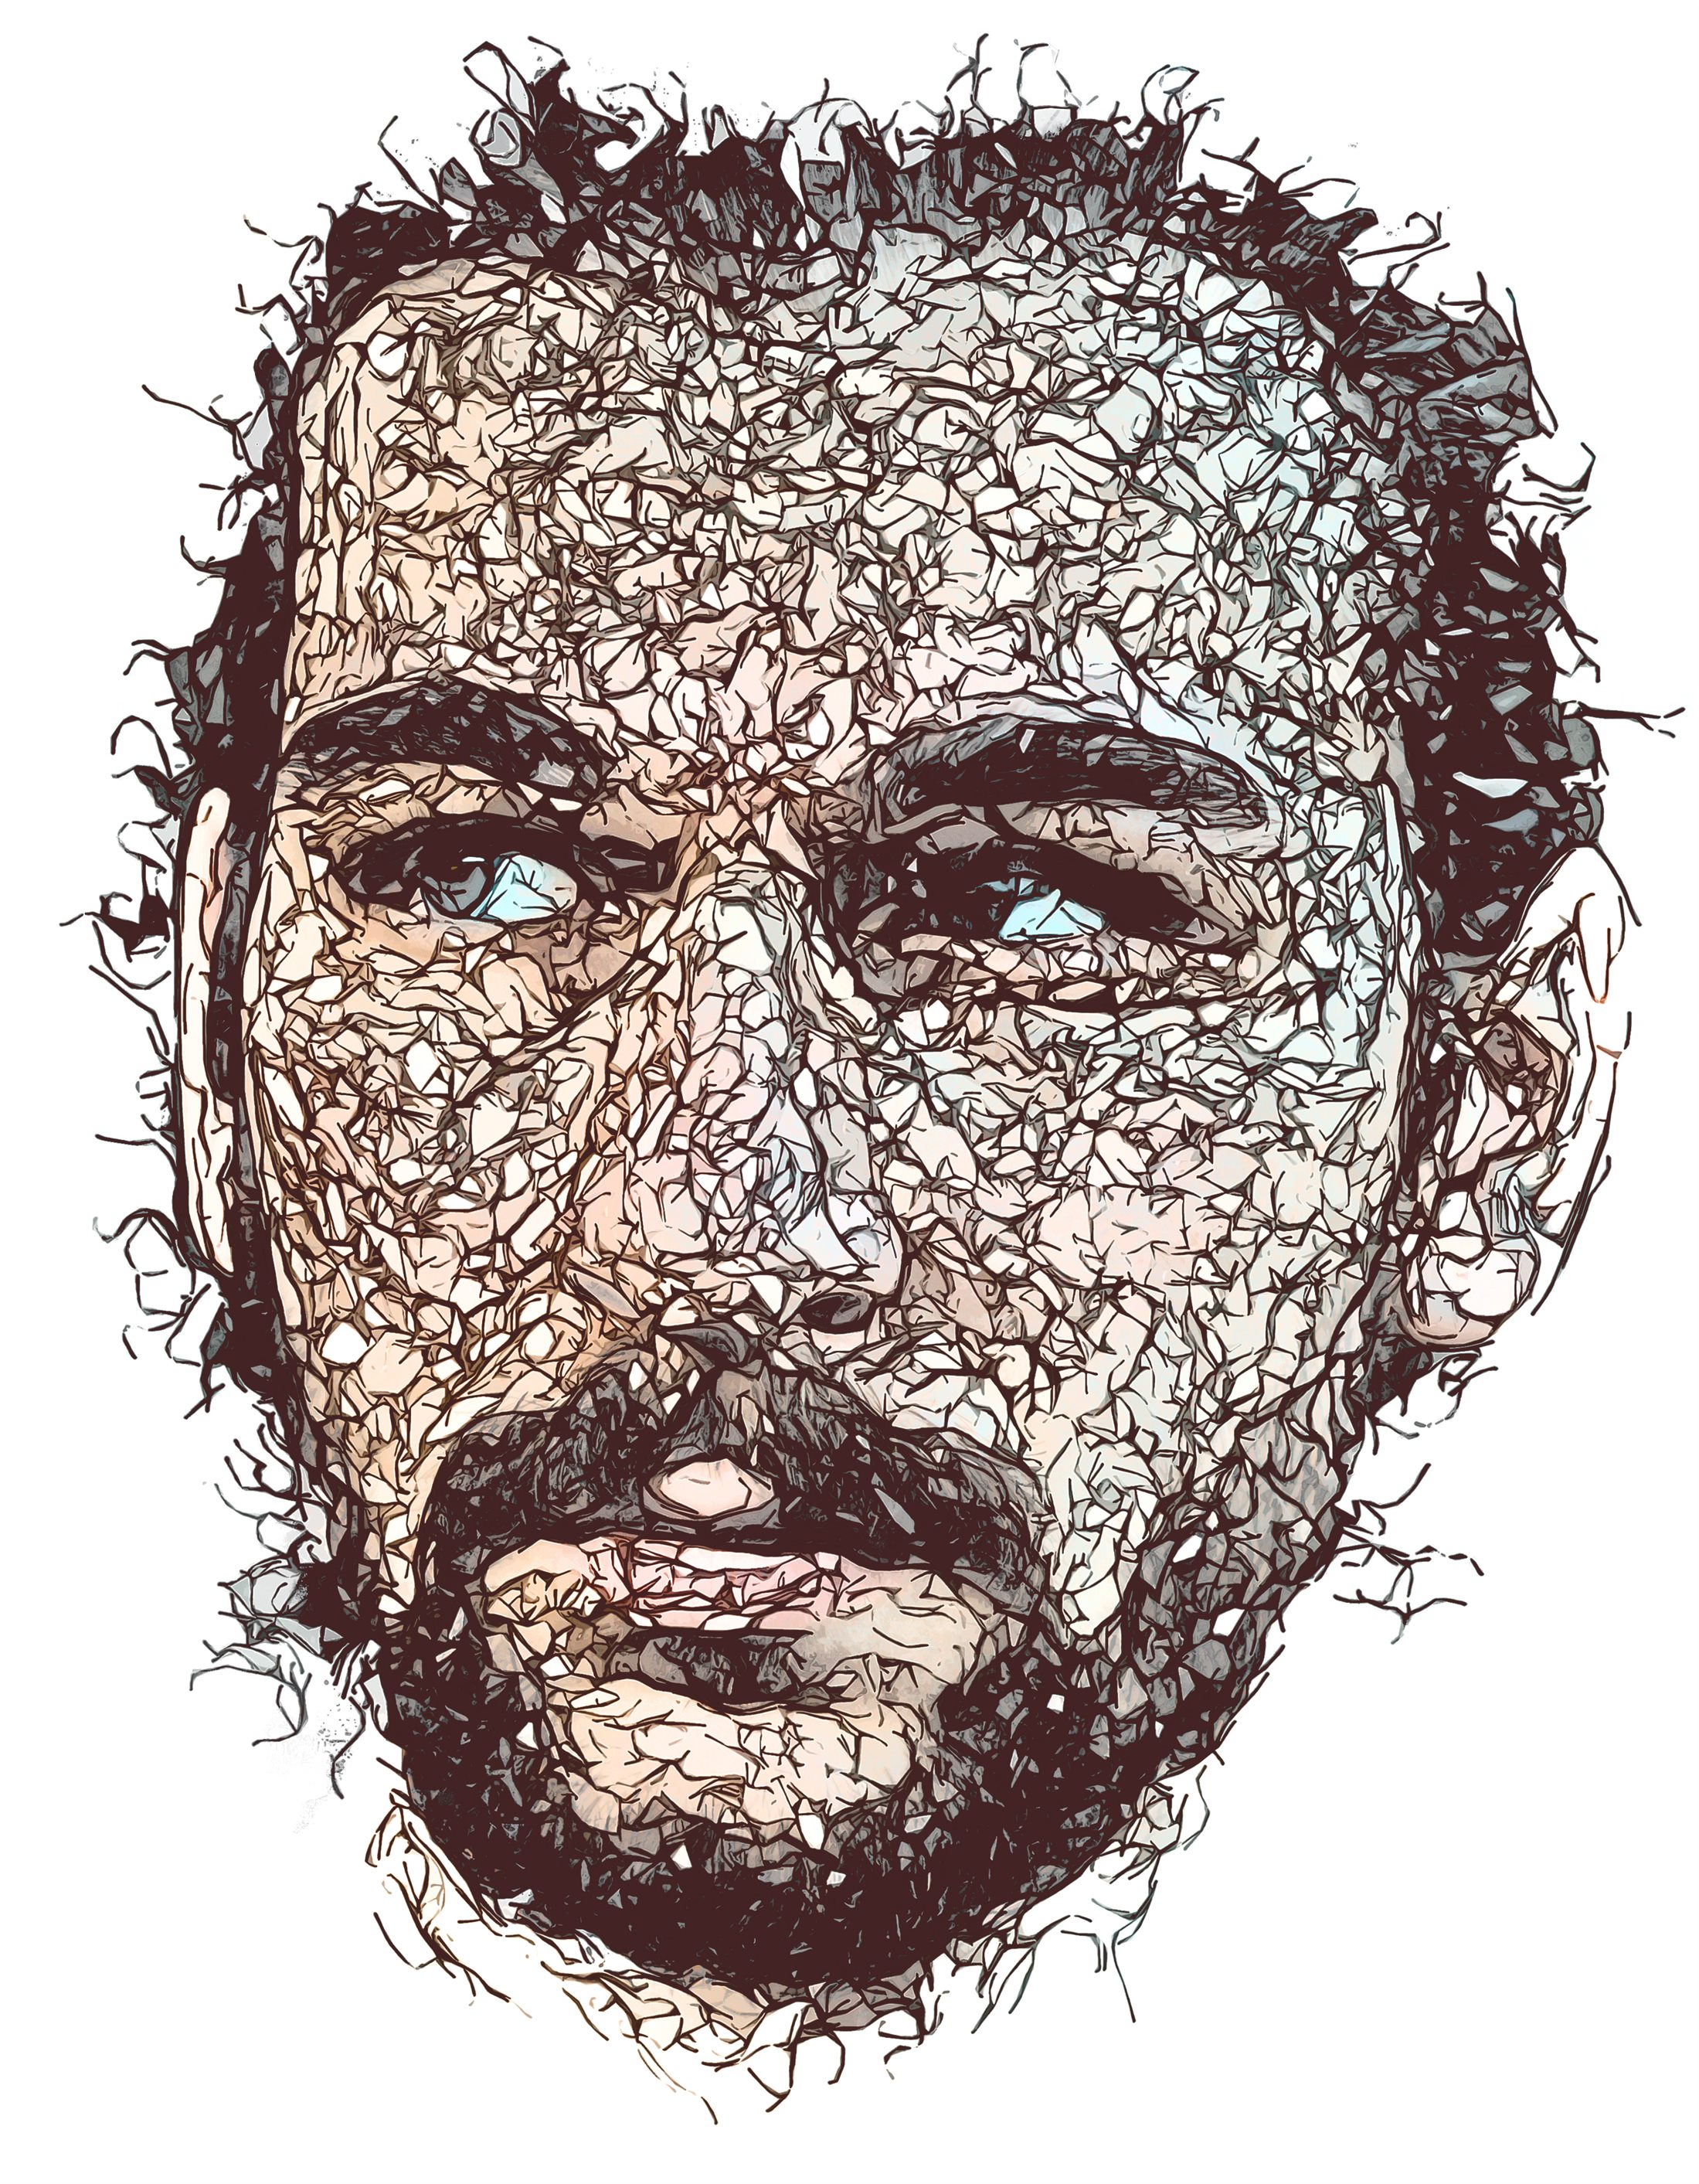
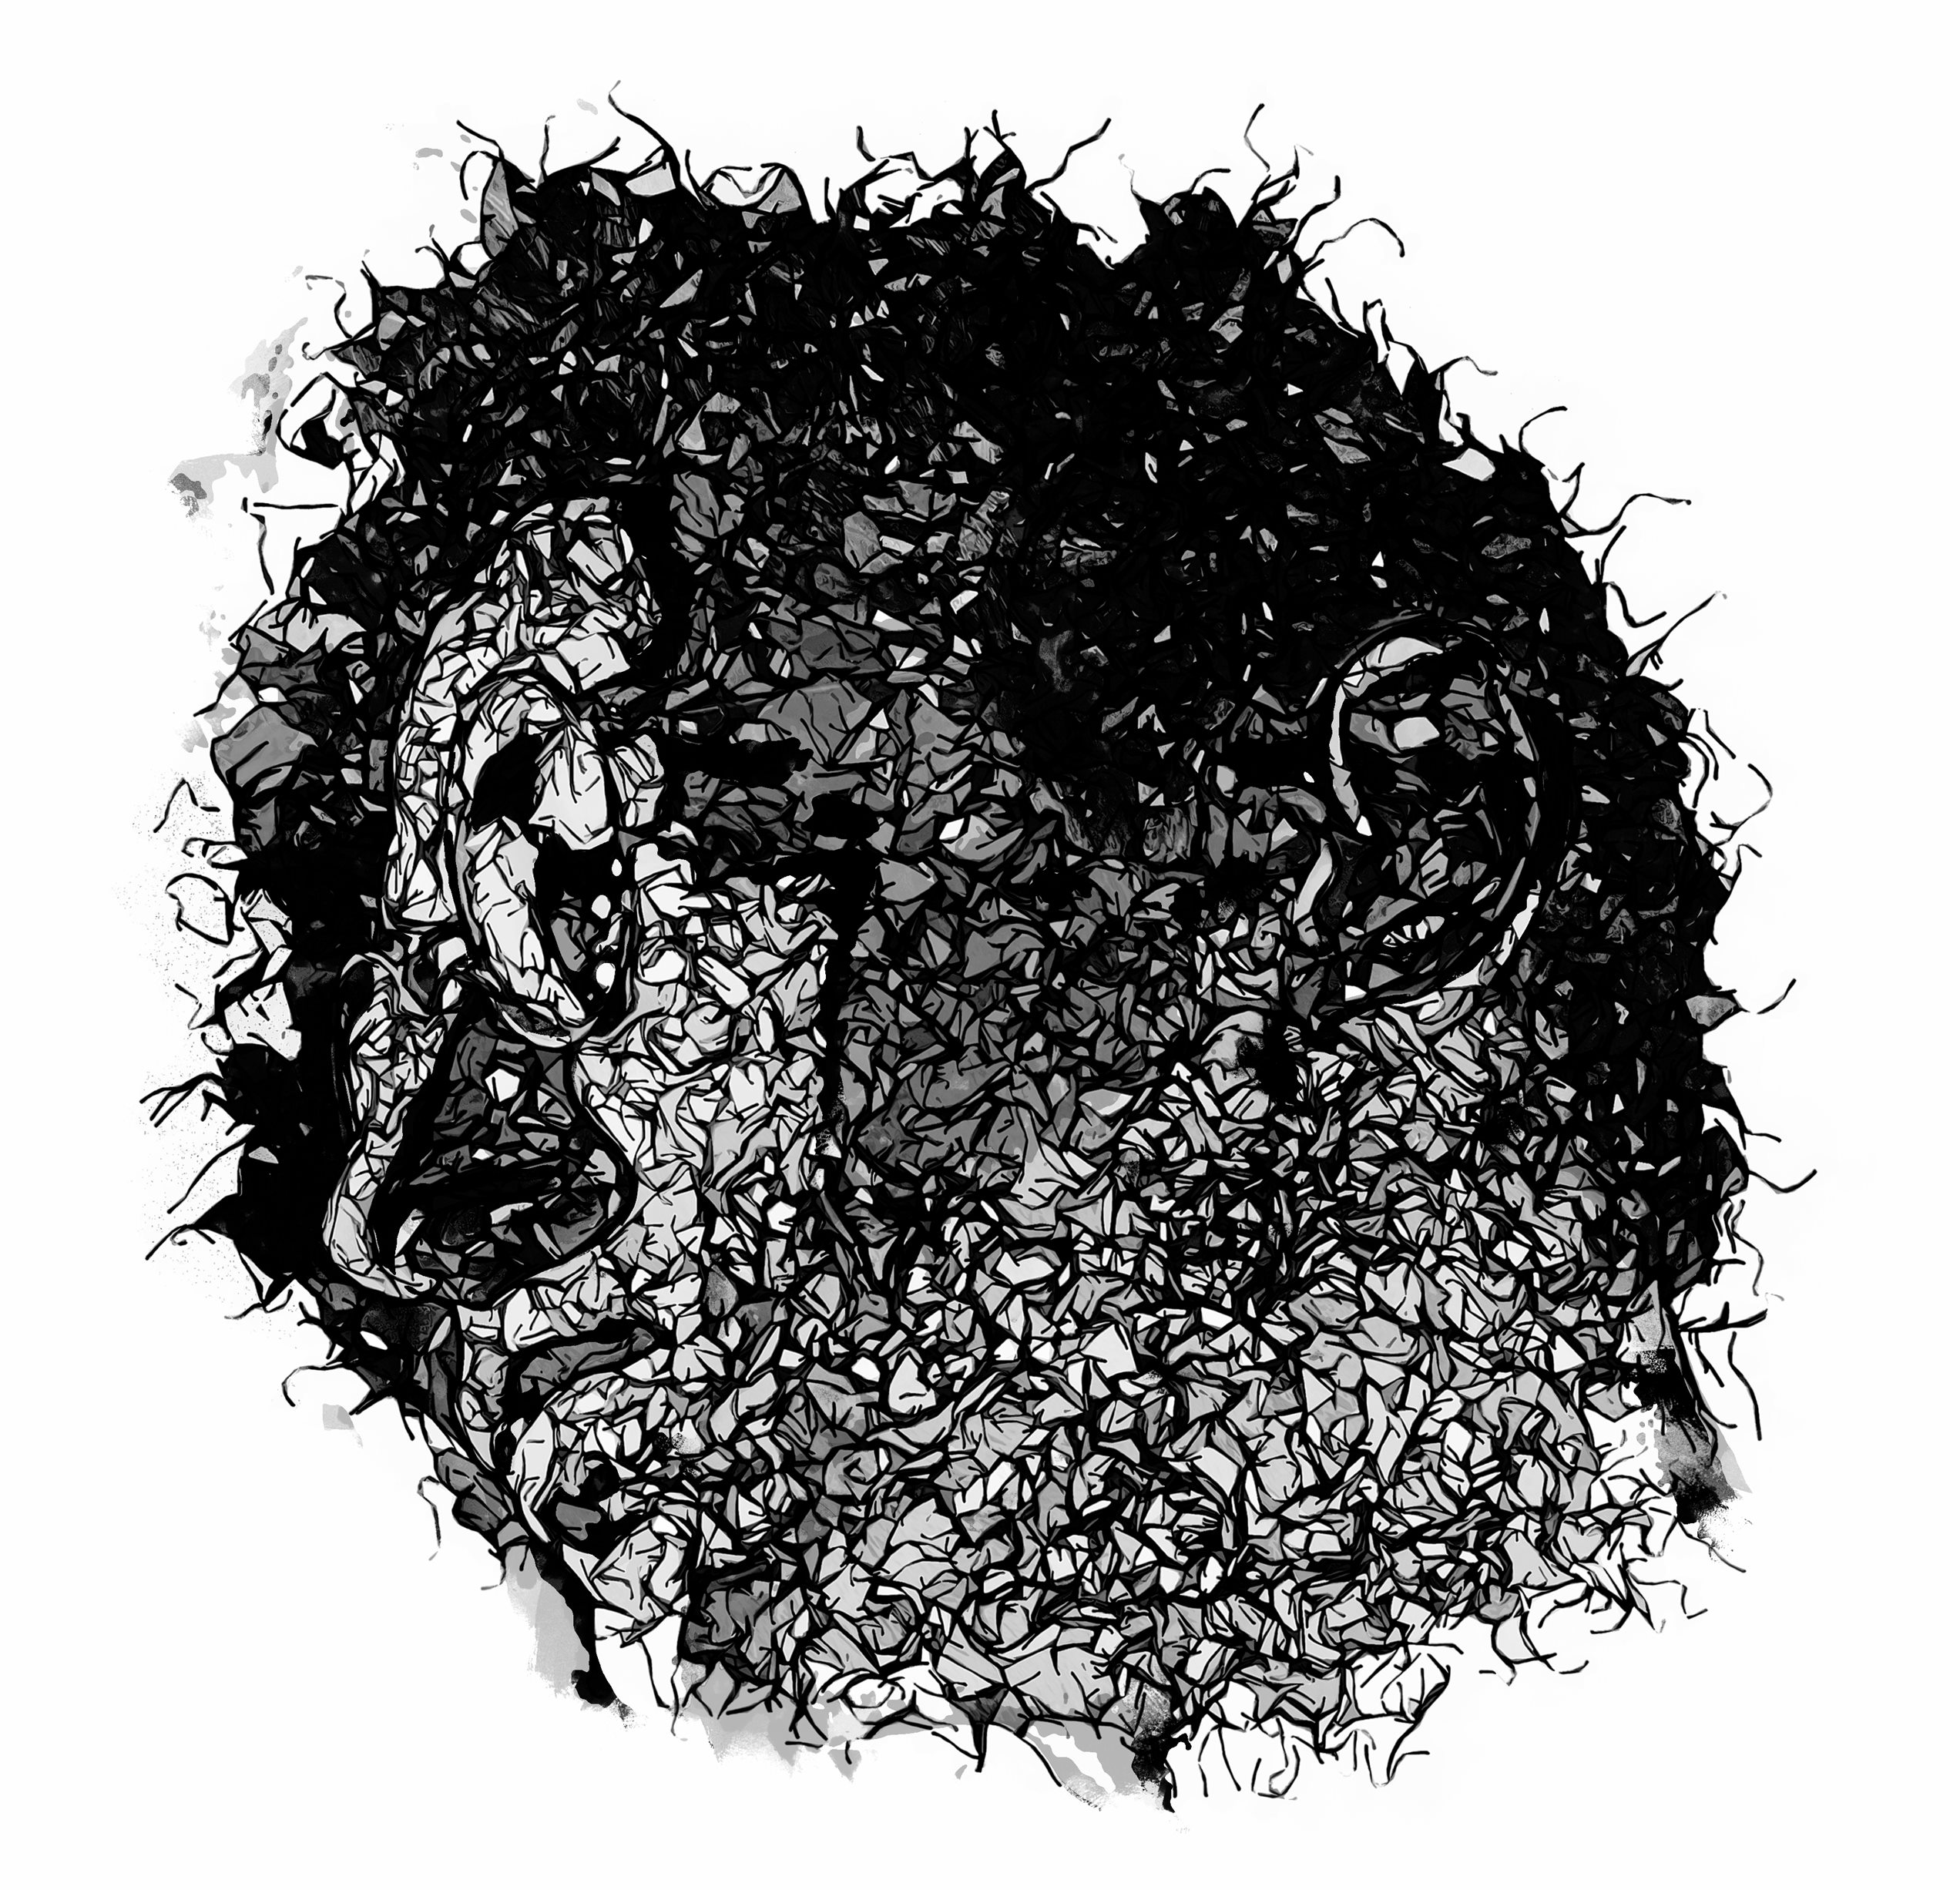
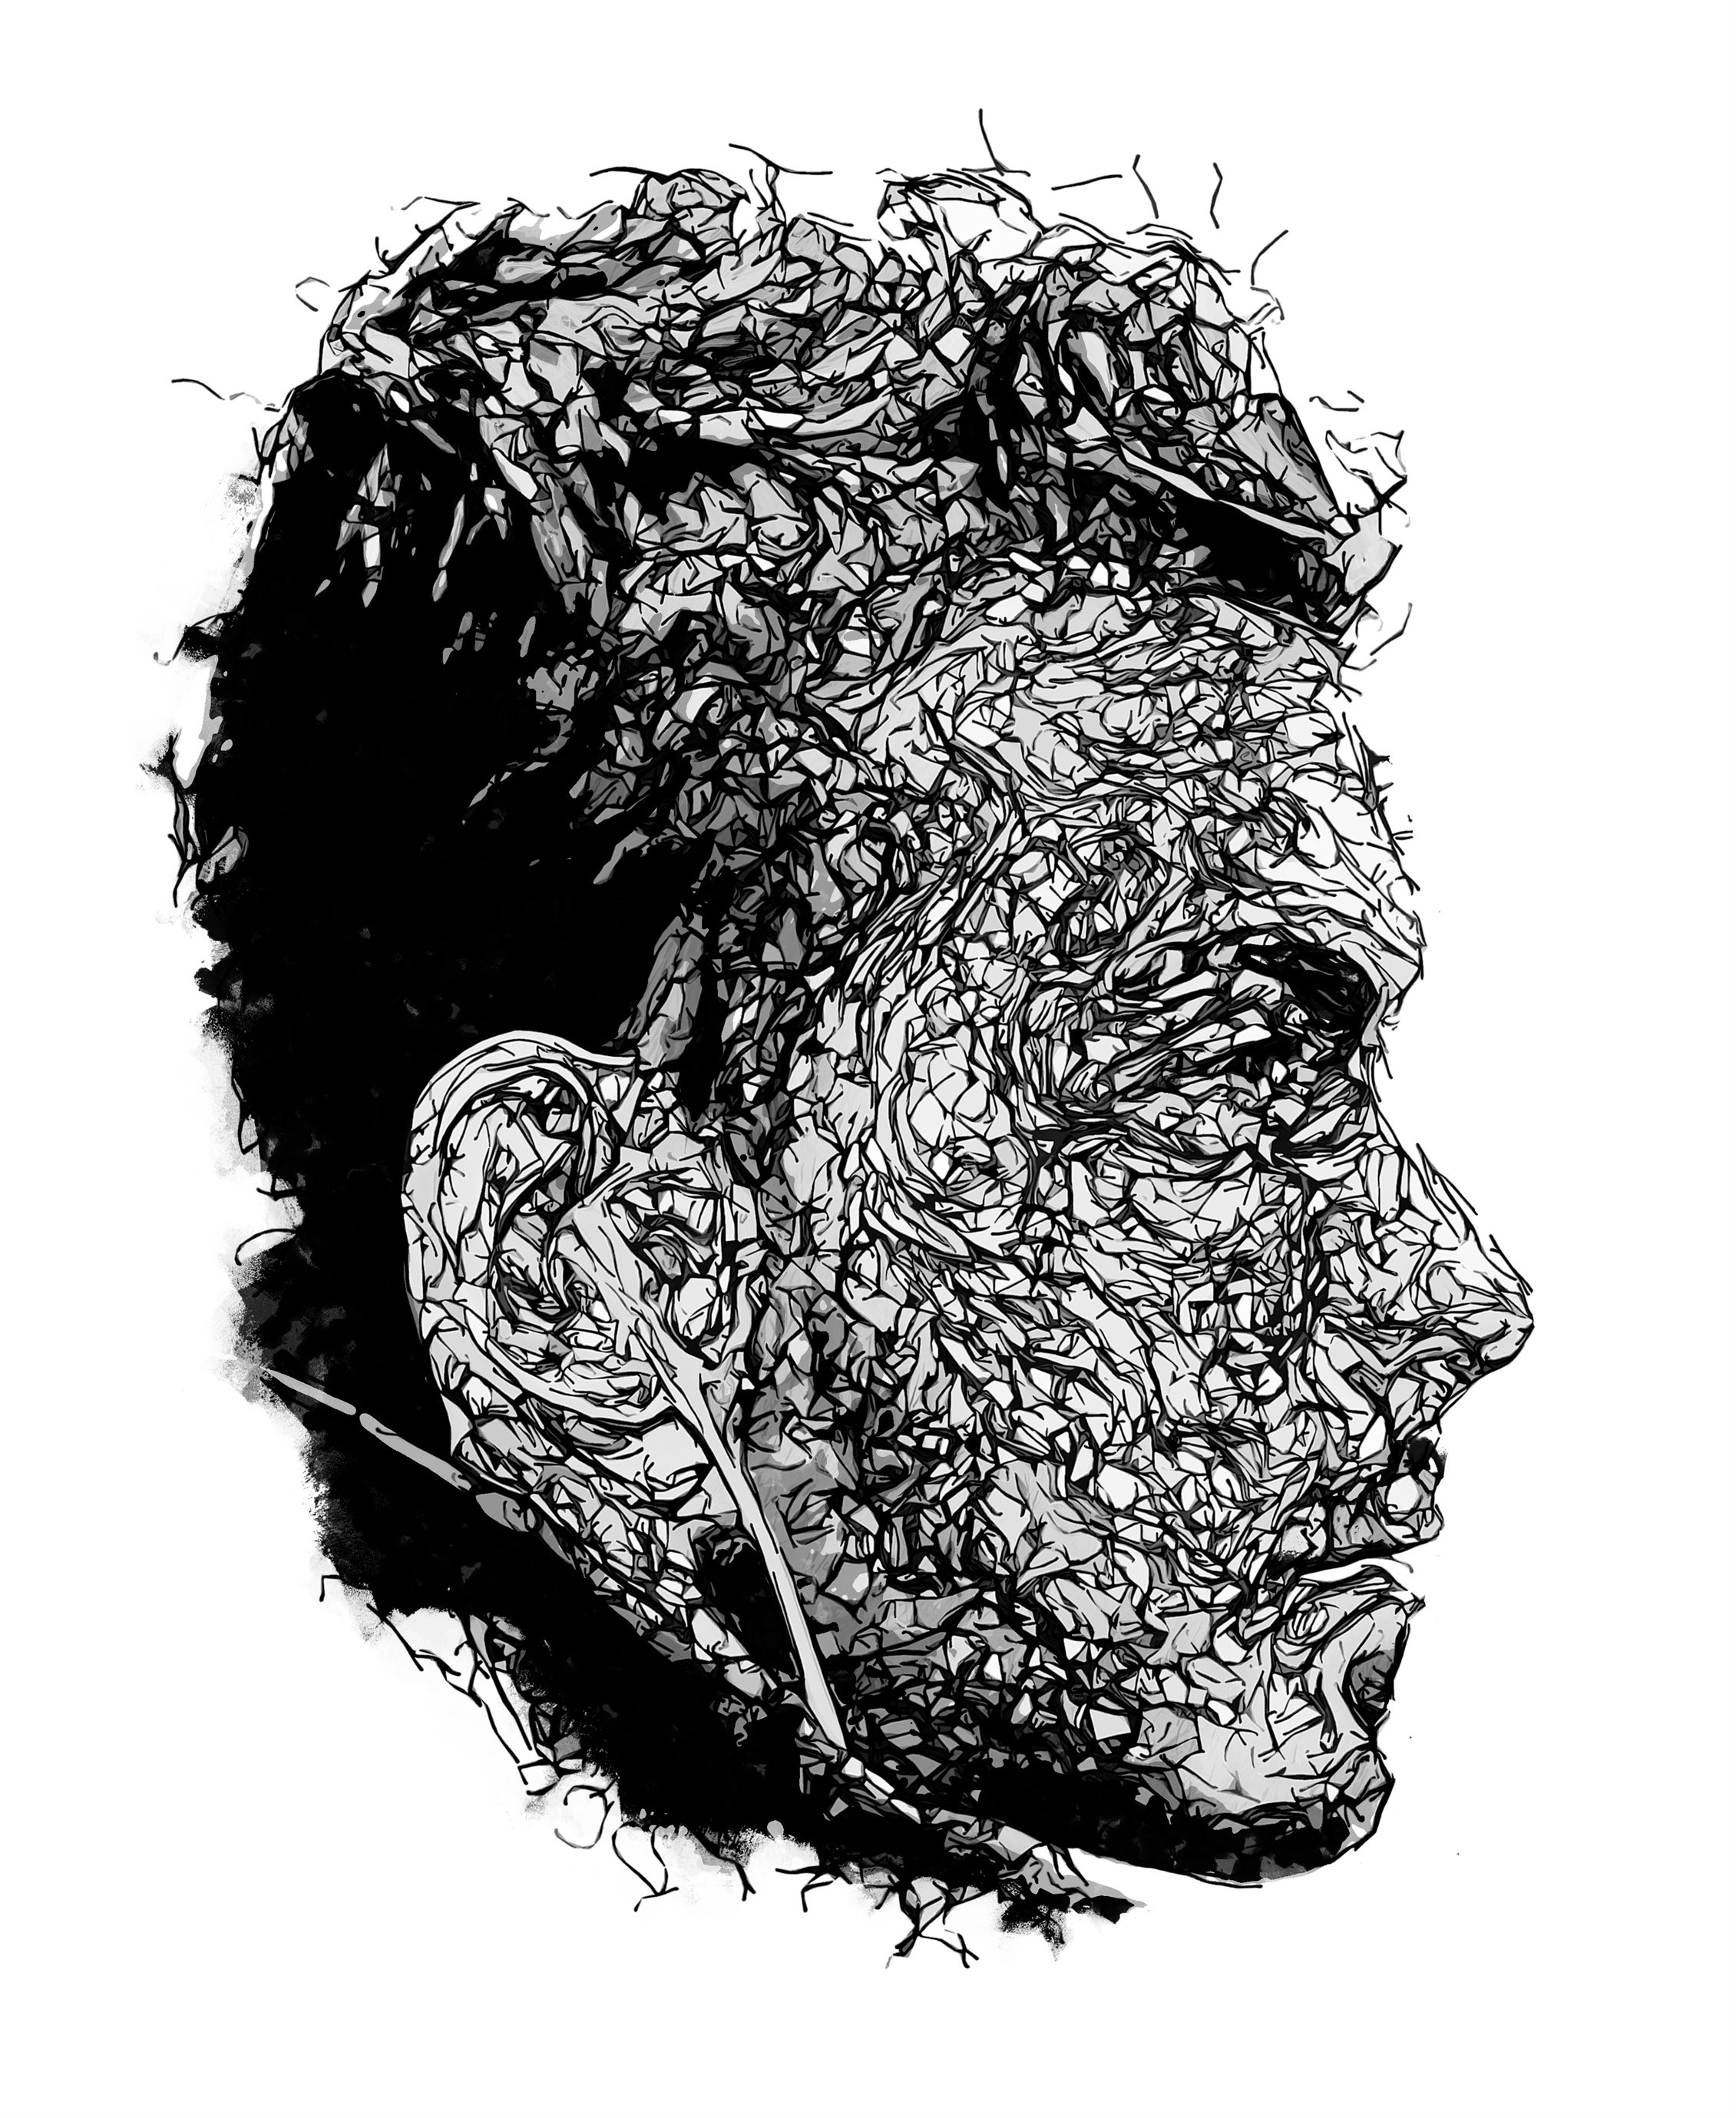
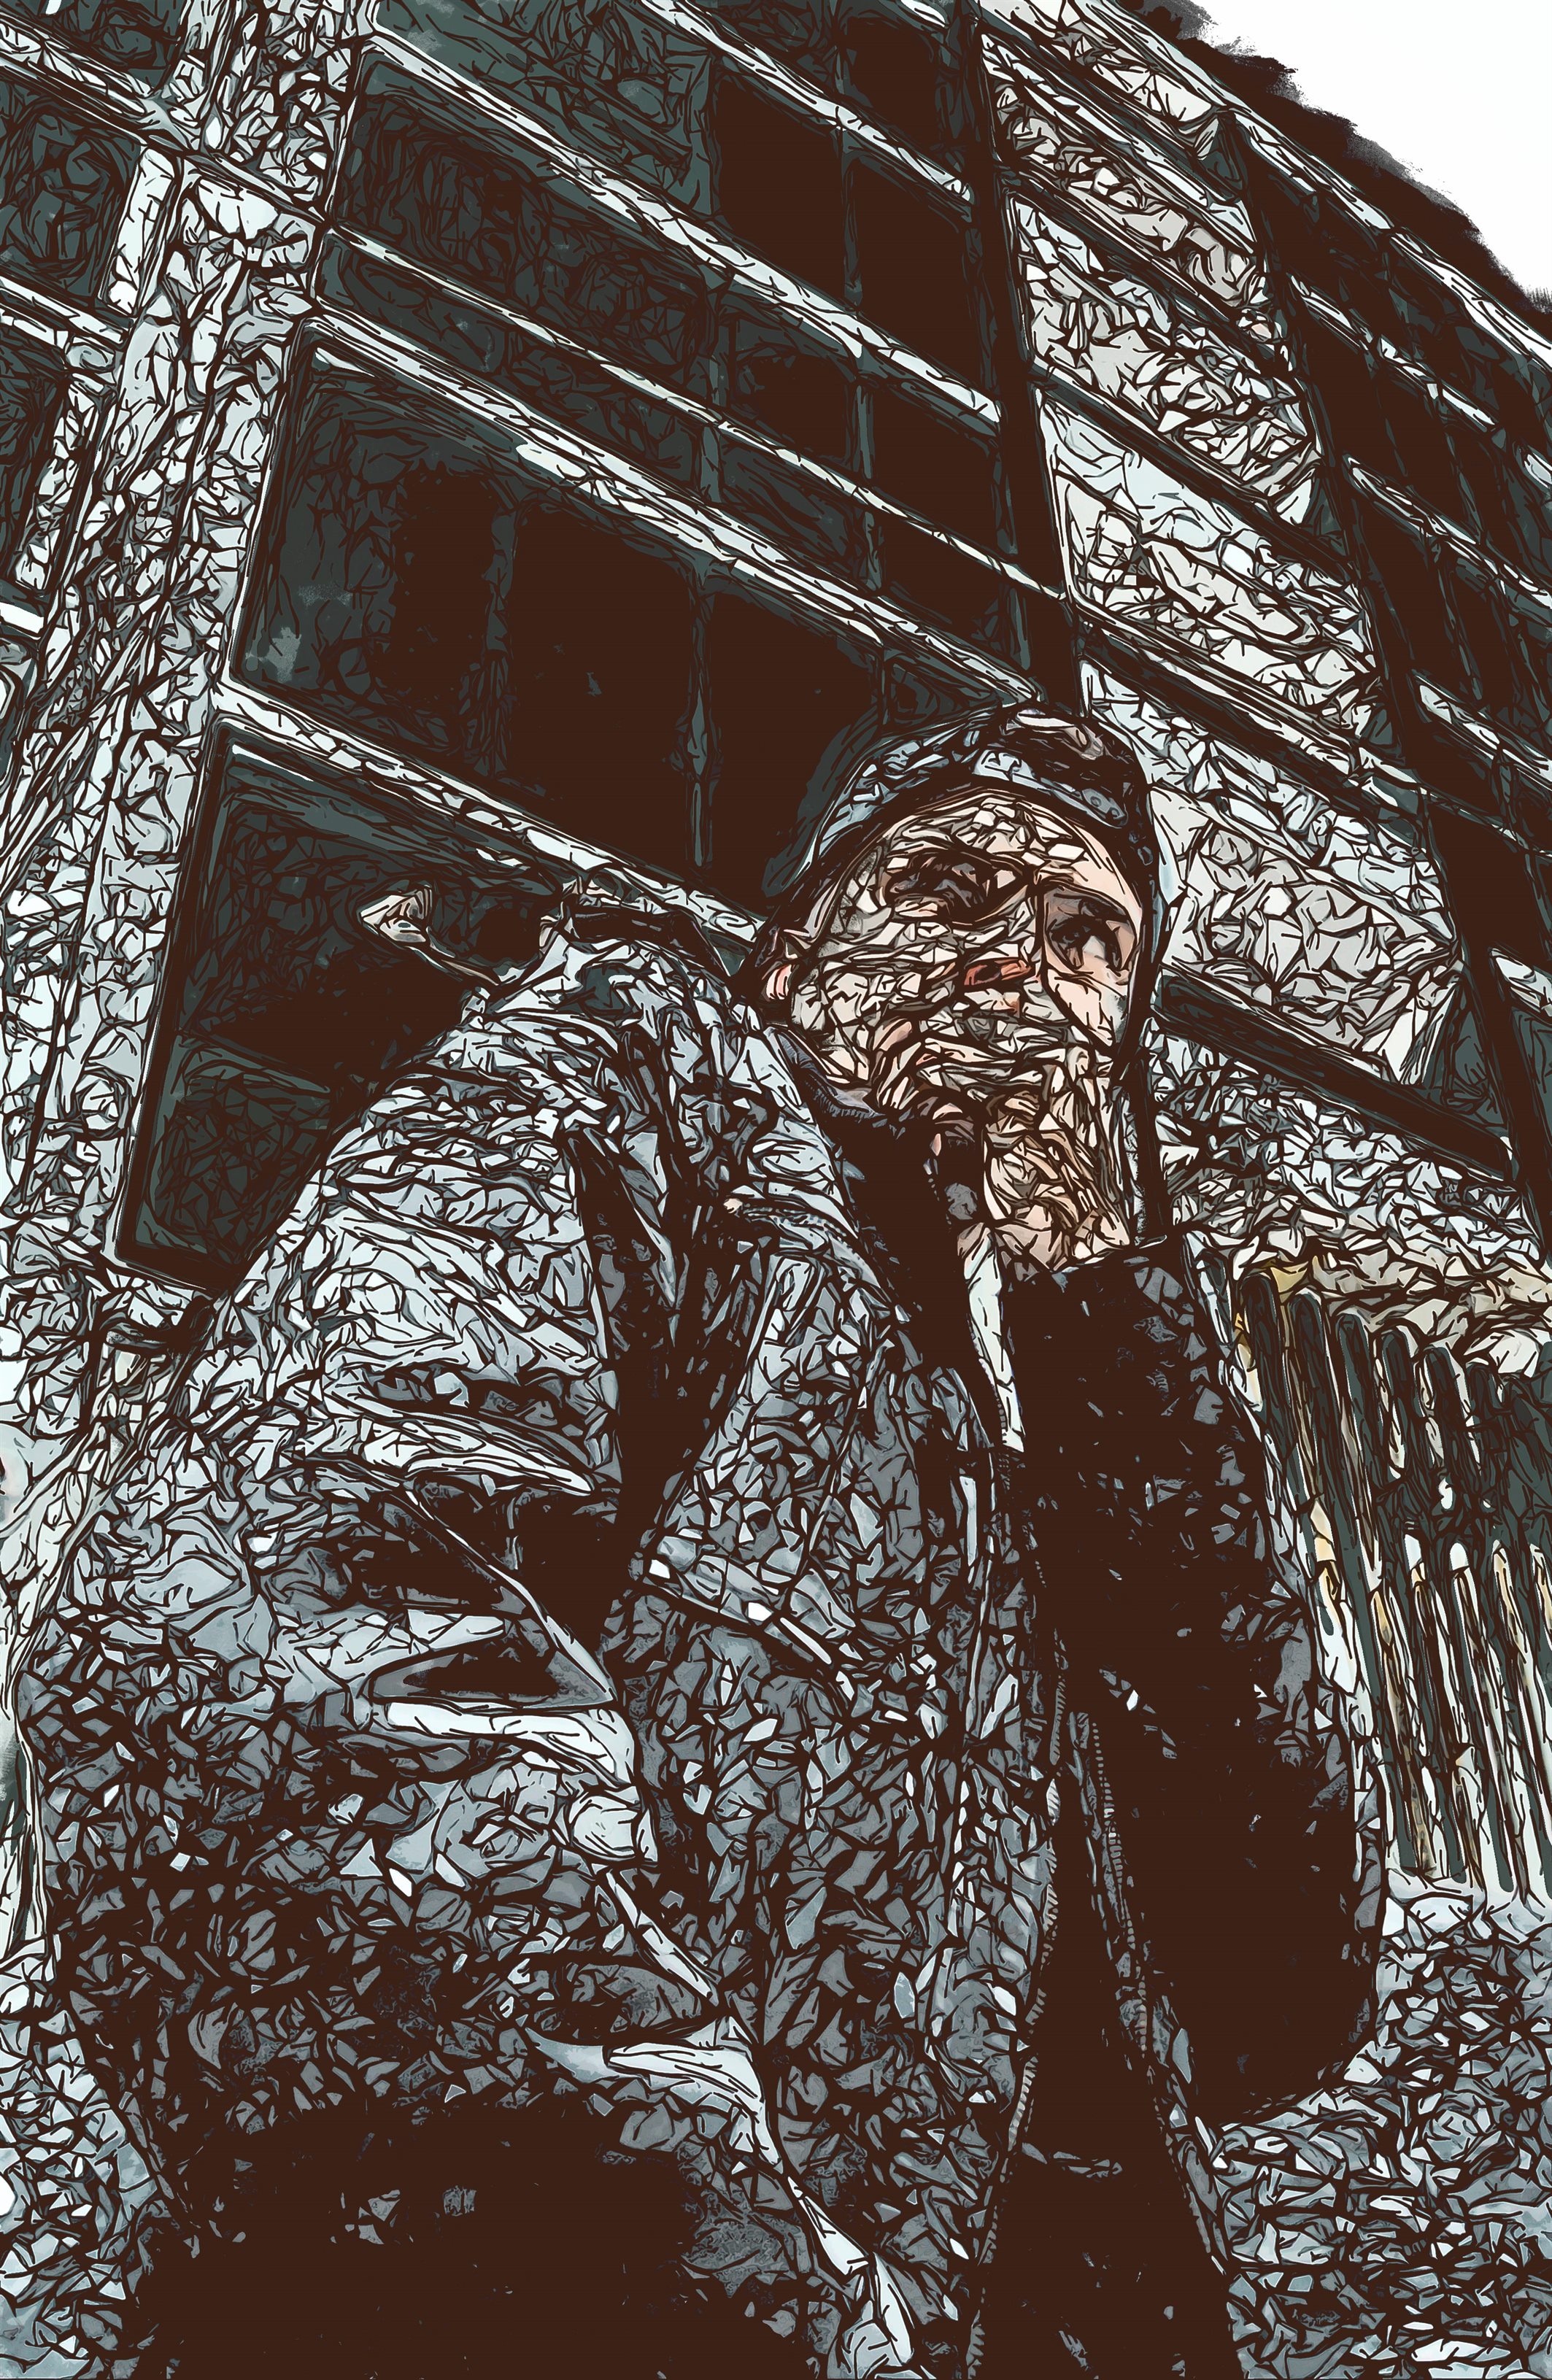
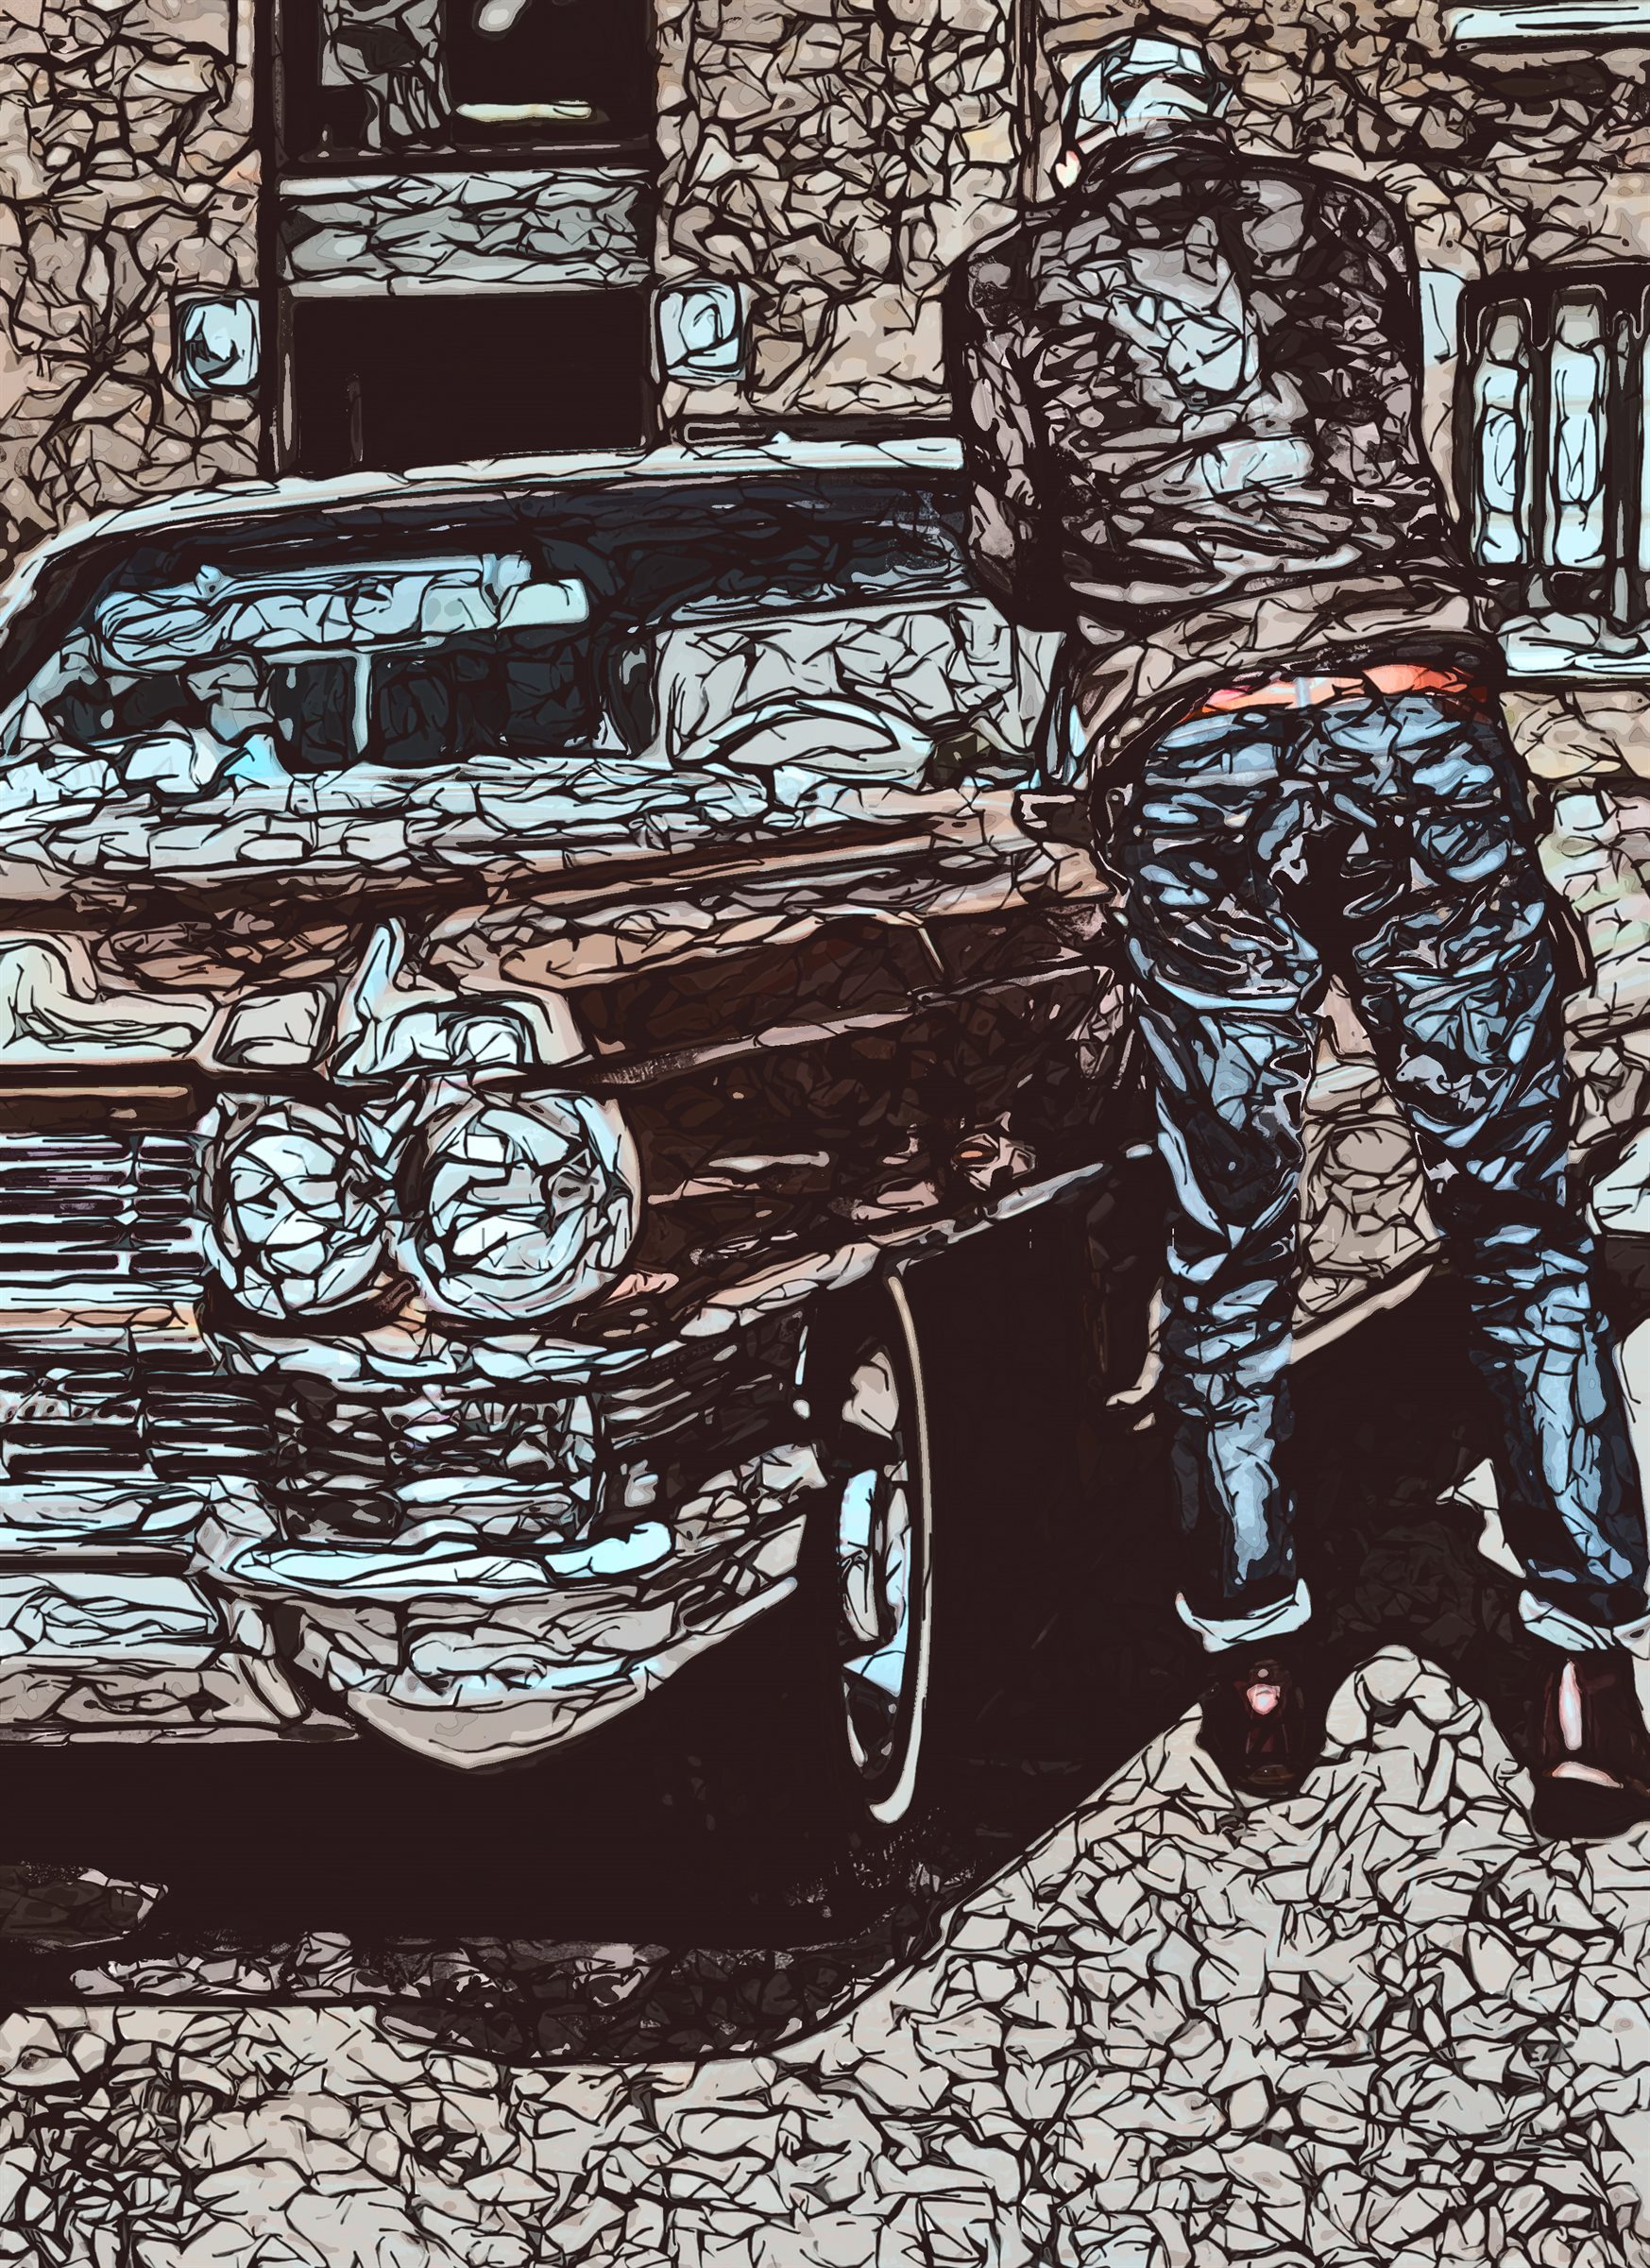
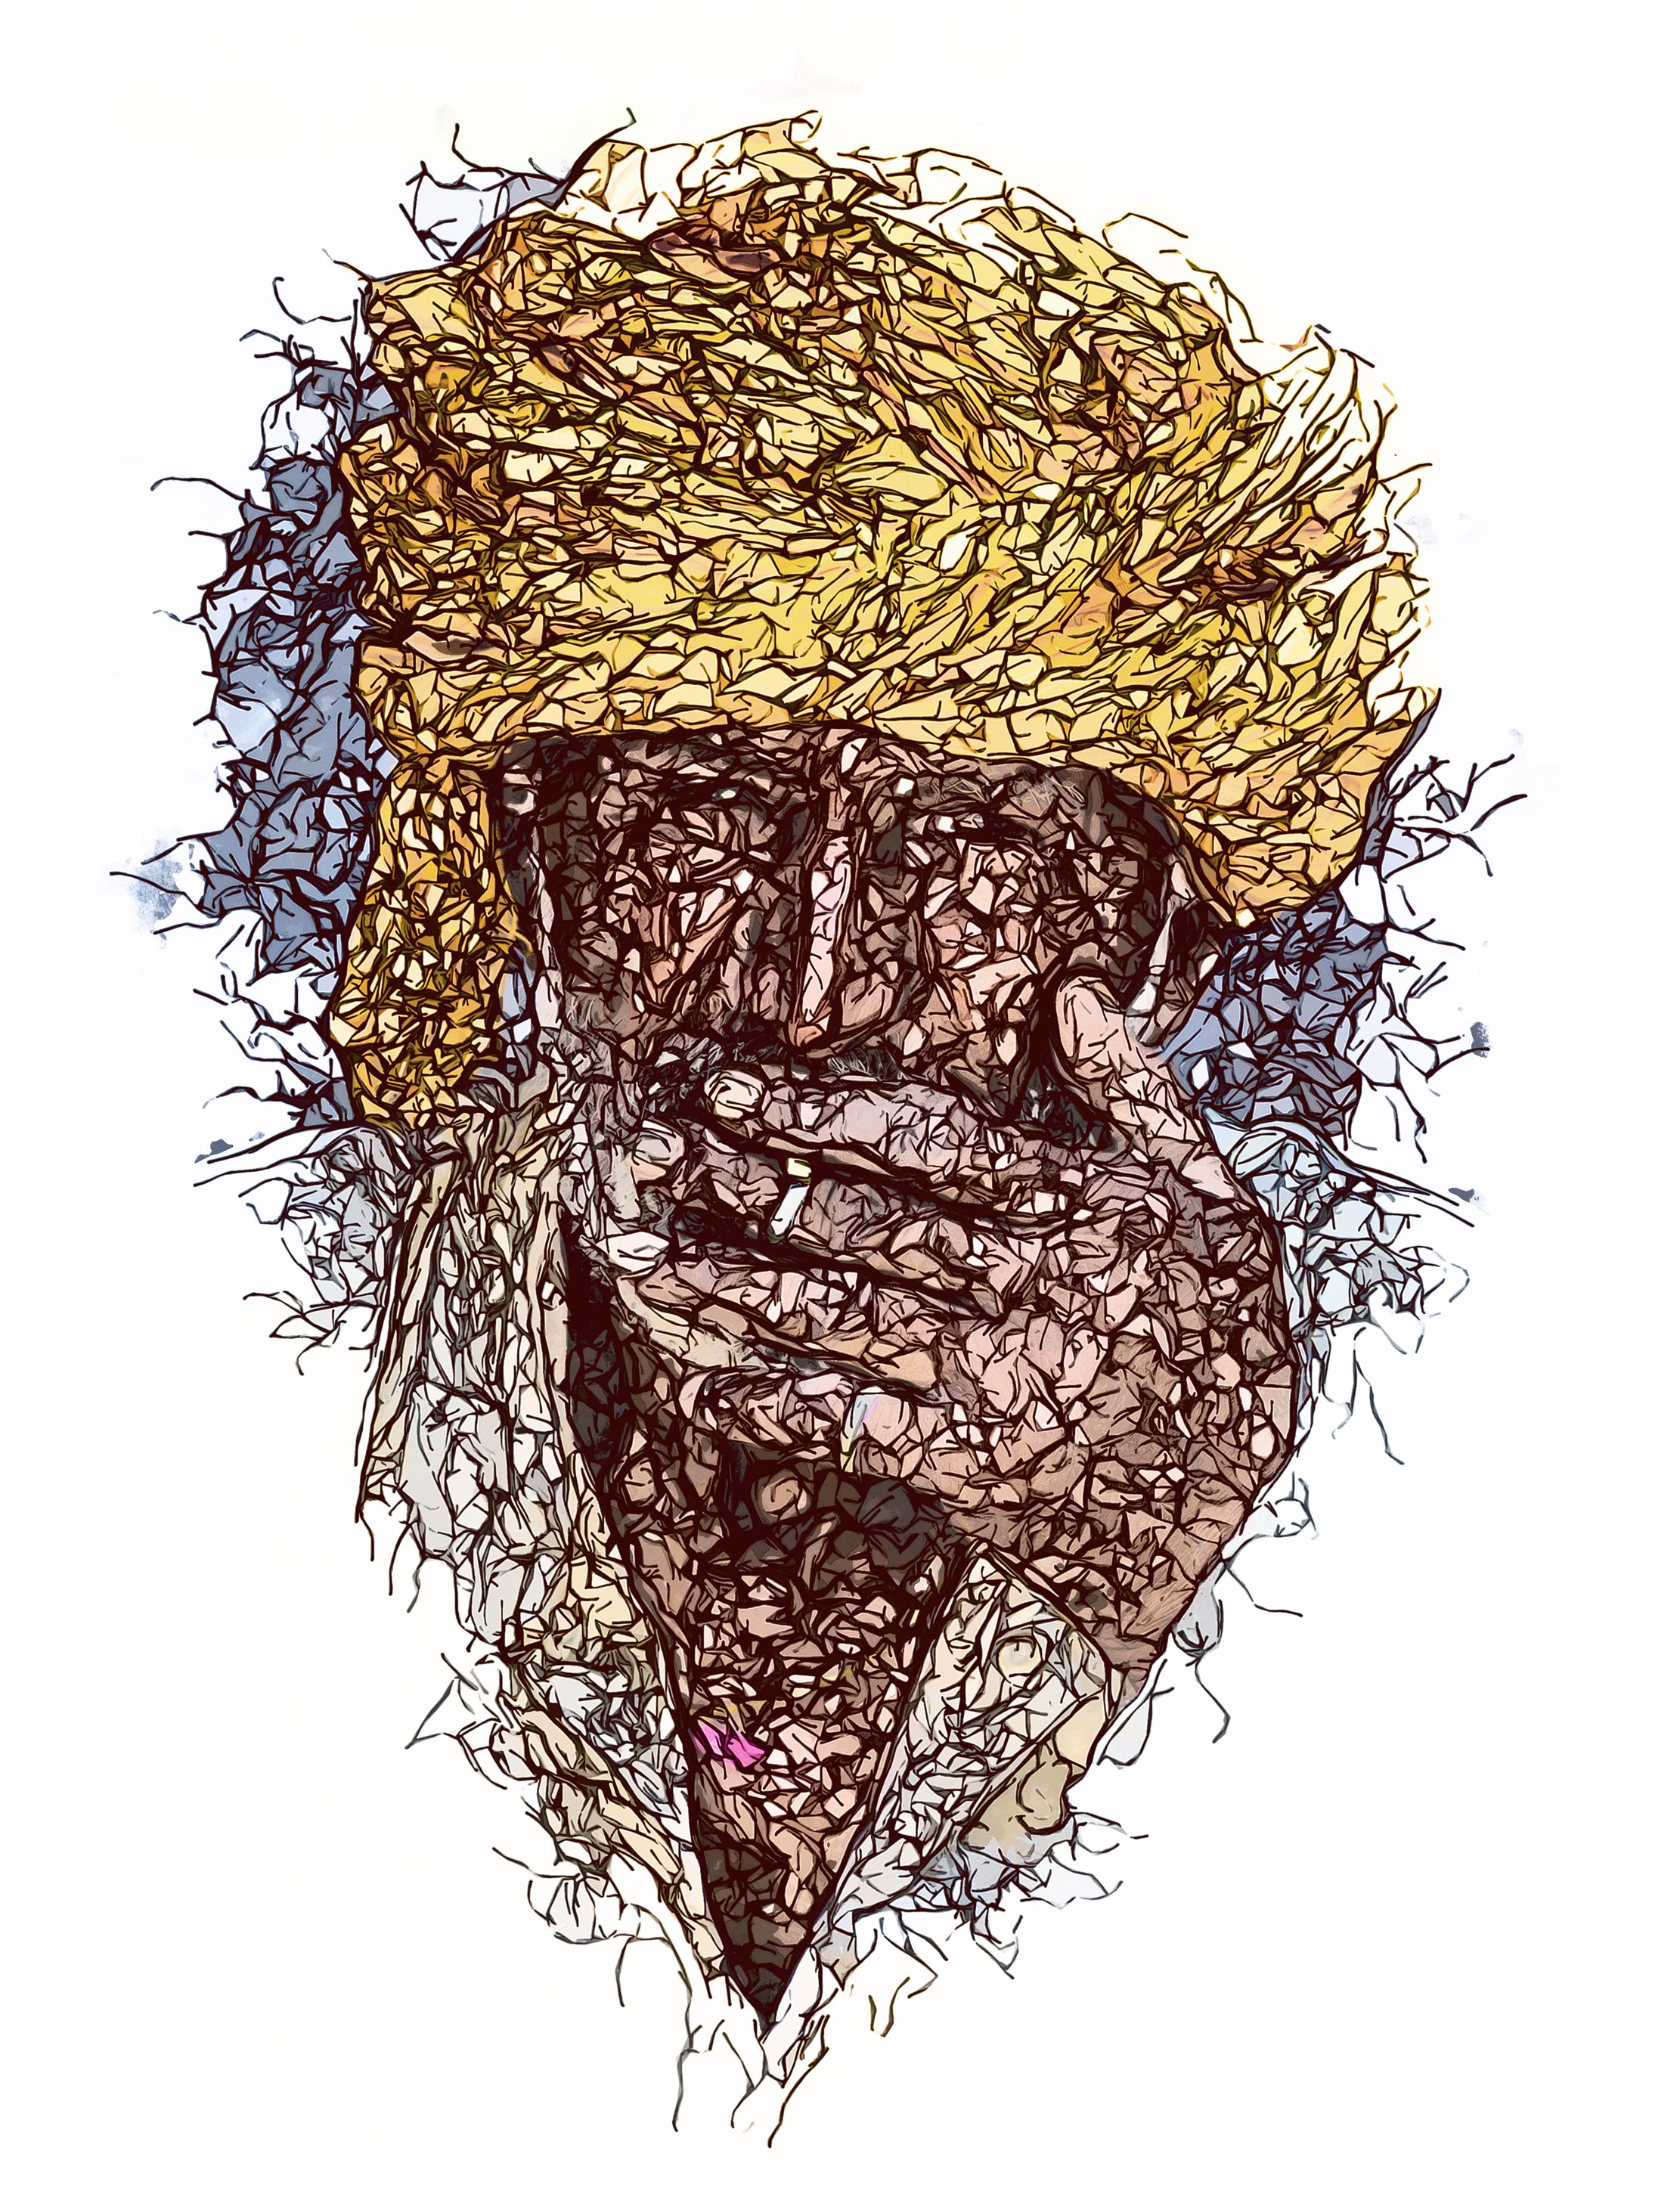
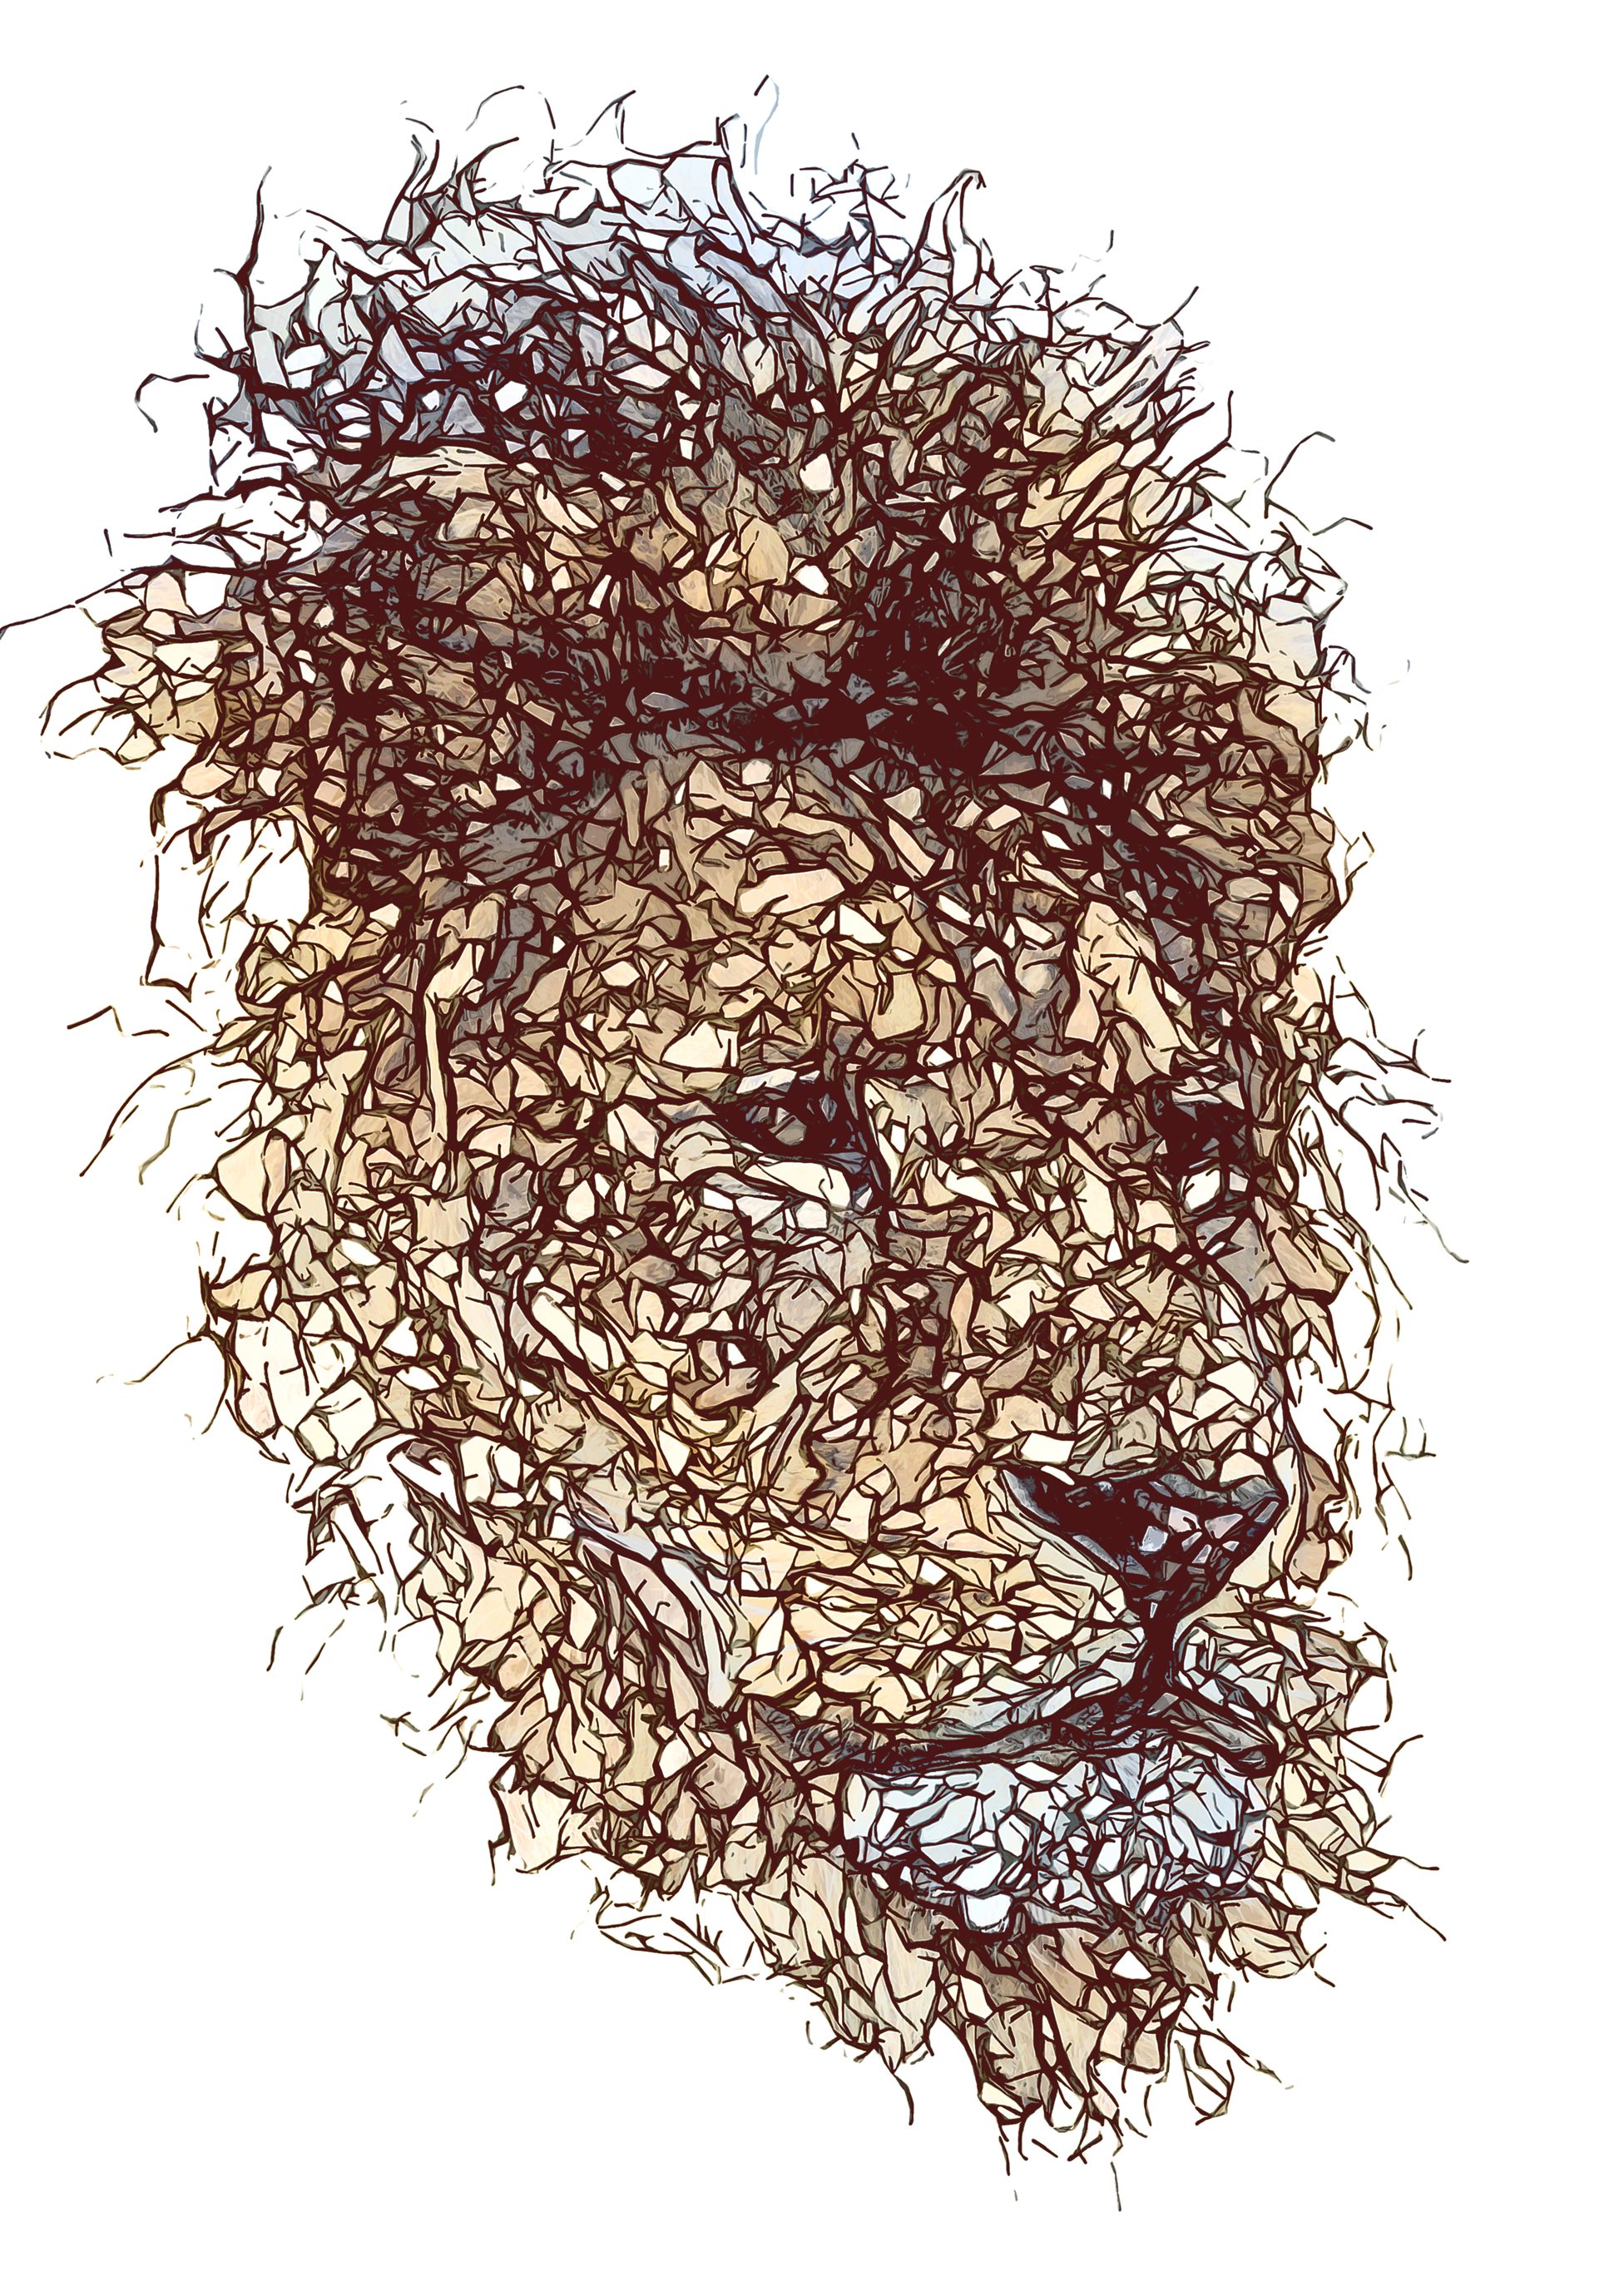
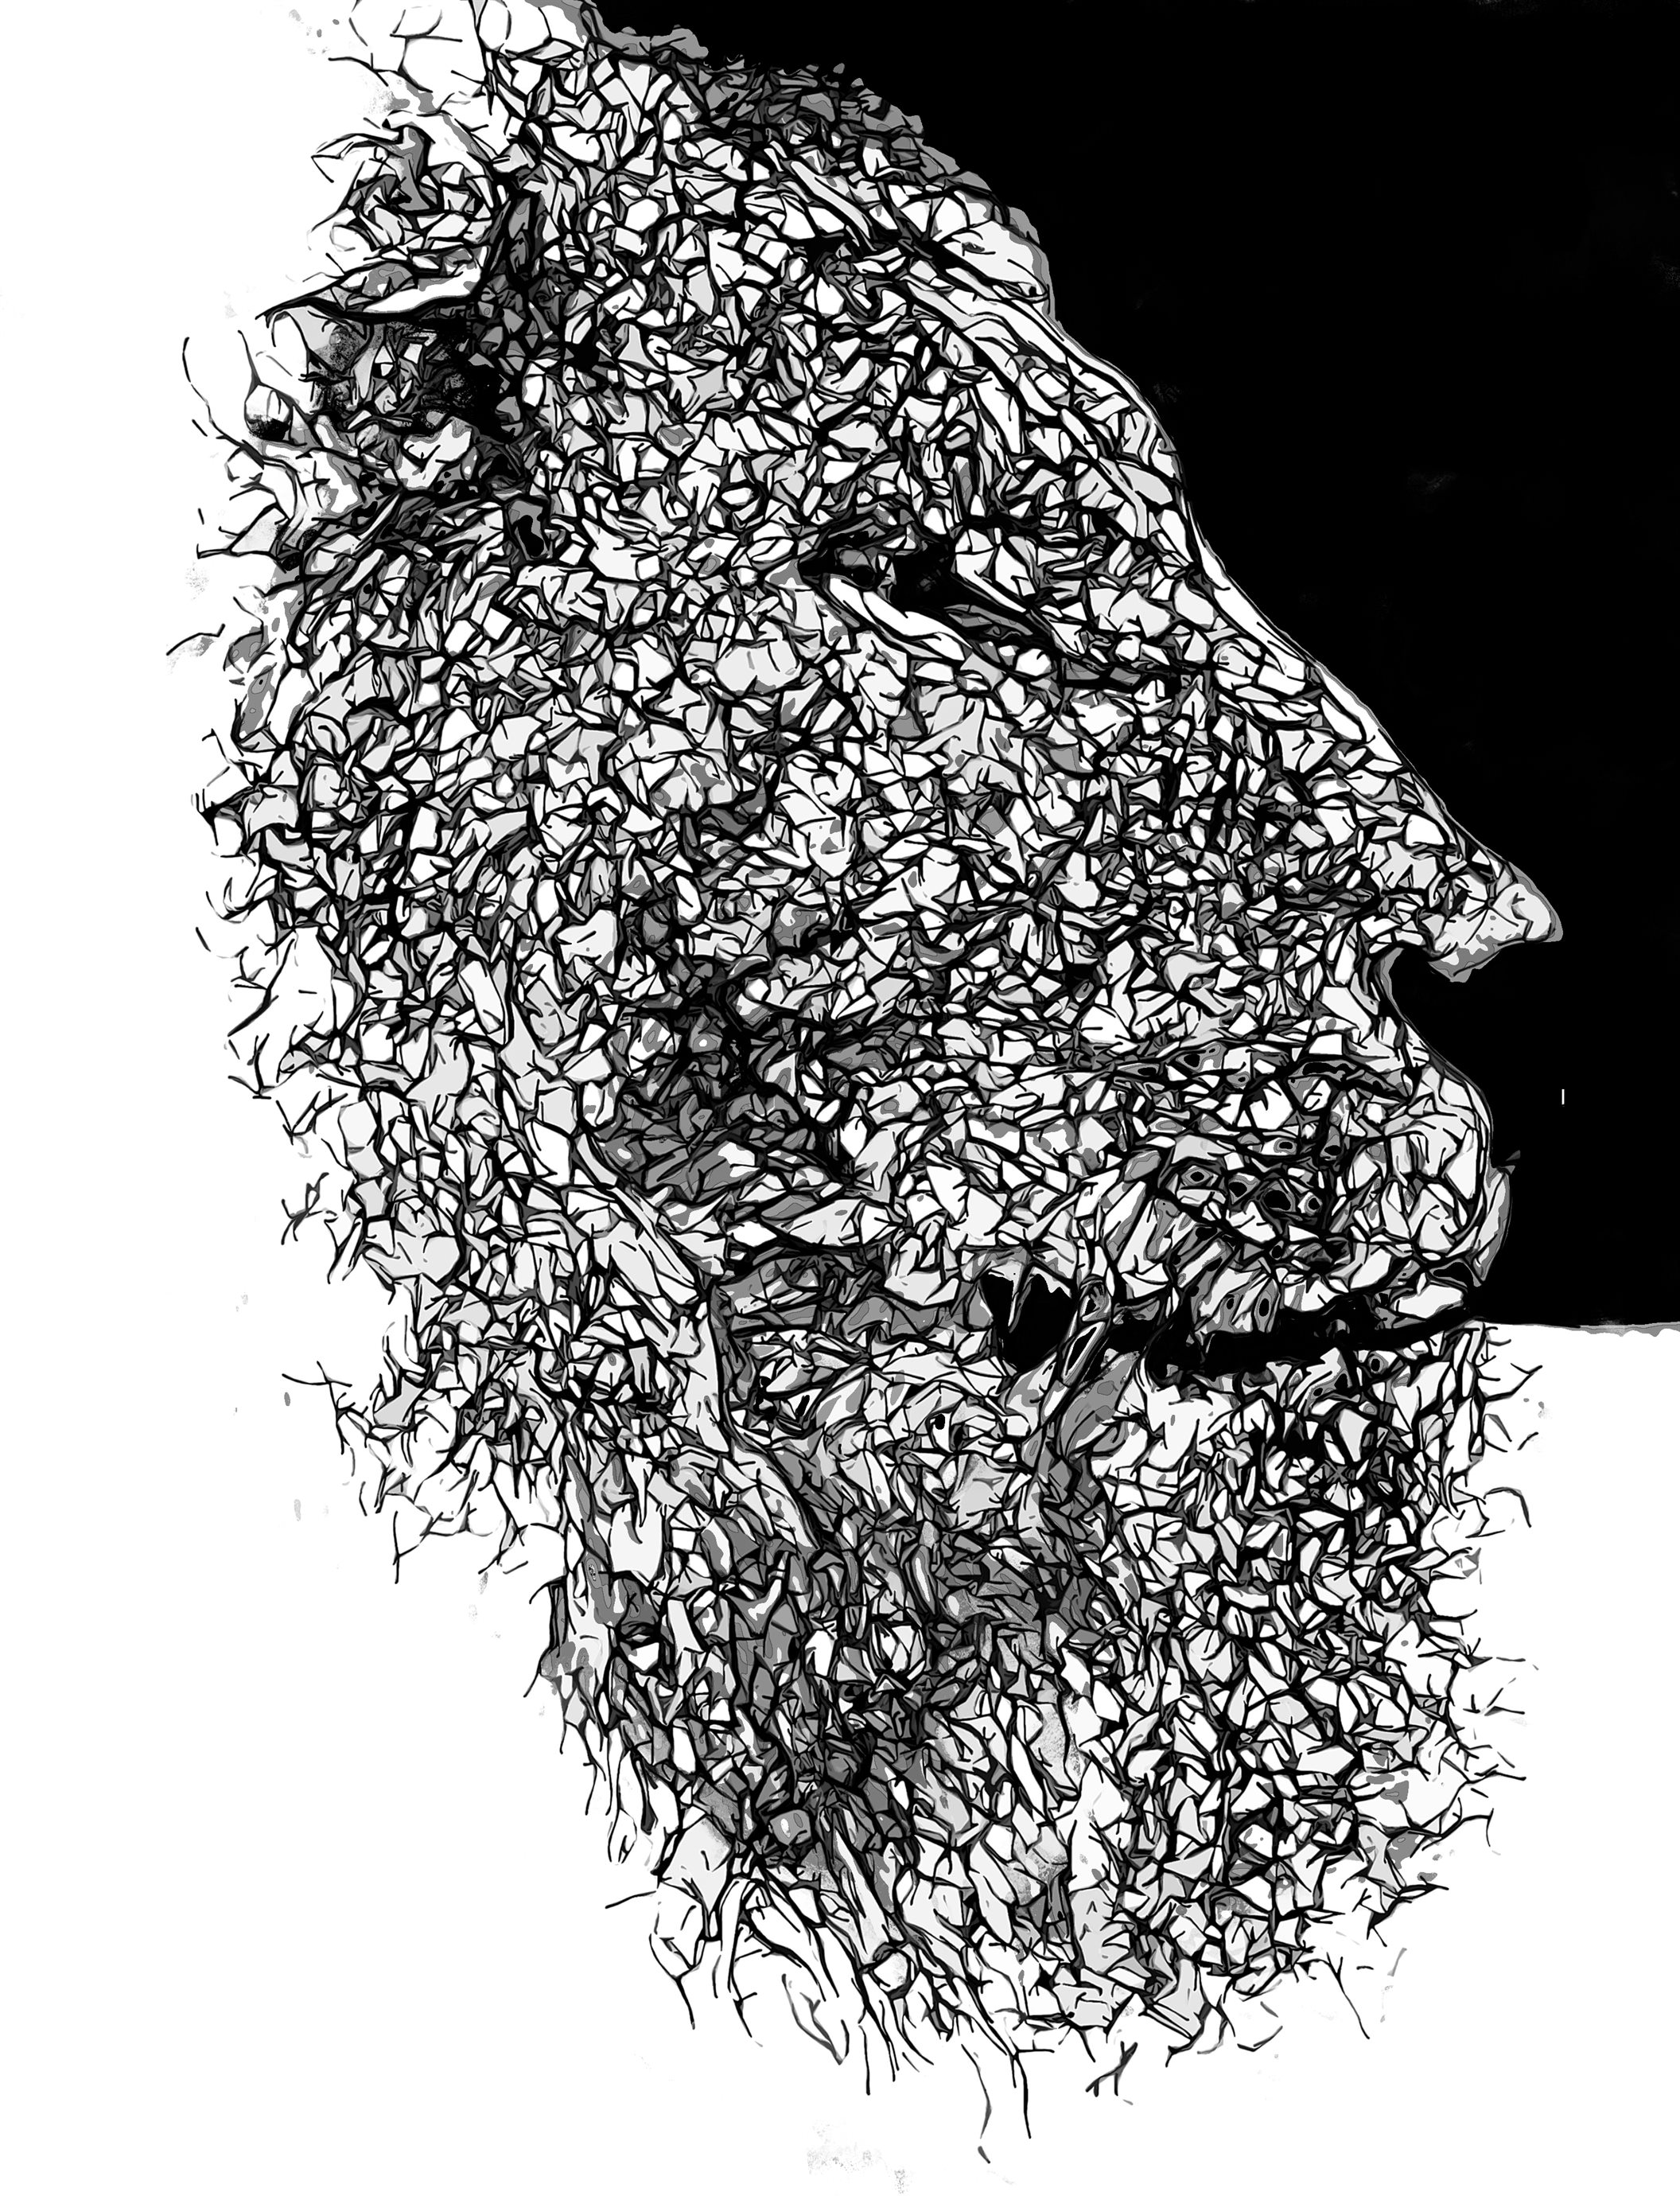
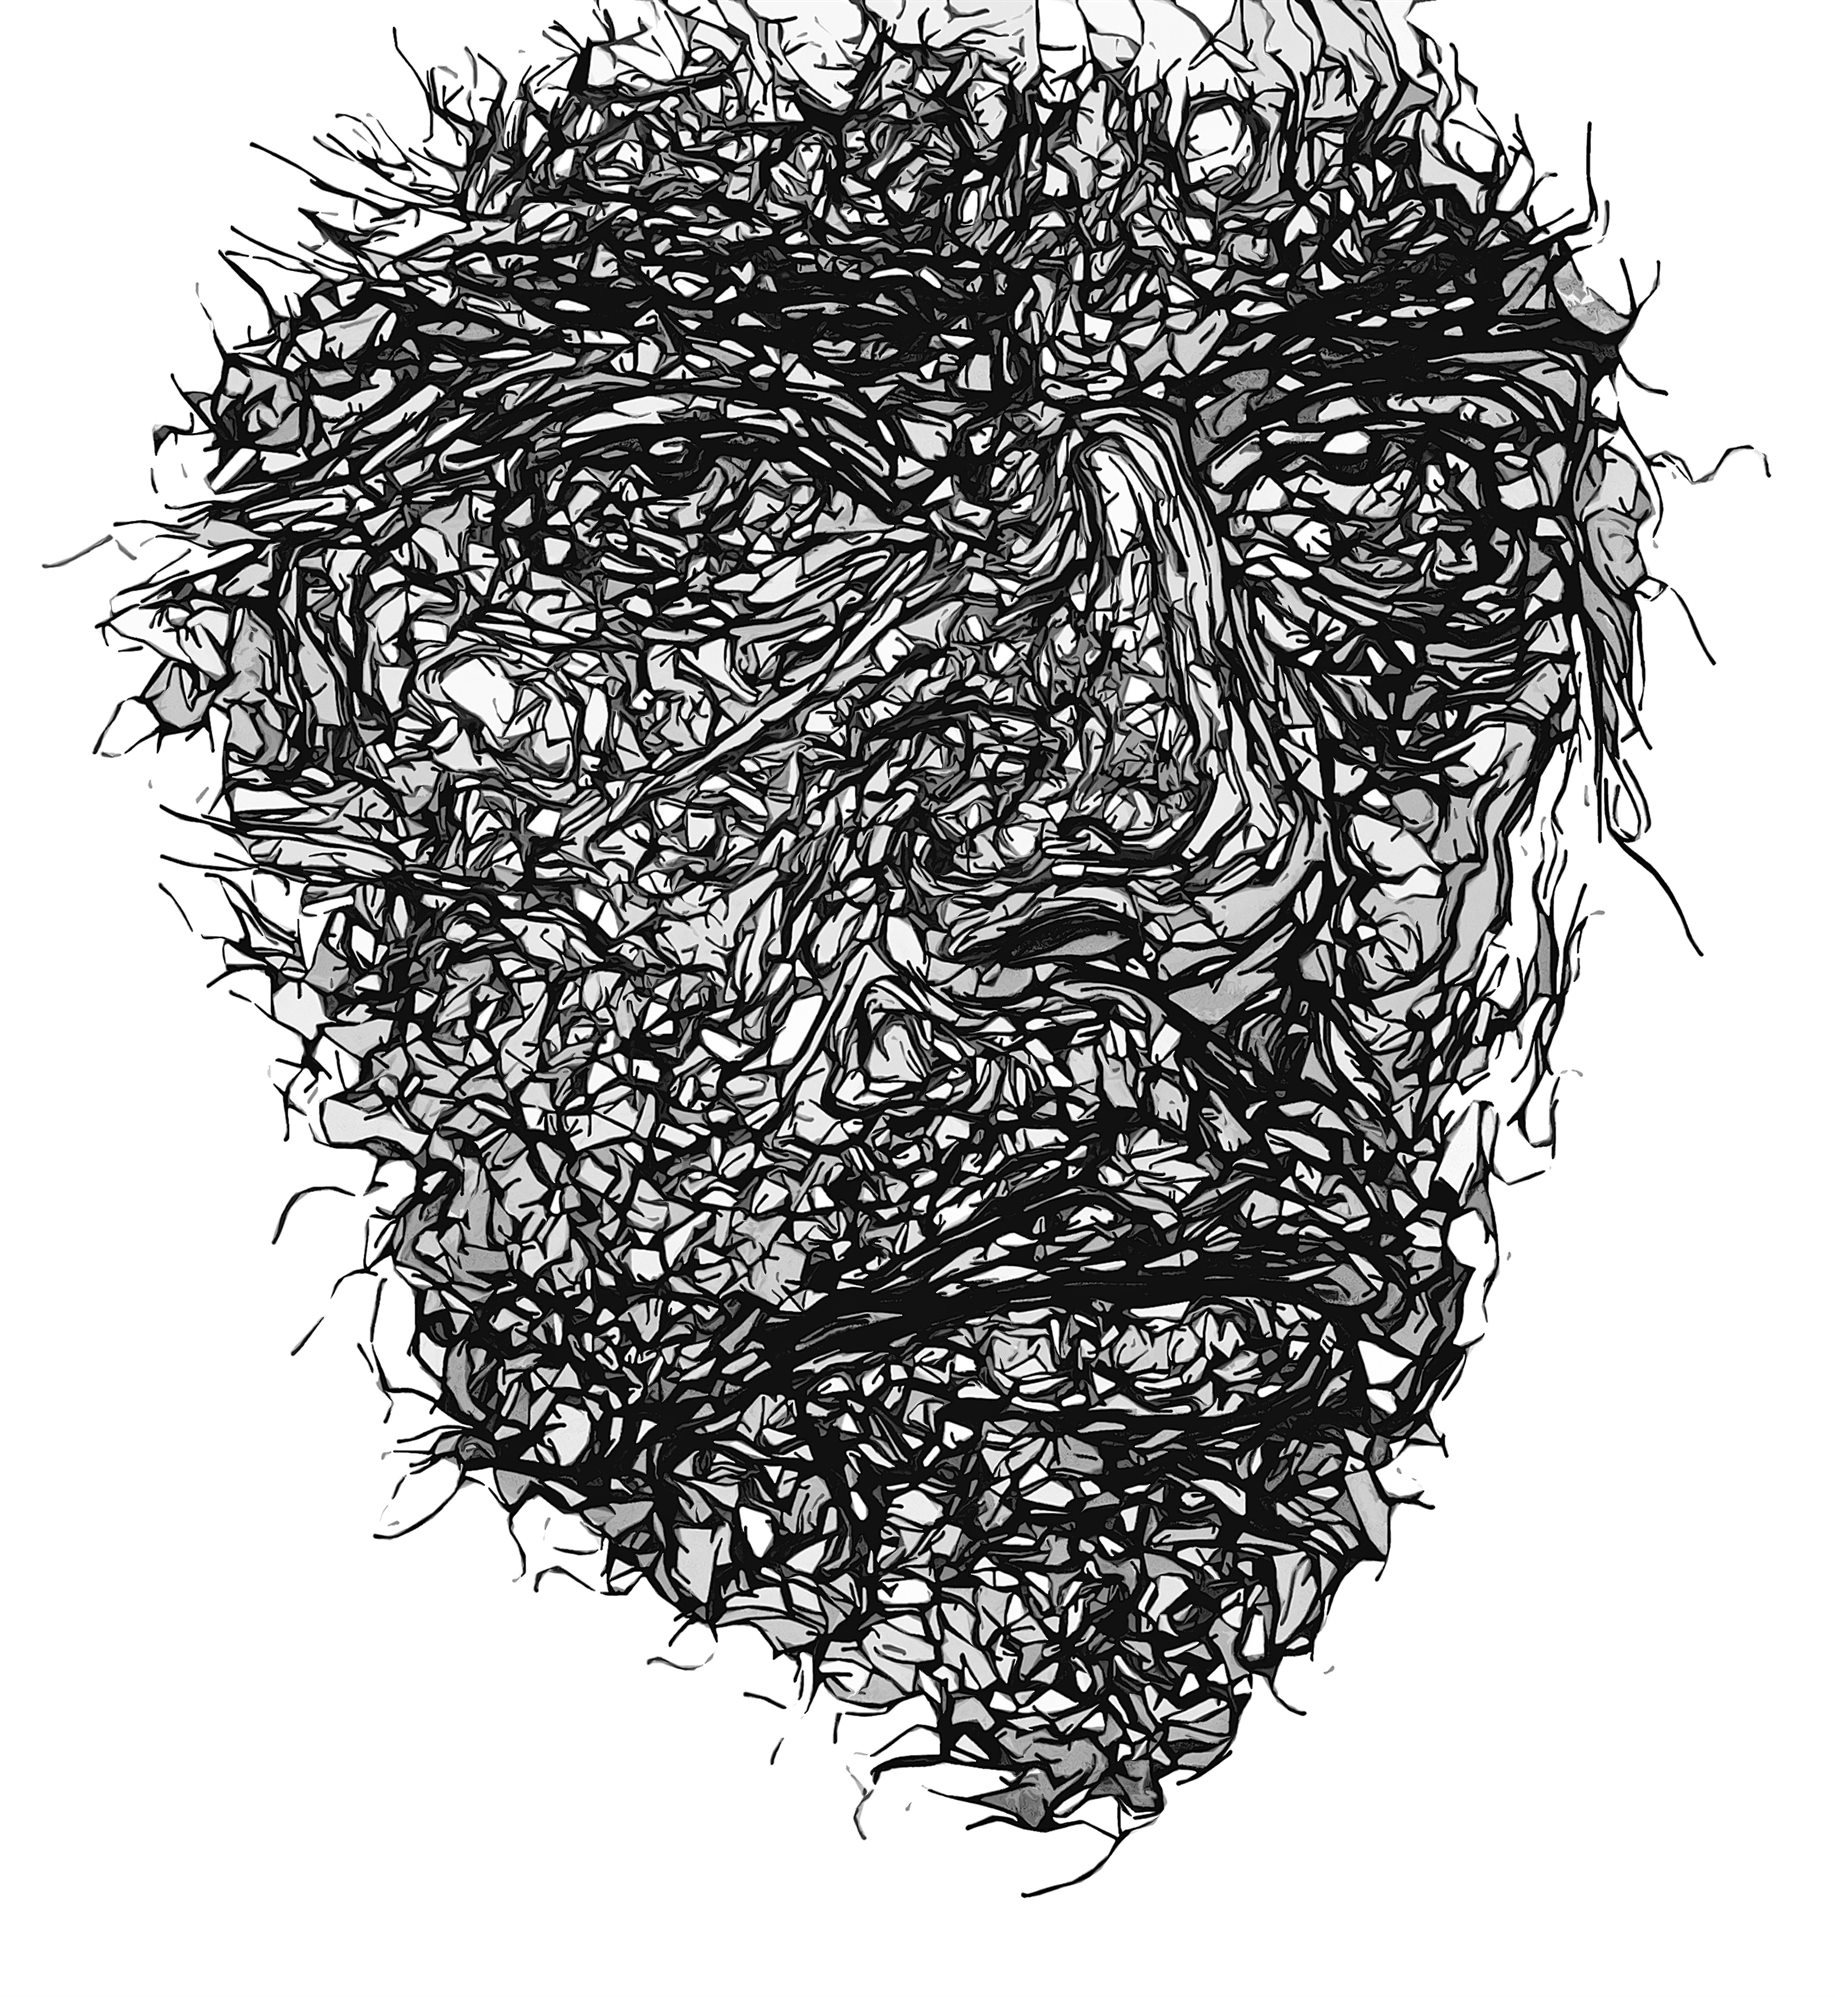
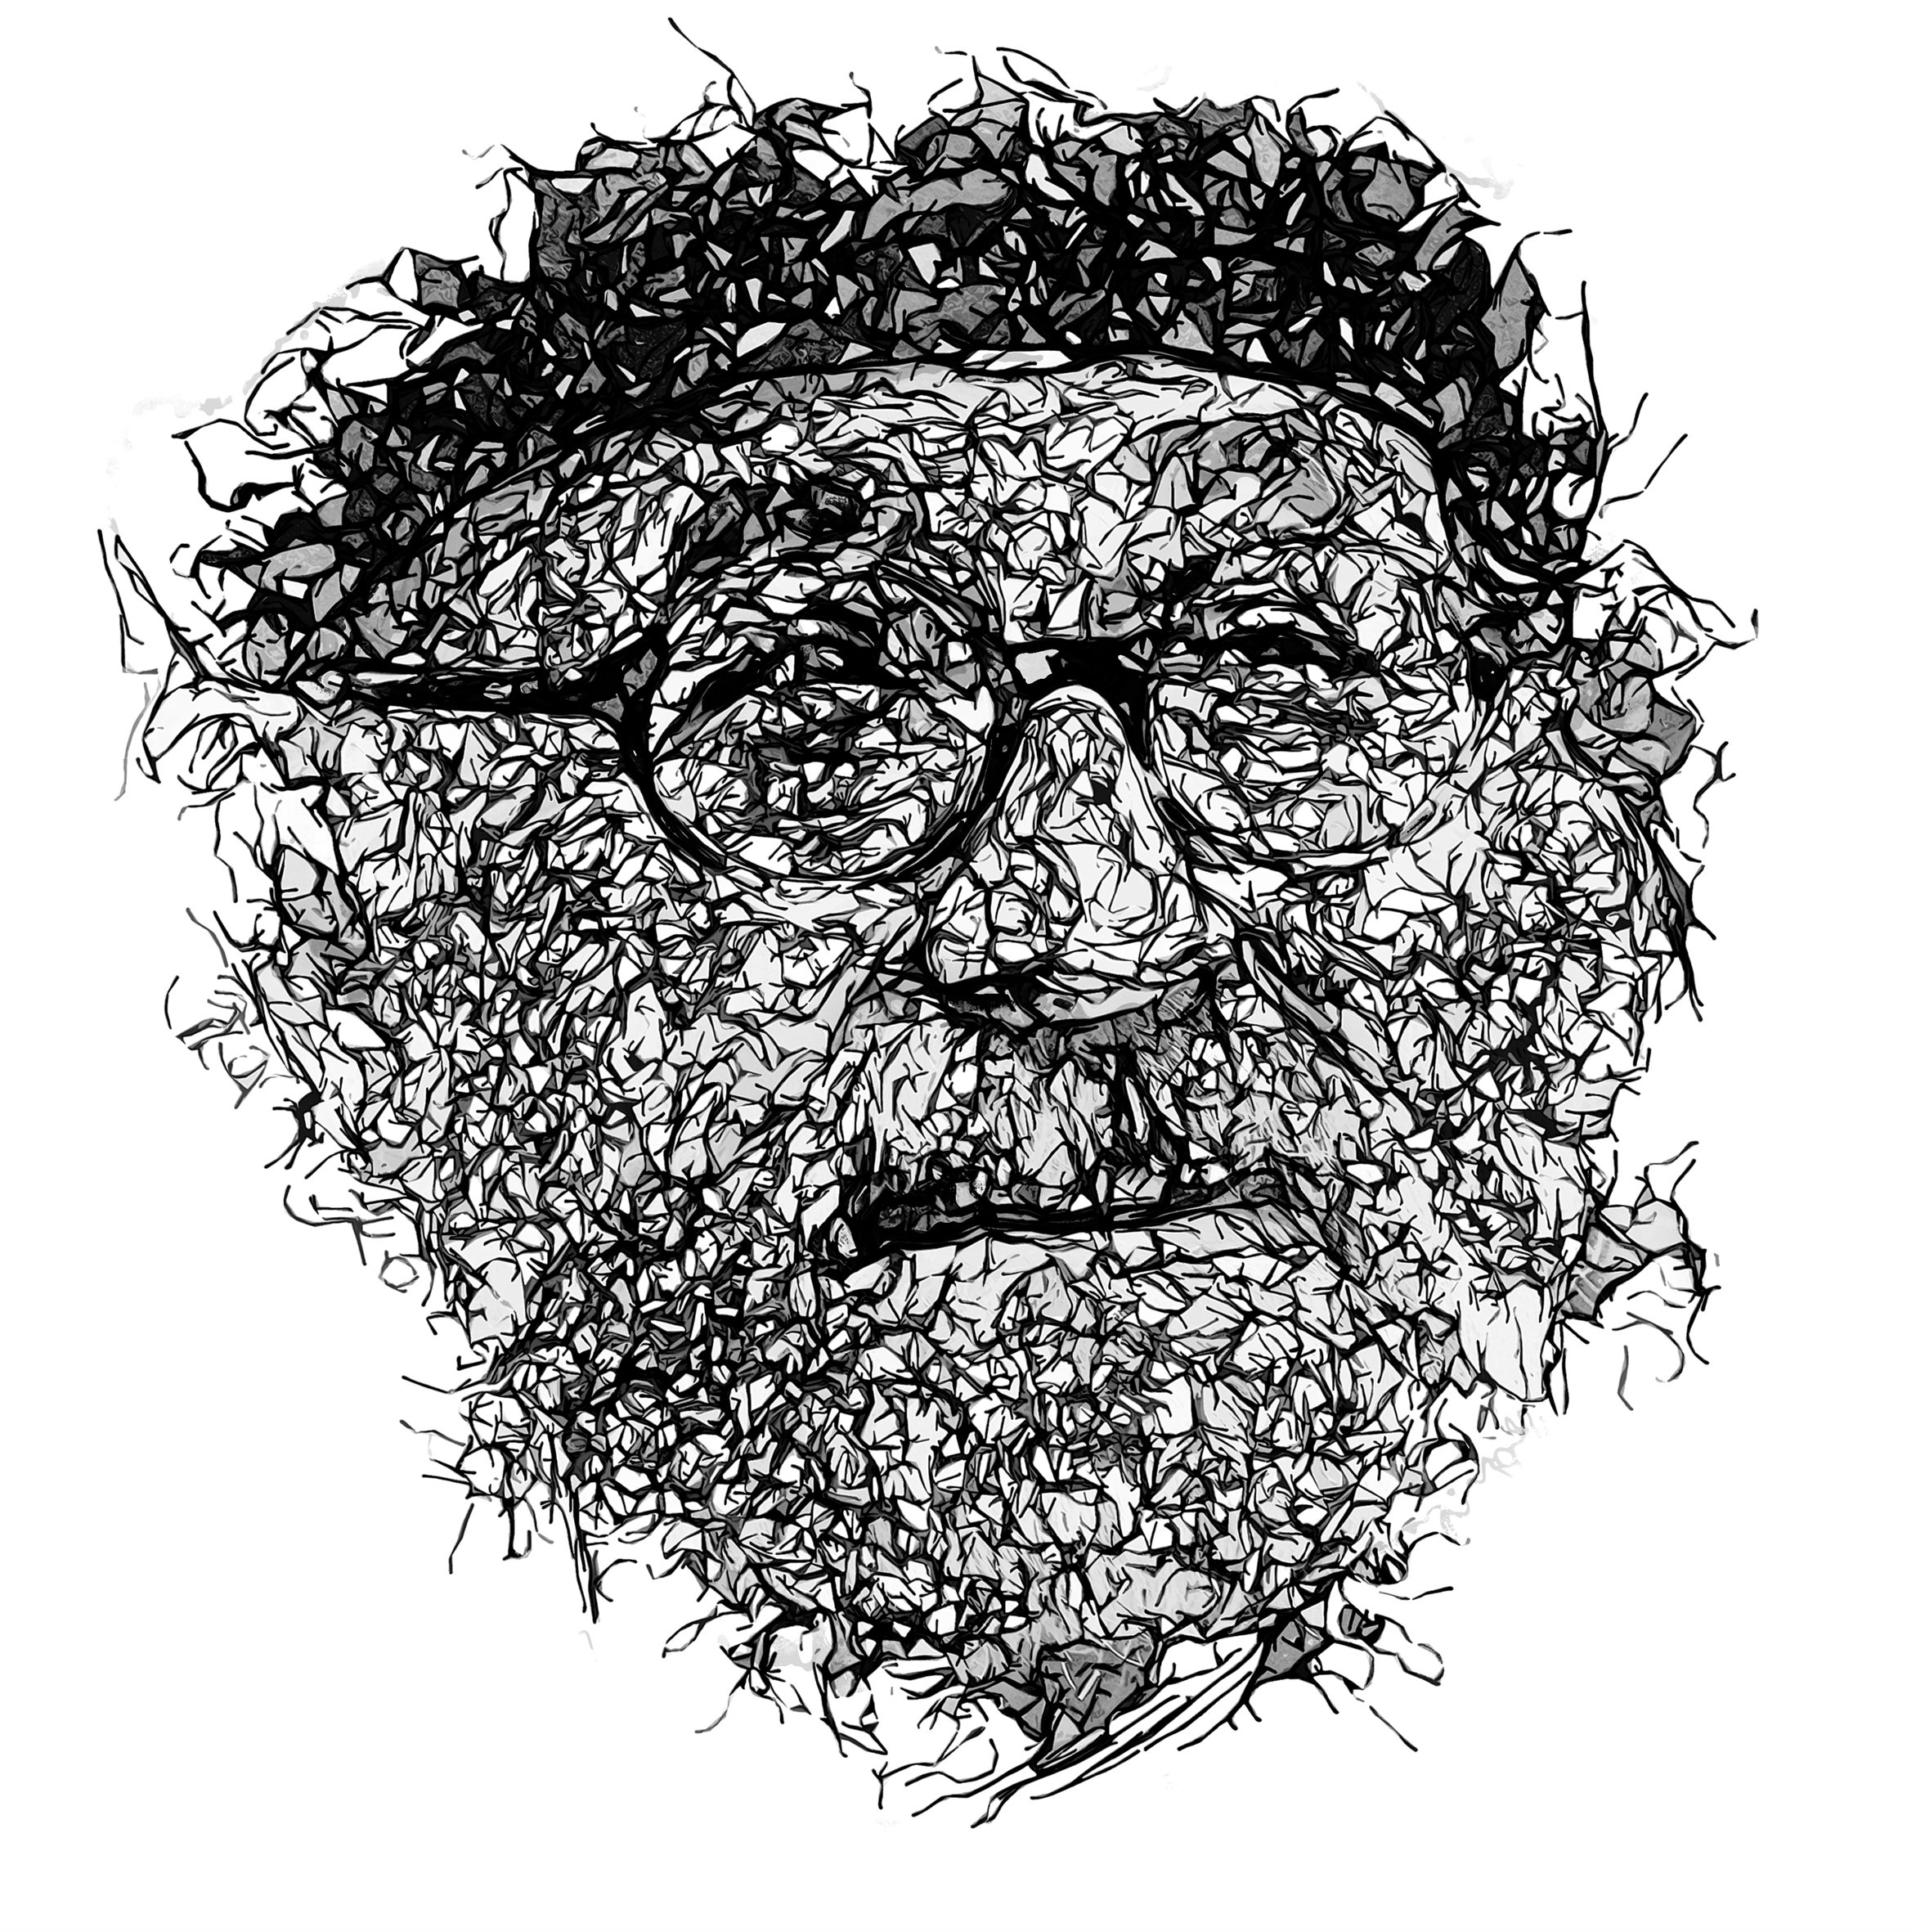
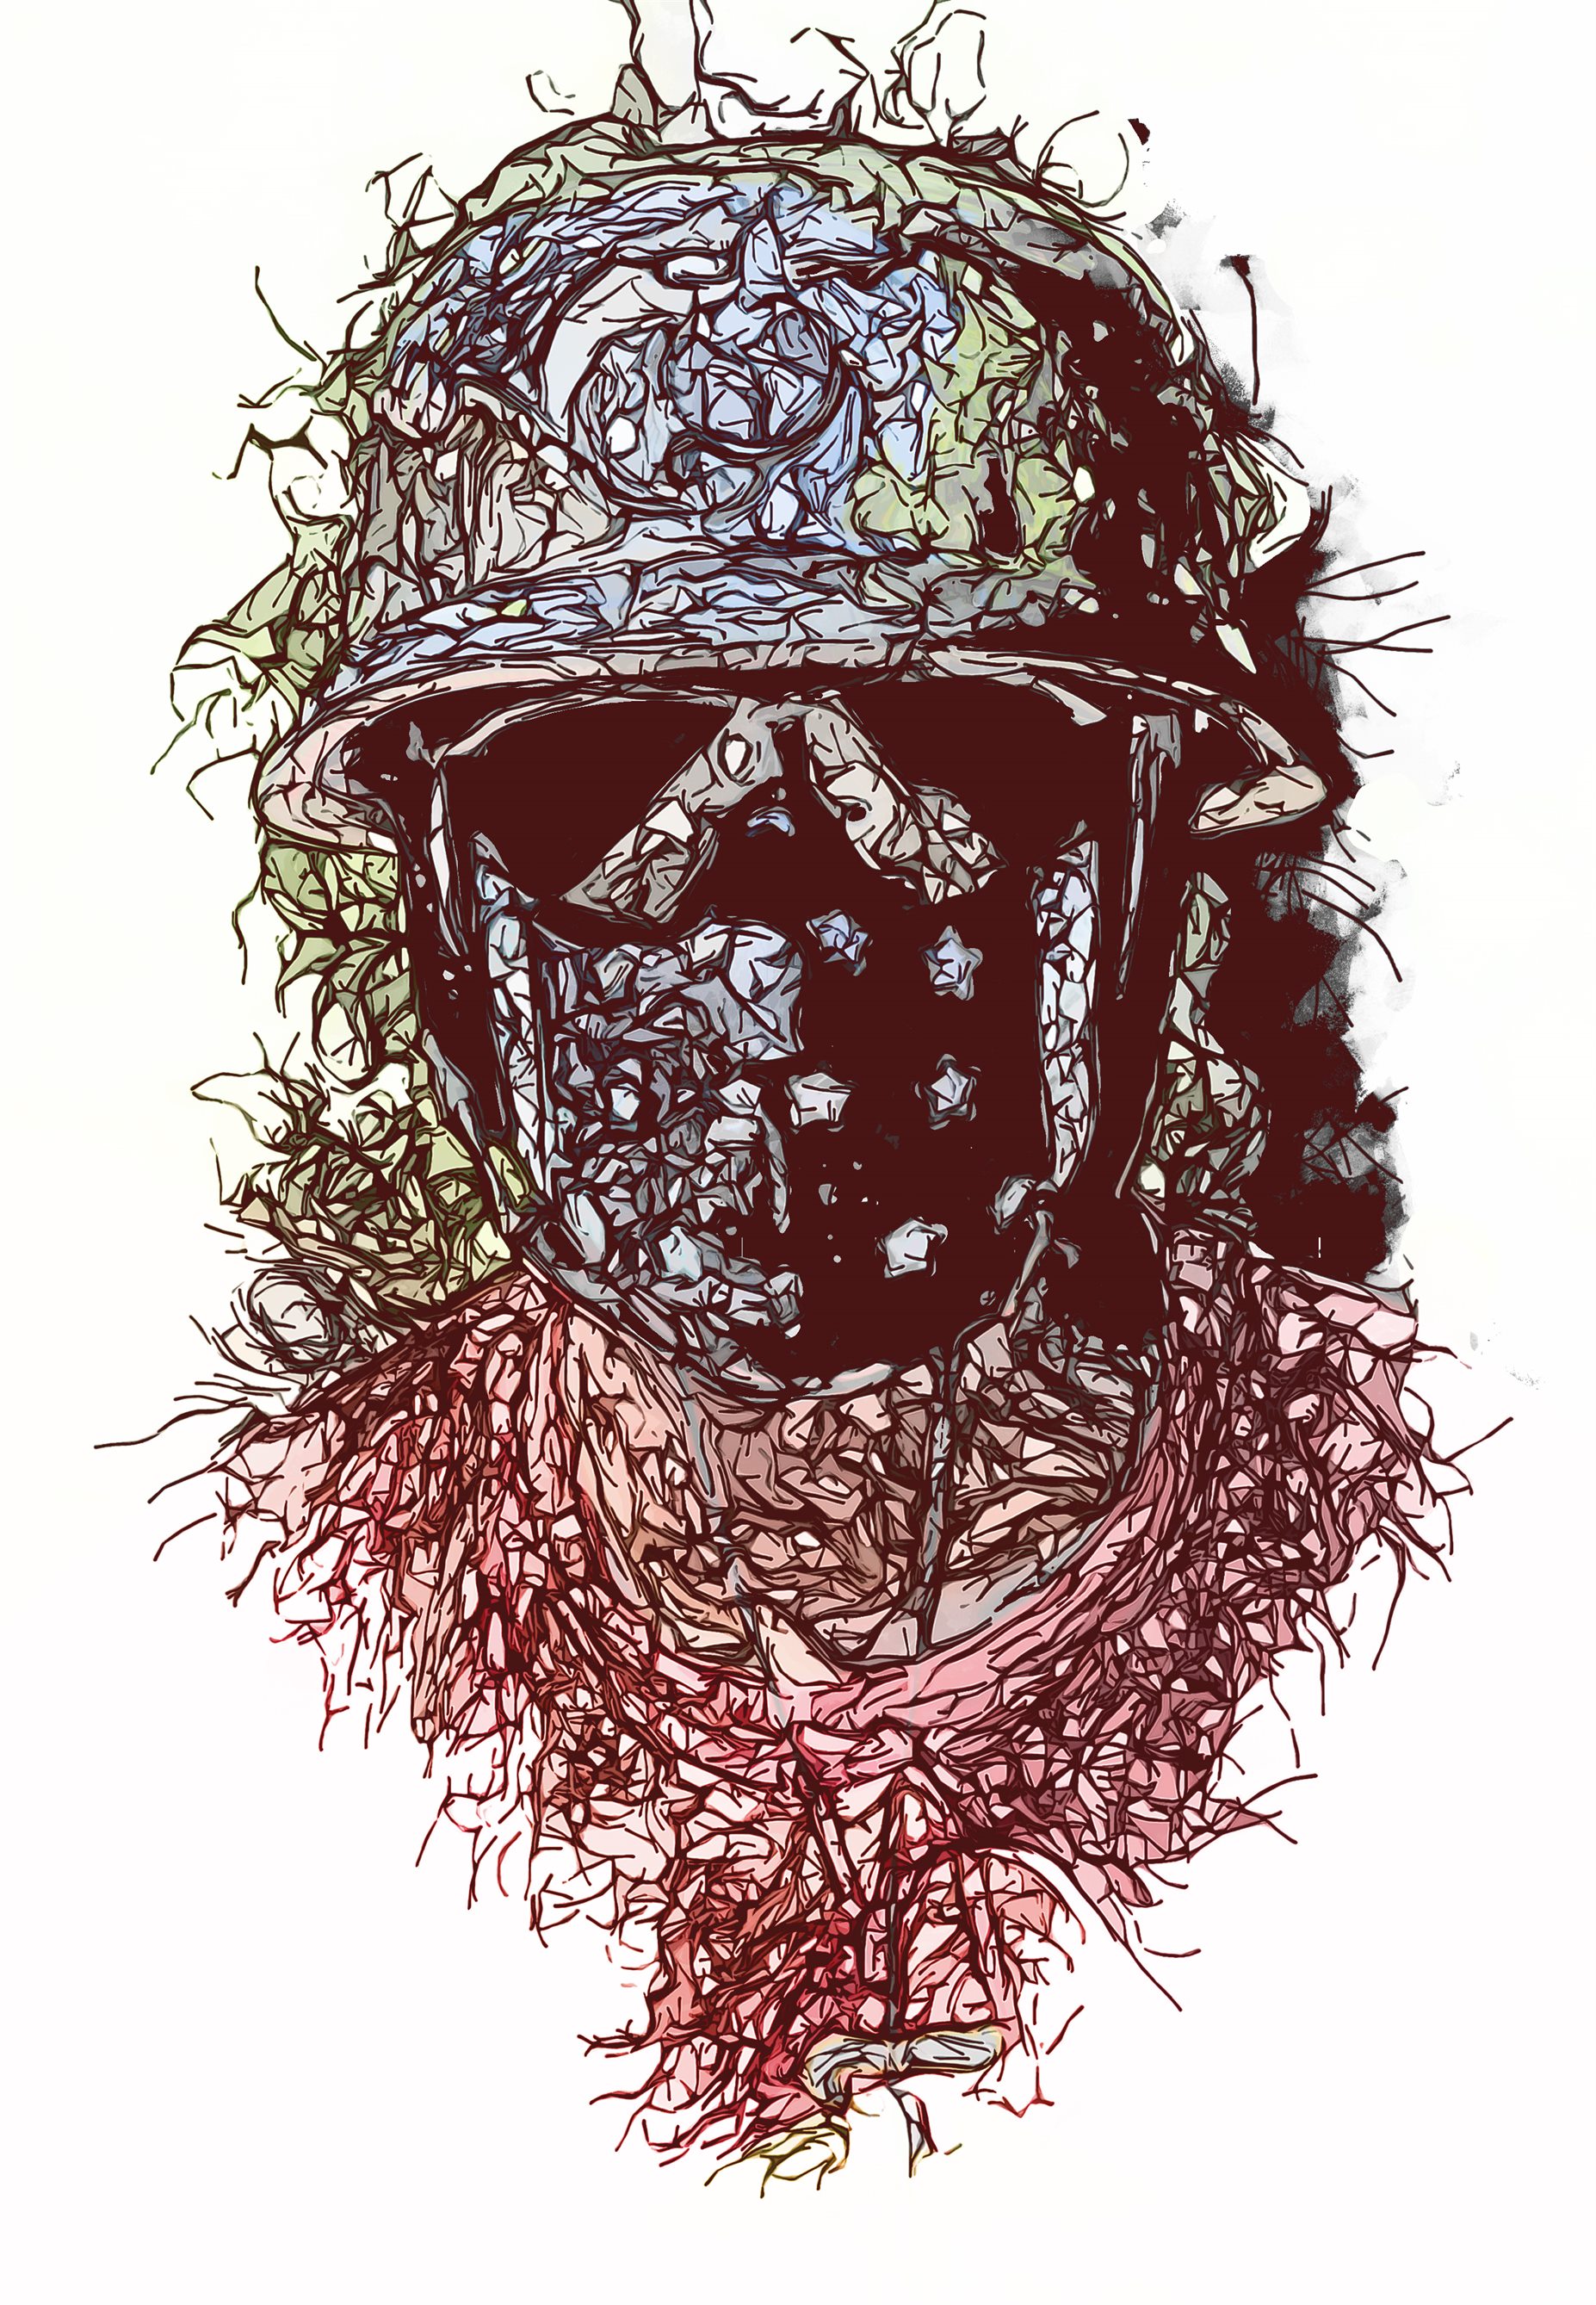
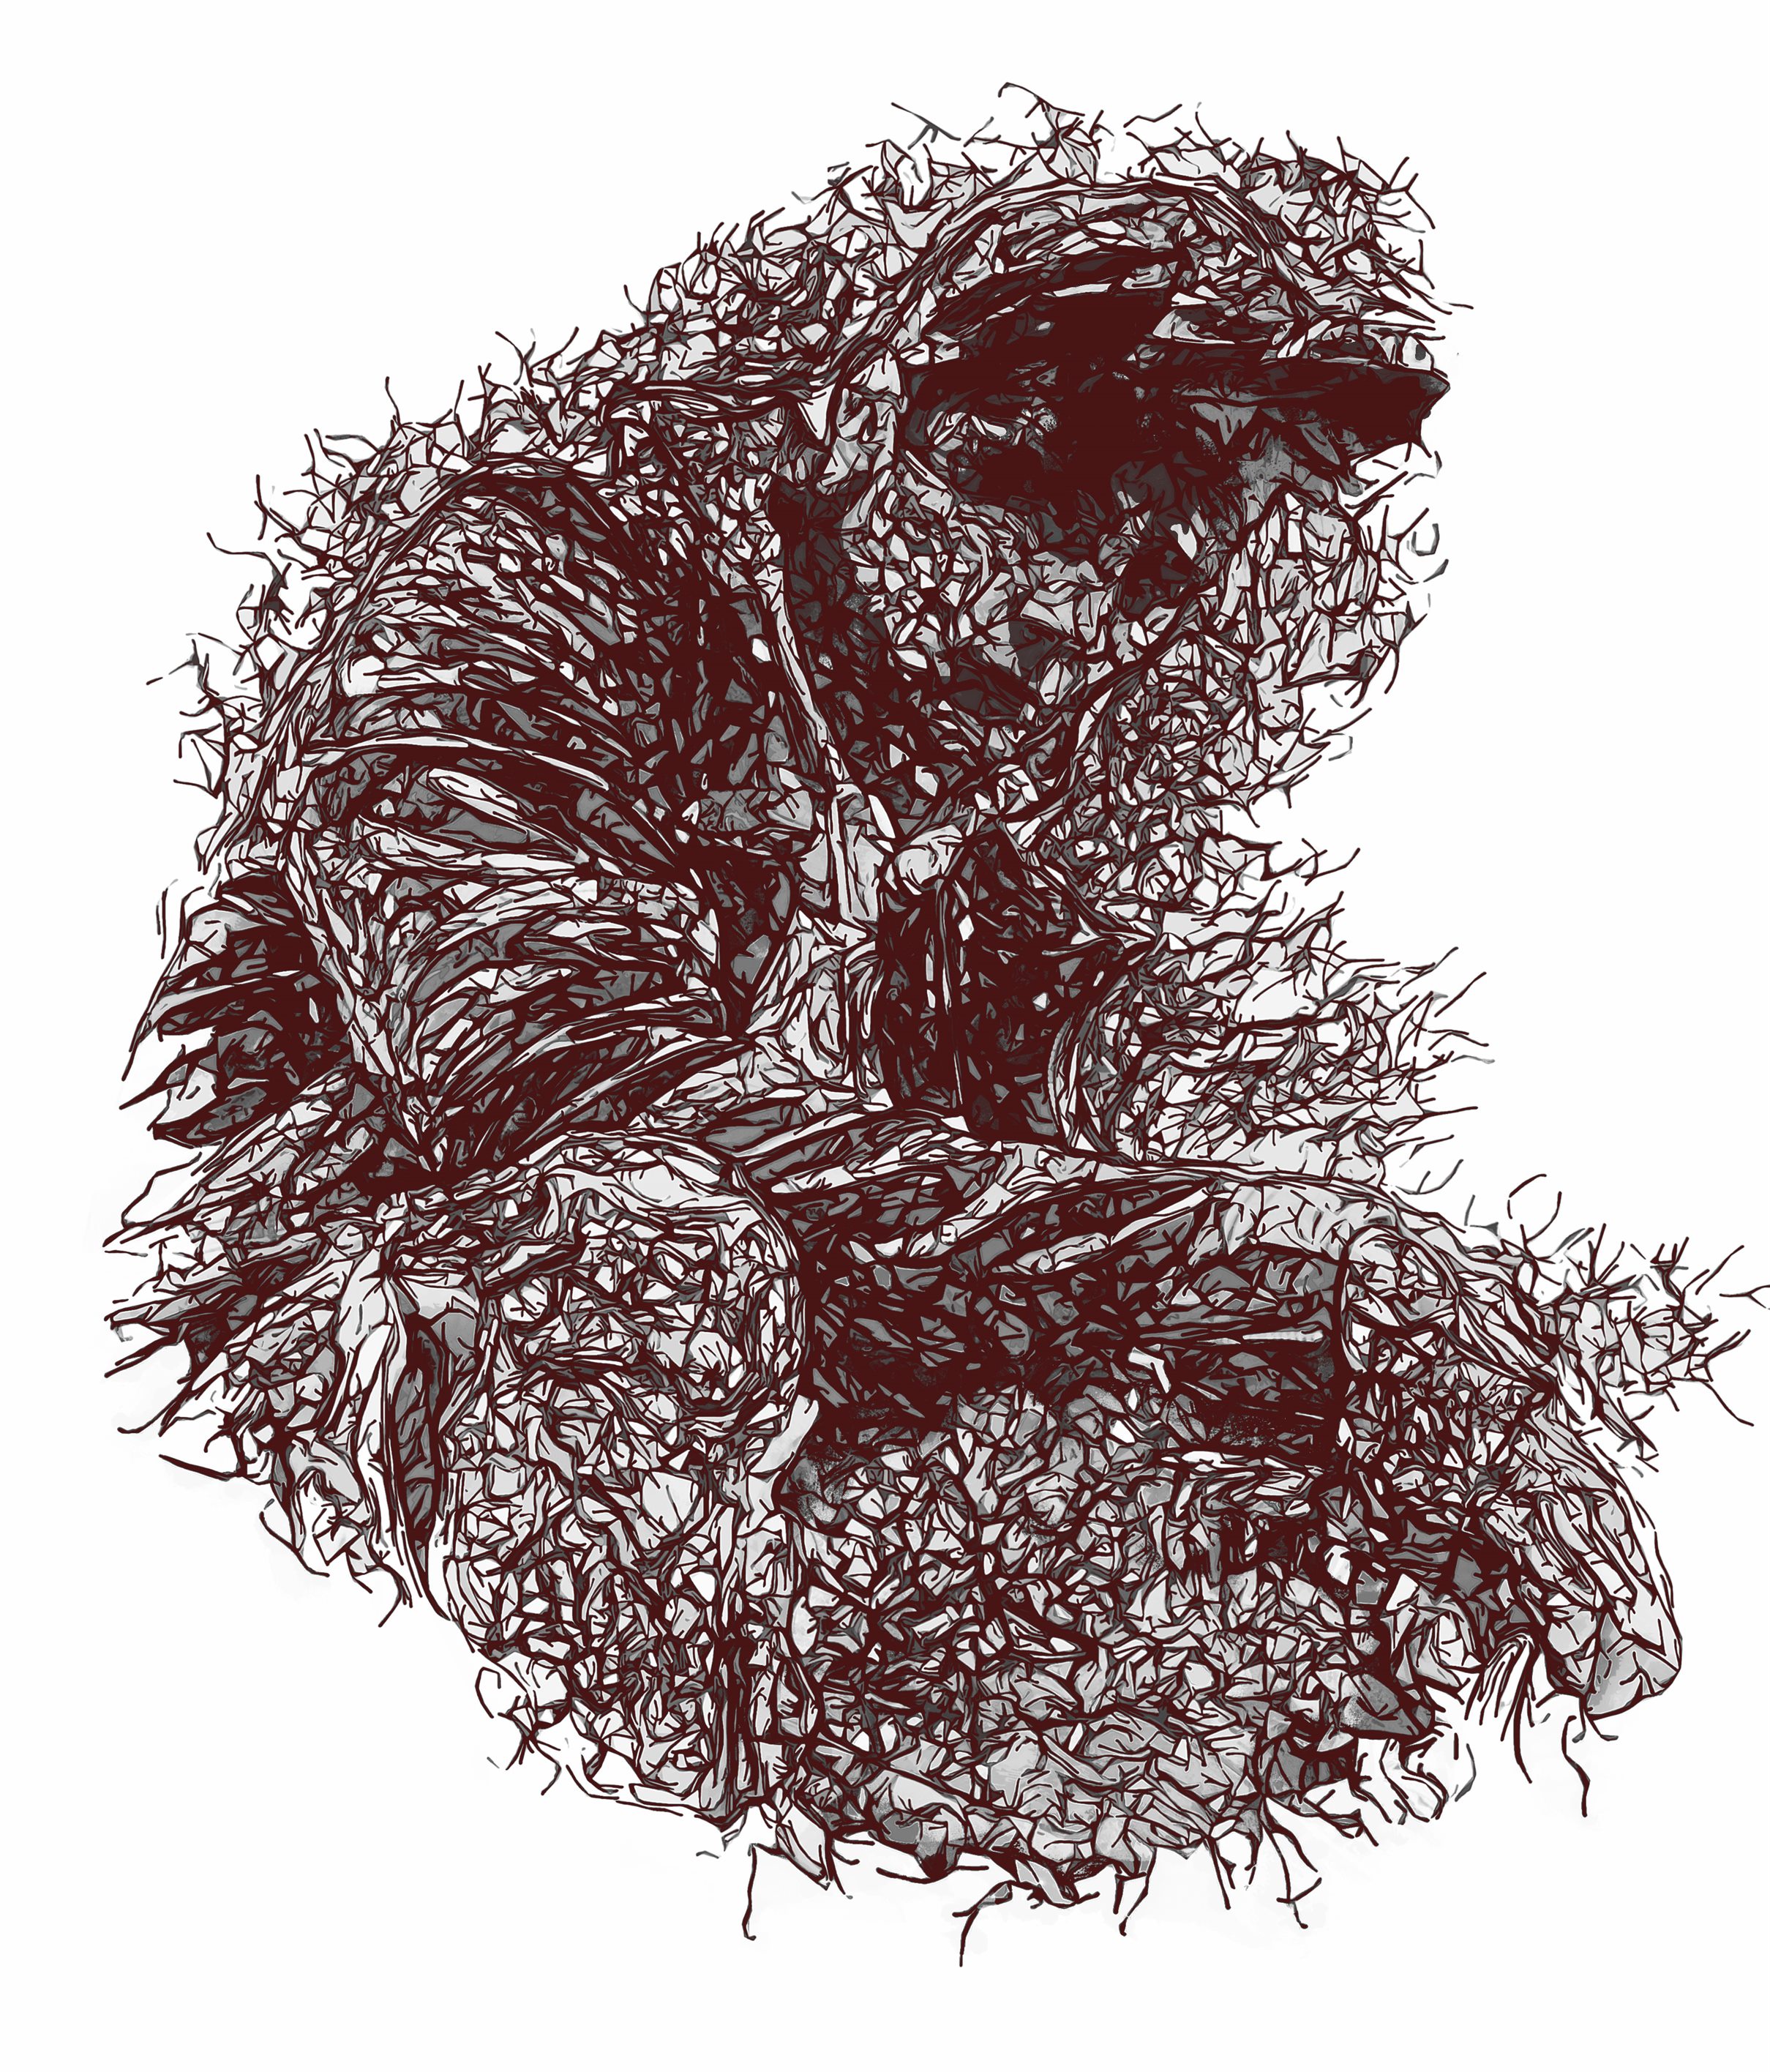
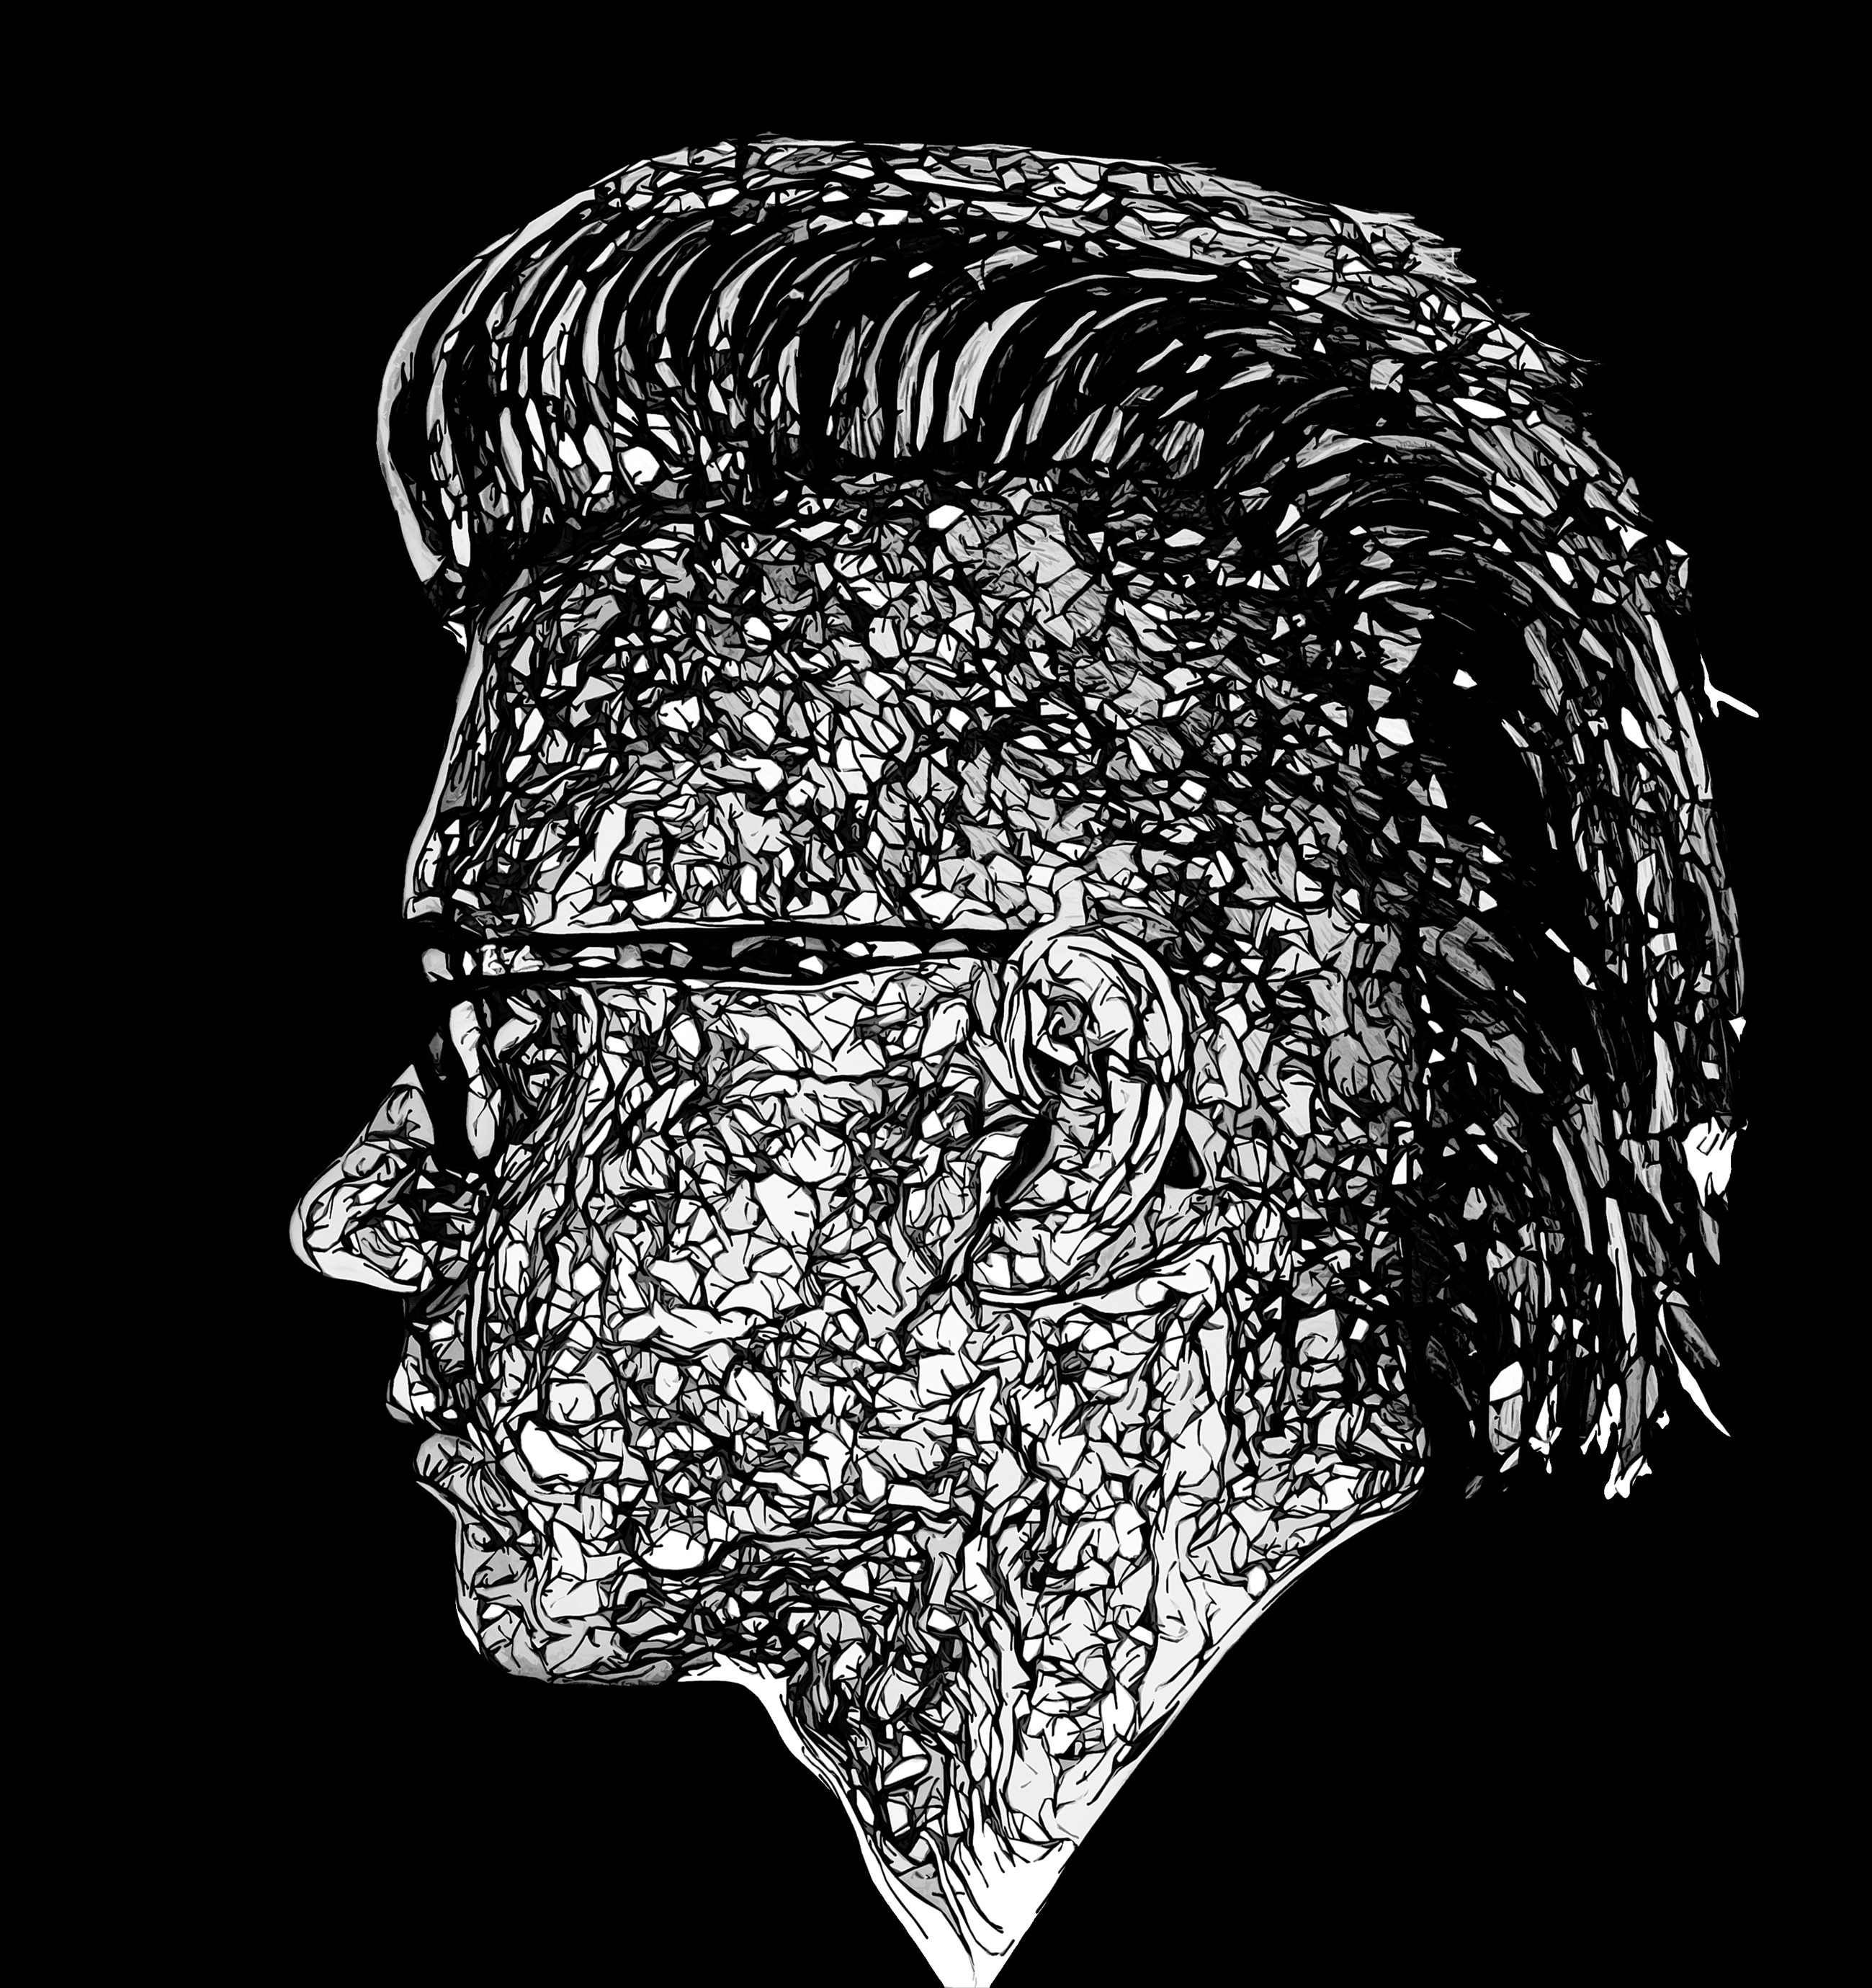
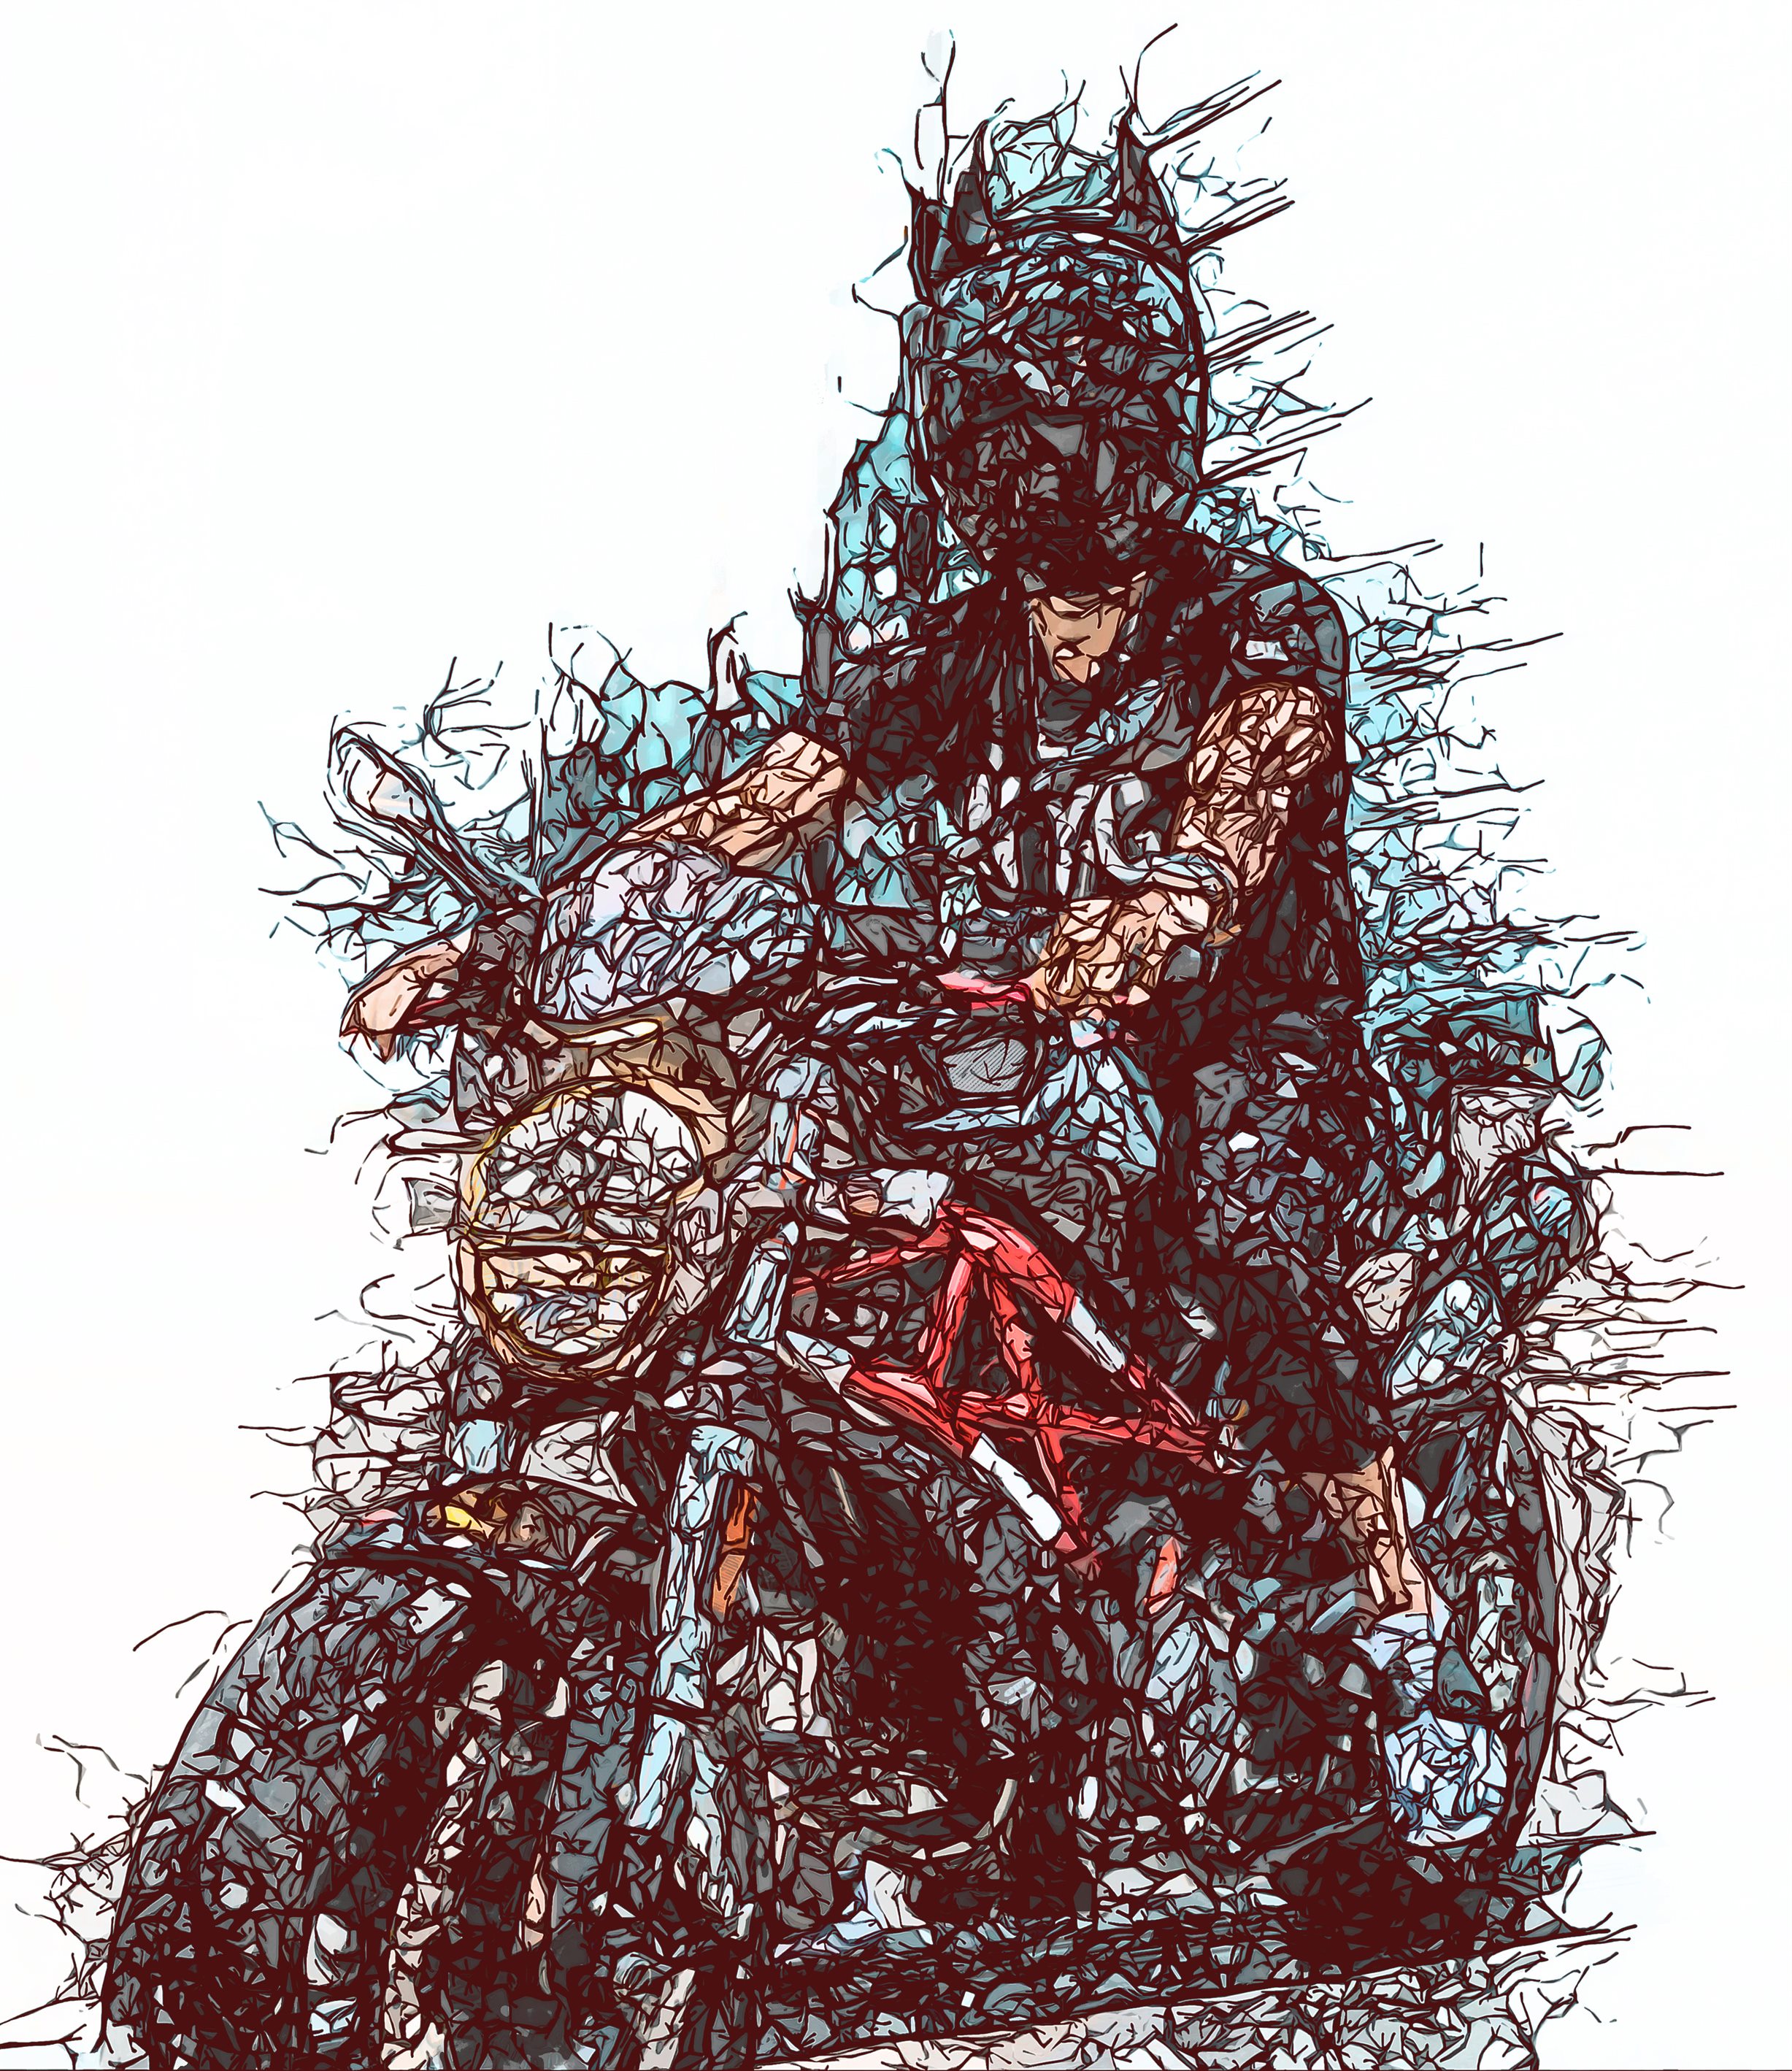
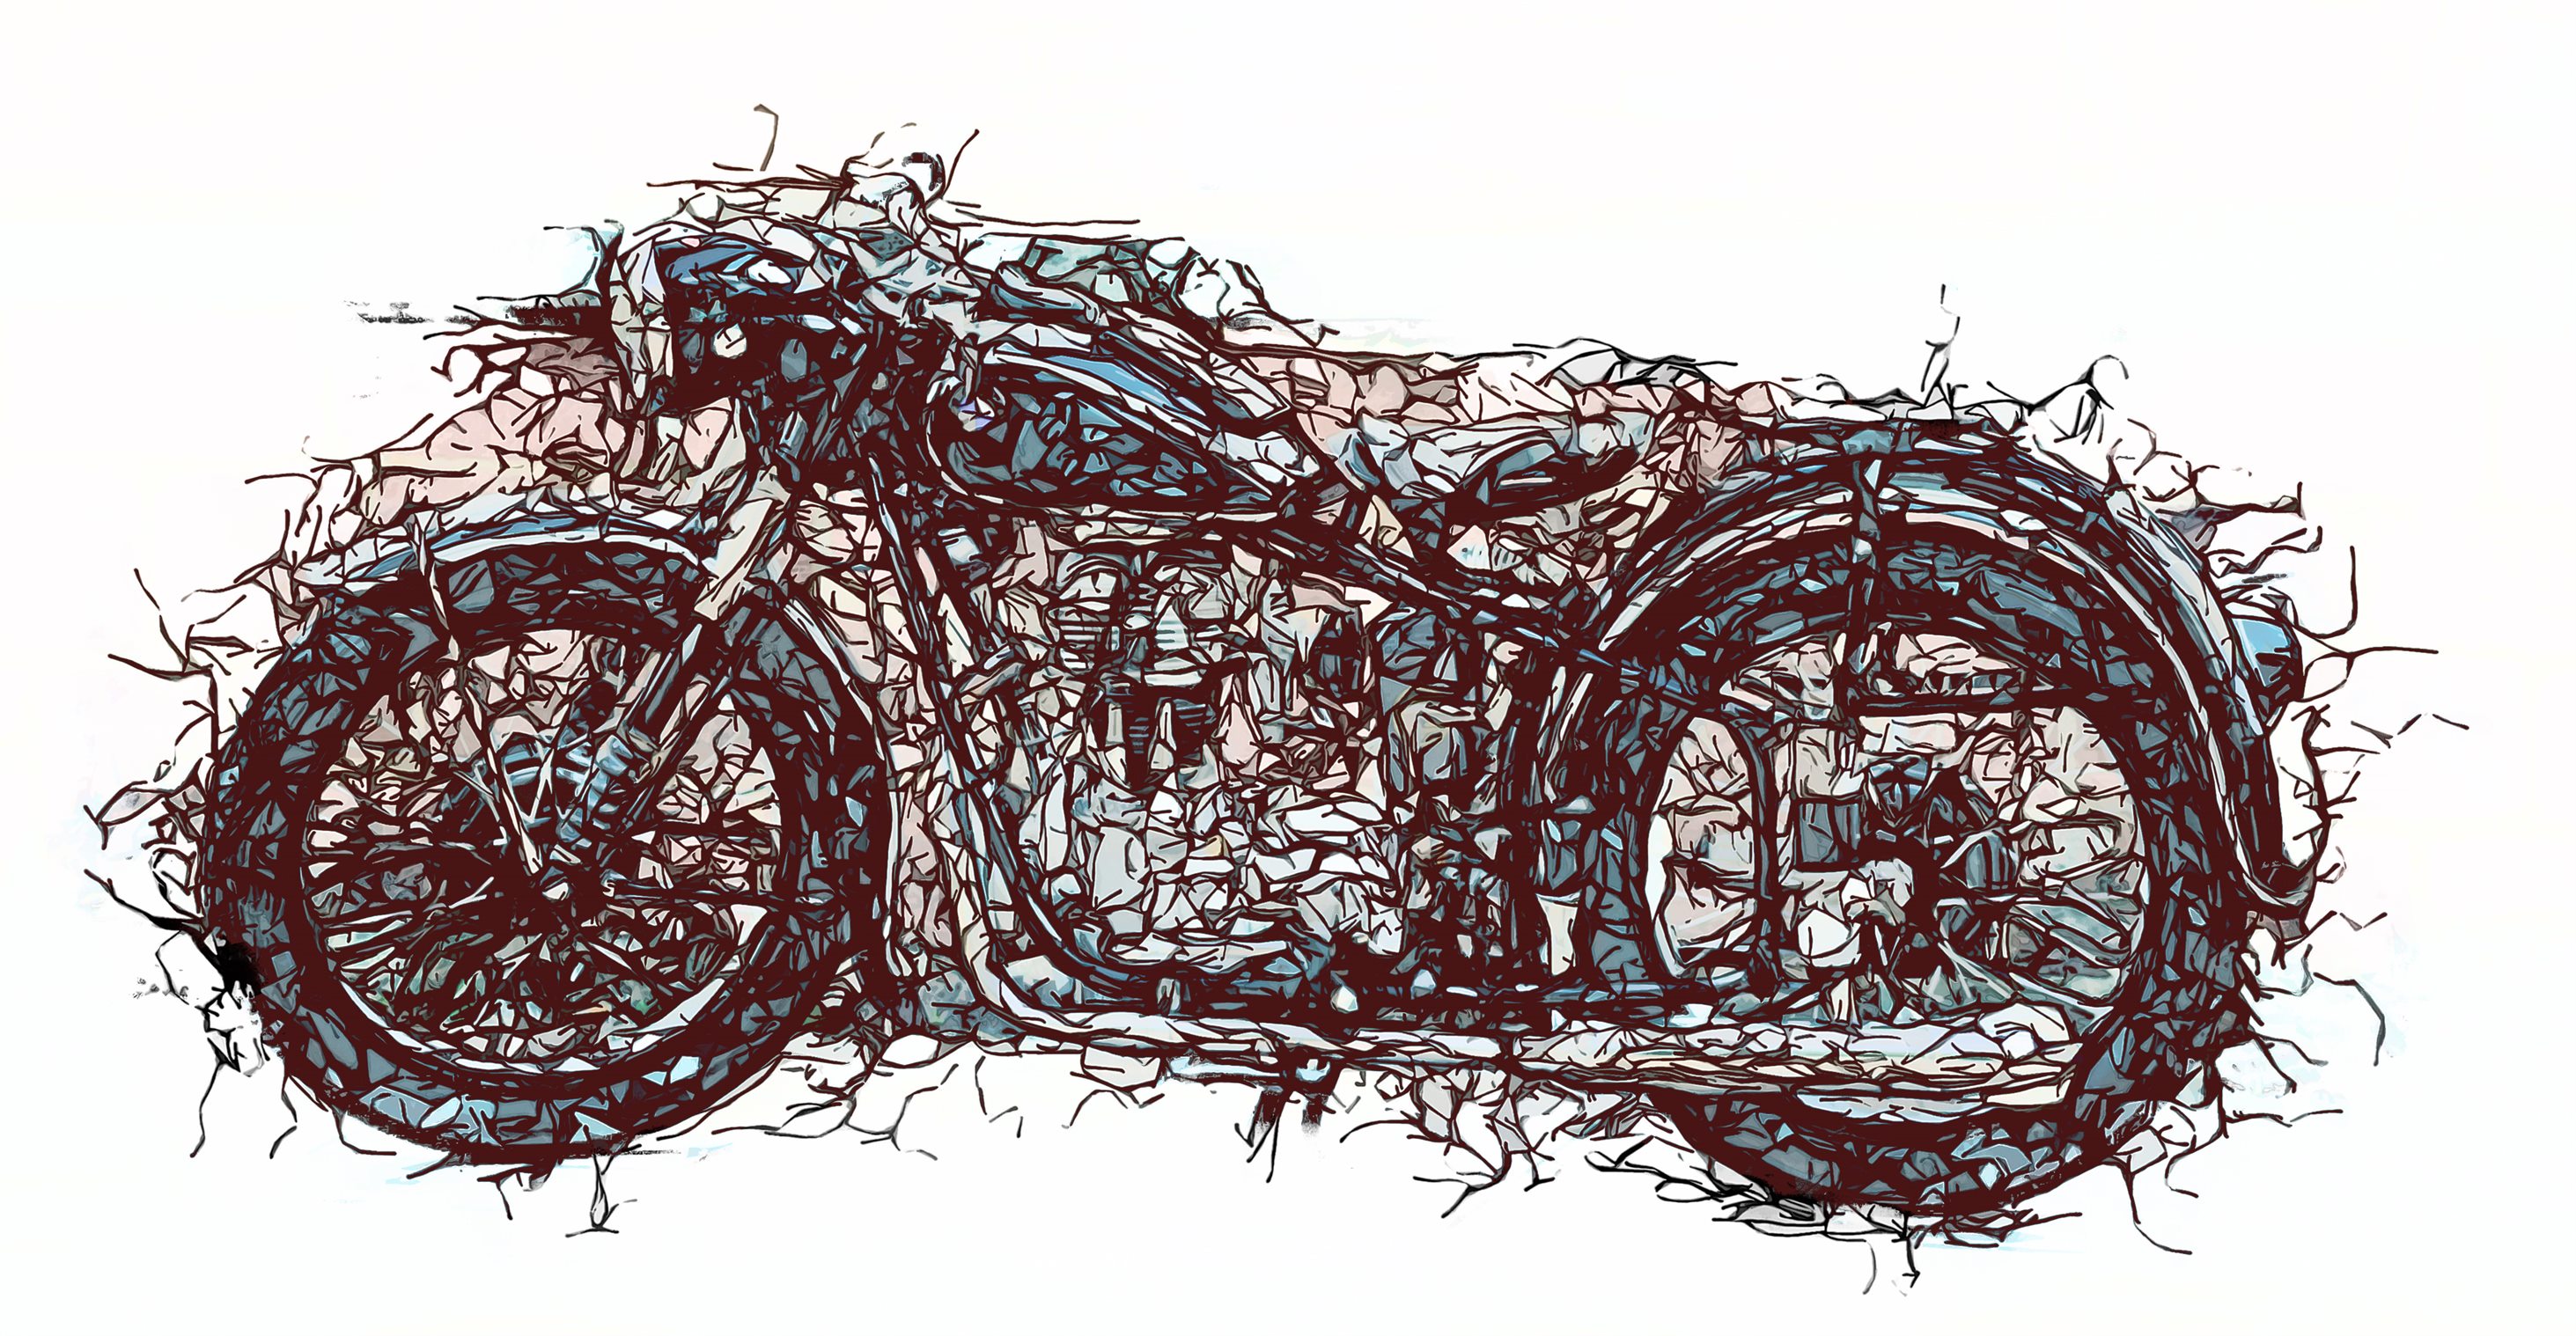
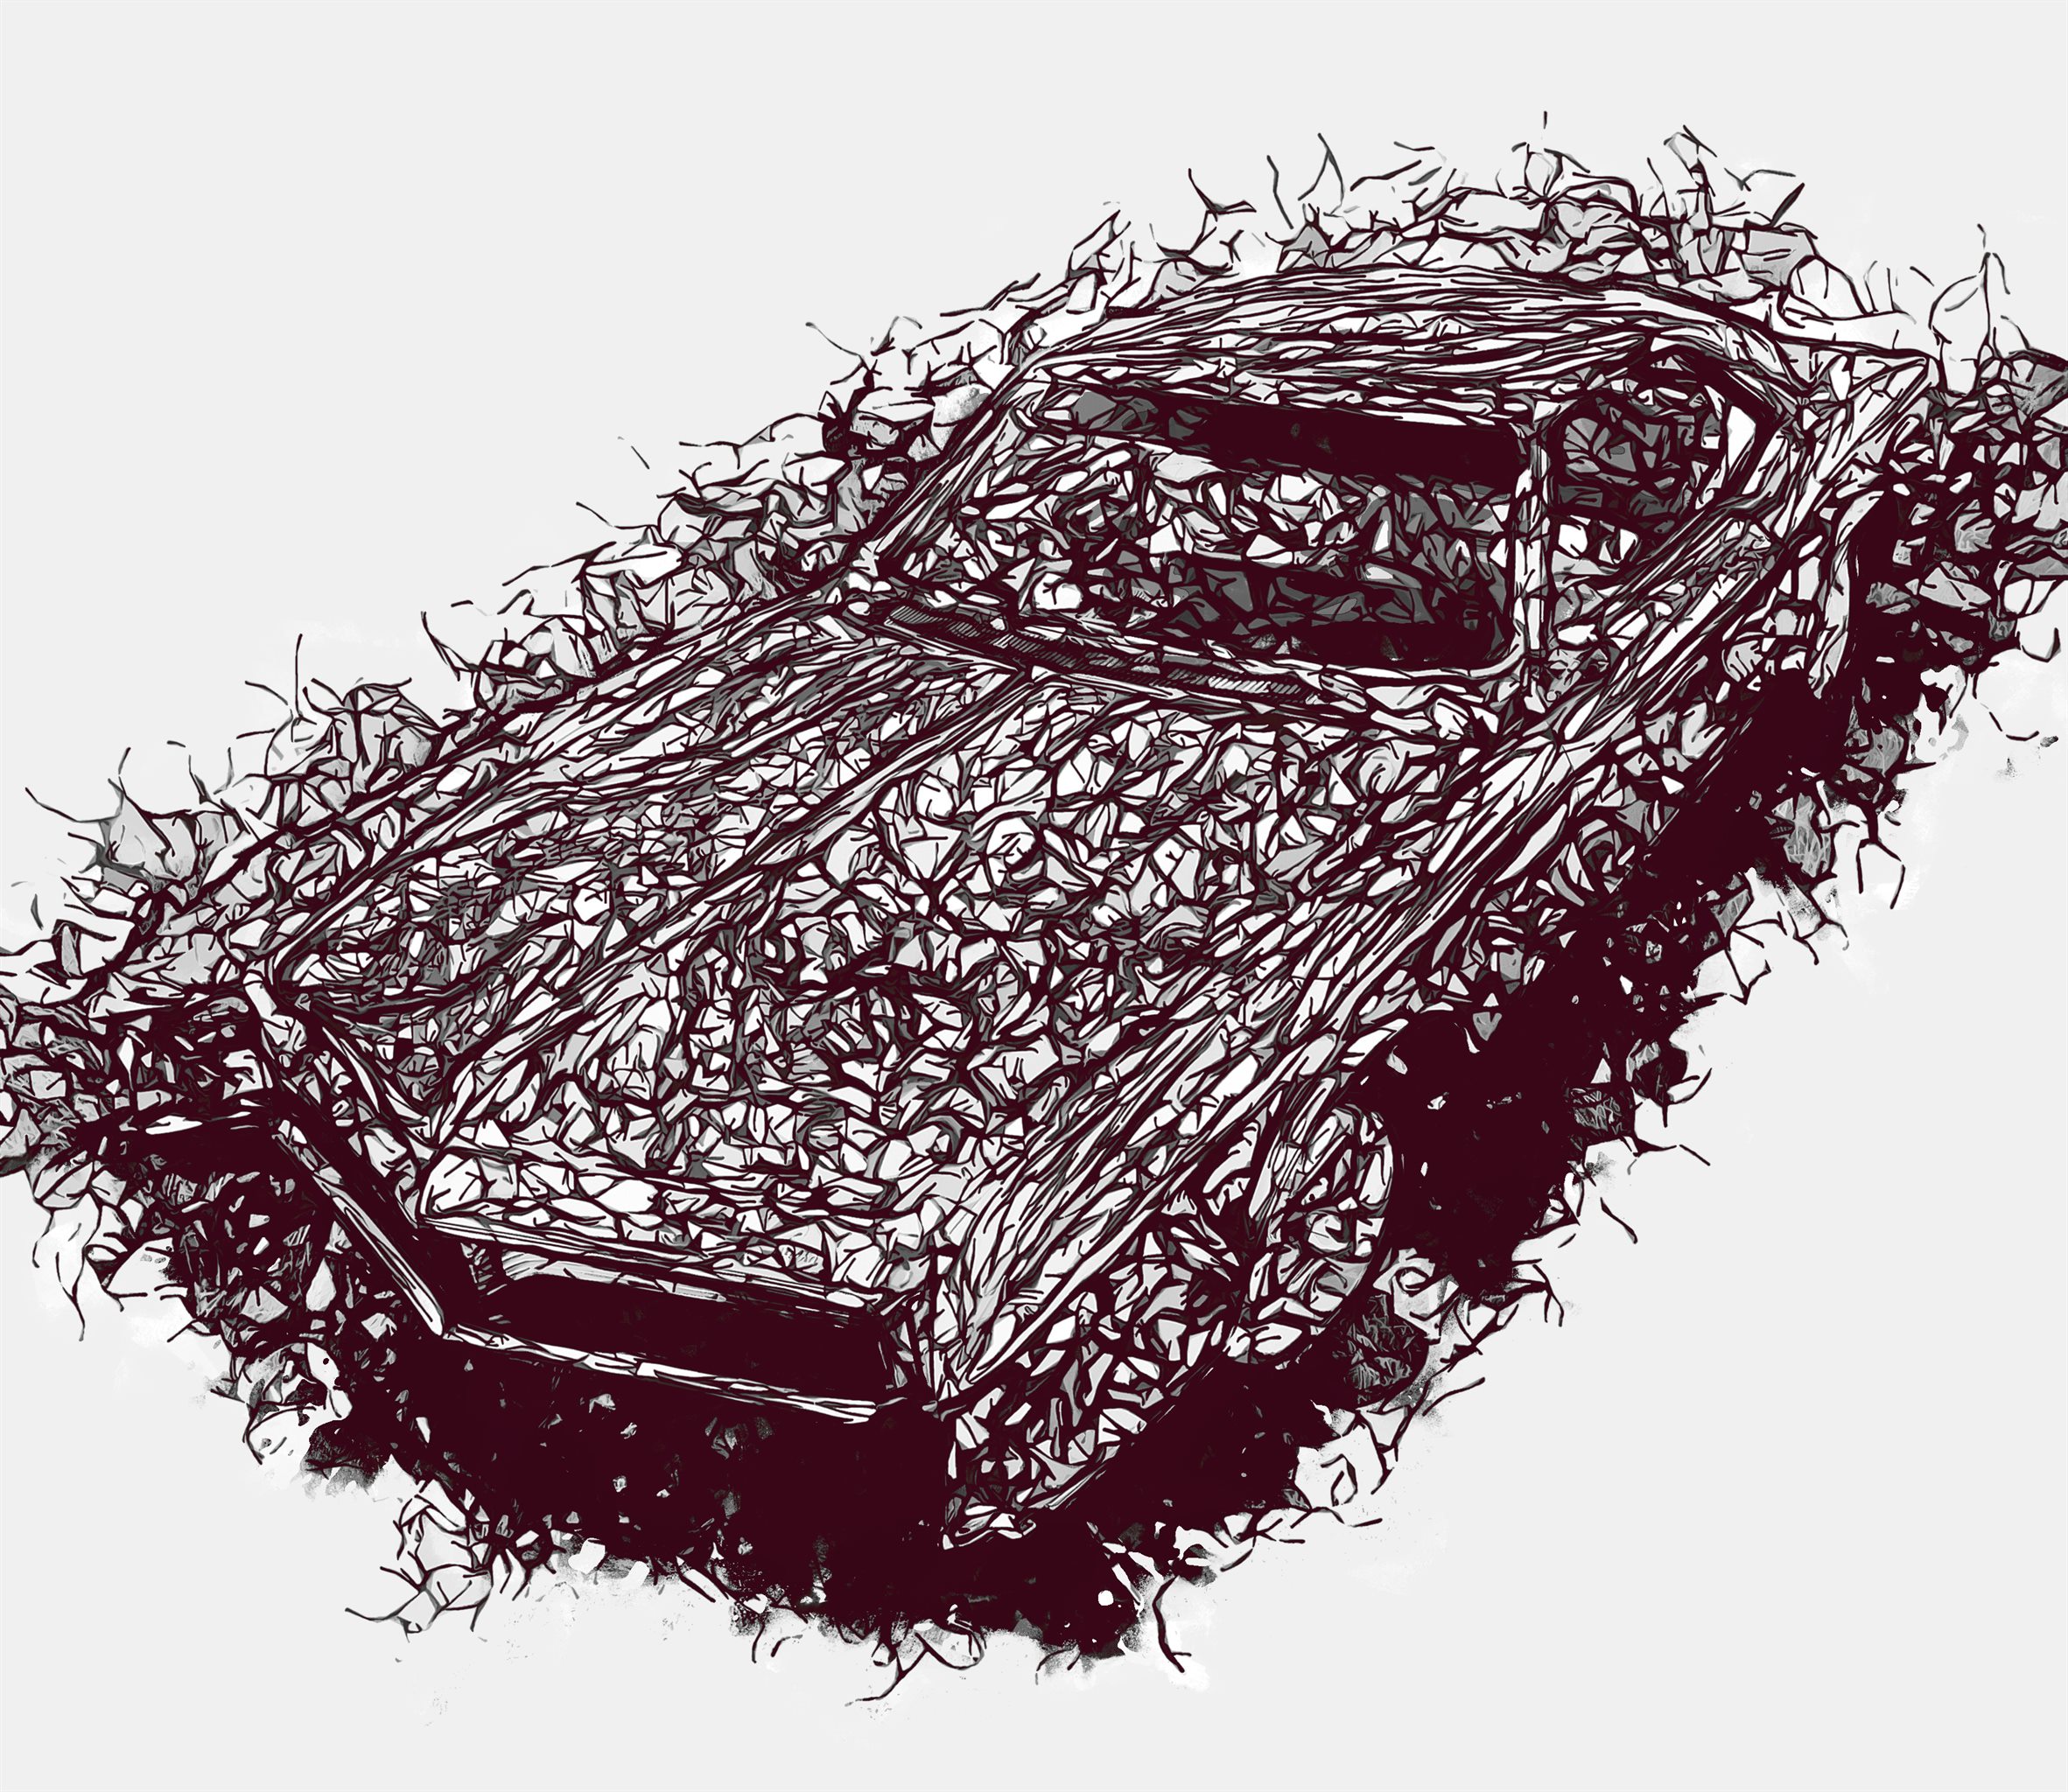
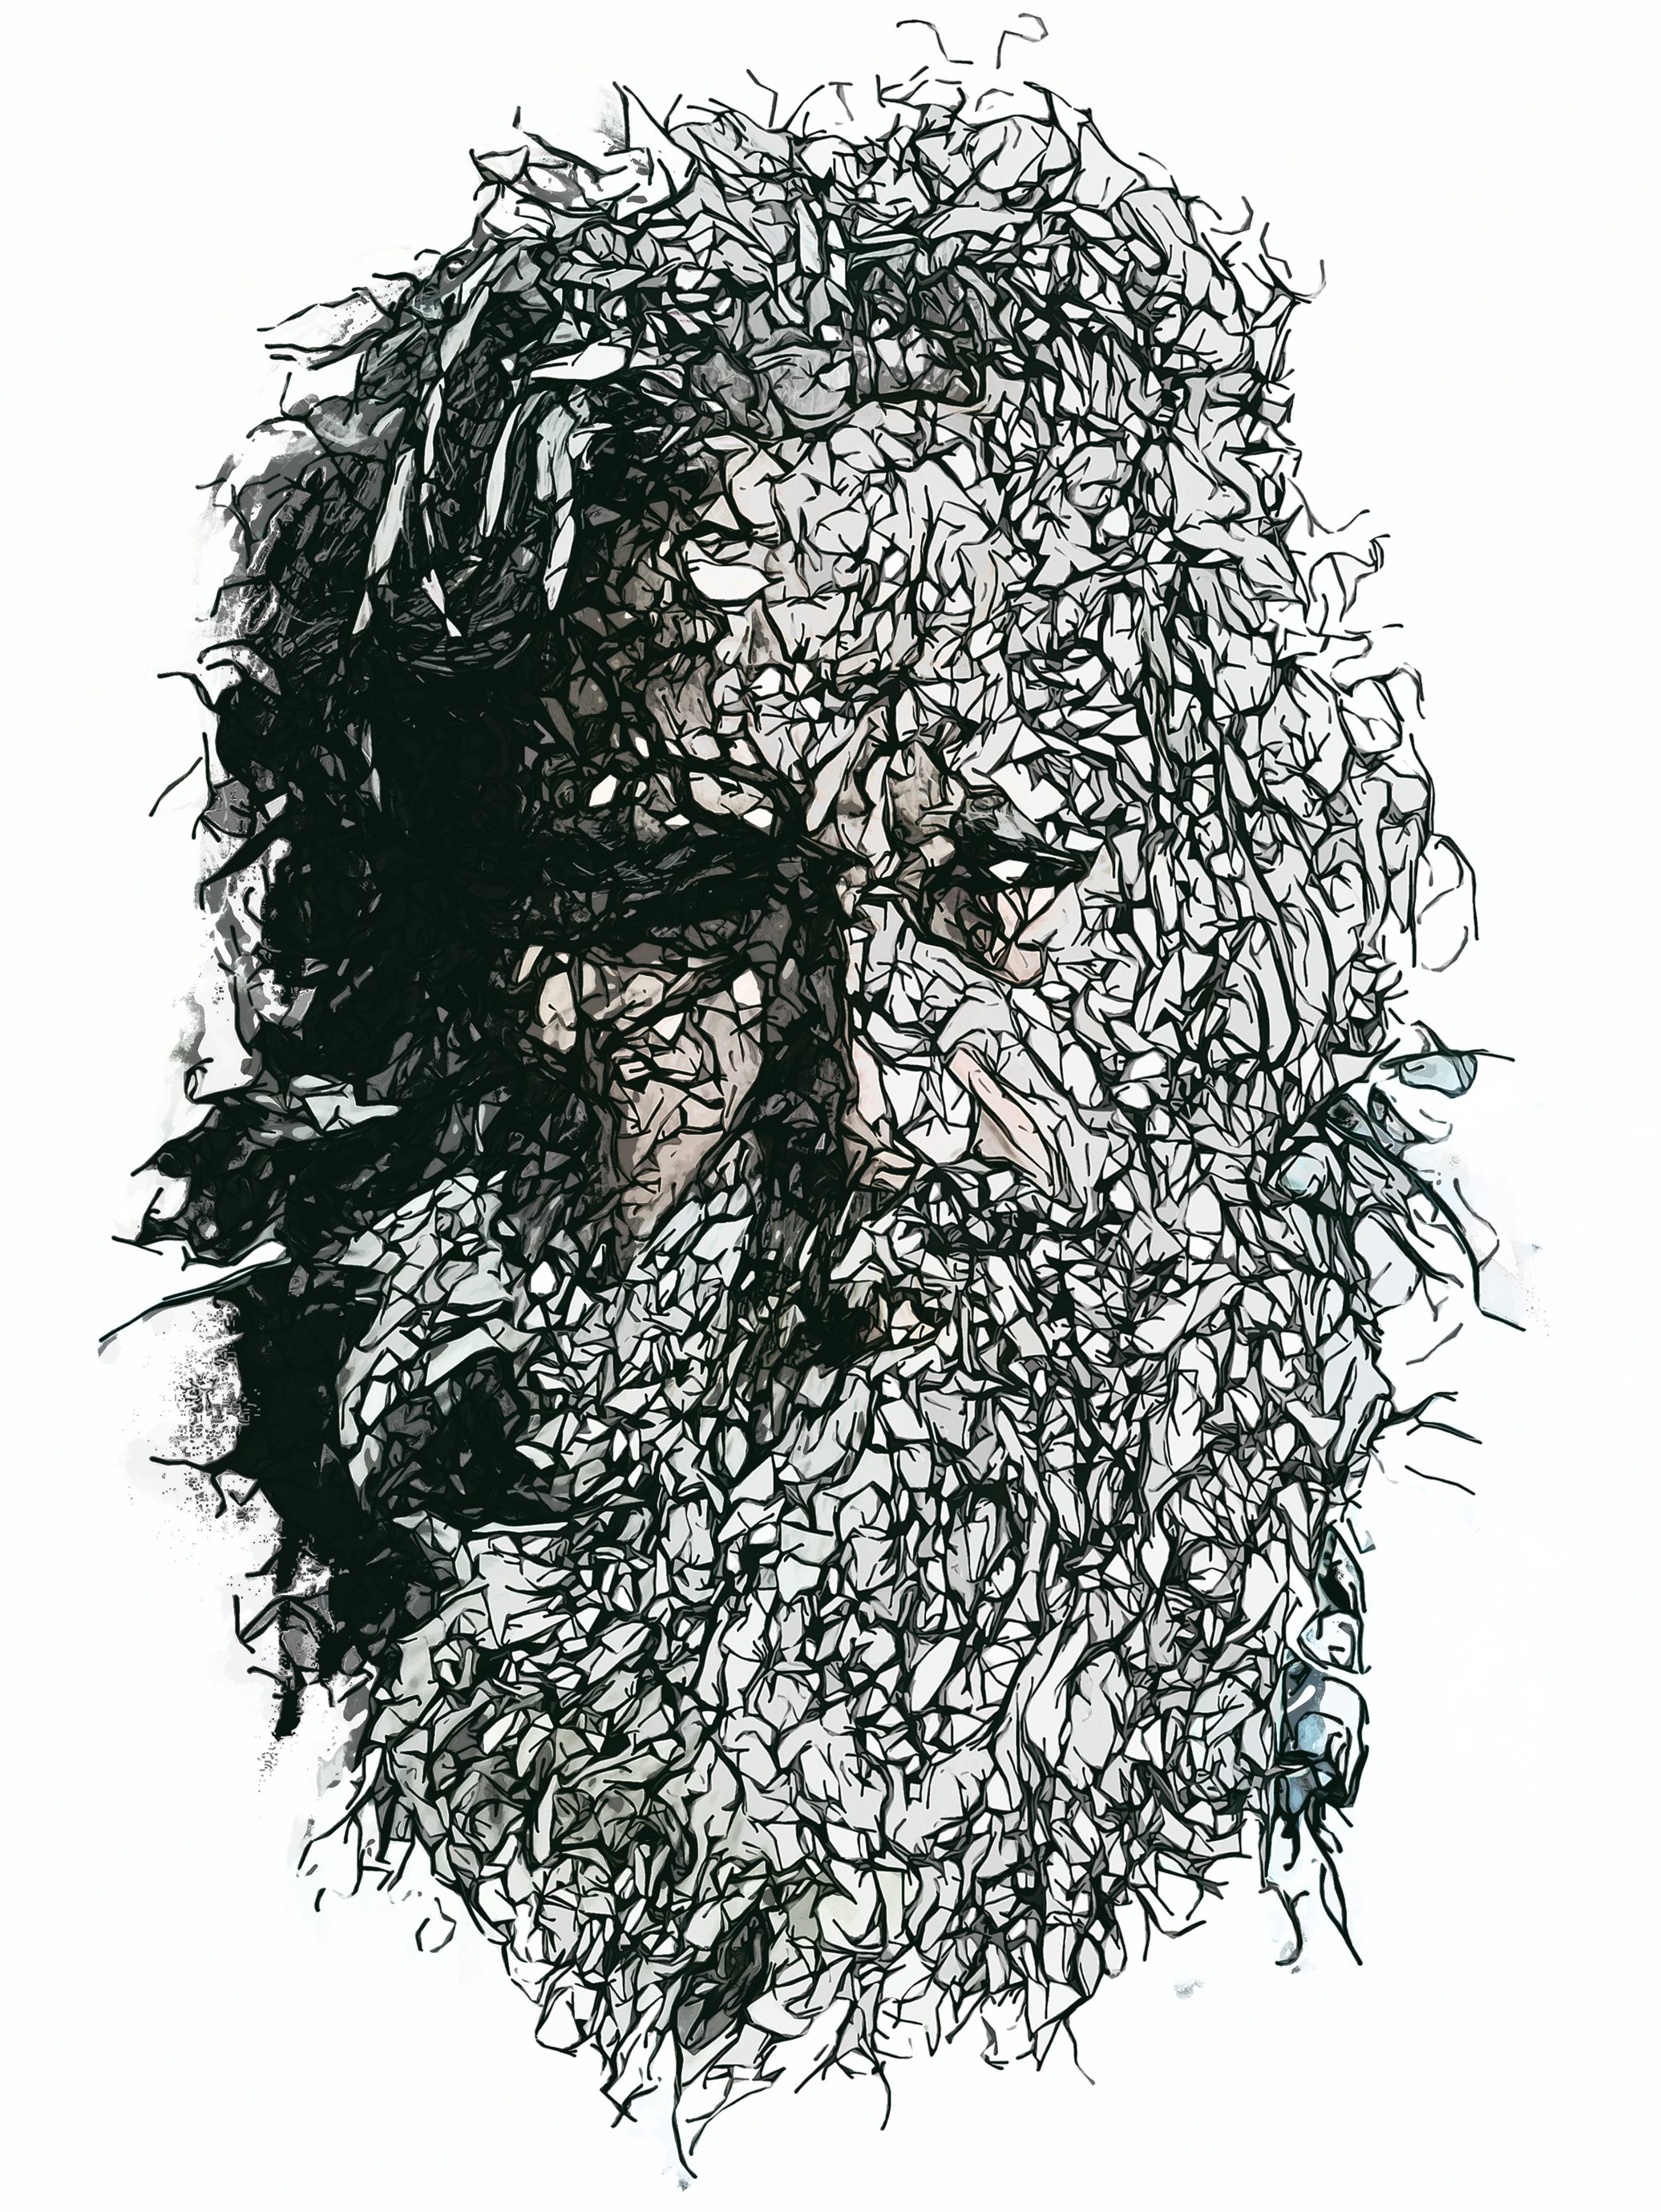
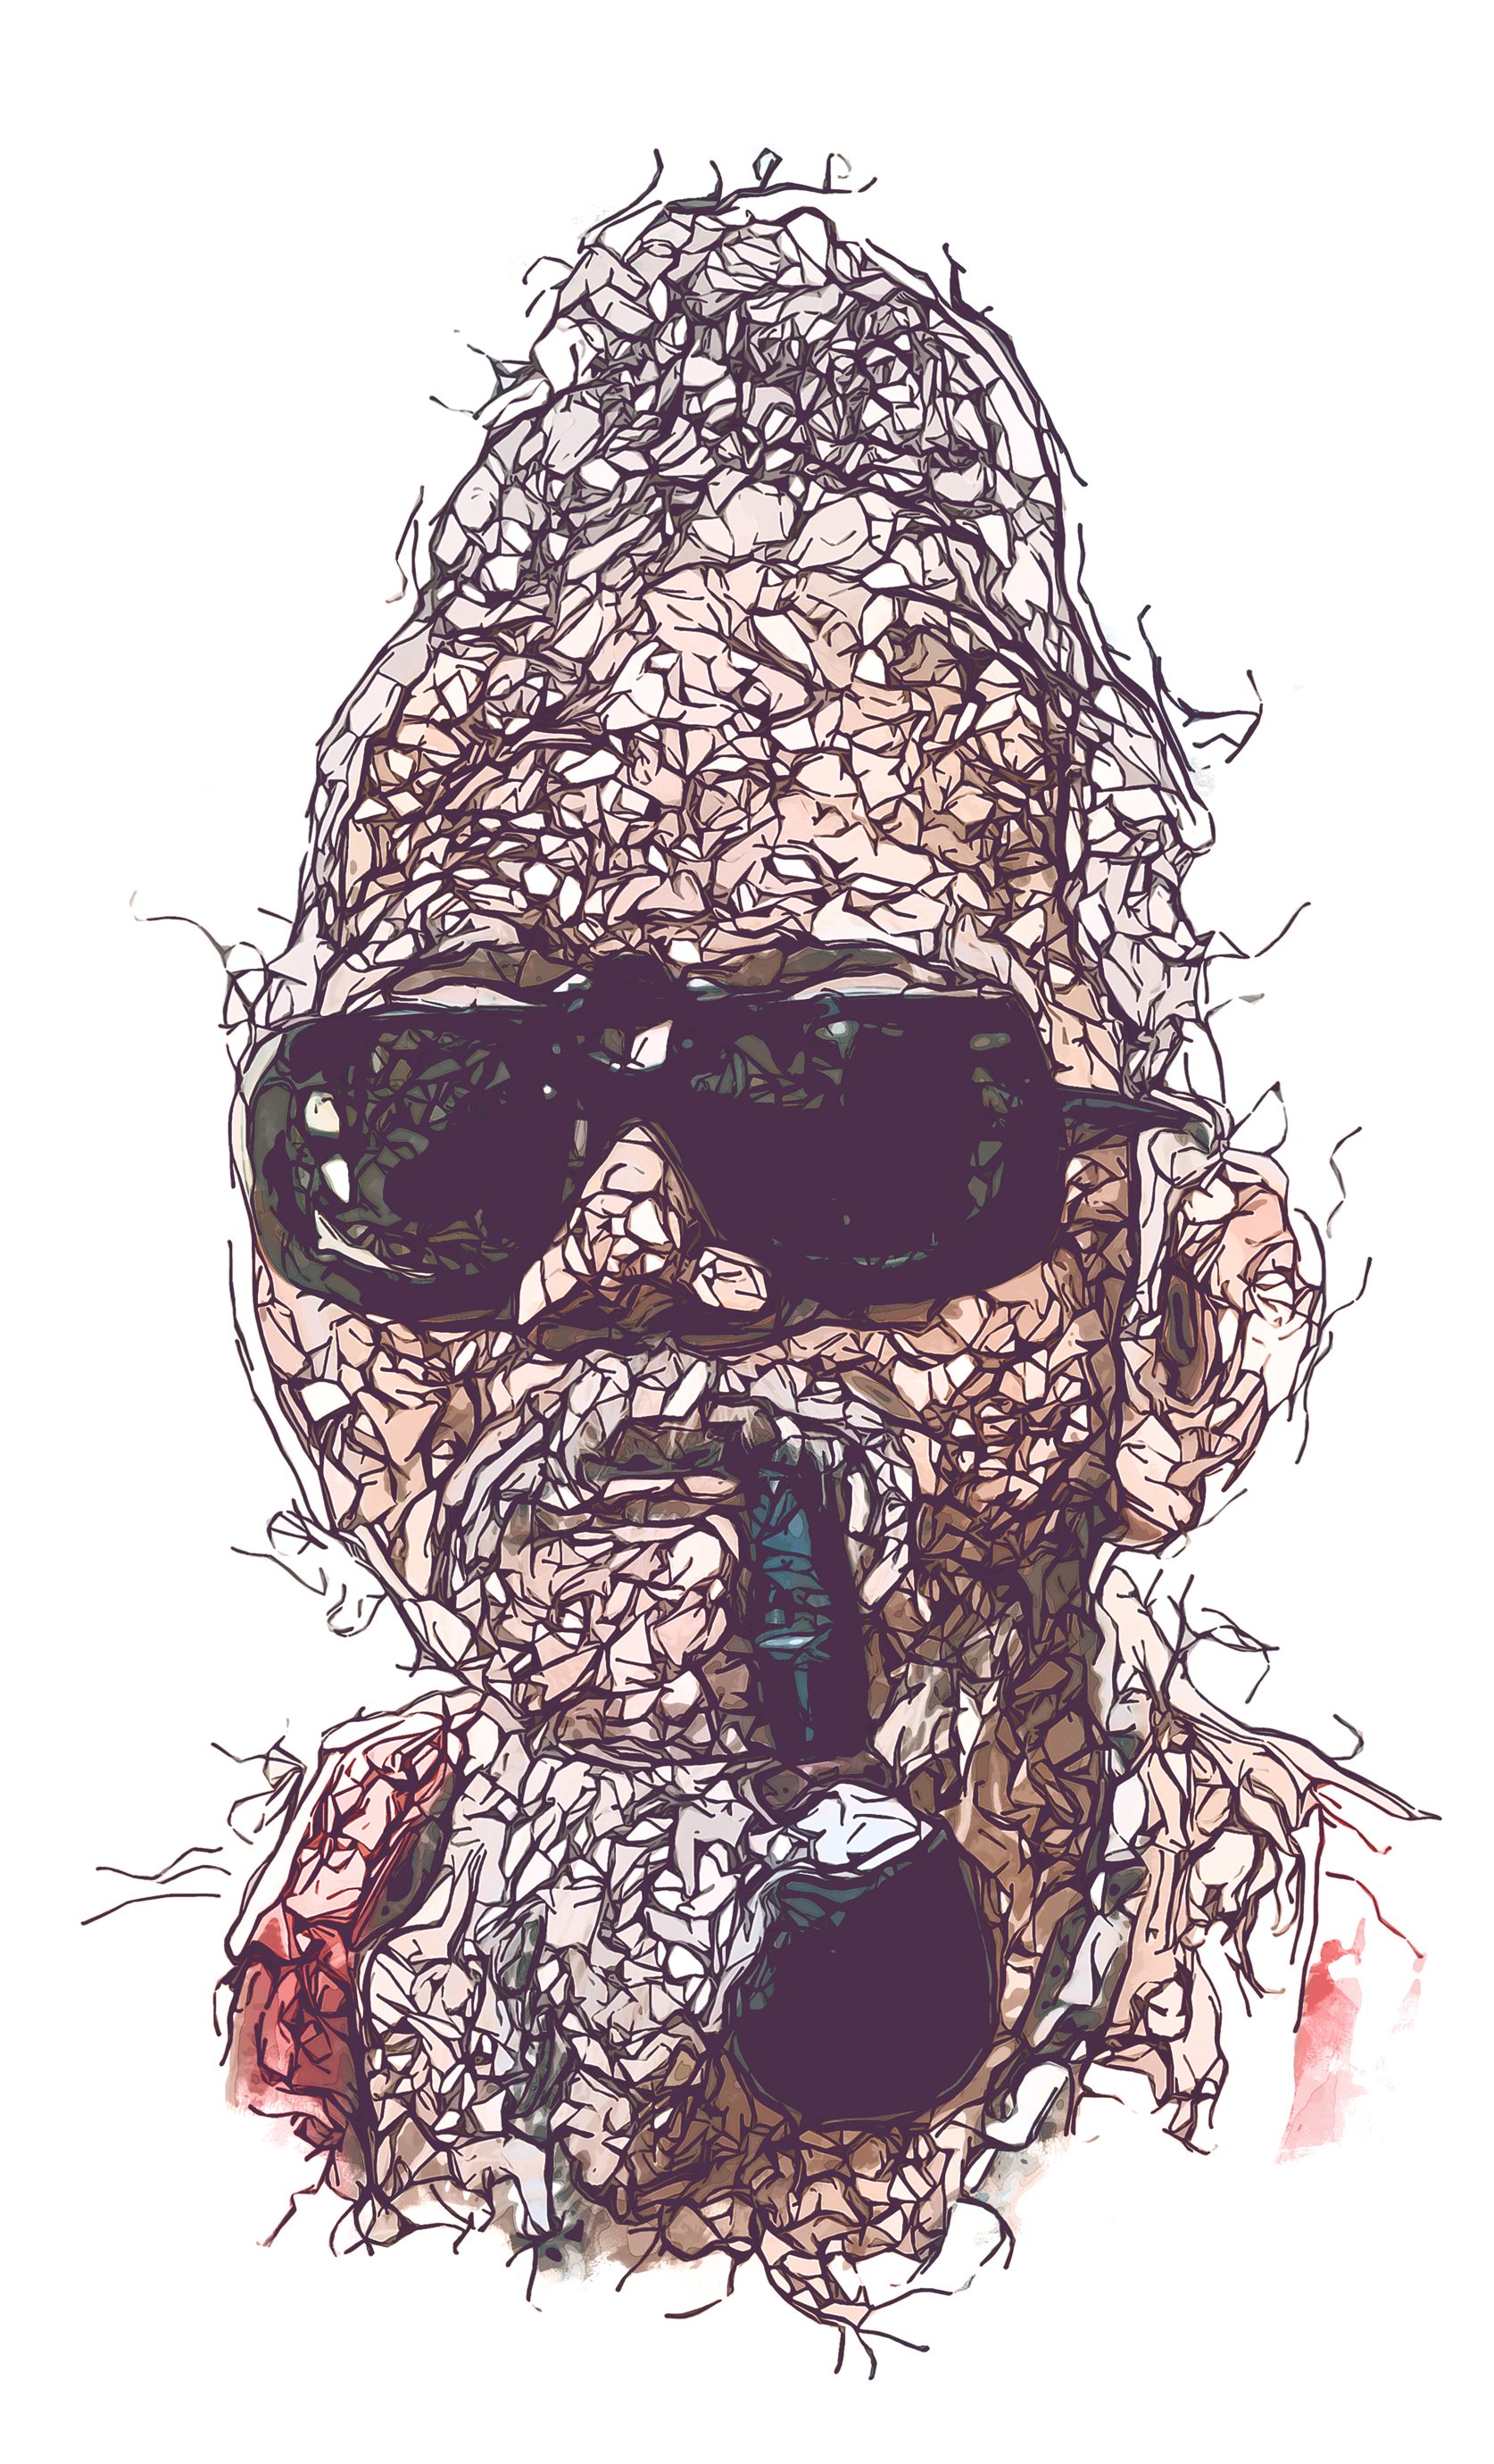
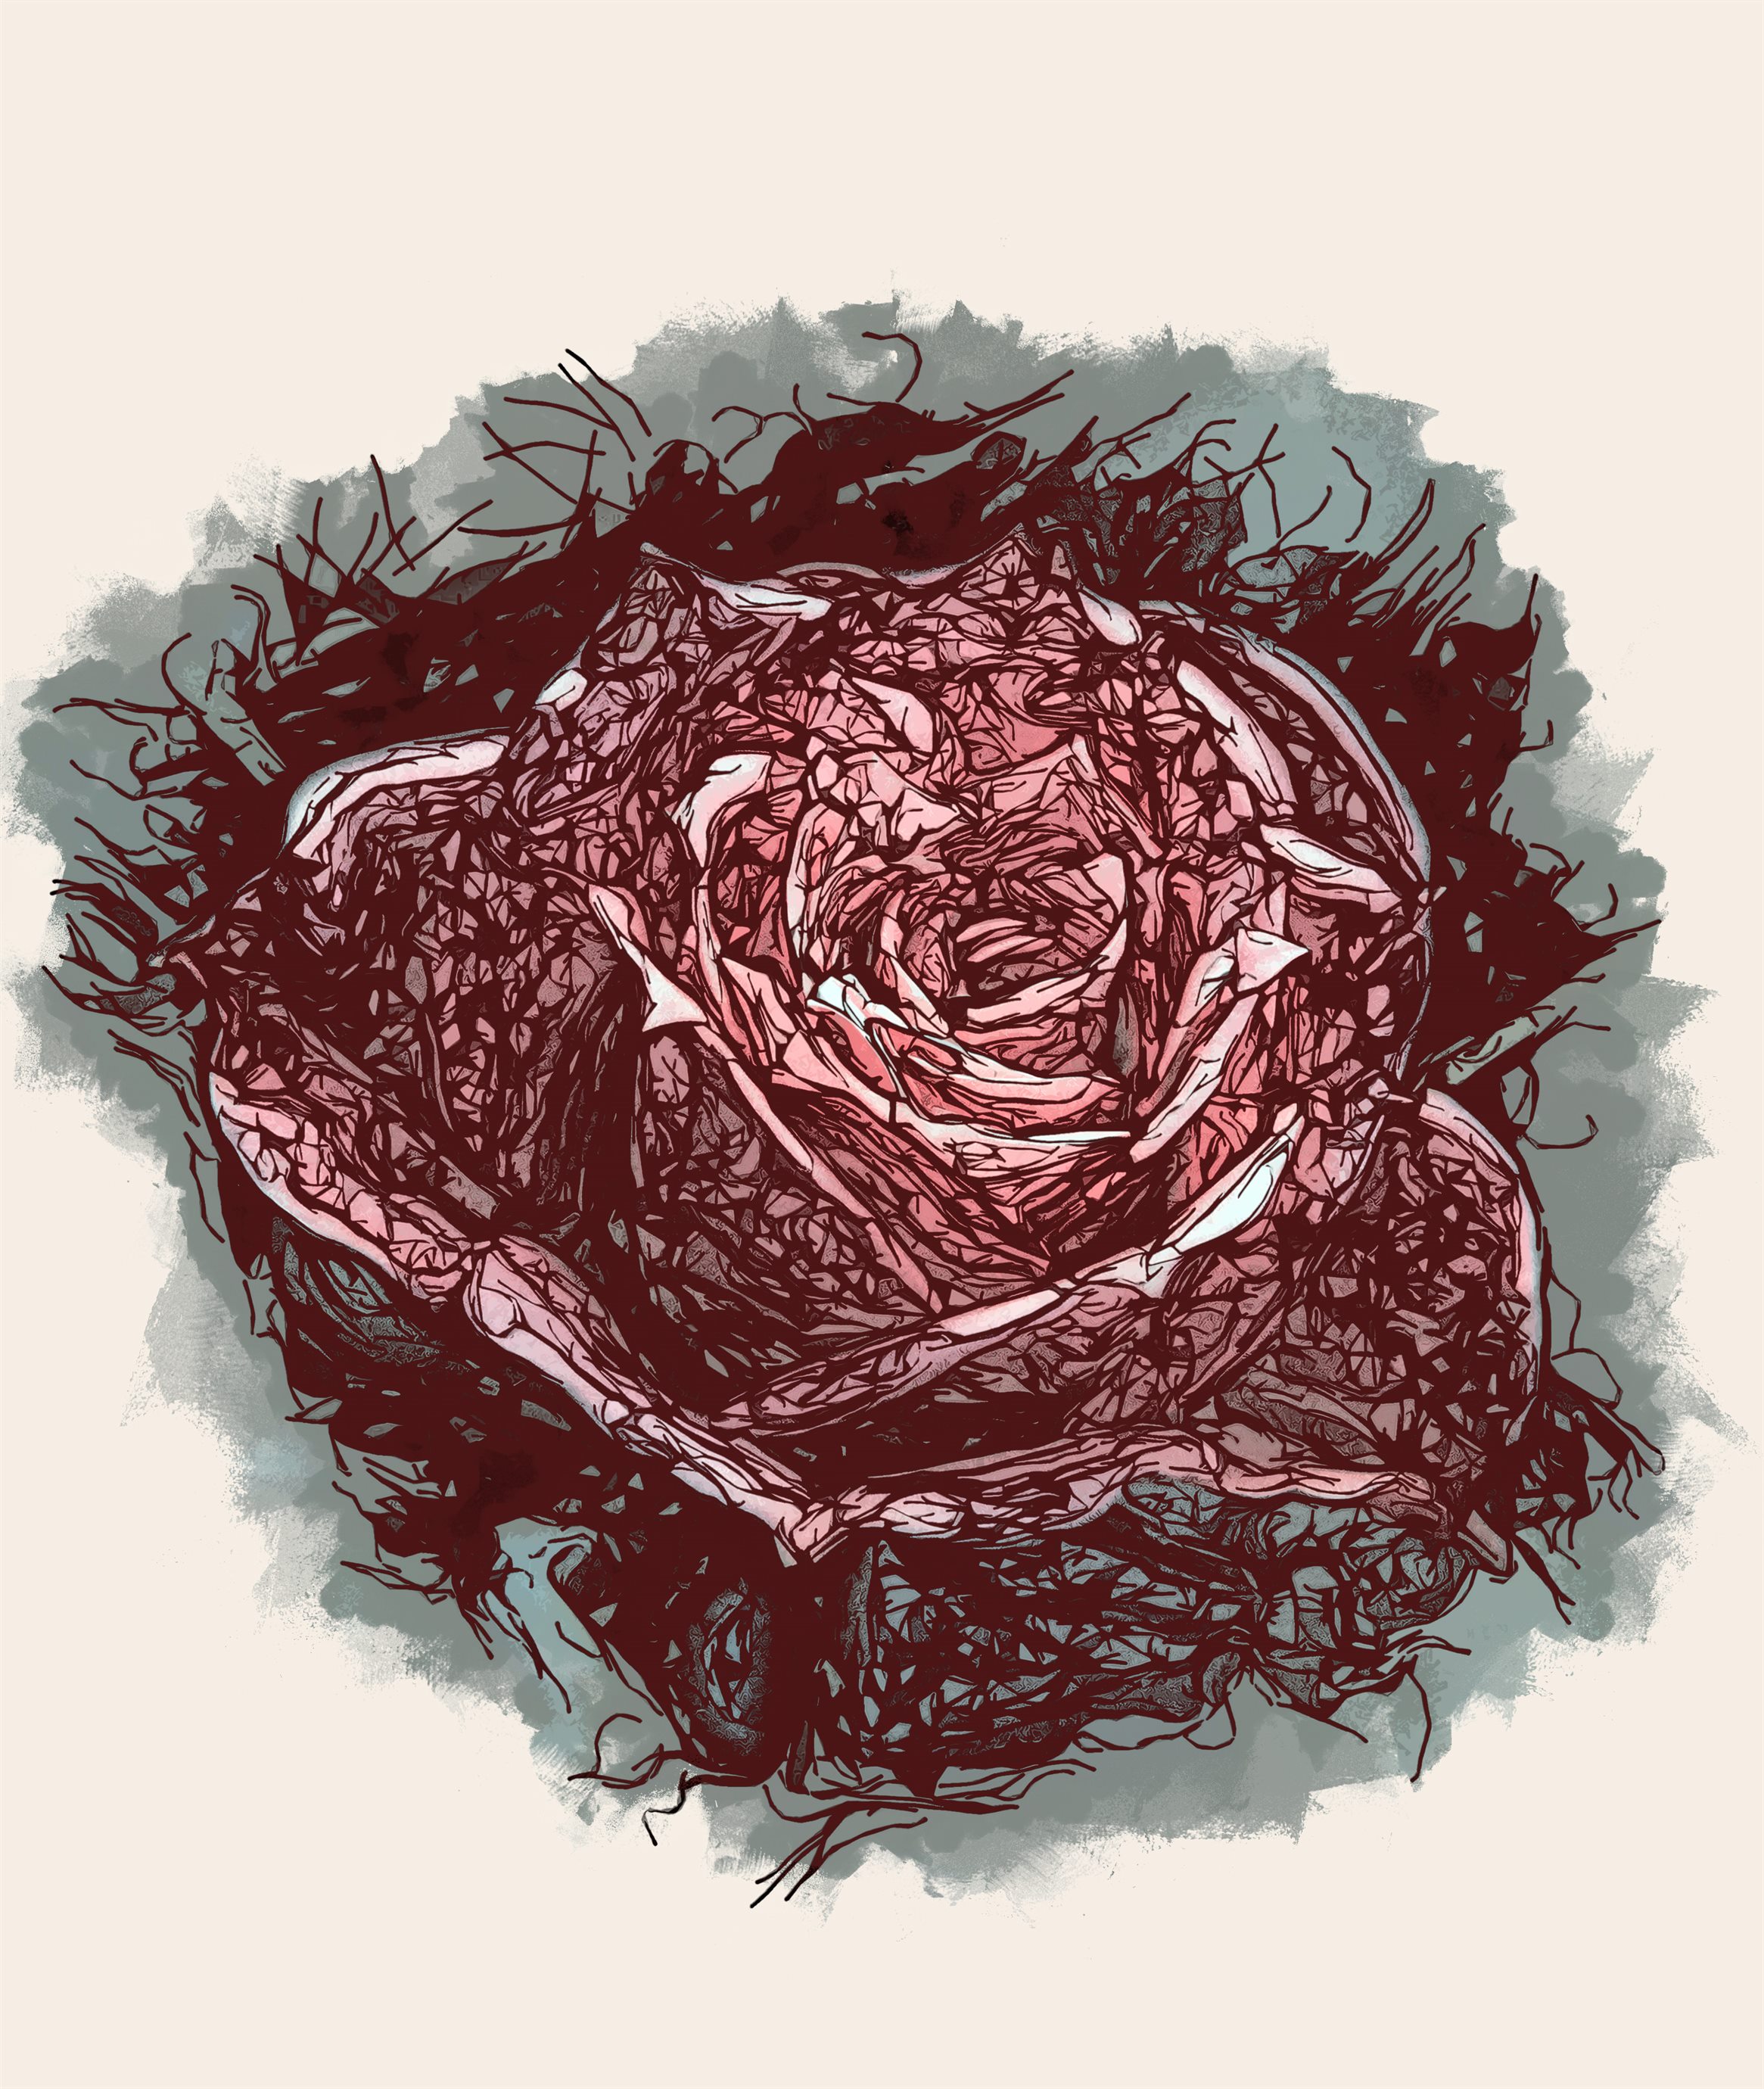
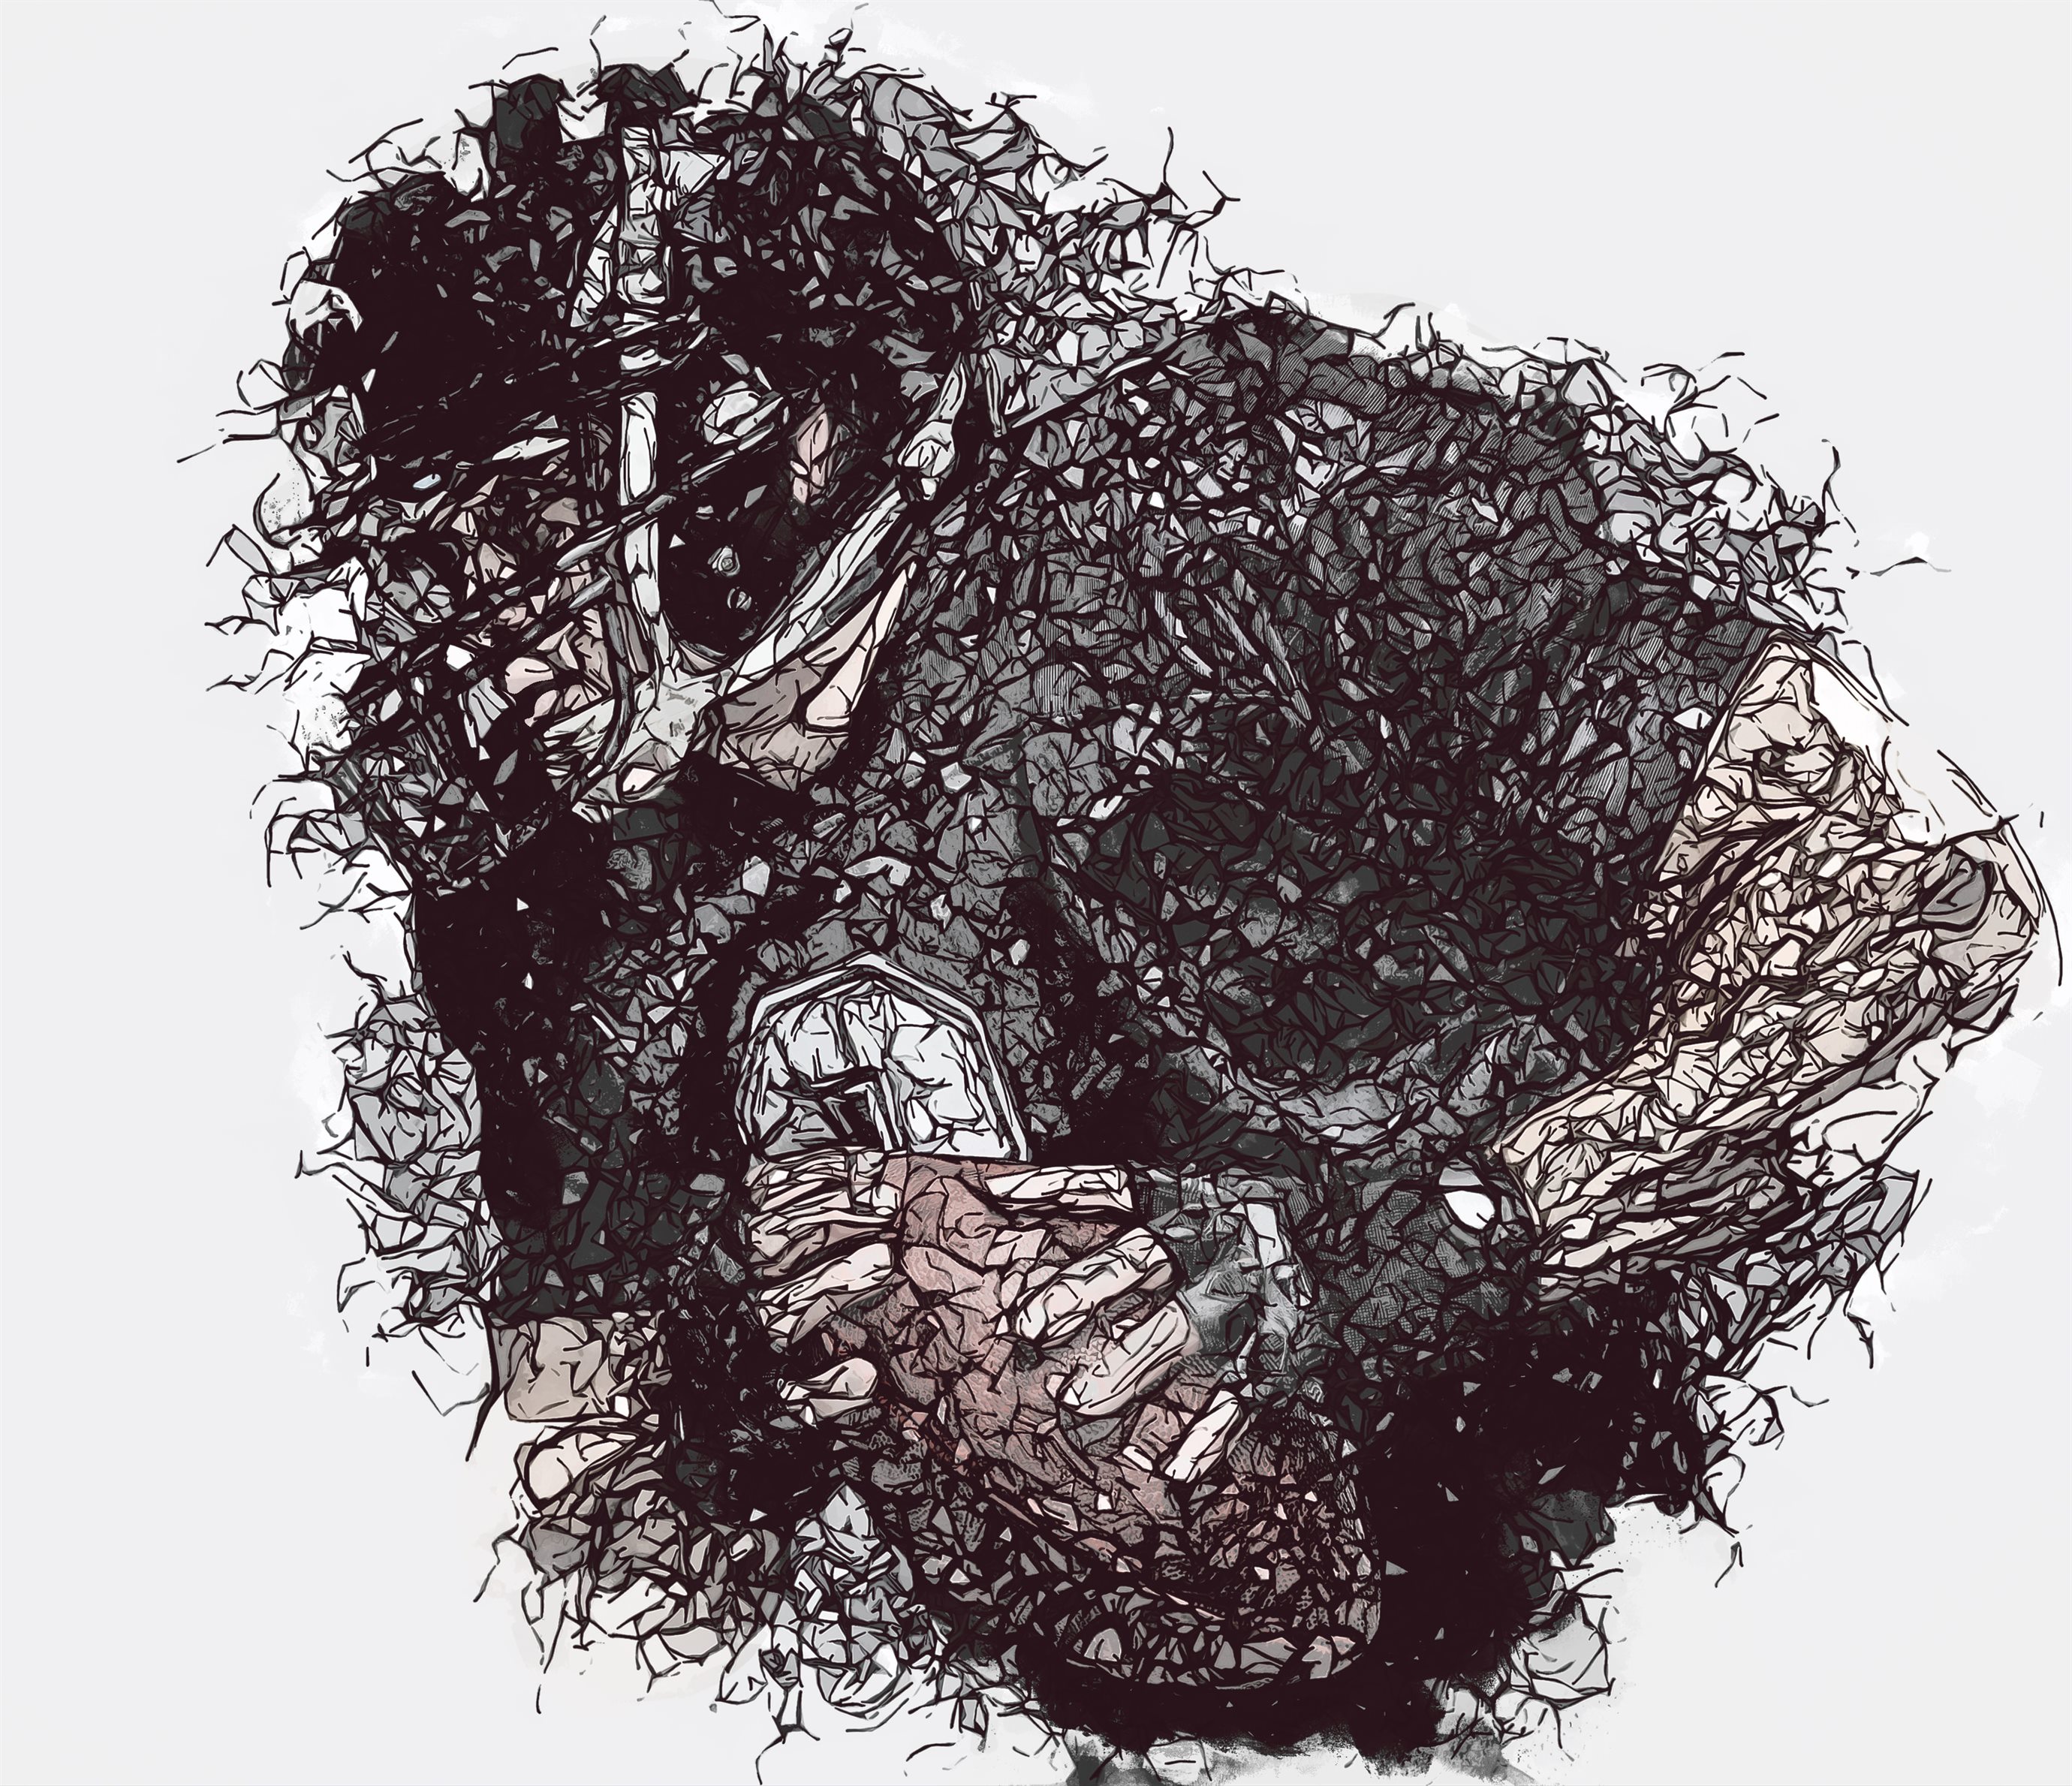
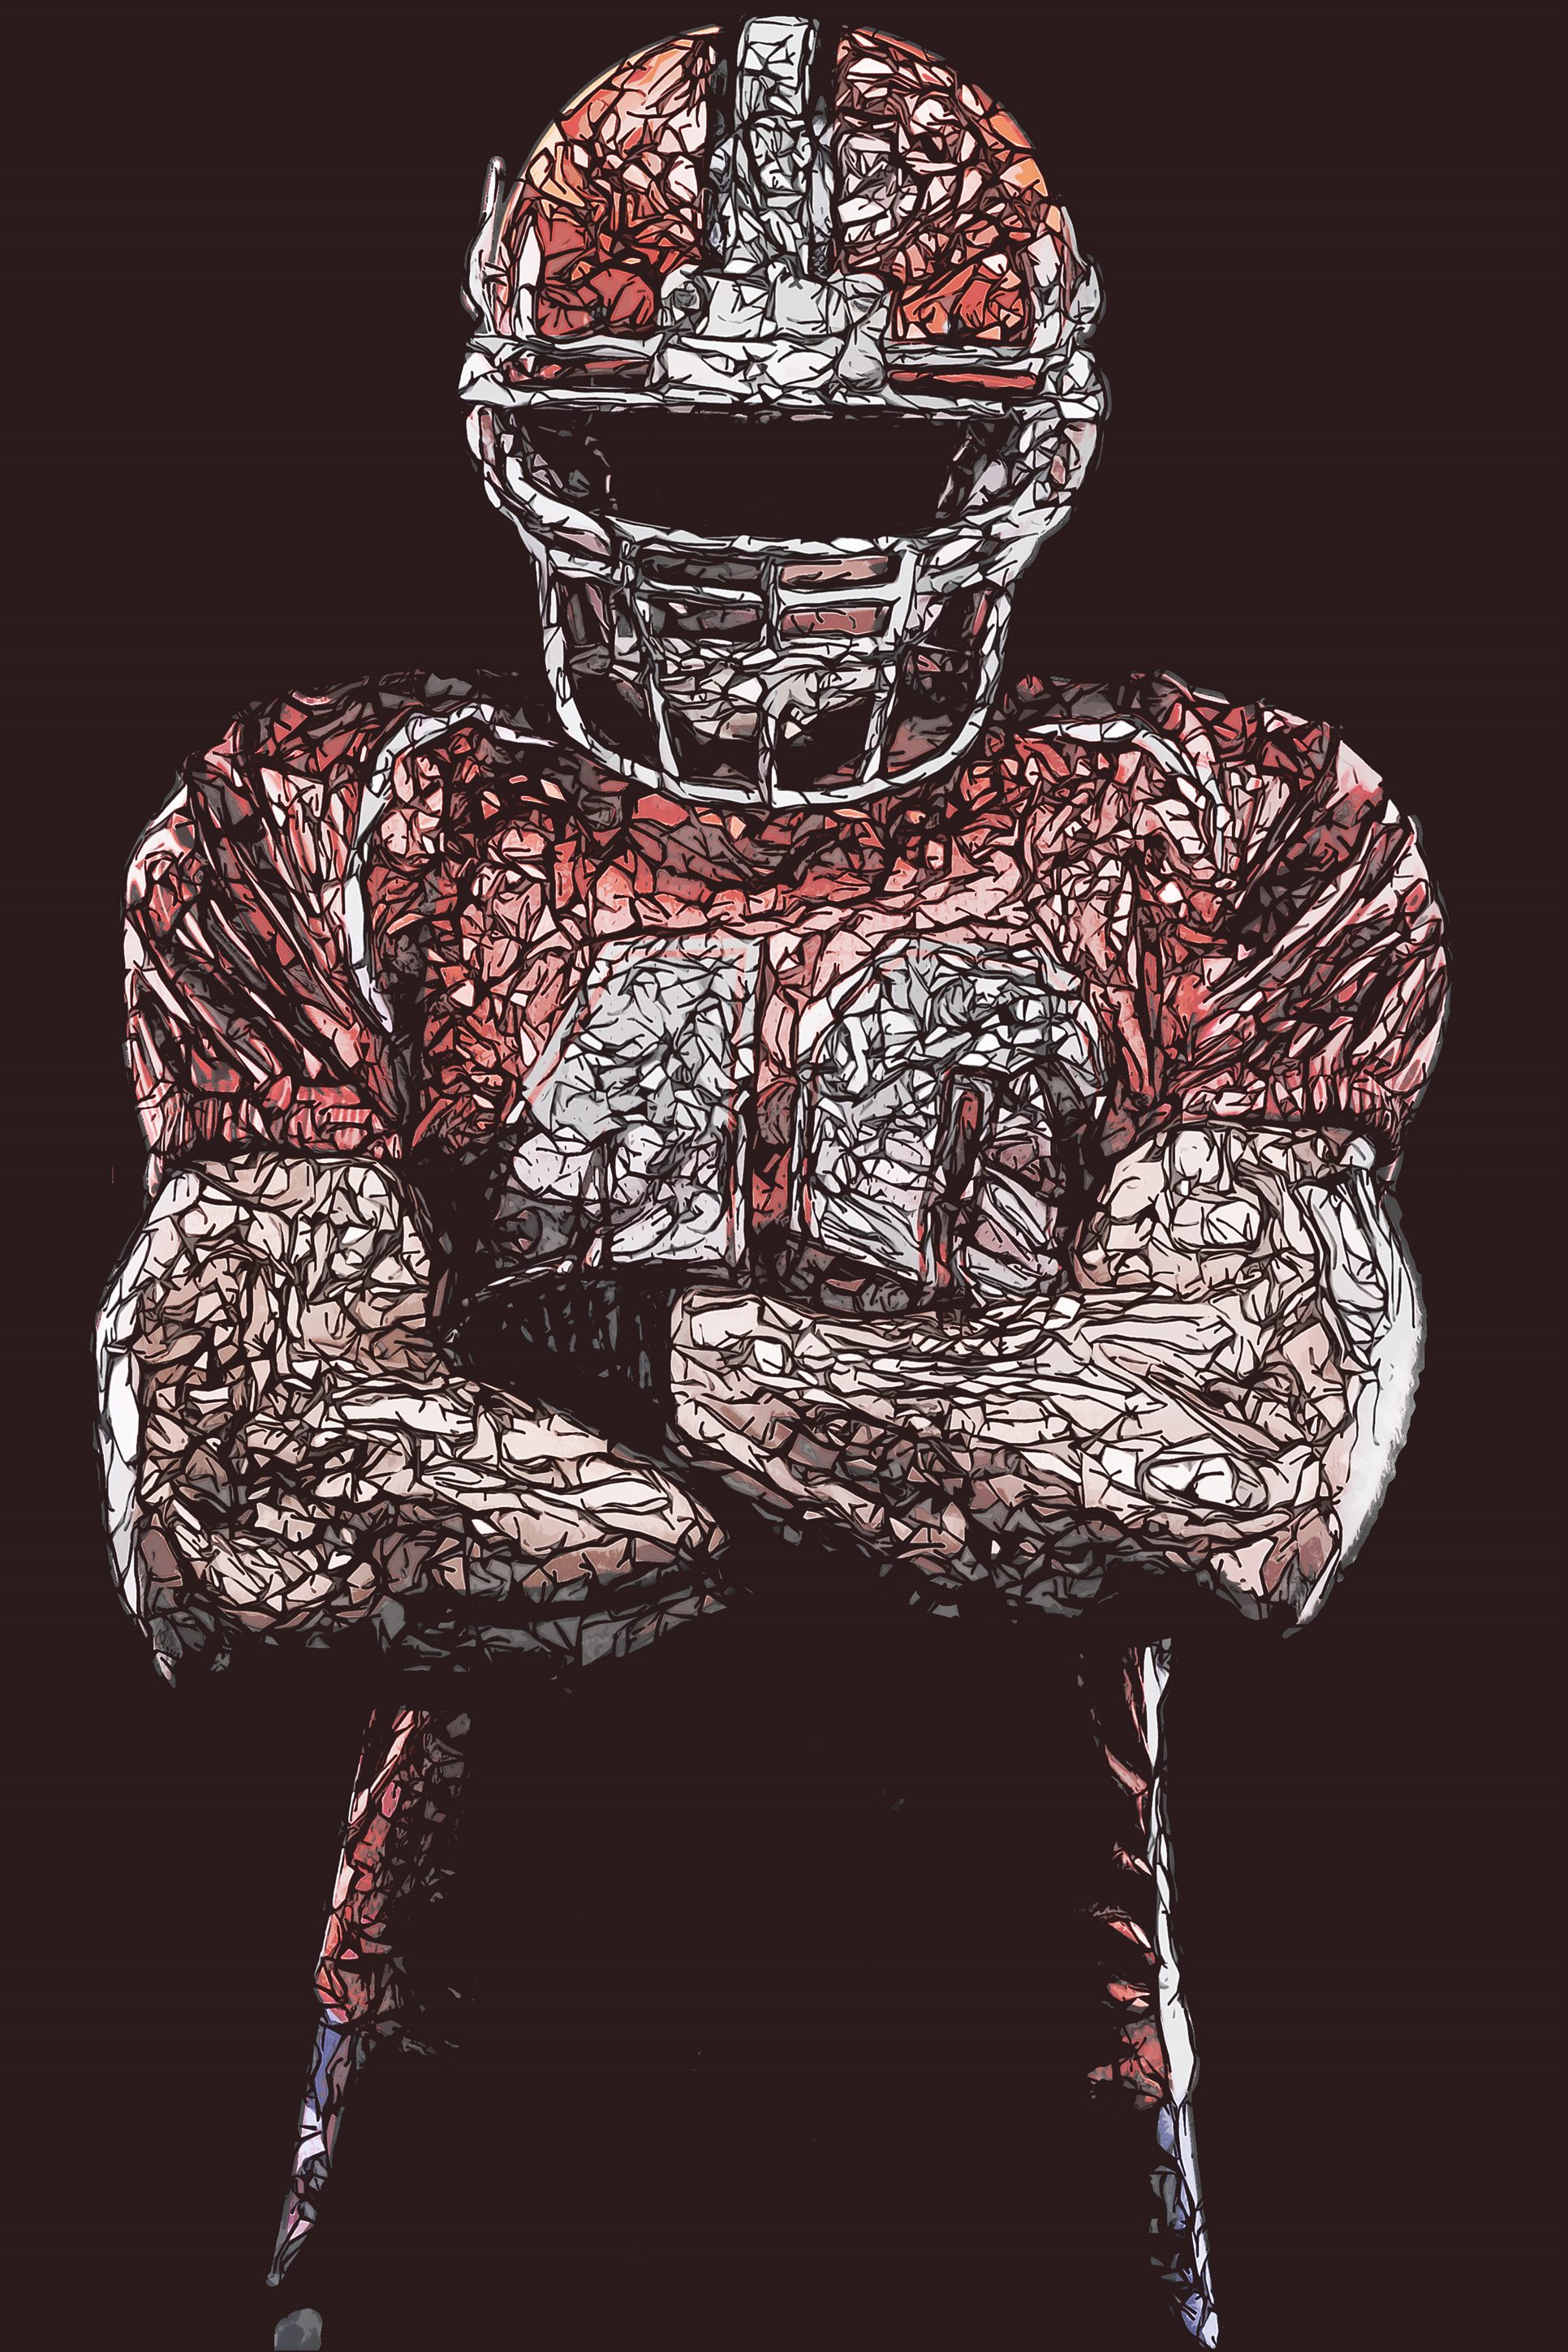
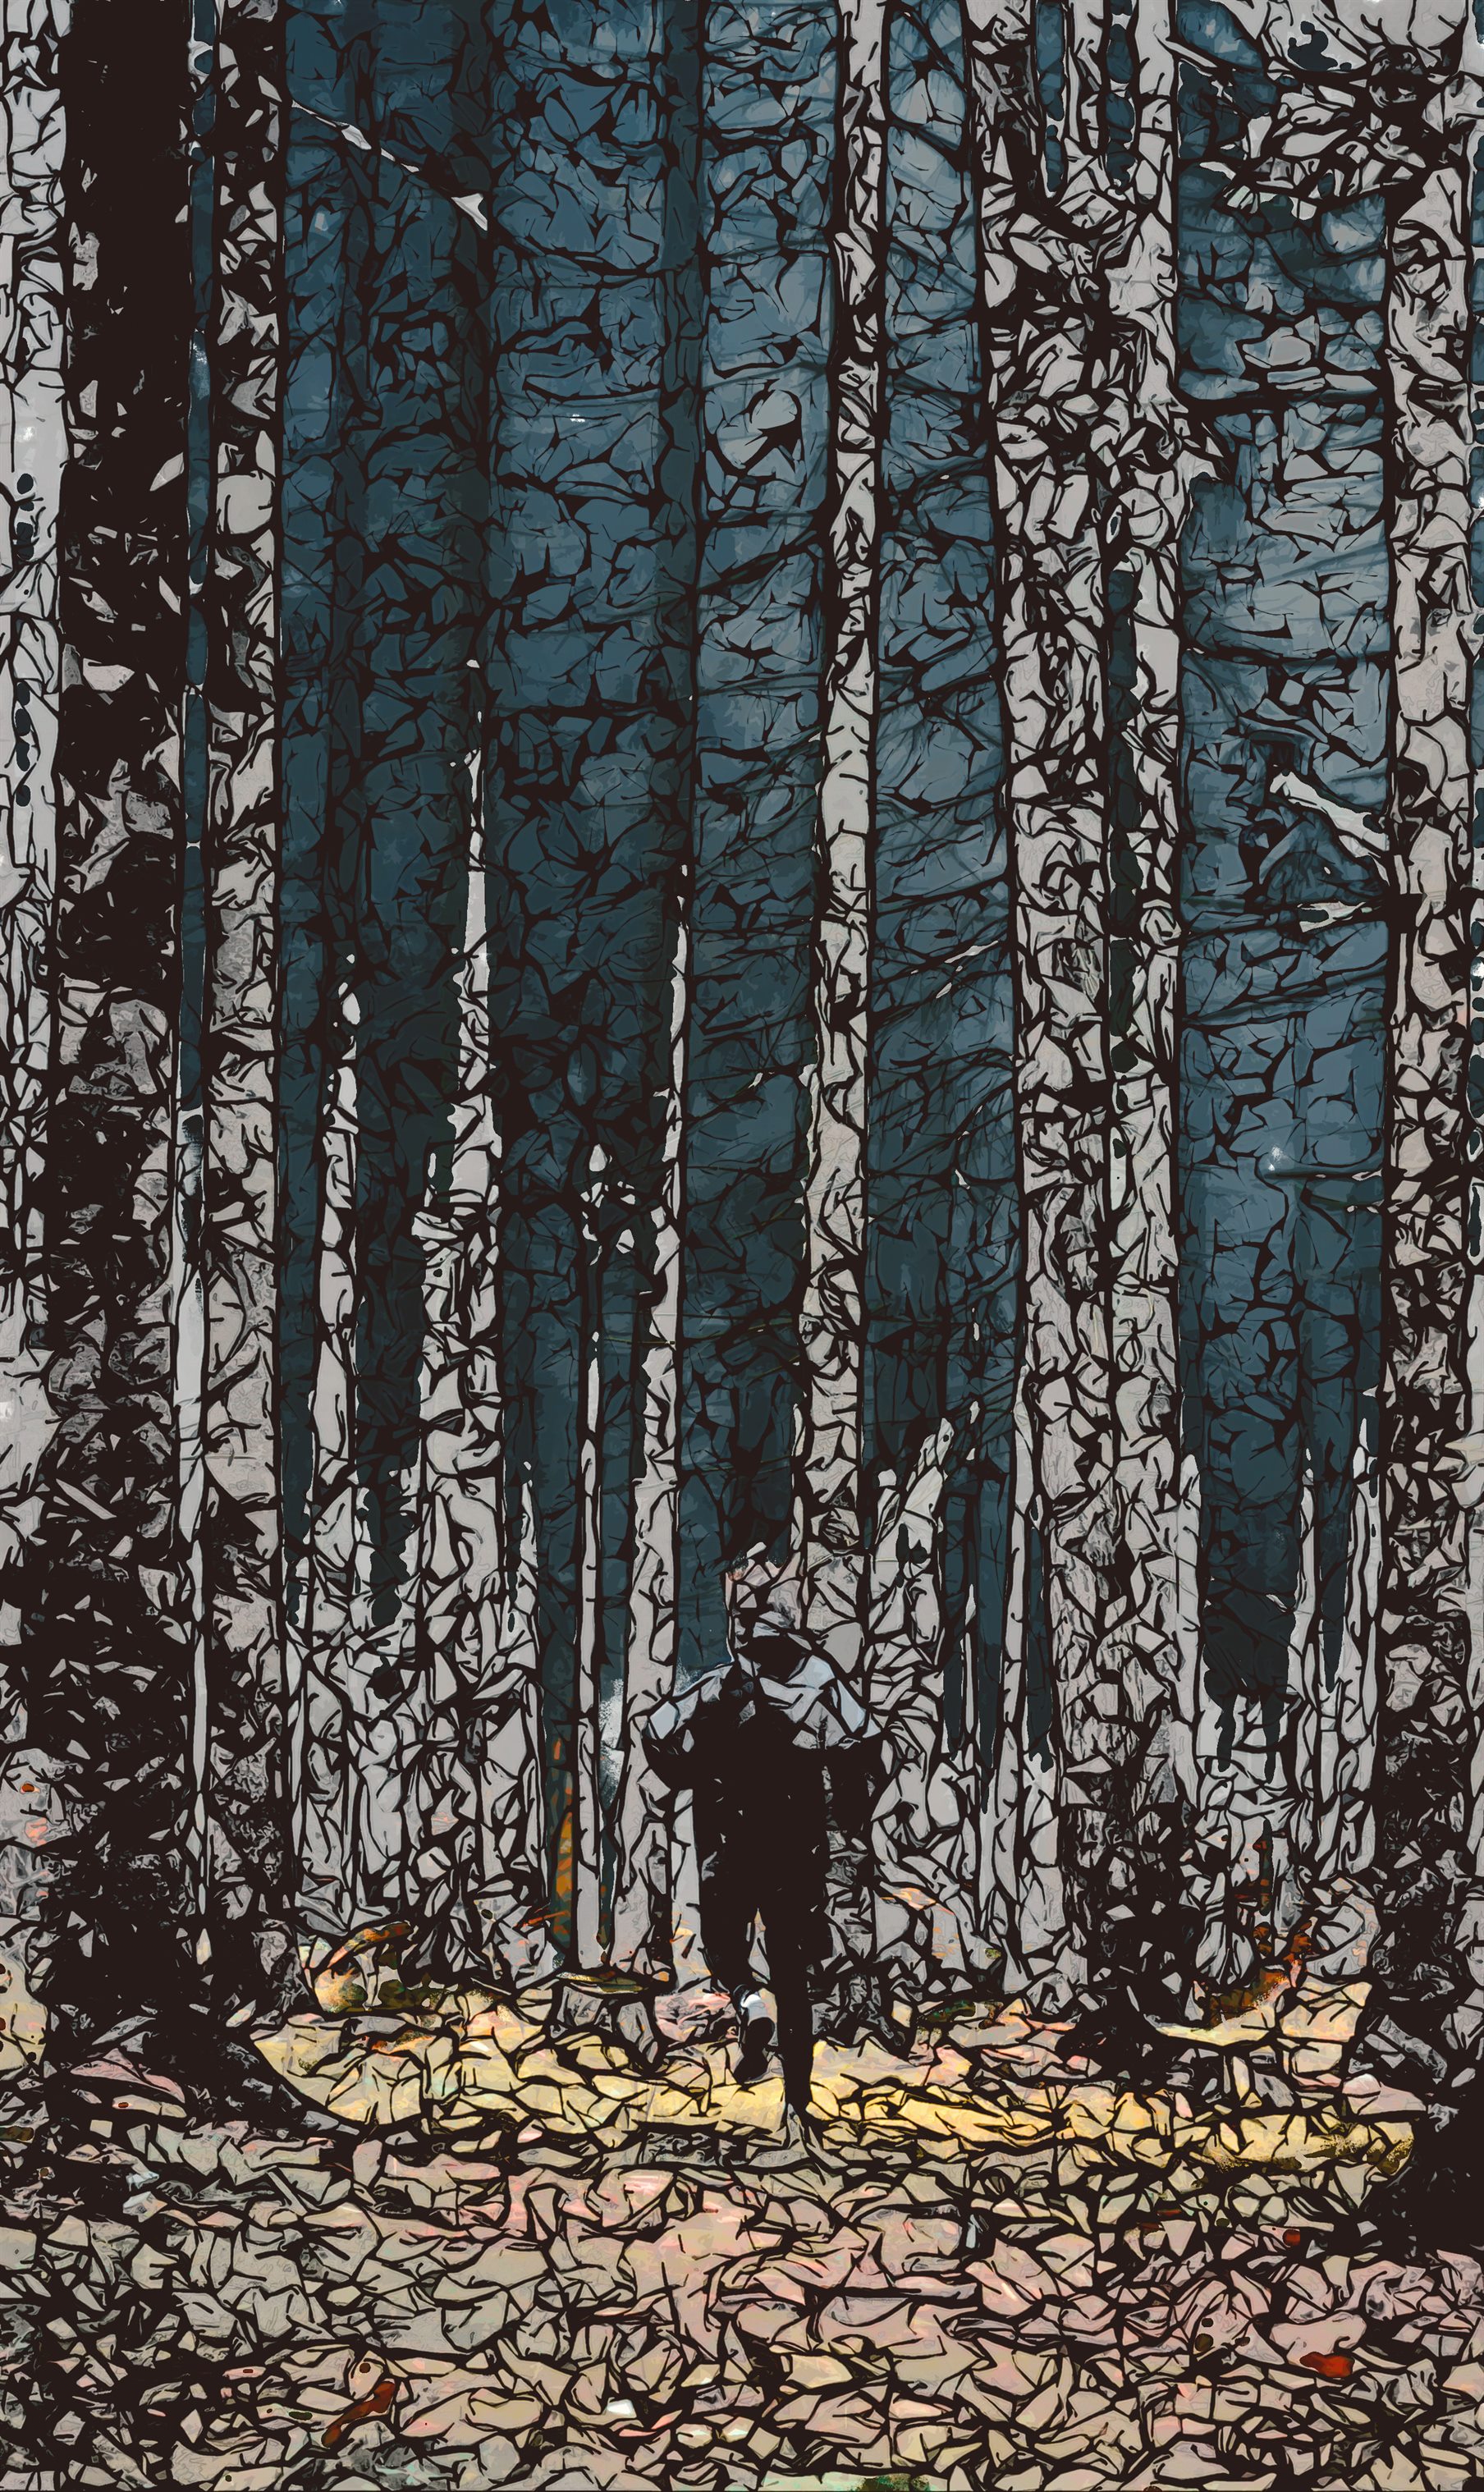
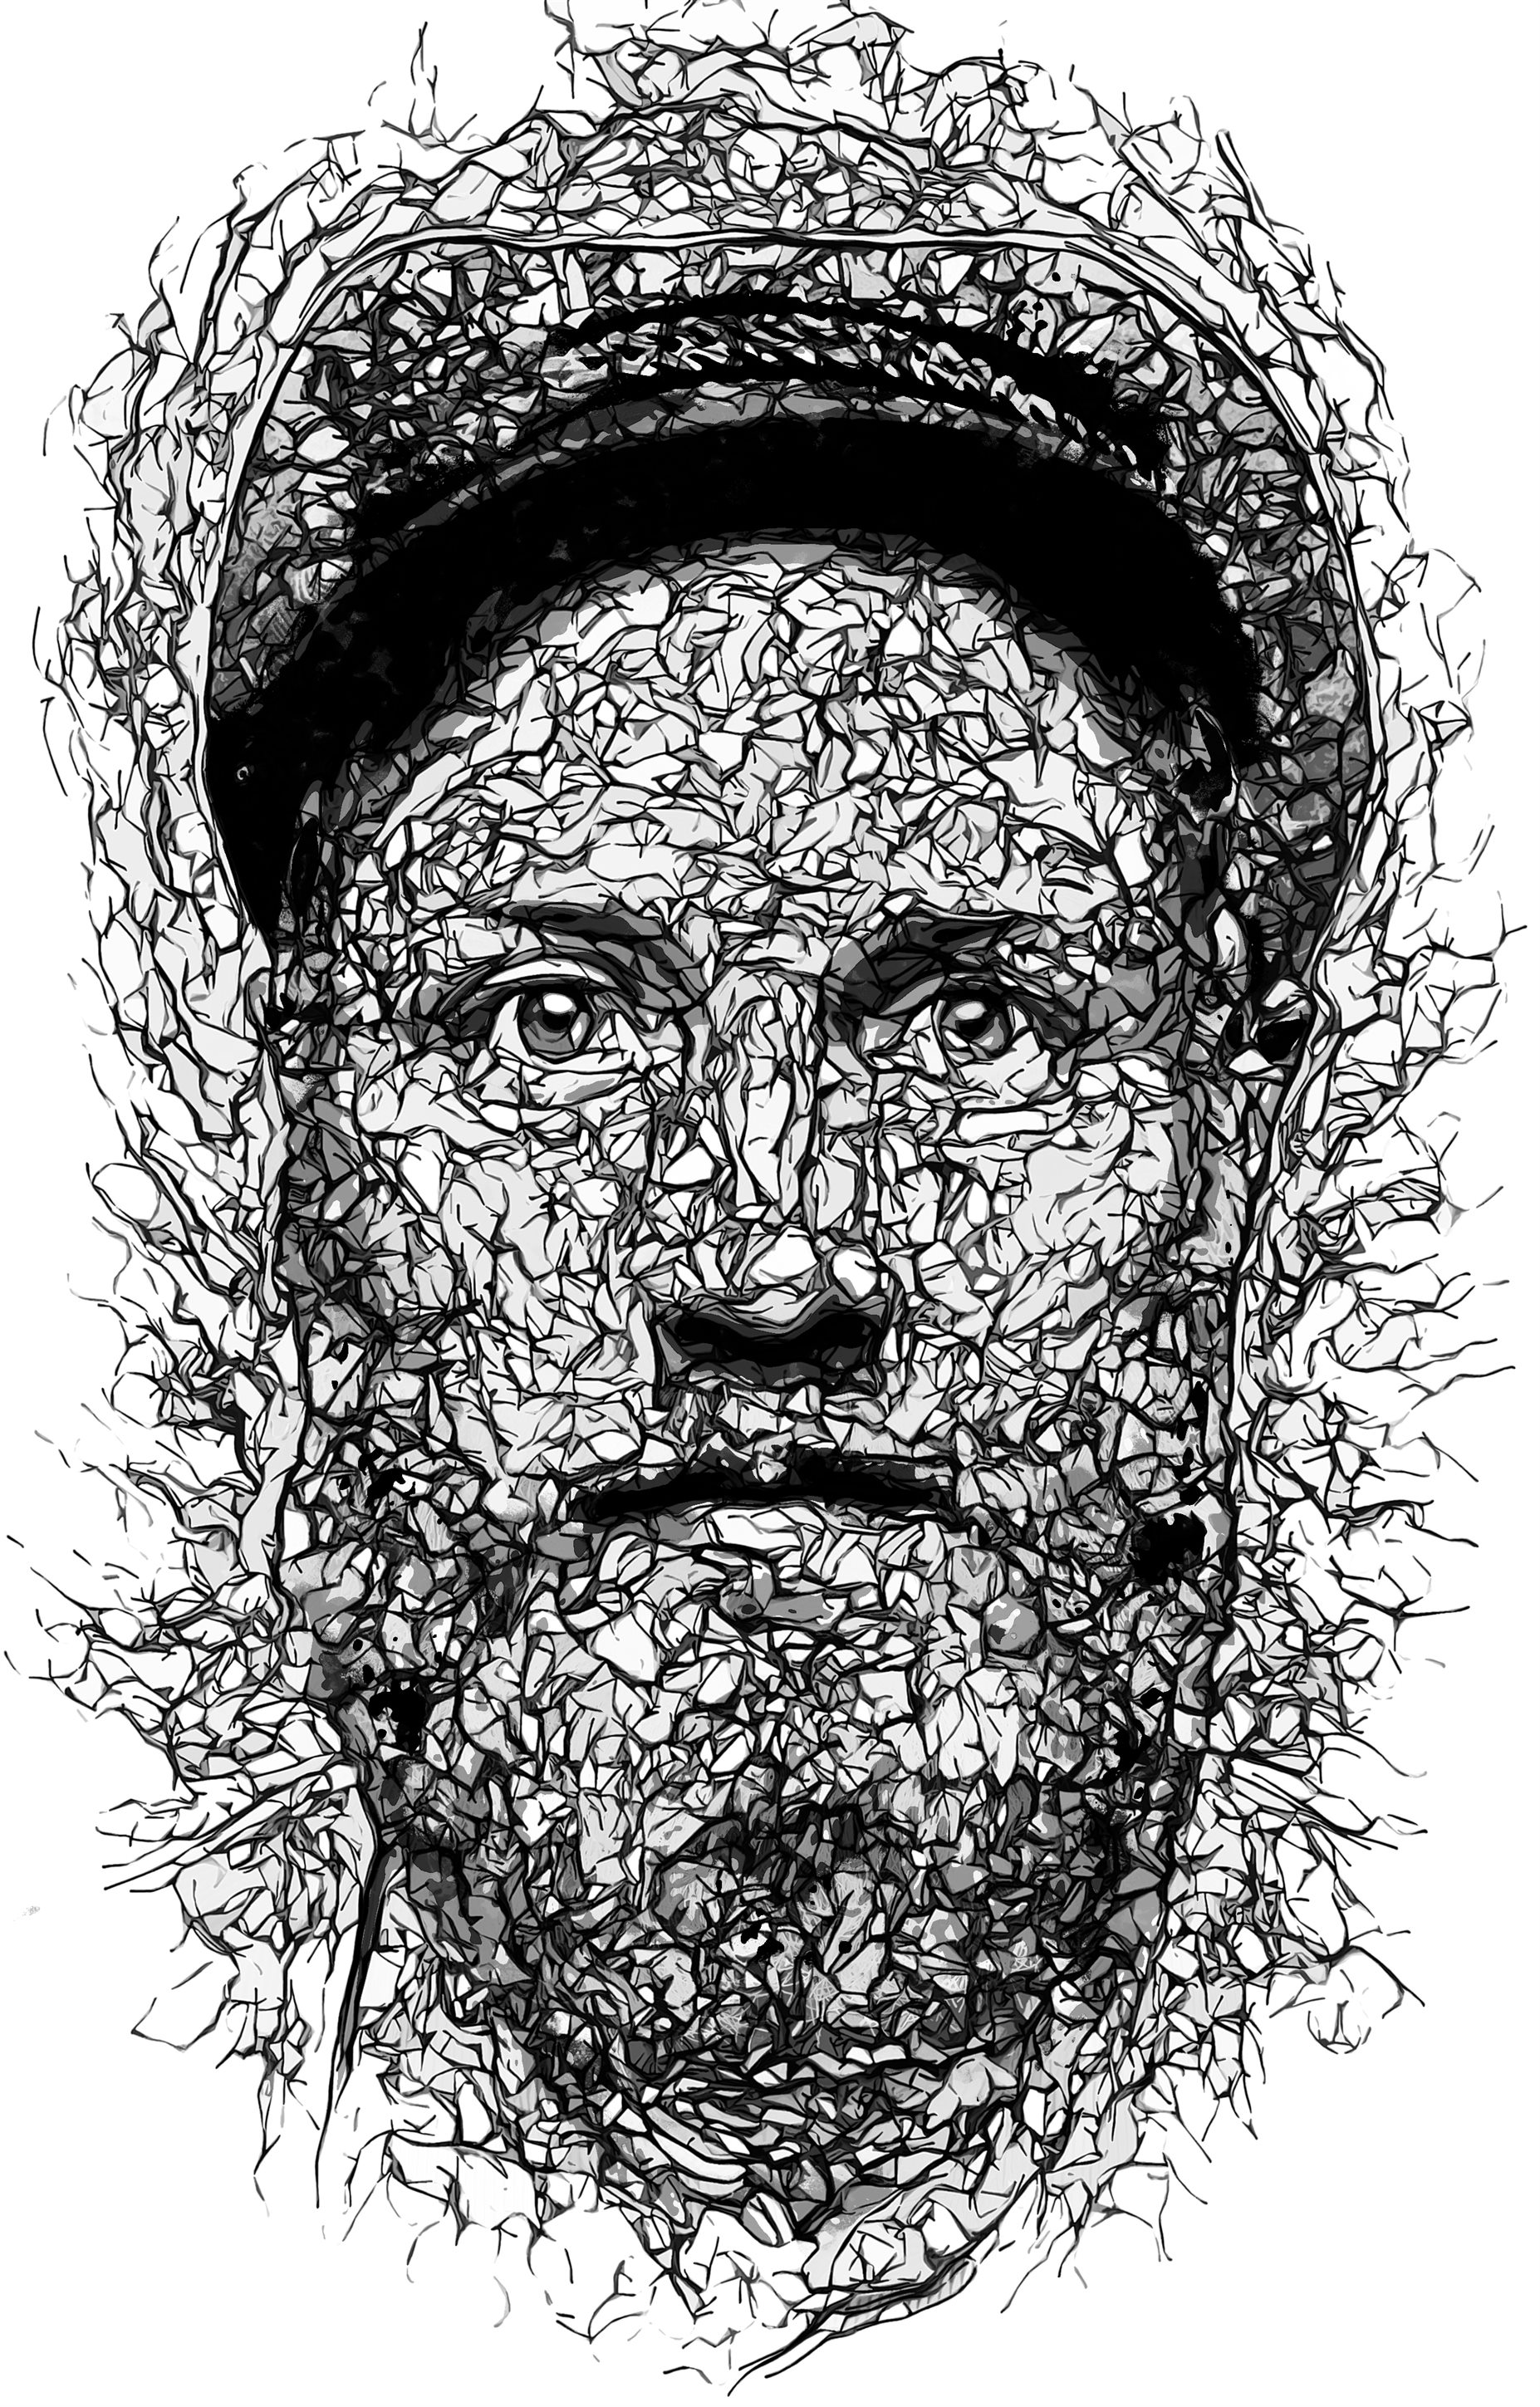
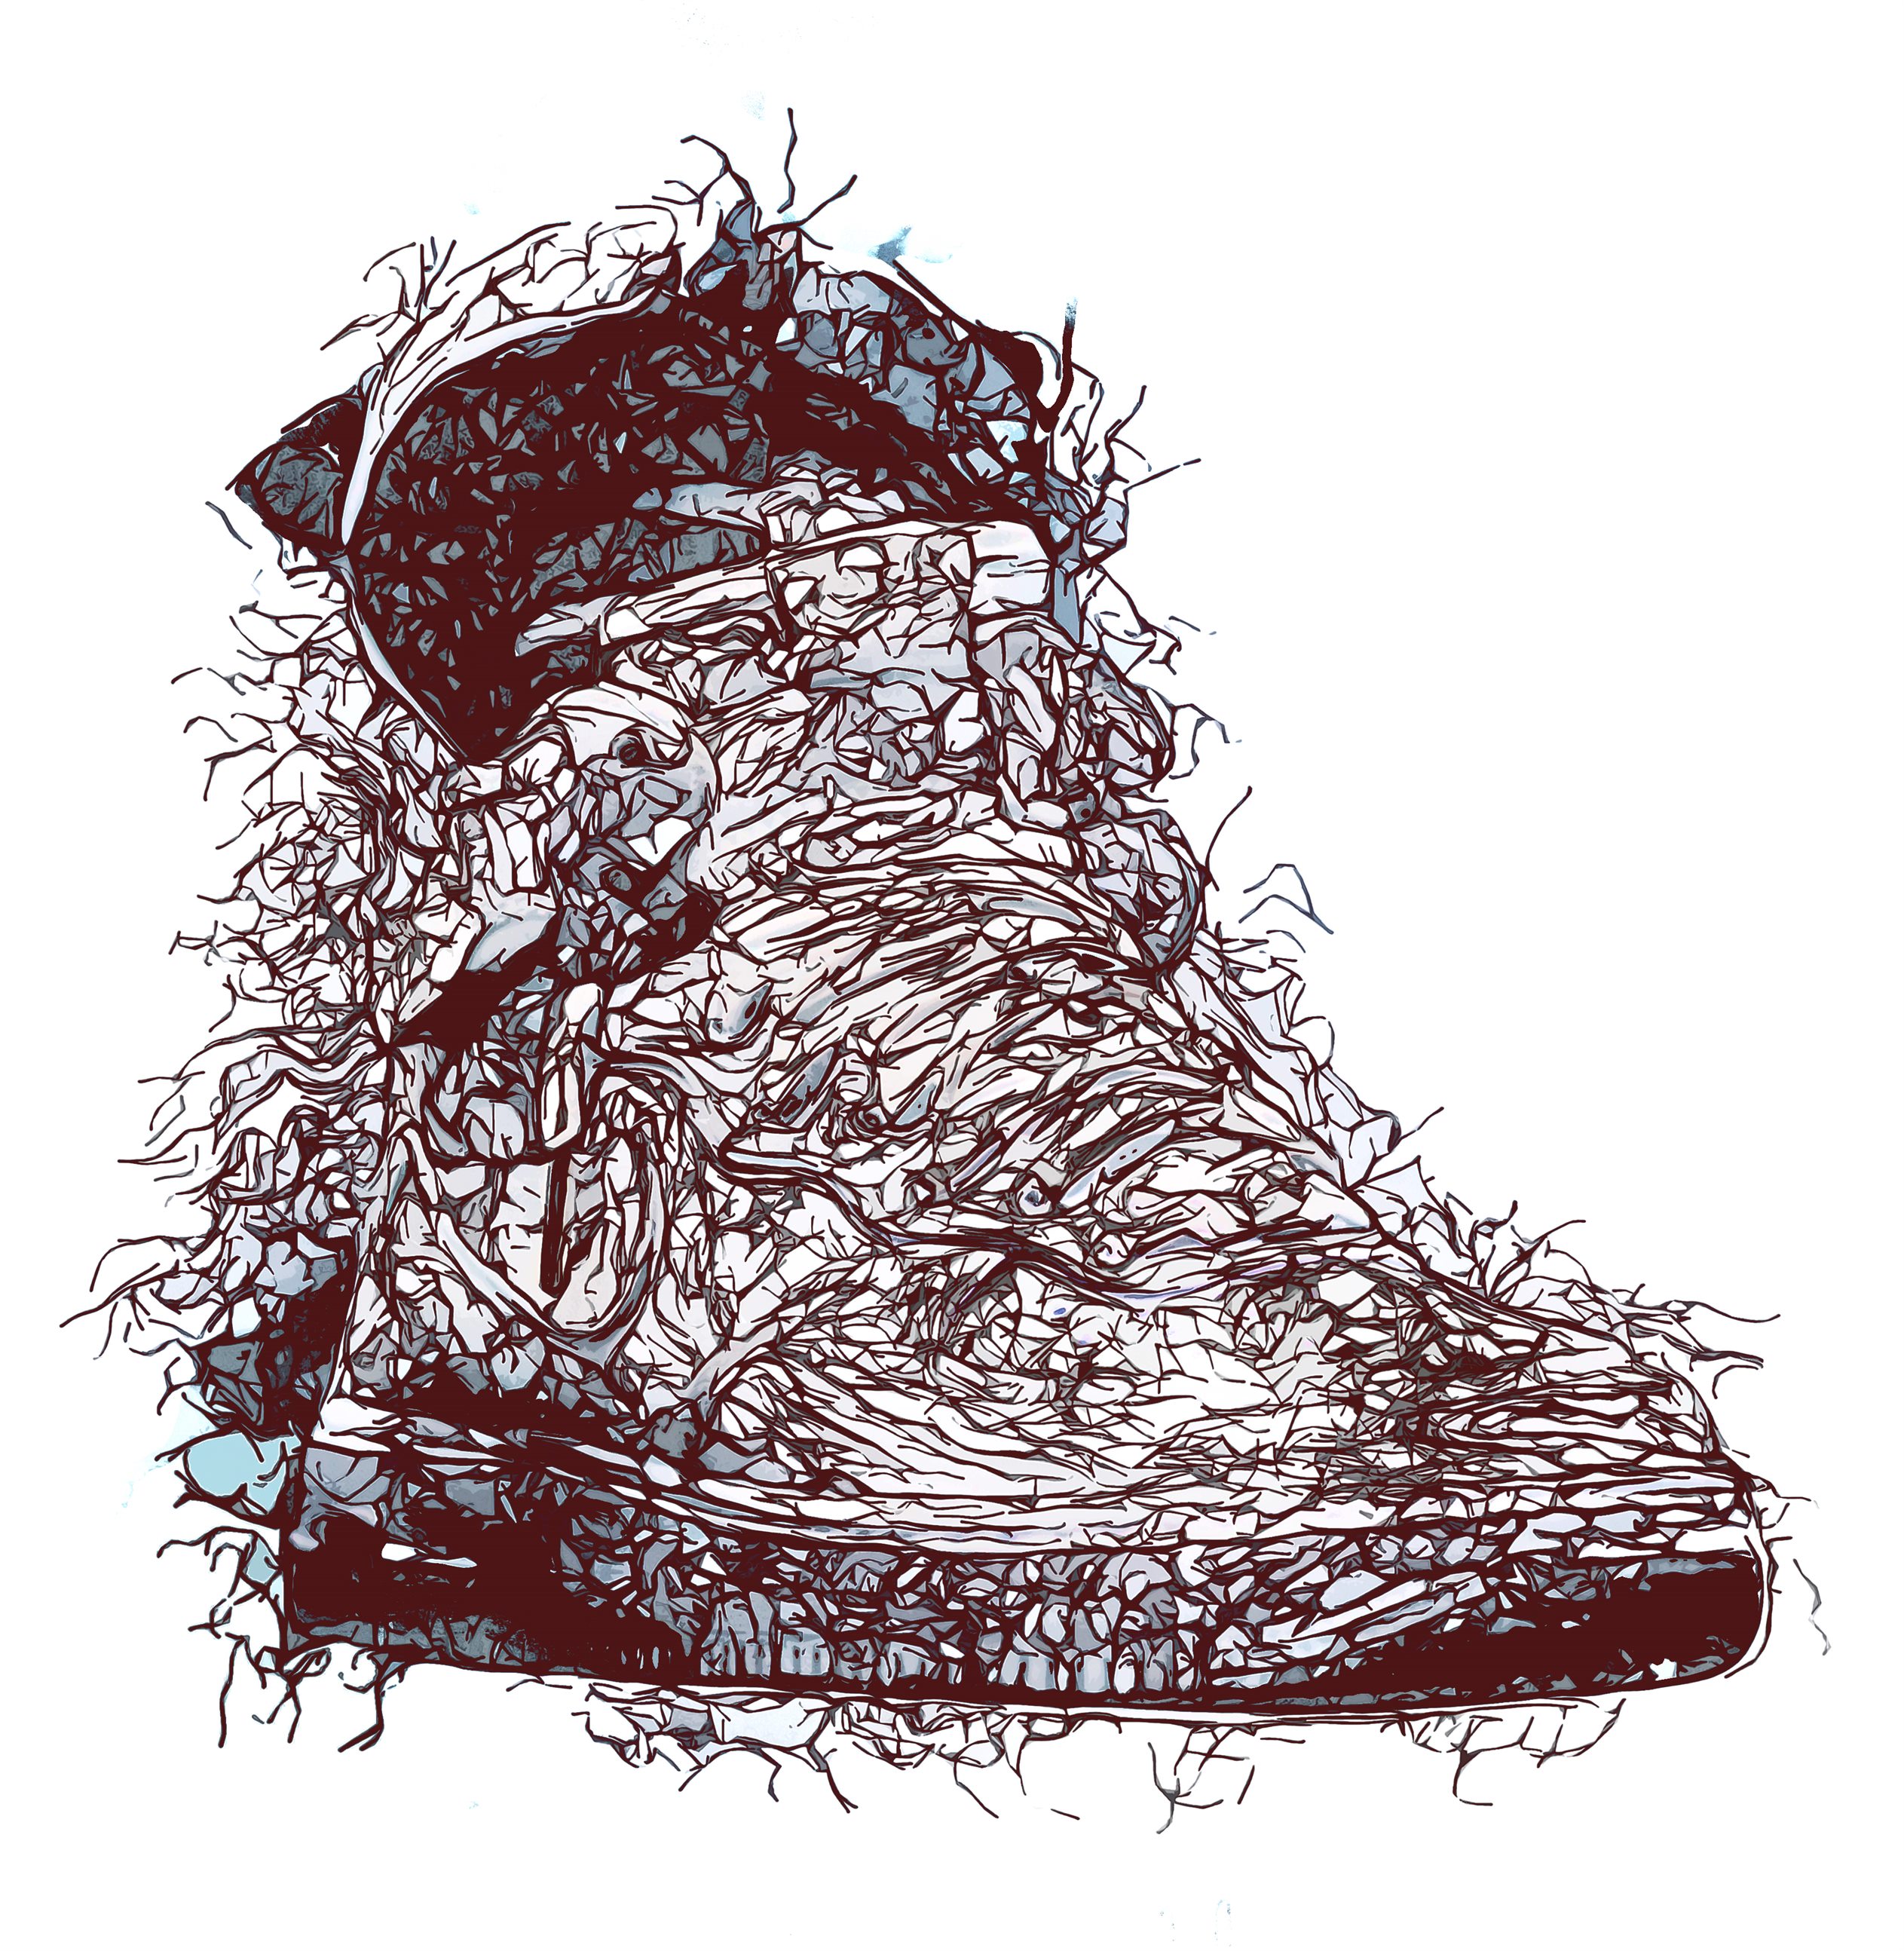
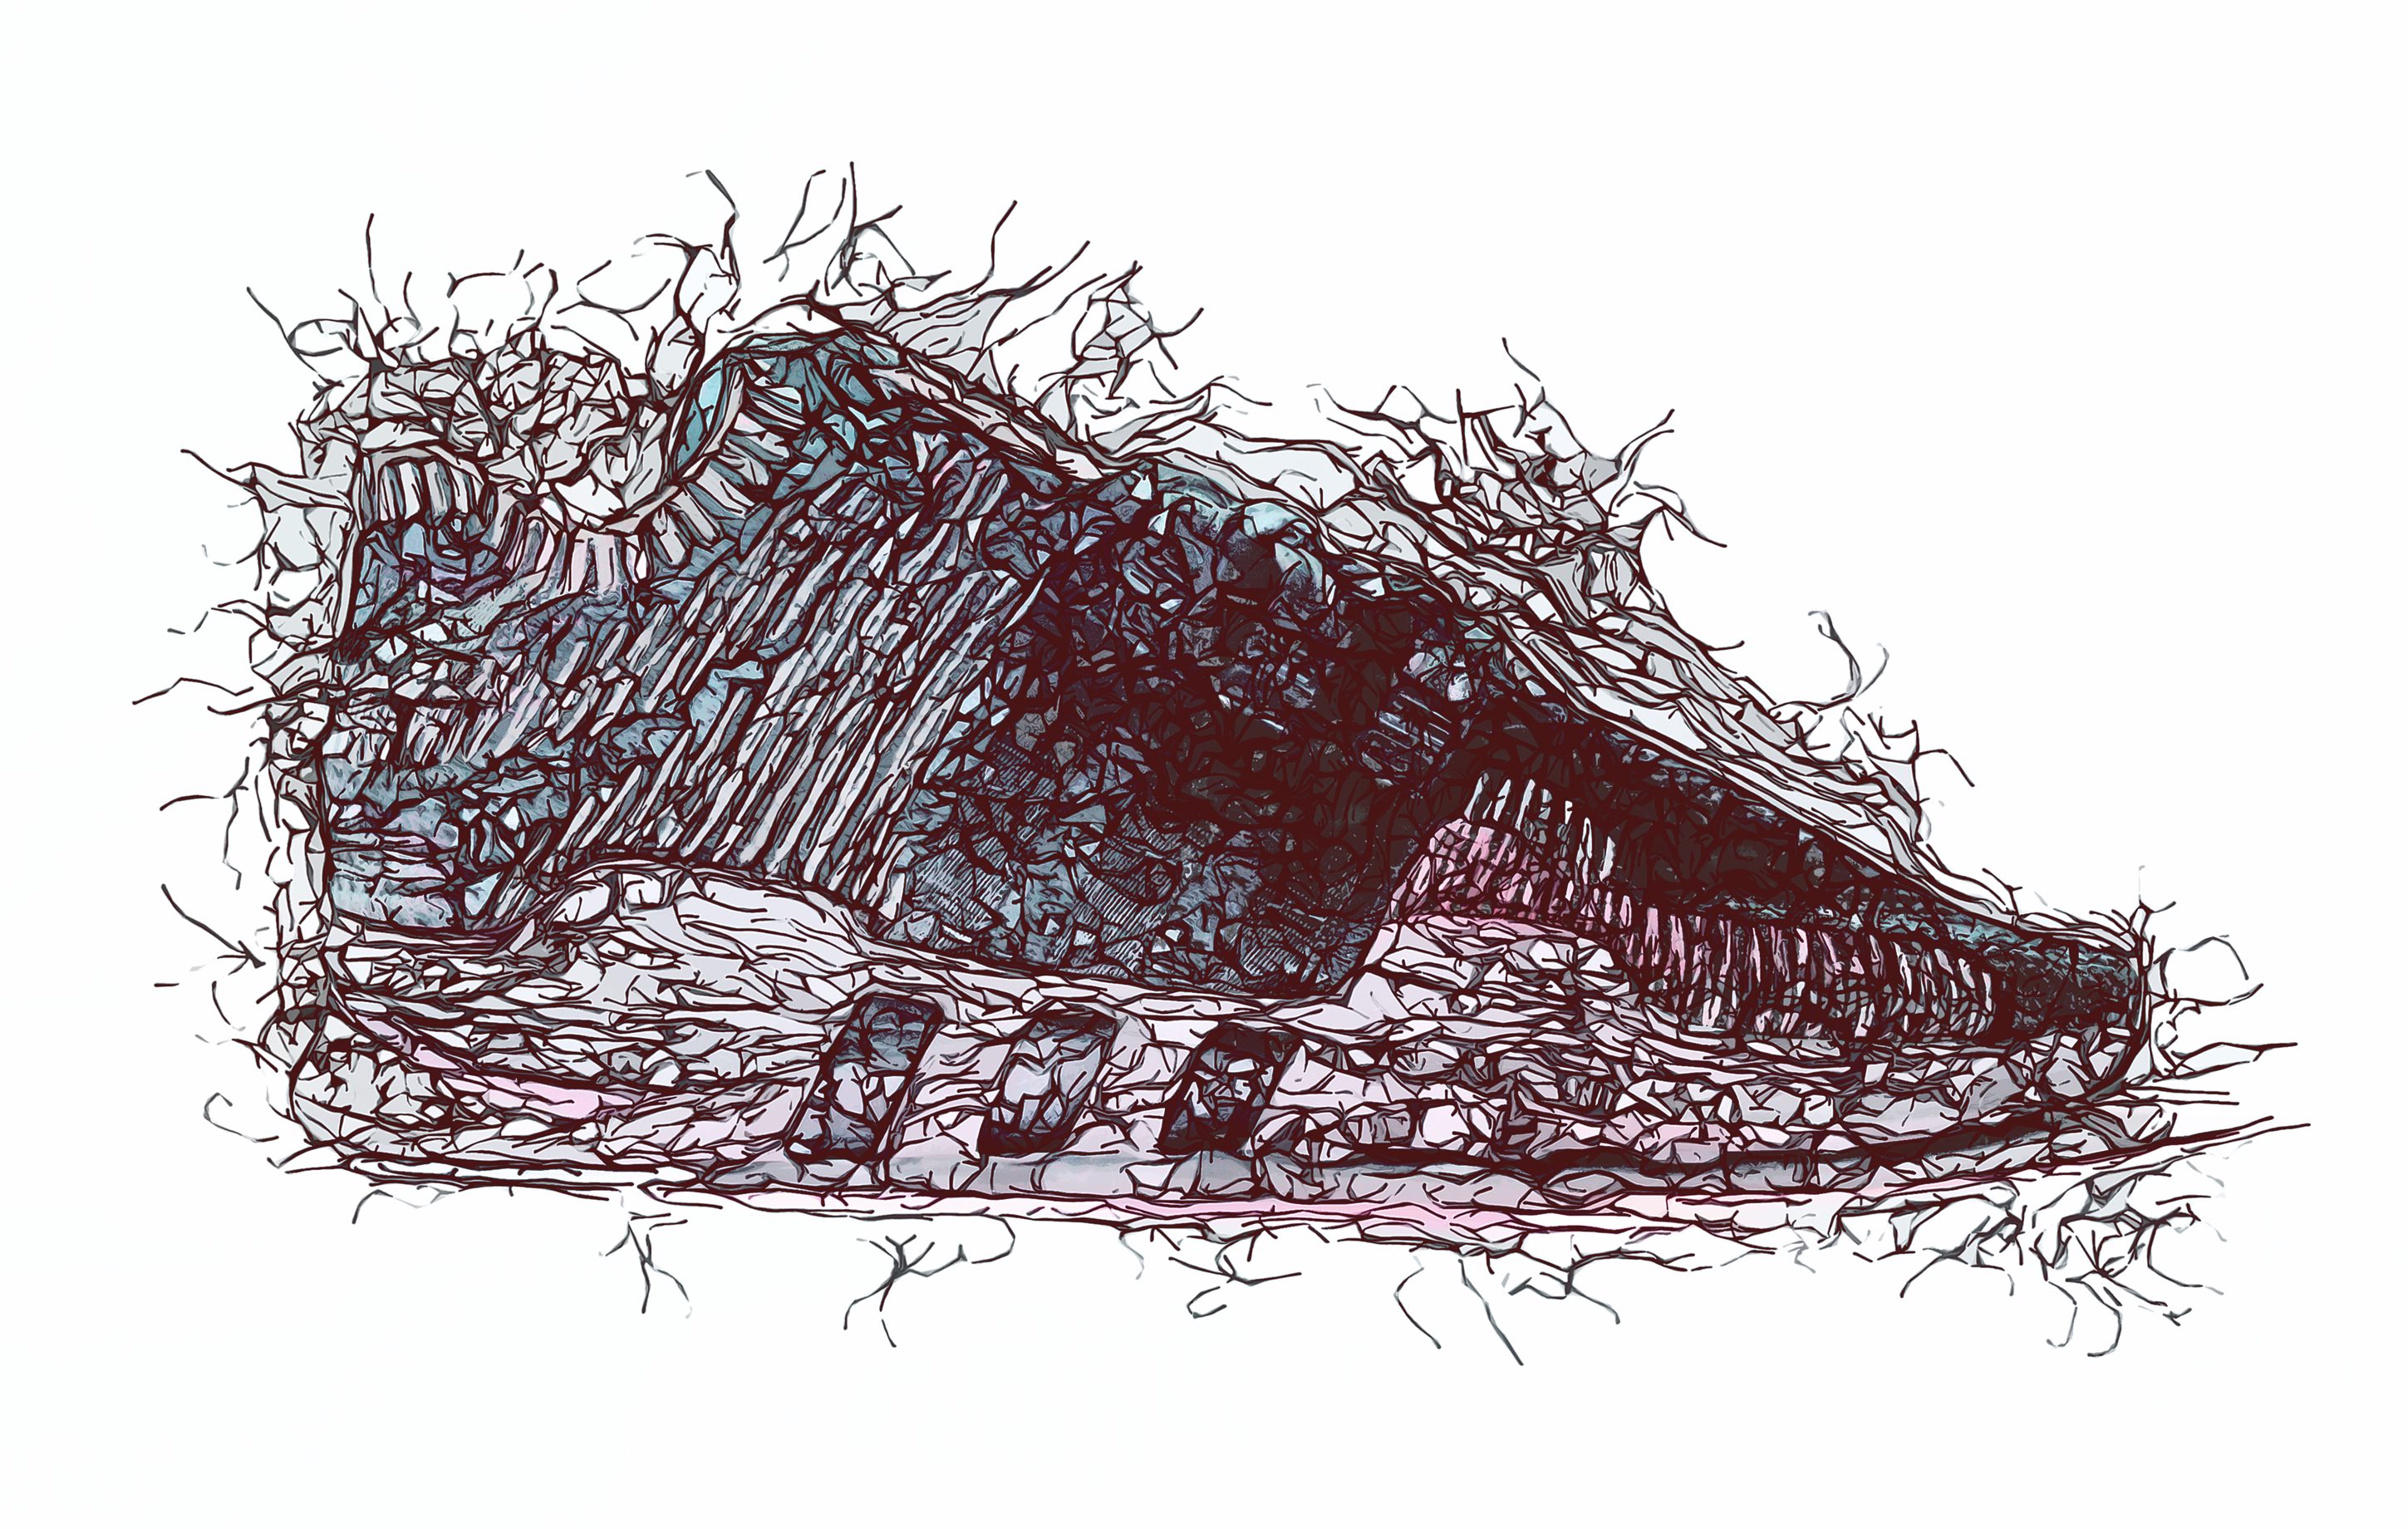
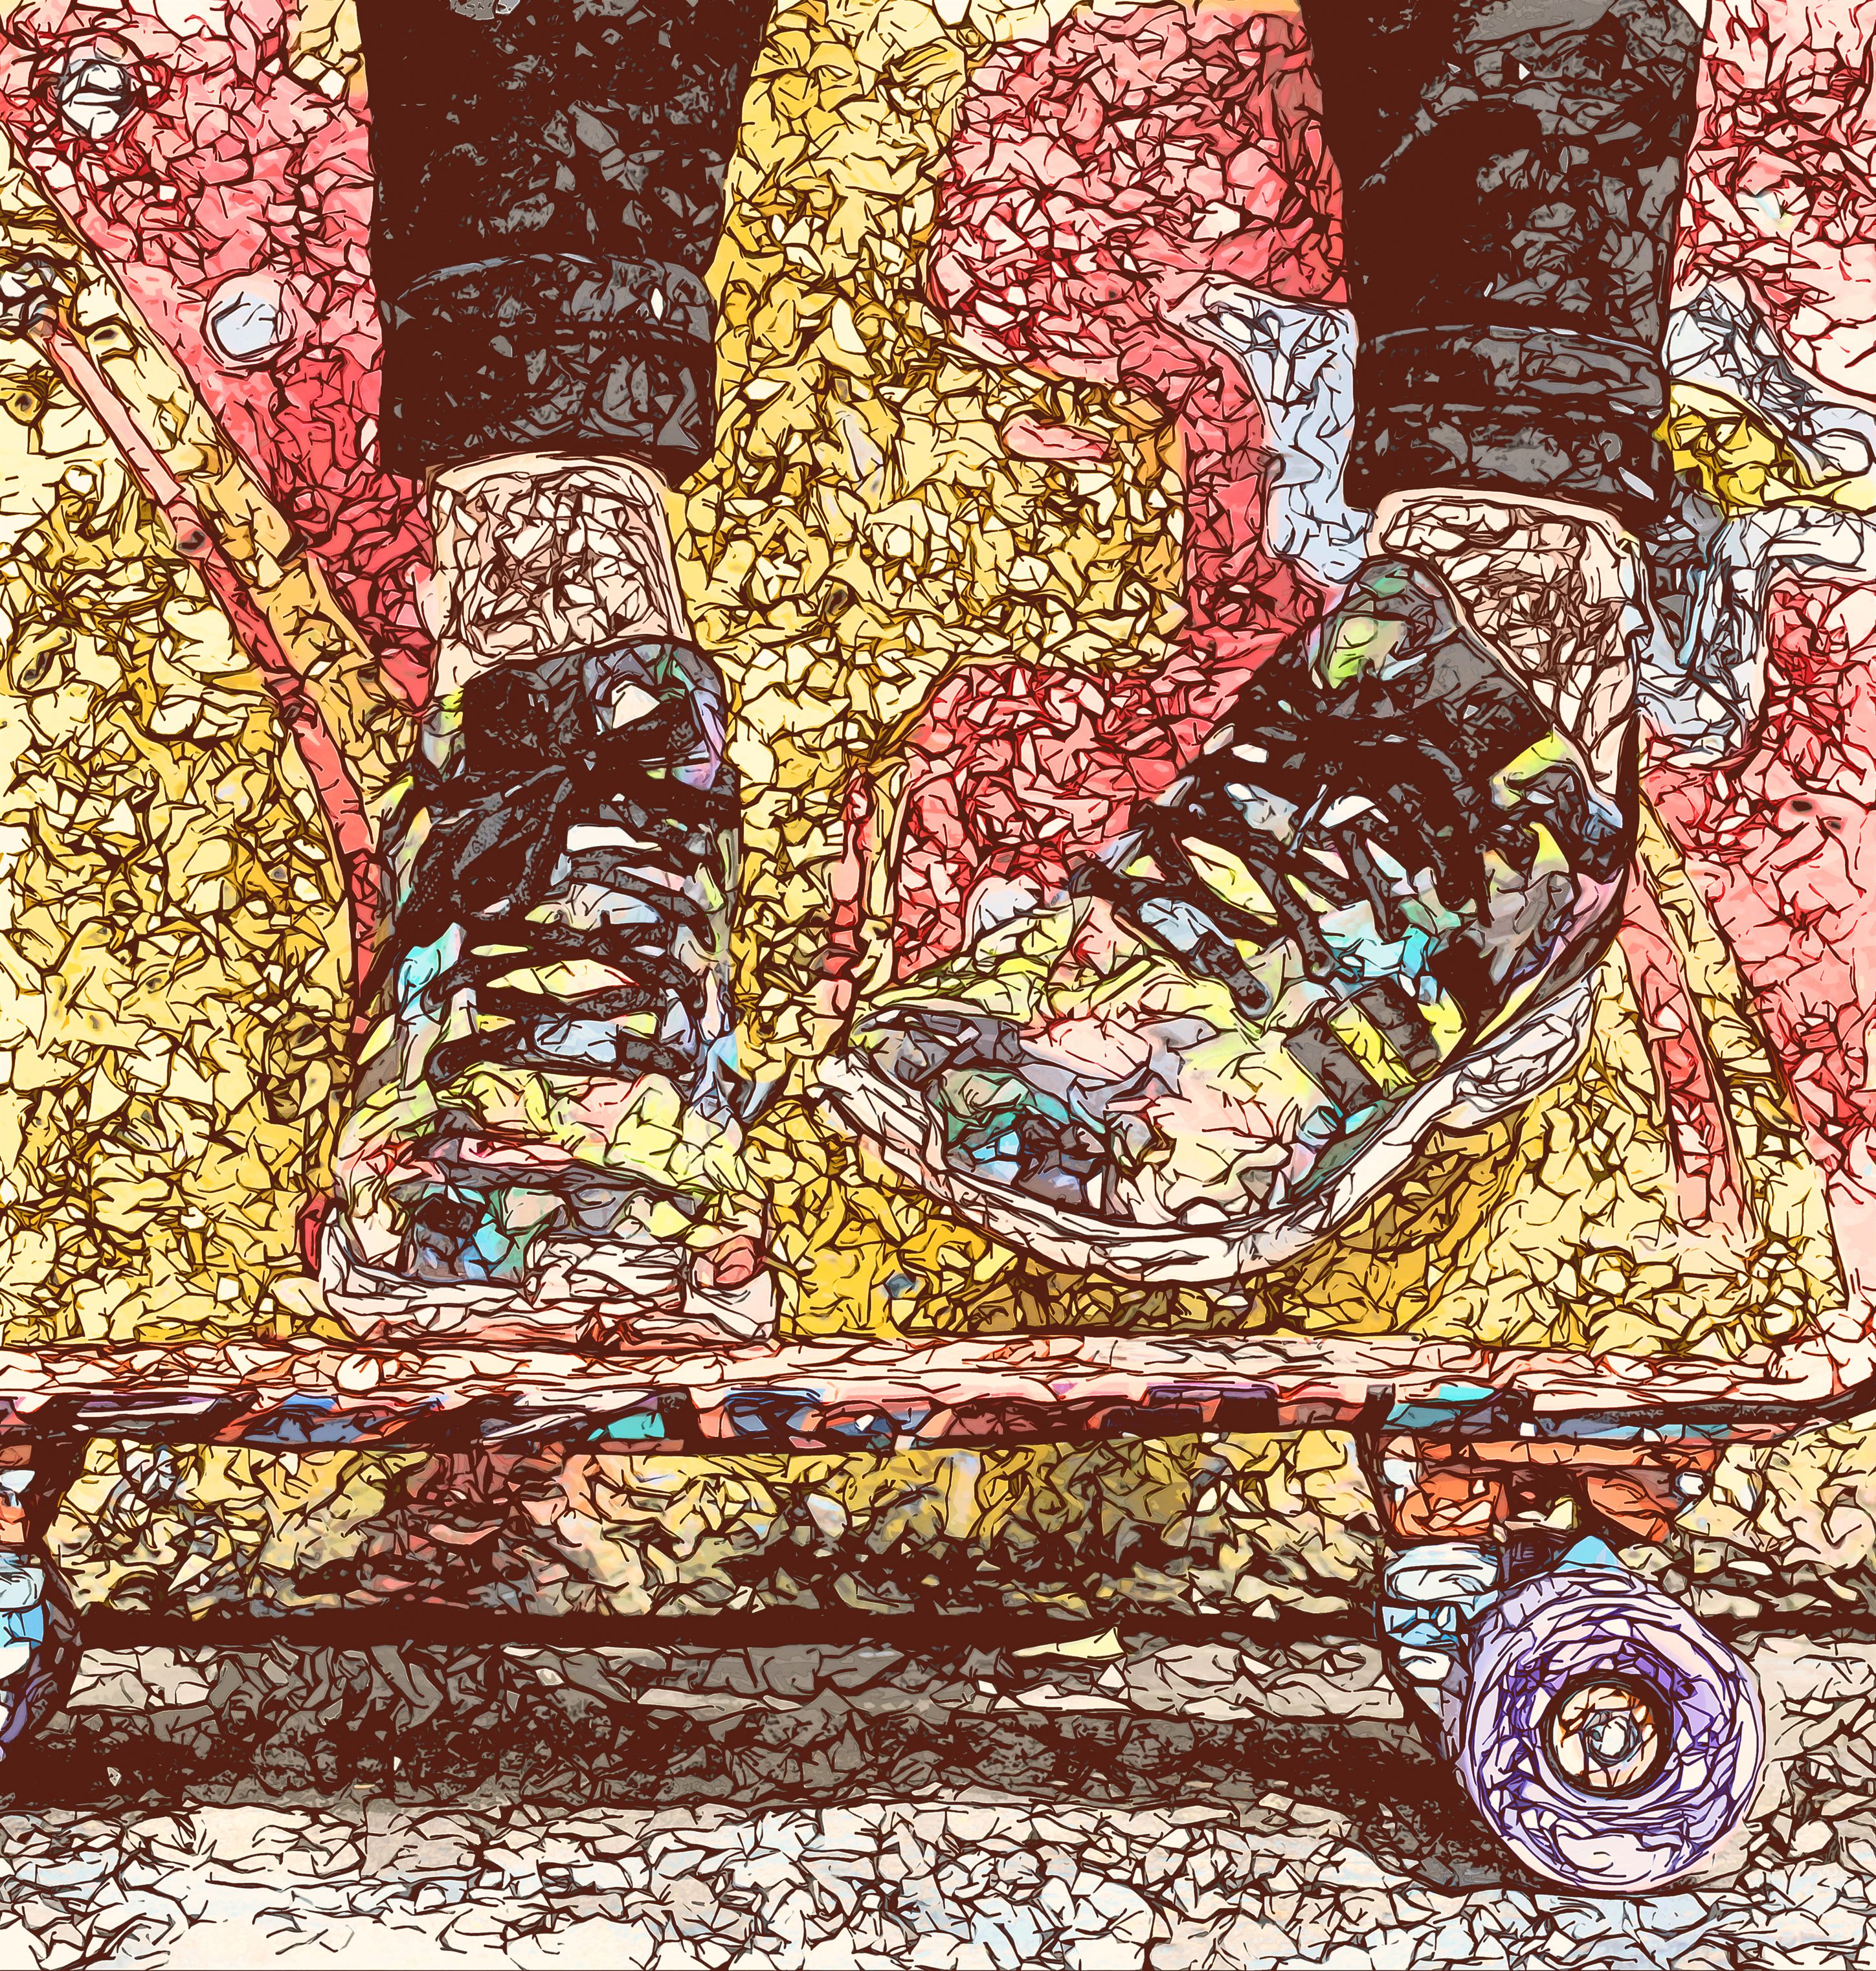
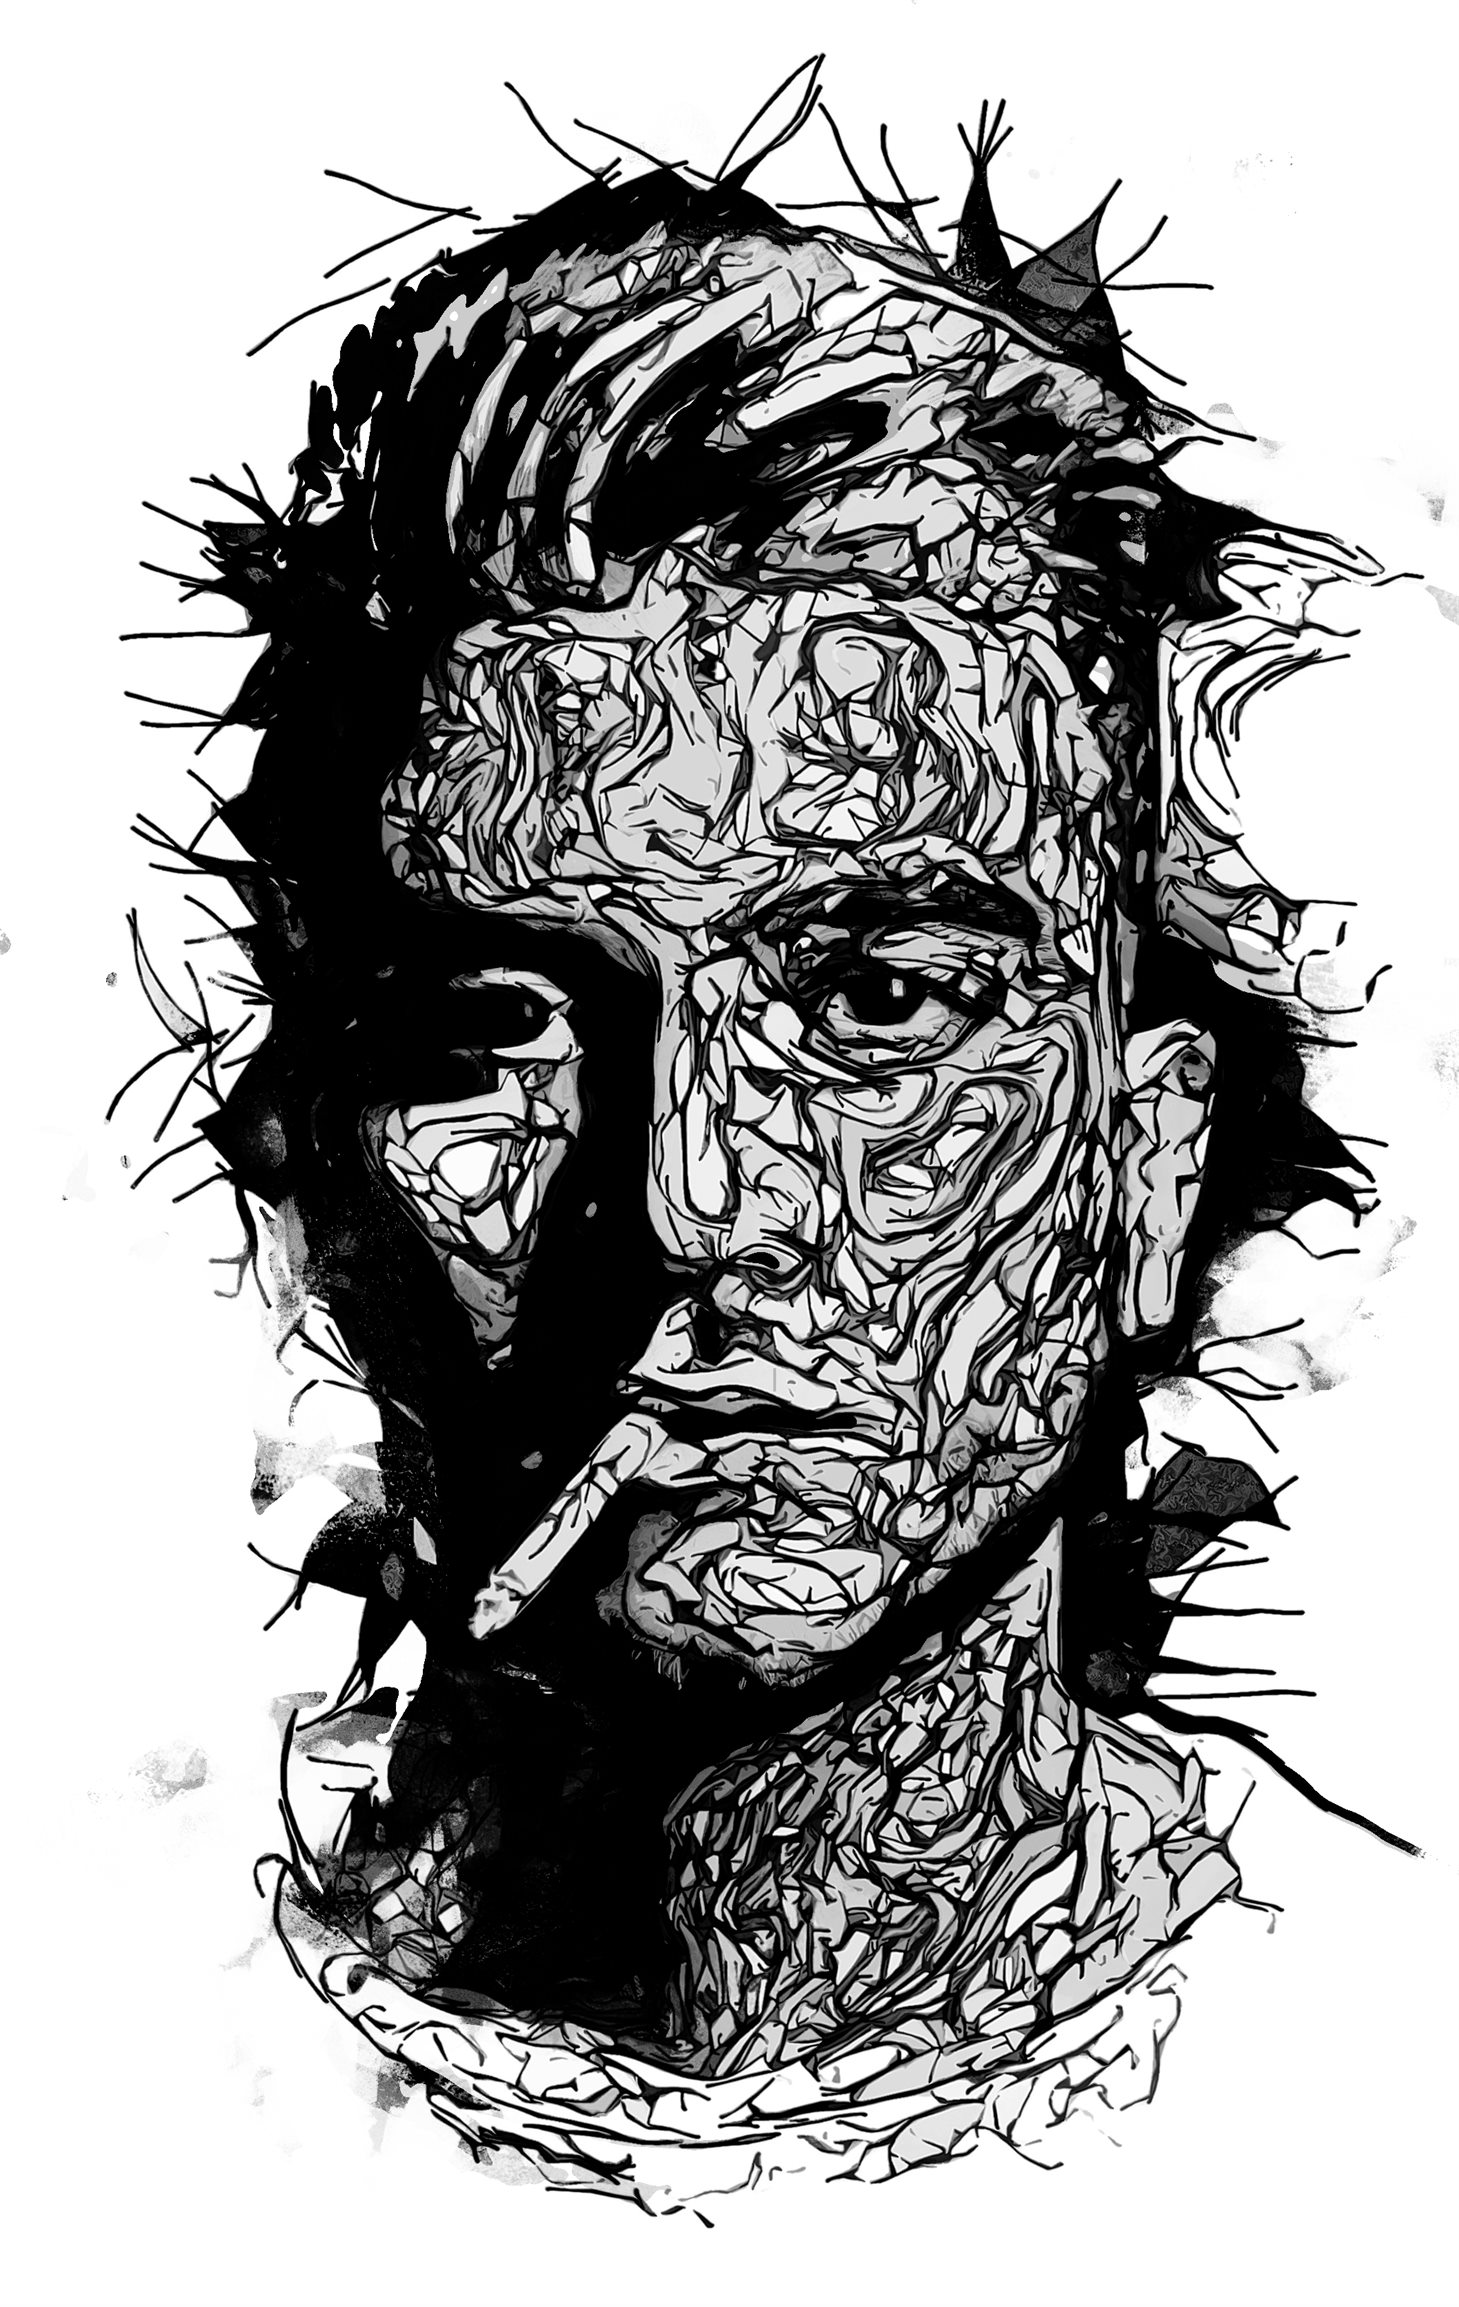
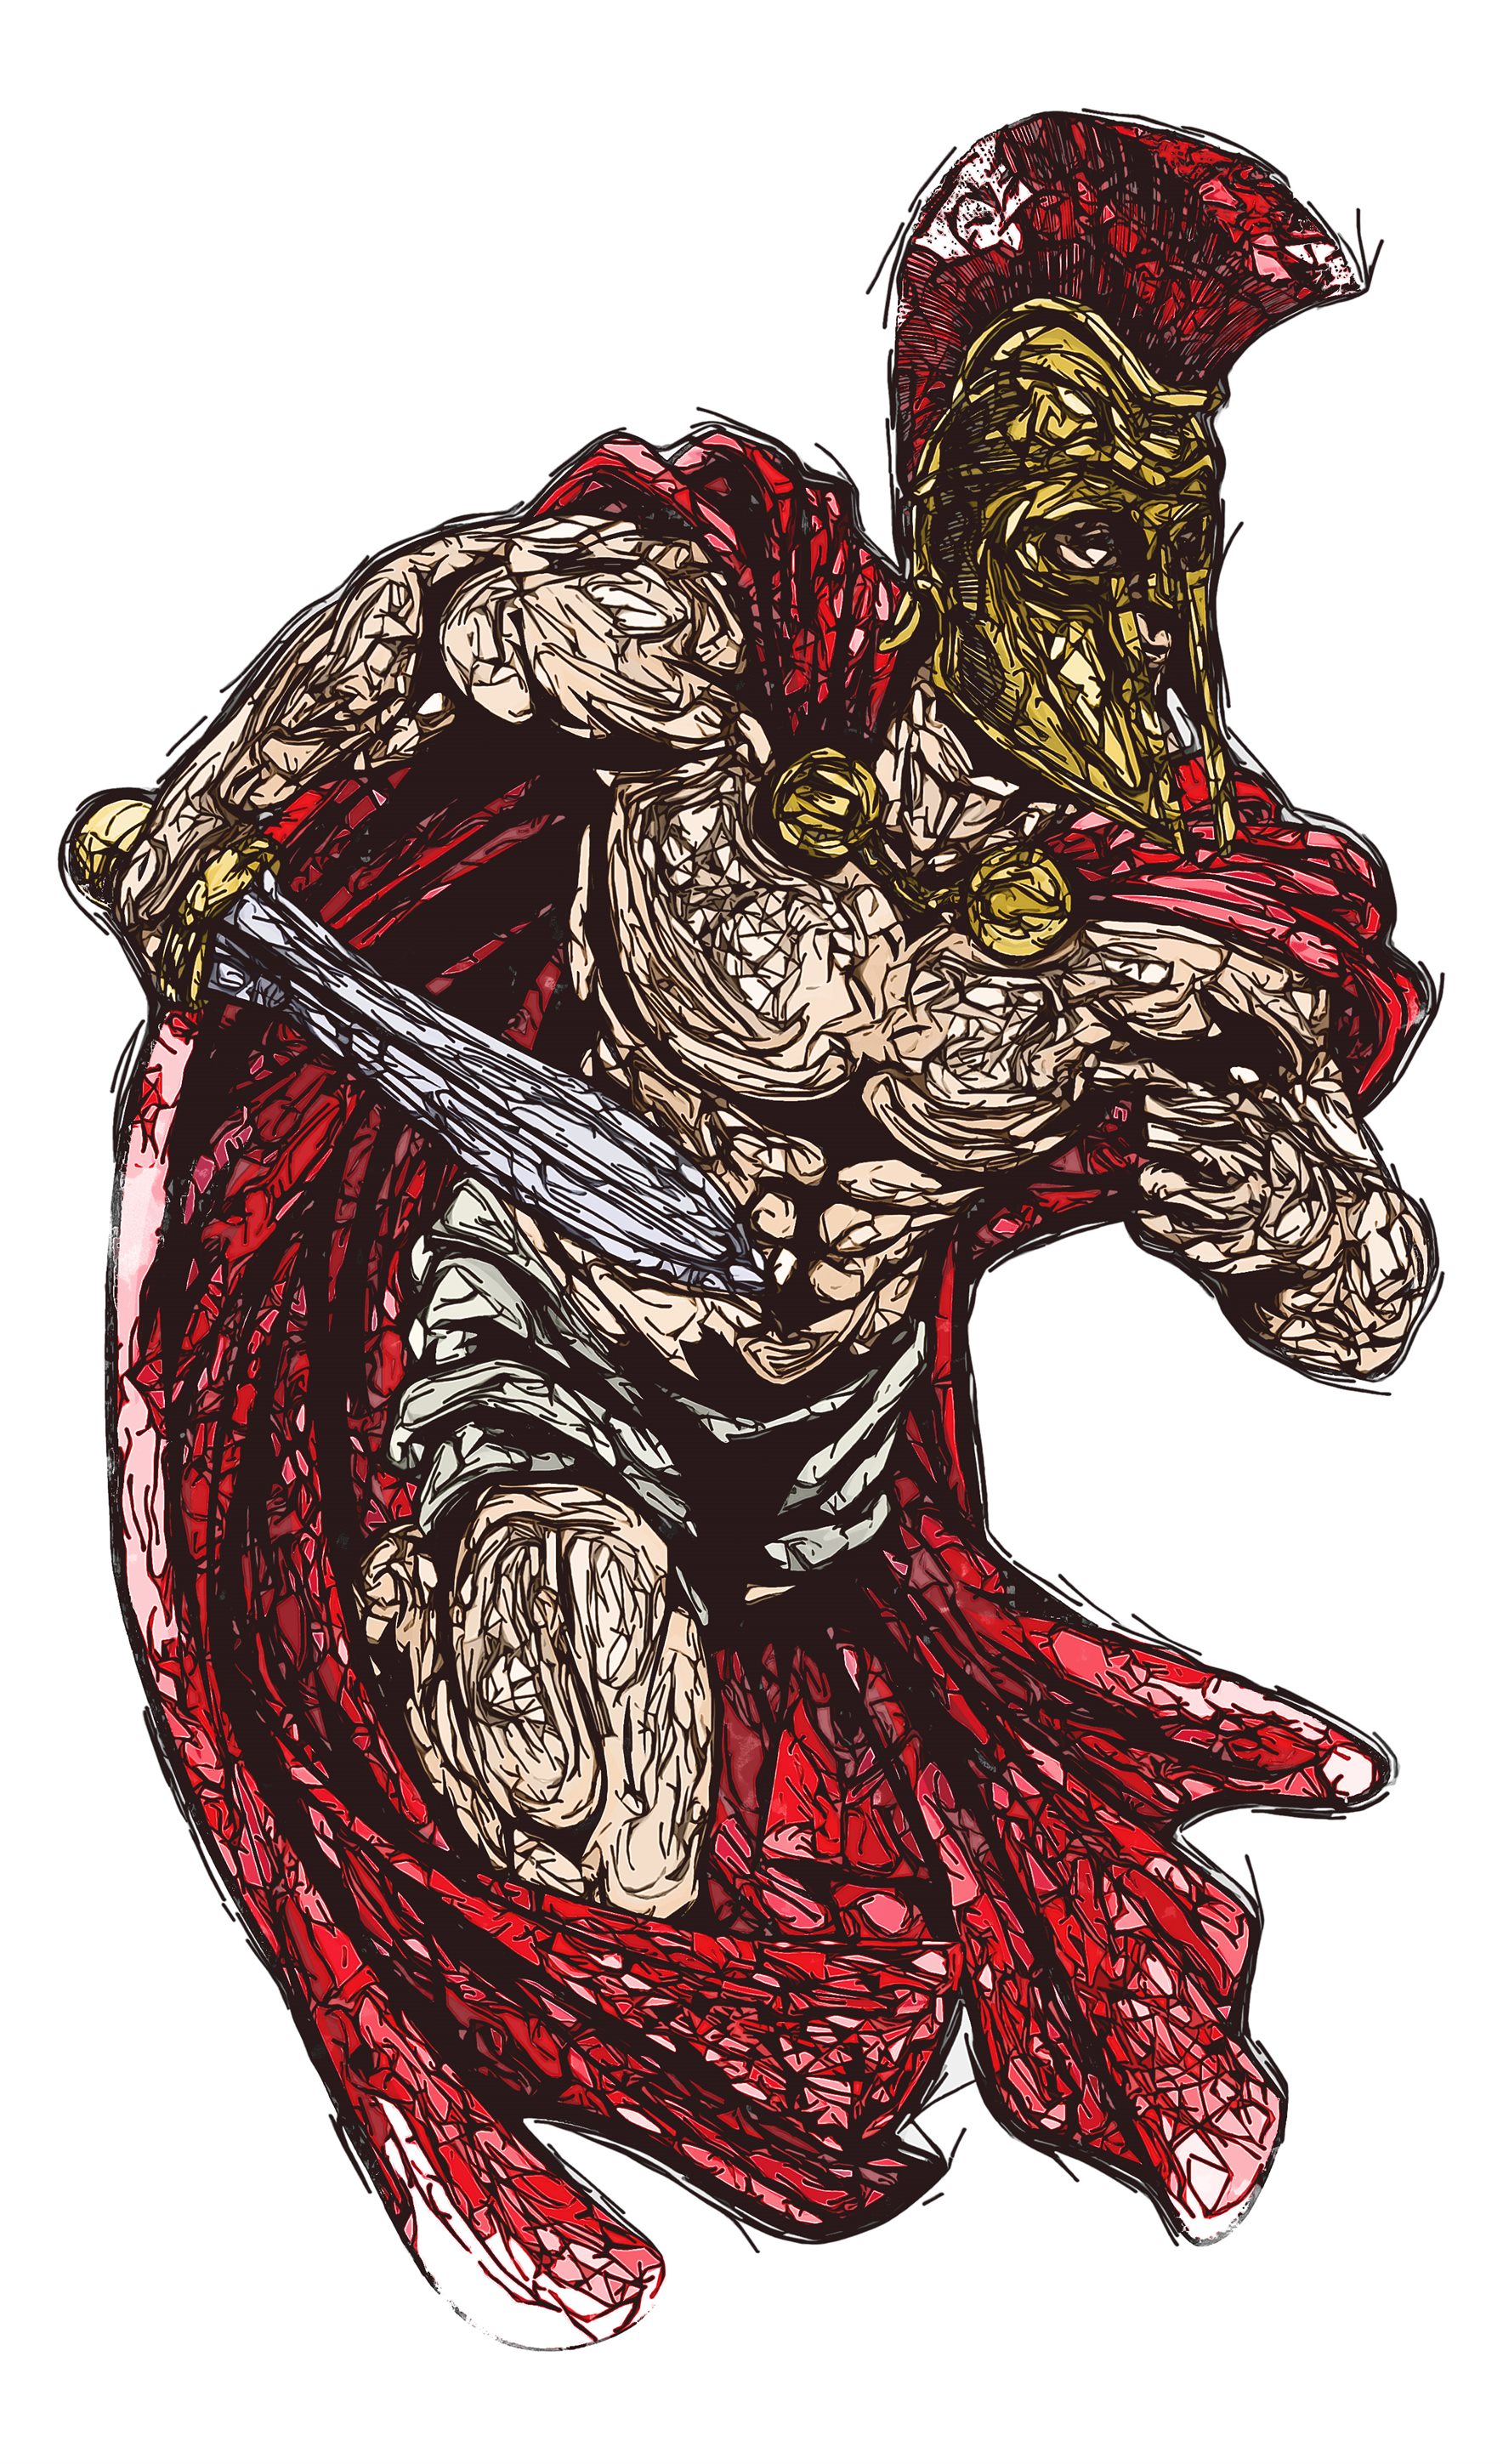
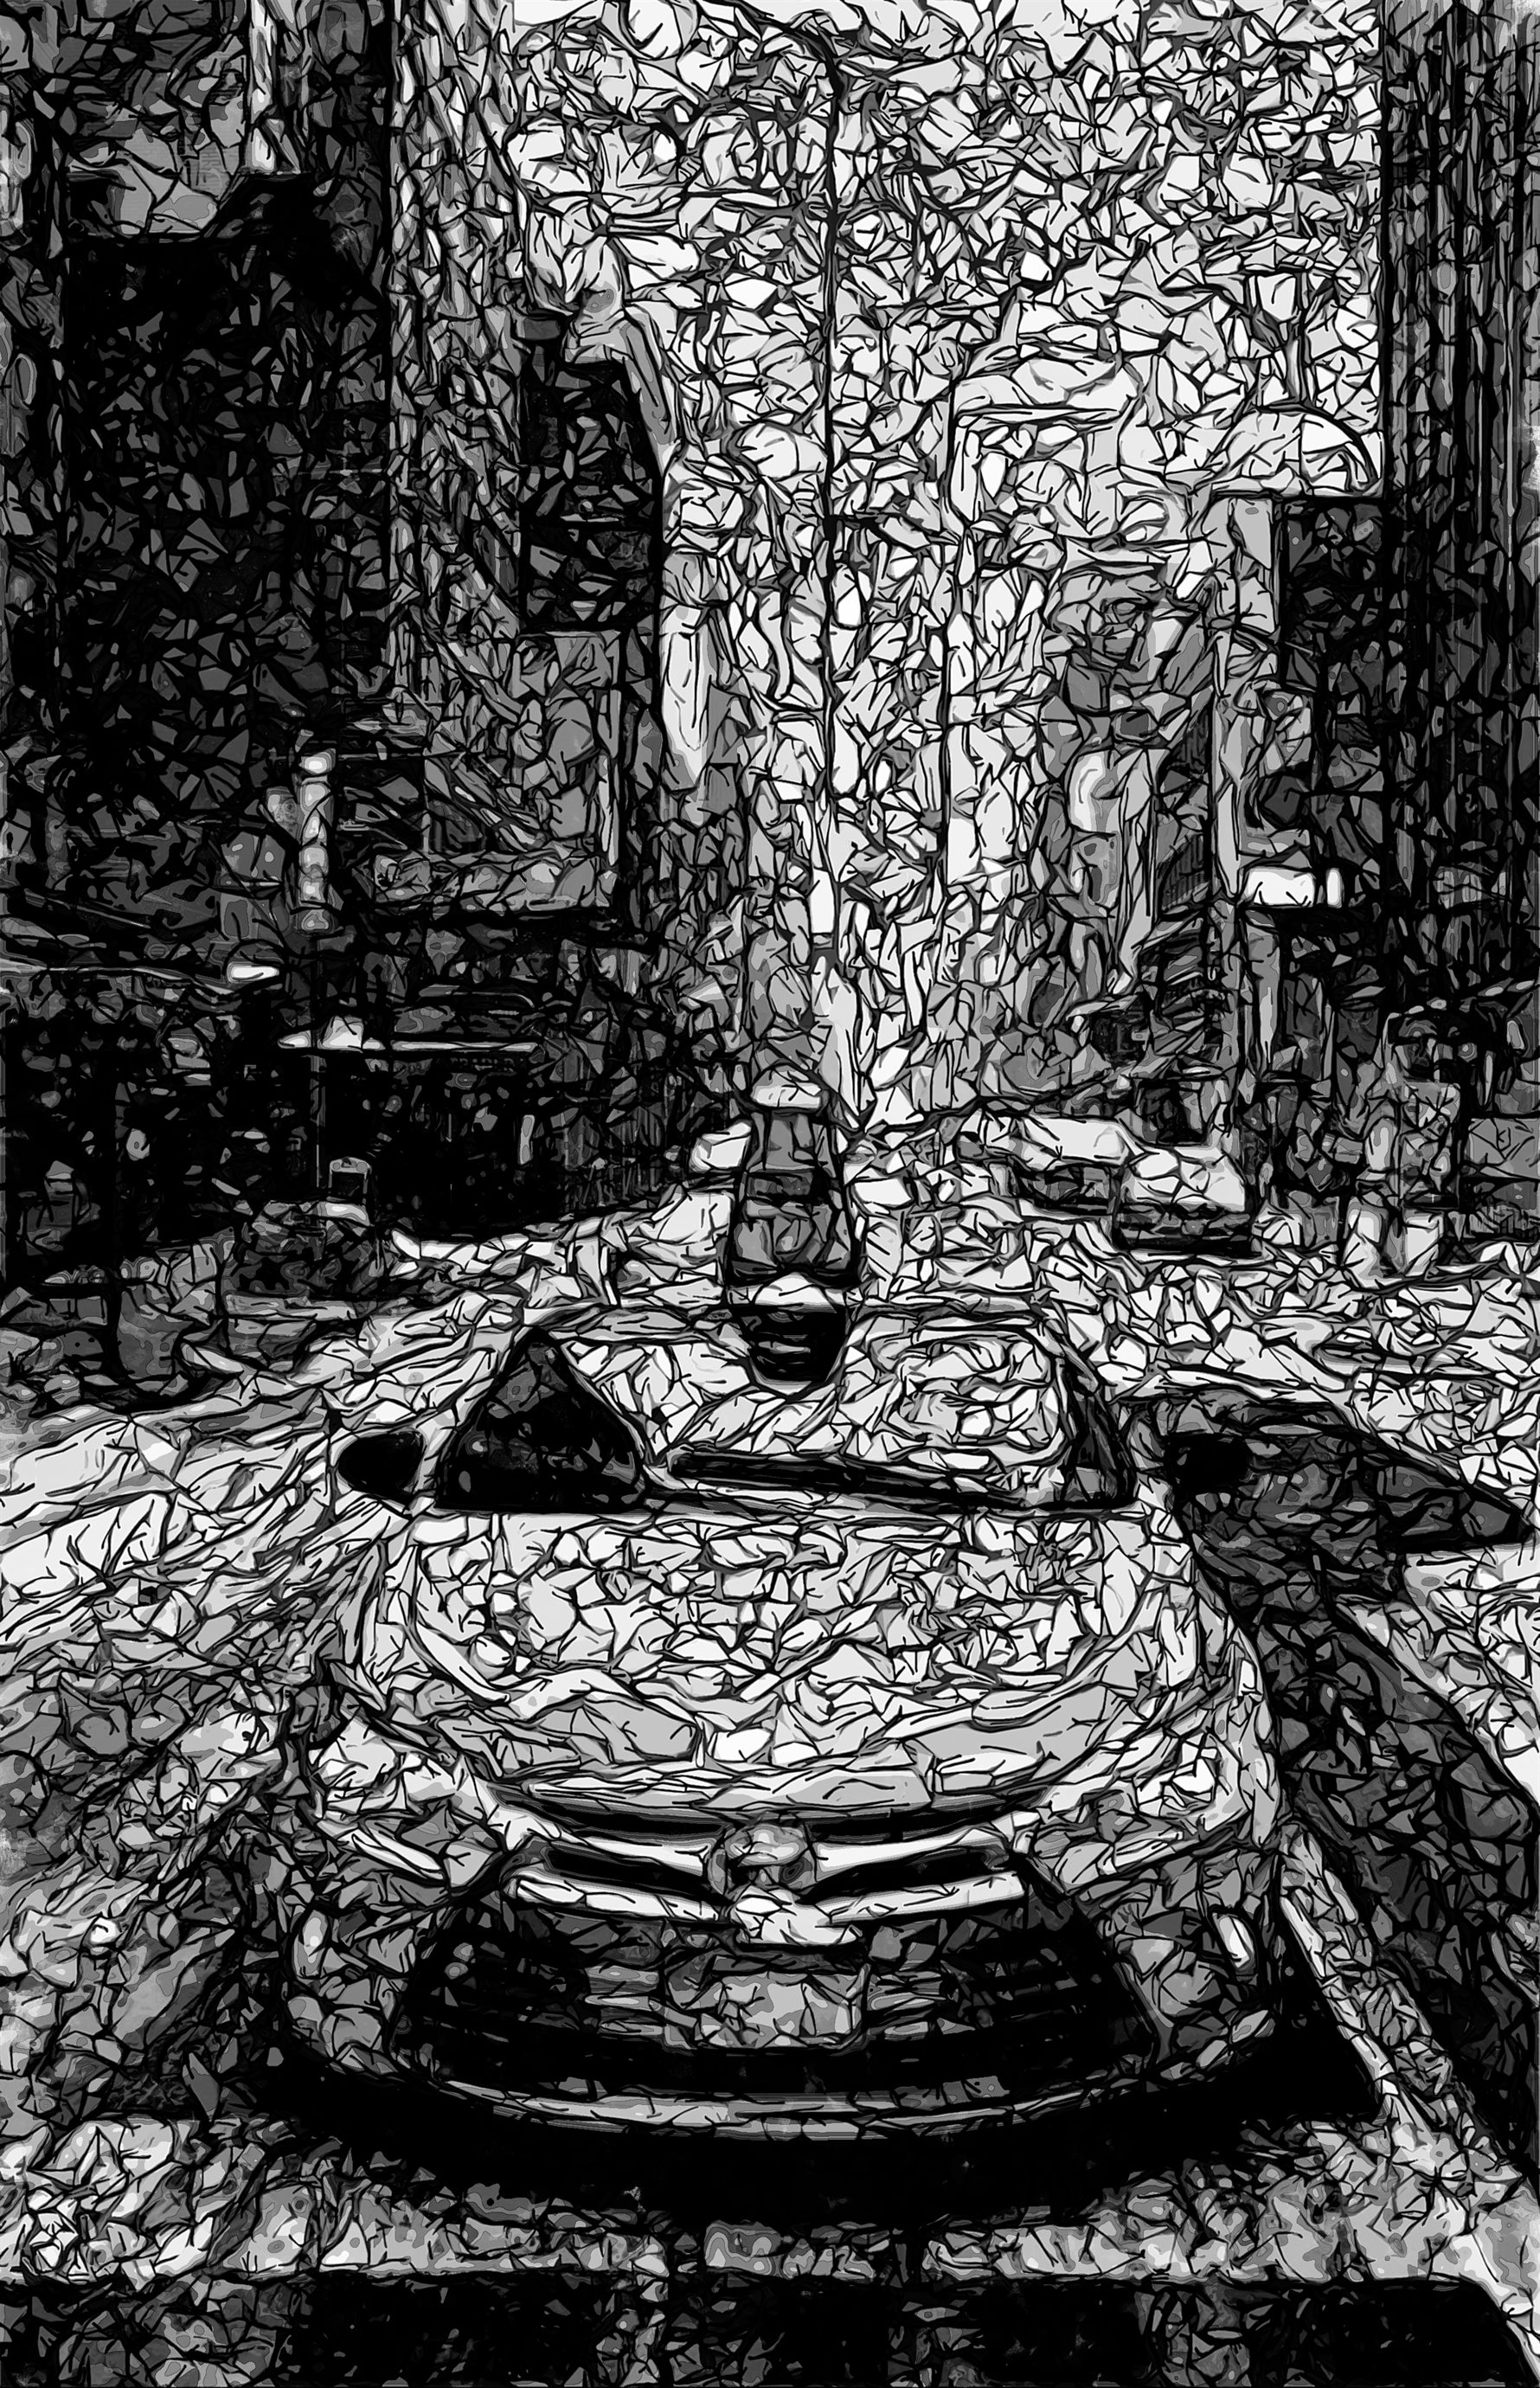
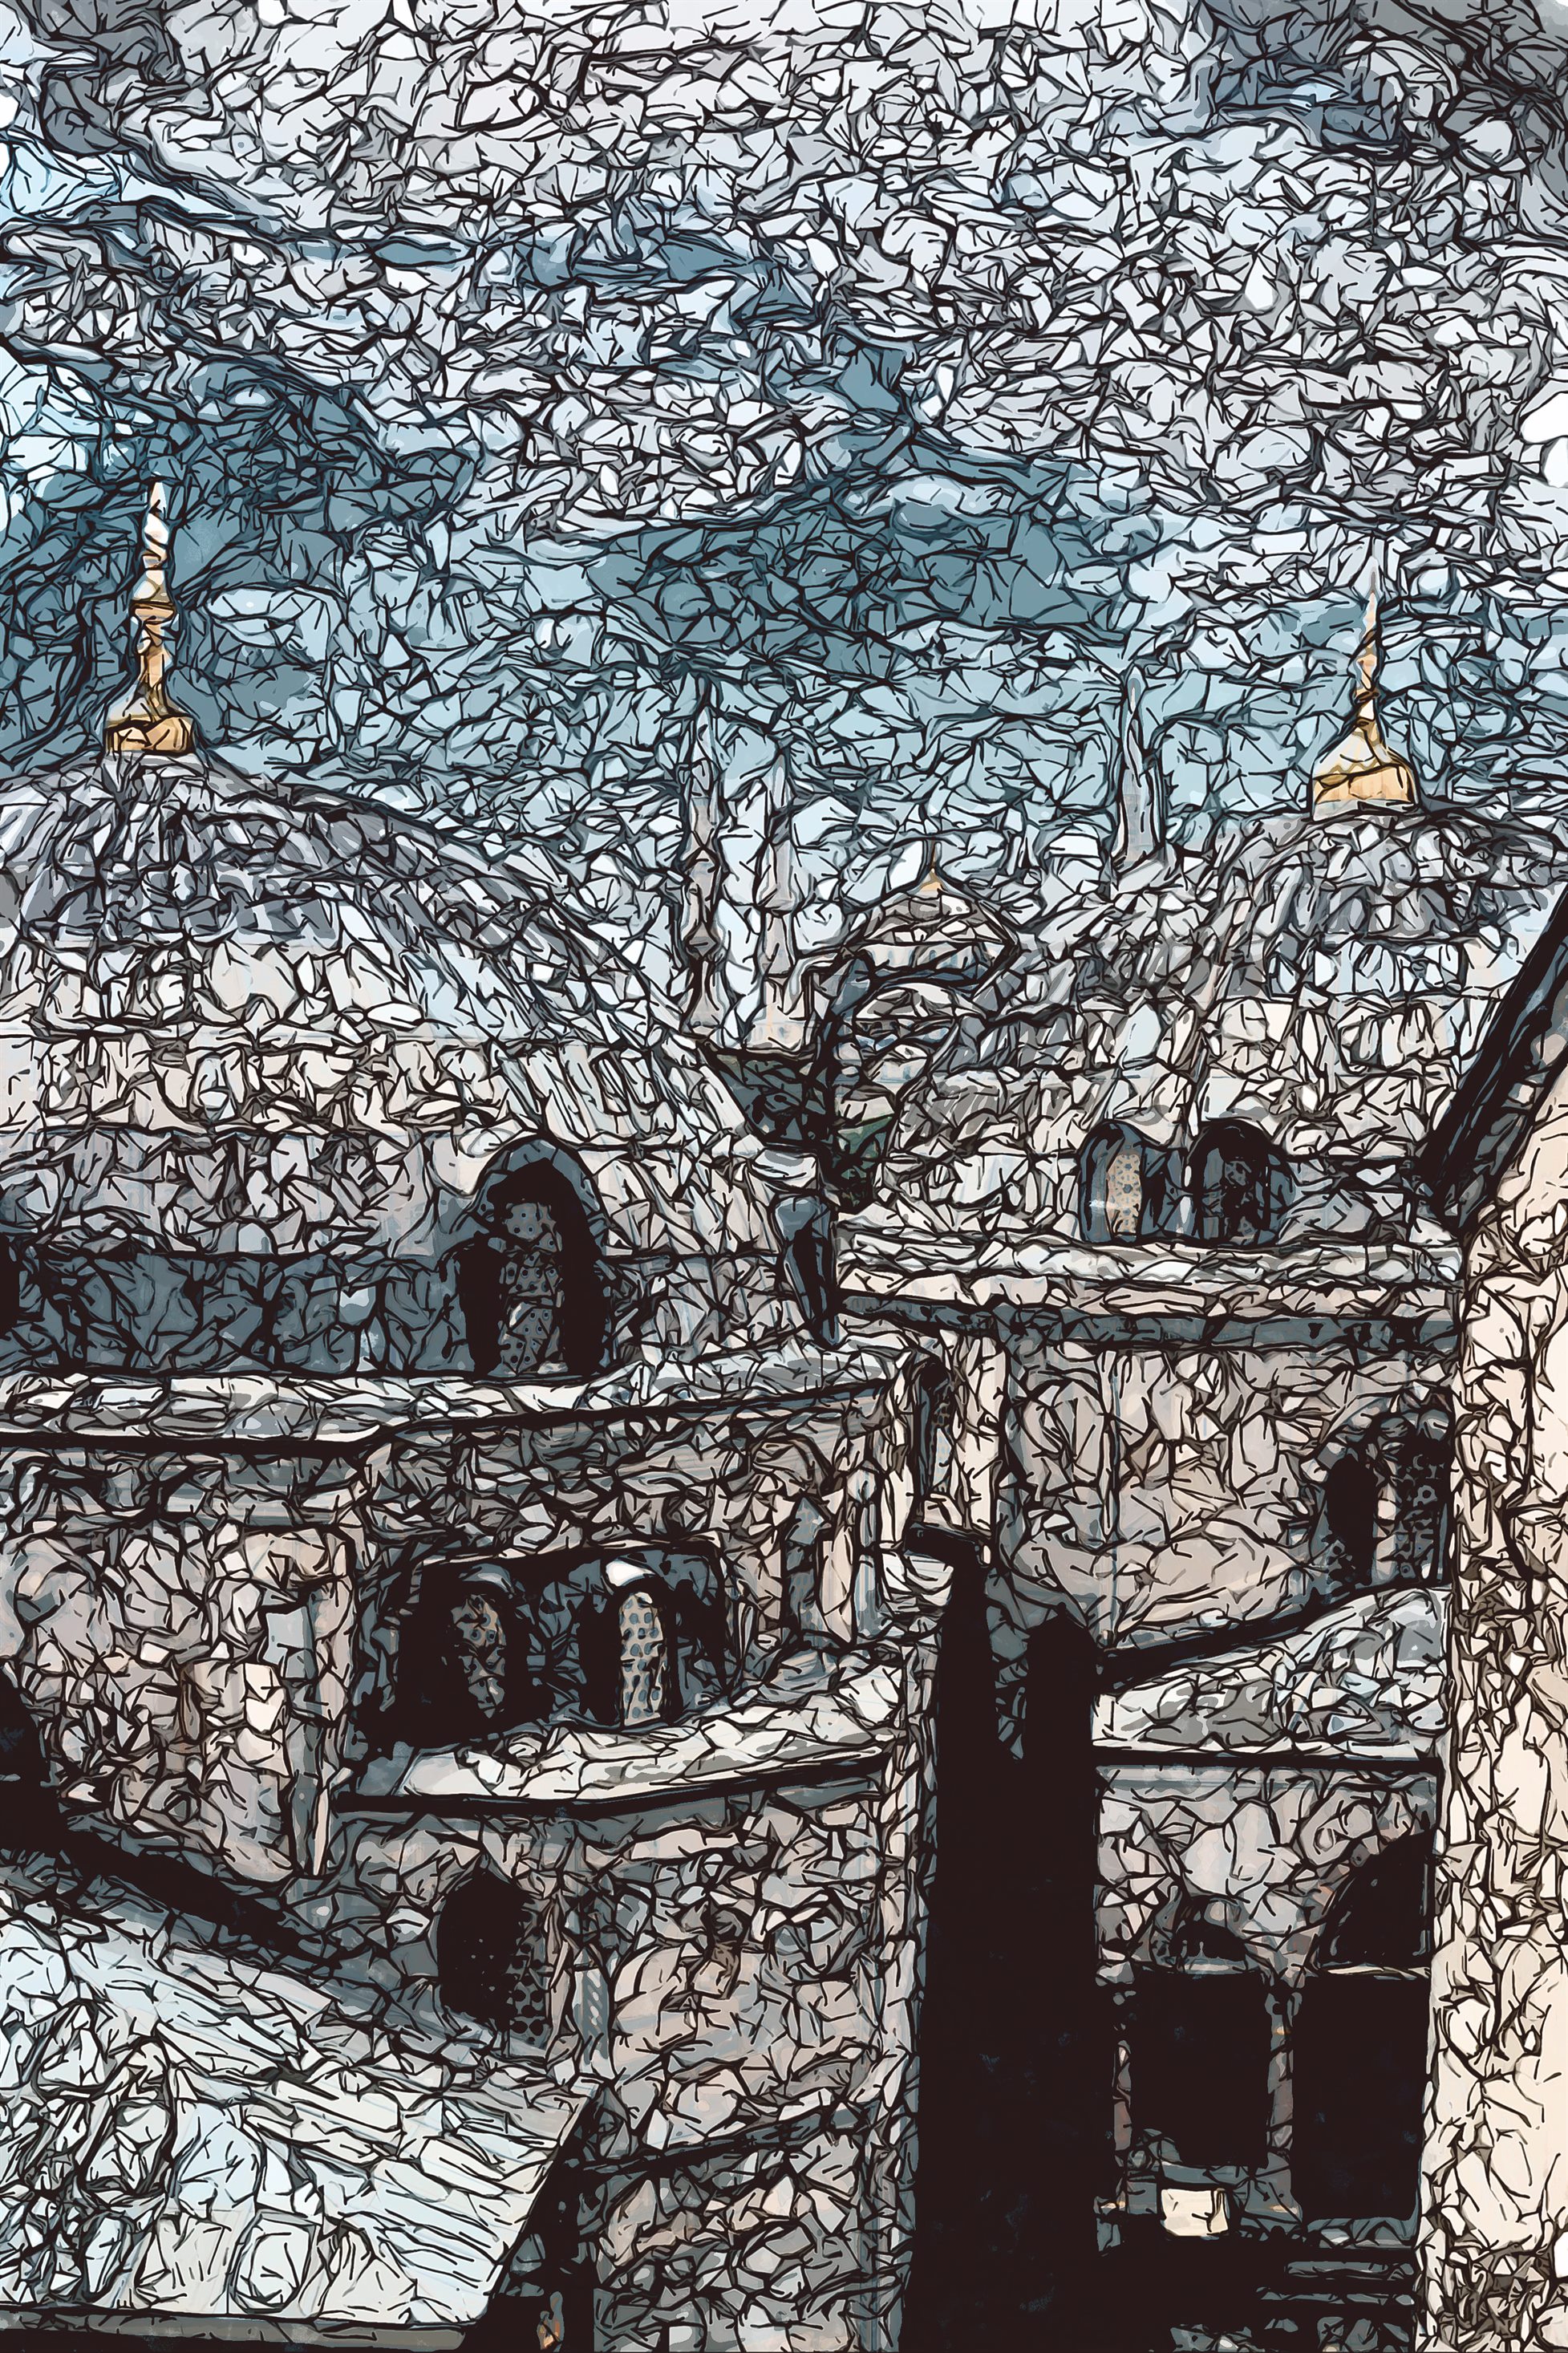
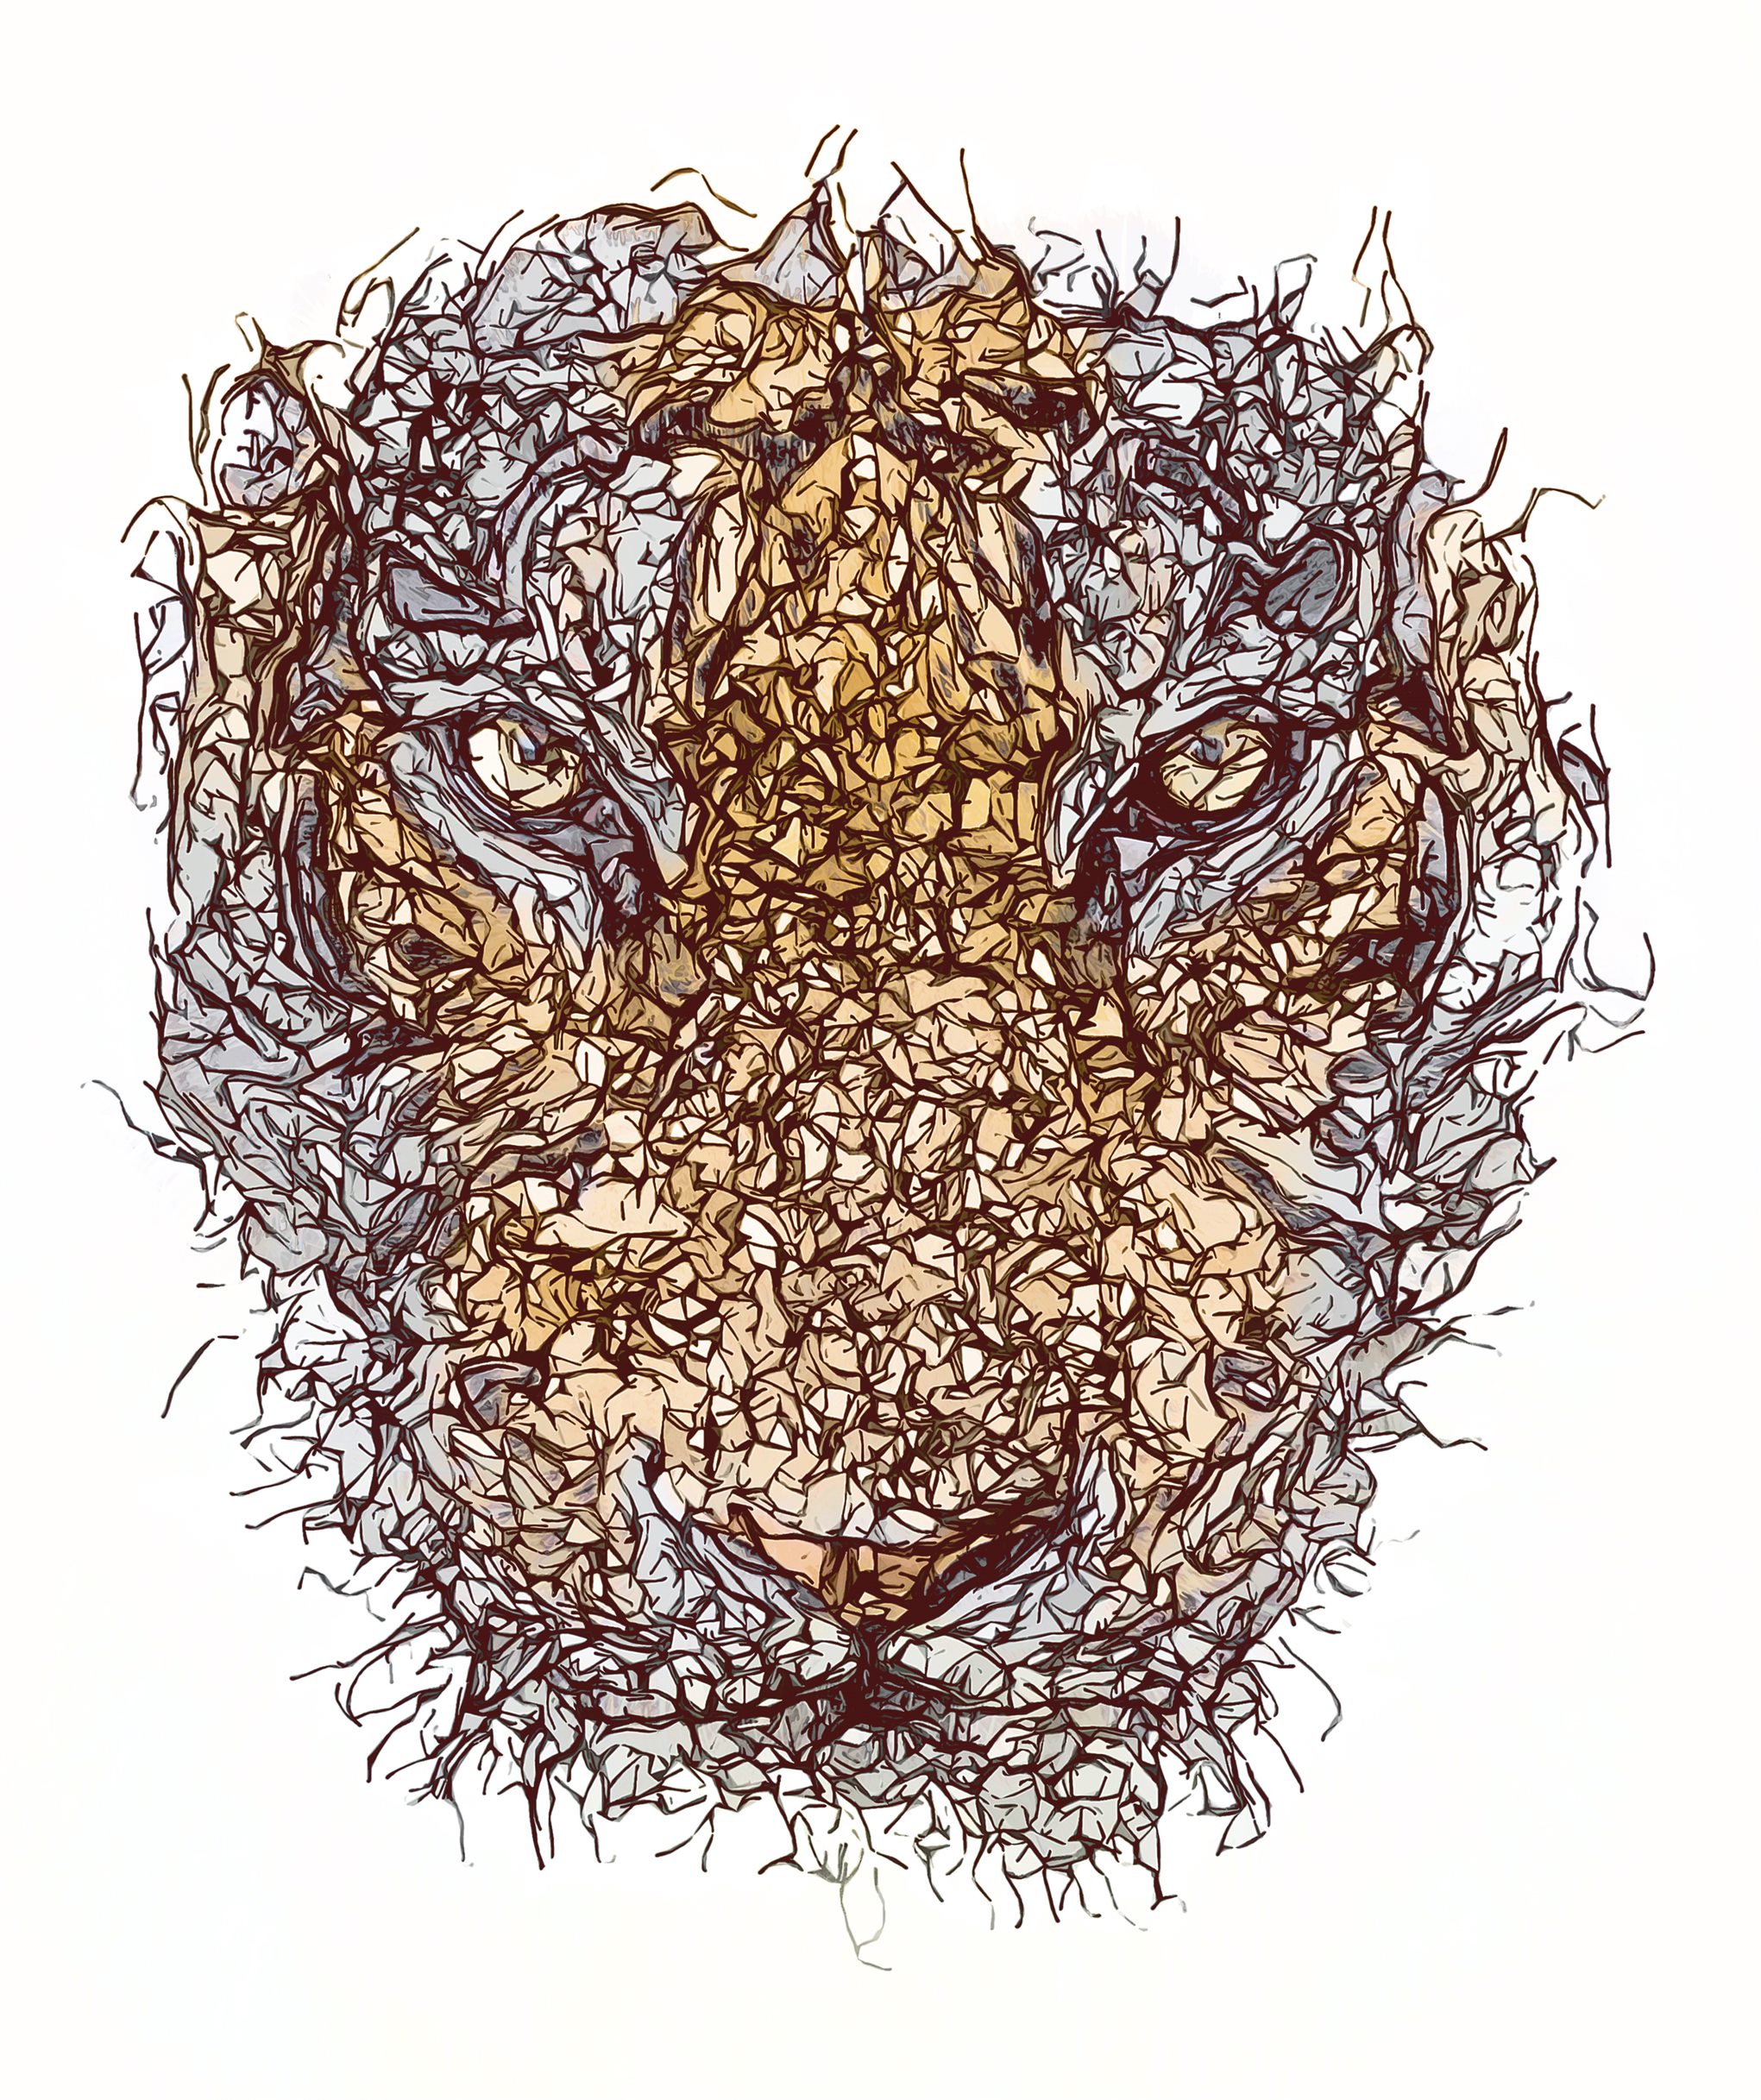
AfricanLady.jpg BMXriderA.jpg BballerA.jpg Bear.jpg BigBen.jpg BikeStreet.jpg BikeWall.jpg BlackHoodieGlasses.jpg BoyFace.jpg BoyThinking.jpg CarA.jpg DirtBikeRider.jpg Dog.jpg Dog2.jpg DogBlackWhite.jpg EagleHead.jpg EagleHead2.jpg Elephant.jpg ElephantA.jpg FacePaintPortrait.jpg Frog.jpg GirlAngrySideLook.jpg GirlGlasses2.jpg GirlGlassesJacketFace.jpg GirlGlassesNoseRing.jpg GirlHairWave.jpg GirlHairWaveA.jpg GirlHeadScaff.jpg GirlPathPose.jpg GirlThinkRedGlasses.jpg GirlYellowGlasses.jpg GraffiitWallA.jpg GuitarMan.jpg GuyBlackProfile.jpg GuyBuilingLookup.jpg GuyBuilingLookup2.jpg GuyCap (2).jpg GuyCap.jpg GuyCapThinkA.jpg GuyFace (2)B.jpg GuyFace.jpg GuyFace4.jpg GuyGlassesSideLook.jpg GuyPortraitA.jpg GuySitStairs.jpg GuyTearFace.jpg GuyThinkBuilding.jpg GuyWorkingonCar.jpg IndianMan2.jpg LadyGraffitWall.jpg LionHead1B.jpg LionProfile.jpg ManFace1.jpg ManFace2.jpg MaskBiker.jpg MaskGuyPoles.jpg ModelGuyLean.jpg Mohawk.jpg Motobikerider.jpg MotorBikeBatHelmet.jpg MotorbikeA.jpg MuscleCar.jpg NewYOrkText.jpg OldManPortrait2.jpg OldManSmoker2A.jpg Oldmanportrait3A.jpg PaintedFaceSmoker.jpg Porsche.jpg Rose.jpg Rugby2.jpg Rugby3a.jpg RunnerForest.jpg SailorHat4.jpg SecurityGuard.jpg Shoe.jpg Shoe2.jpg SkaterGraffiti.jpg SkaterShoes.jpg Skull.jpg SmokerGuy.jpg SpartanWarrior.jpg TattooHandsGuy.jpg TattooHandsGuyB.jpg TaxiCity.jpg Temples.jpg TigerHead.jpg VW.jpg
.jpg)
B.jpg)
Watch the above video tutorial on how to set up your Photoshop file and customise the effect.
You may also like:
- Watercolor Photoshop Action
- Sandstorm Photoshop Action
- Painting Photoshop Action
- Mixed Media Photoshop Action
Tattoo Photoshop Action
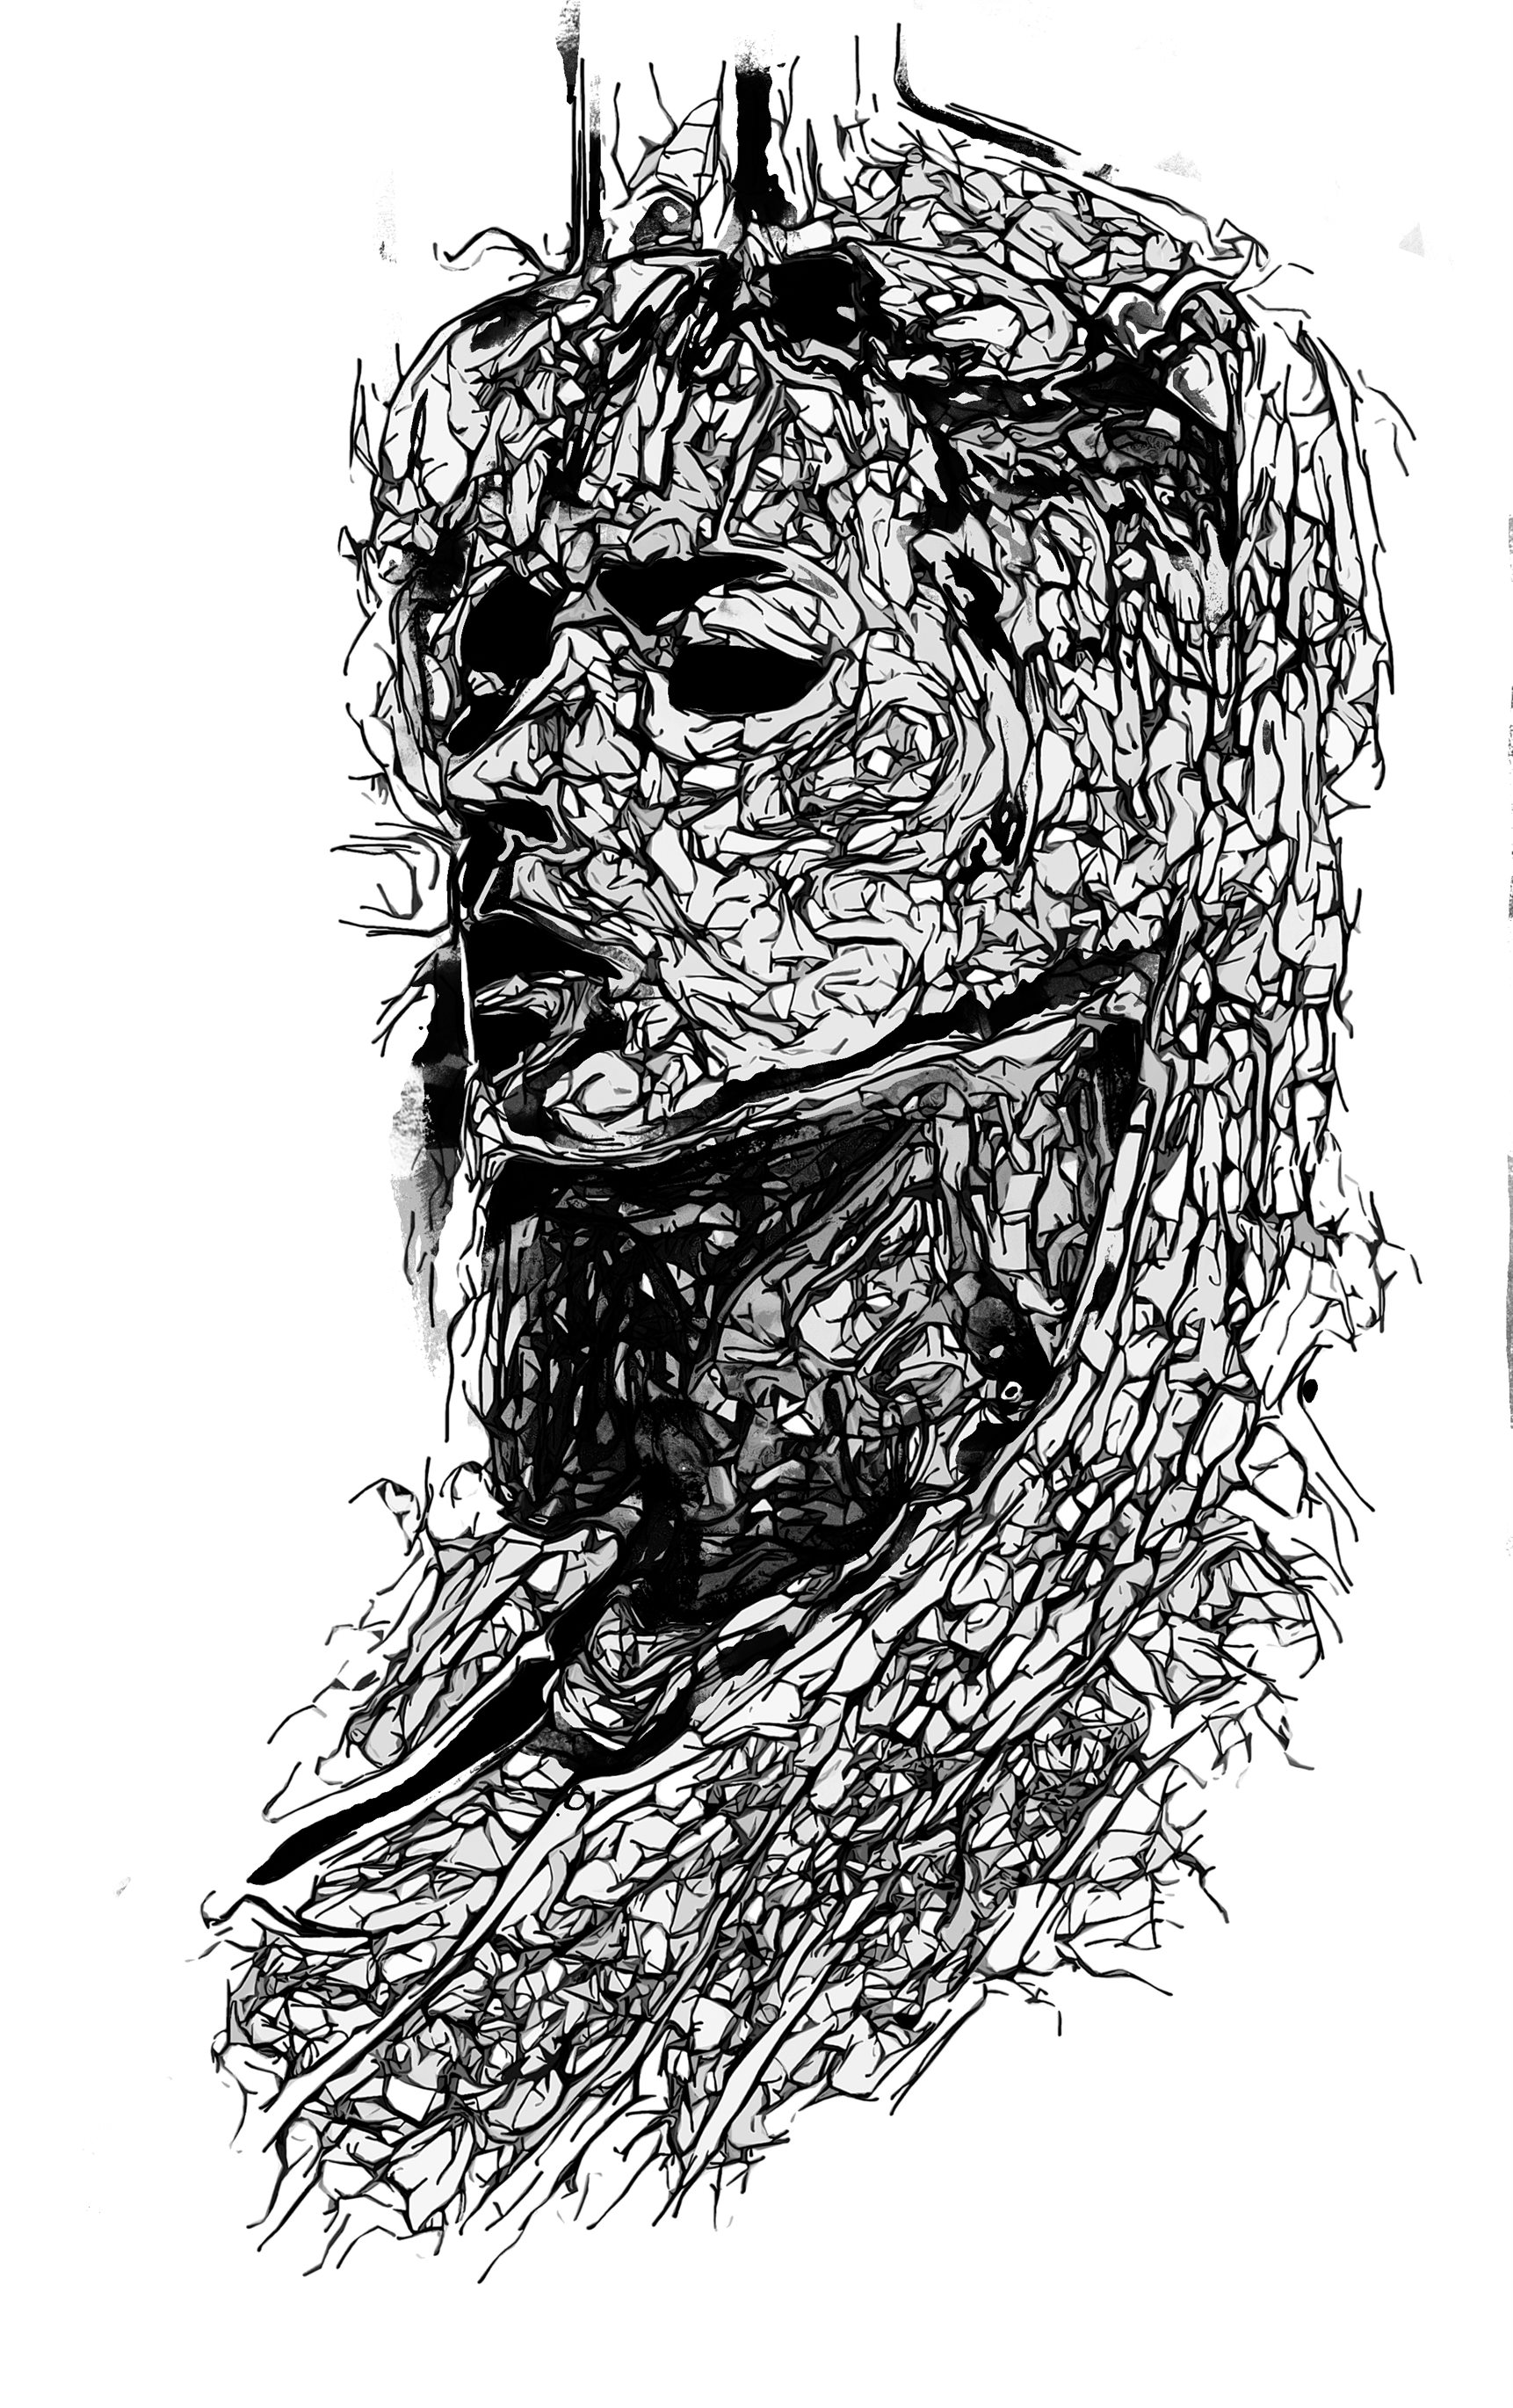
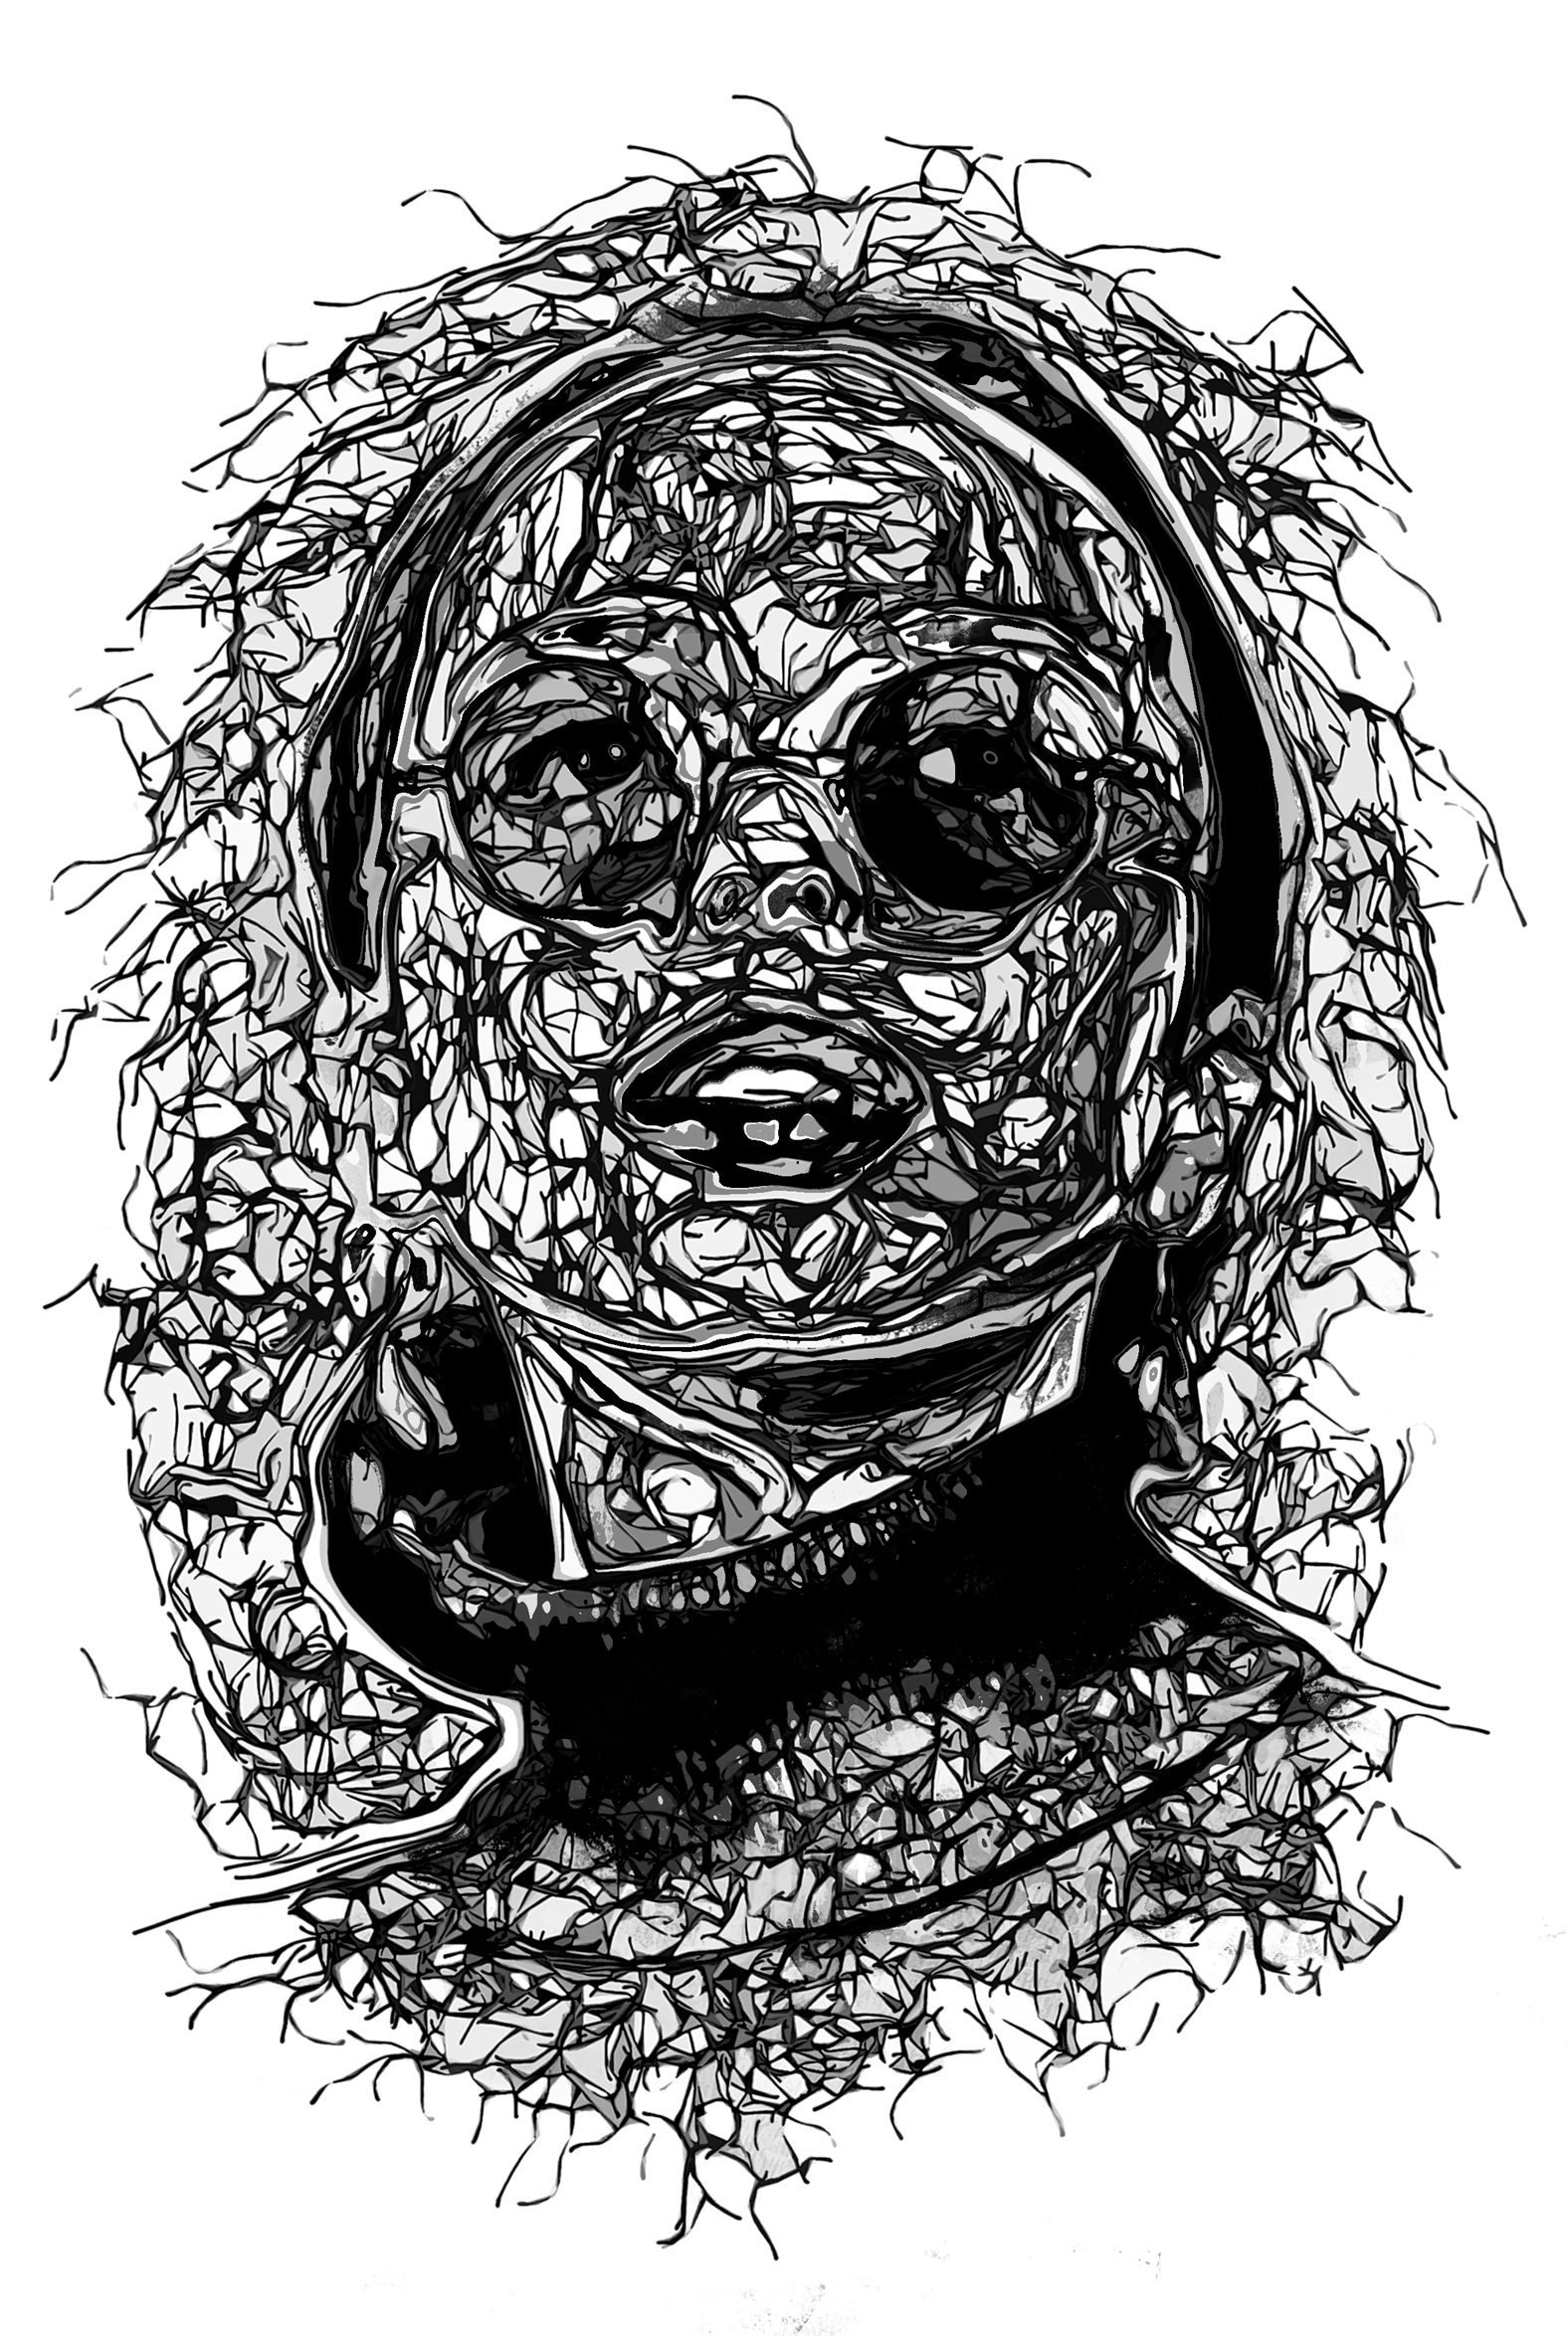
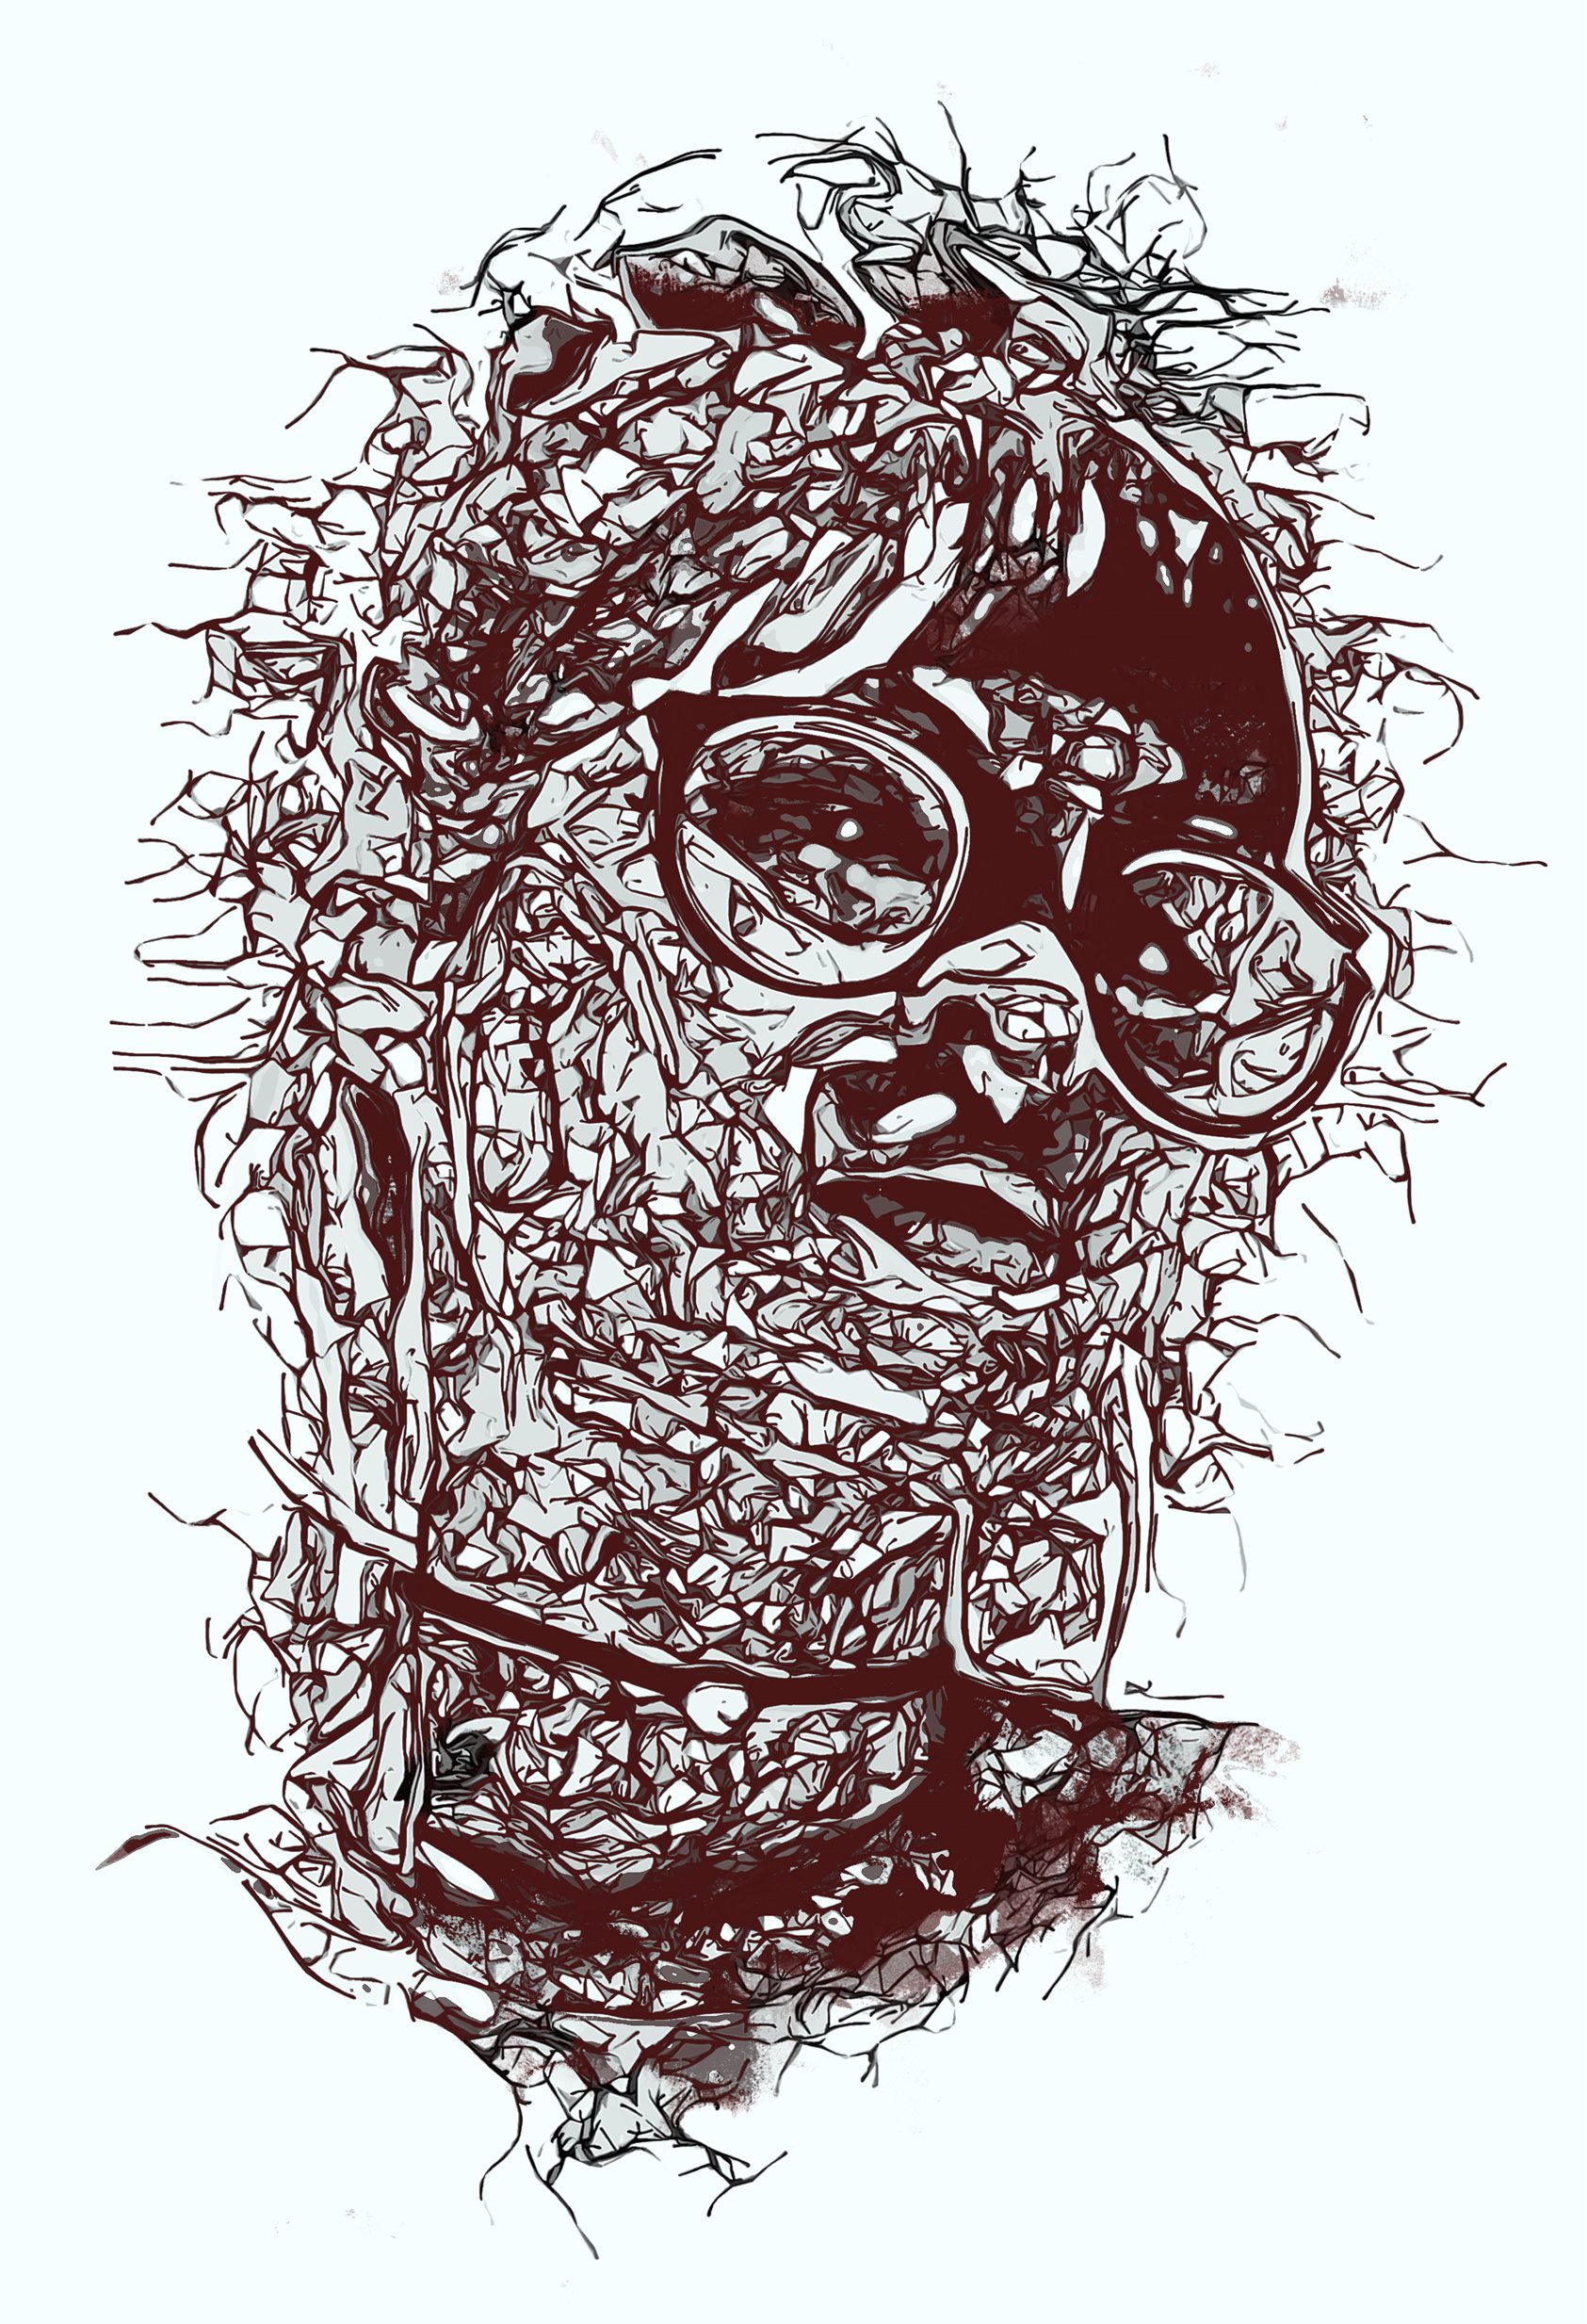
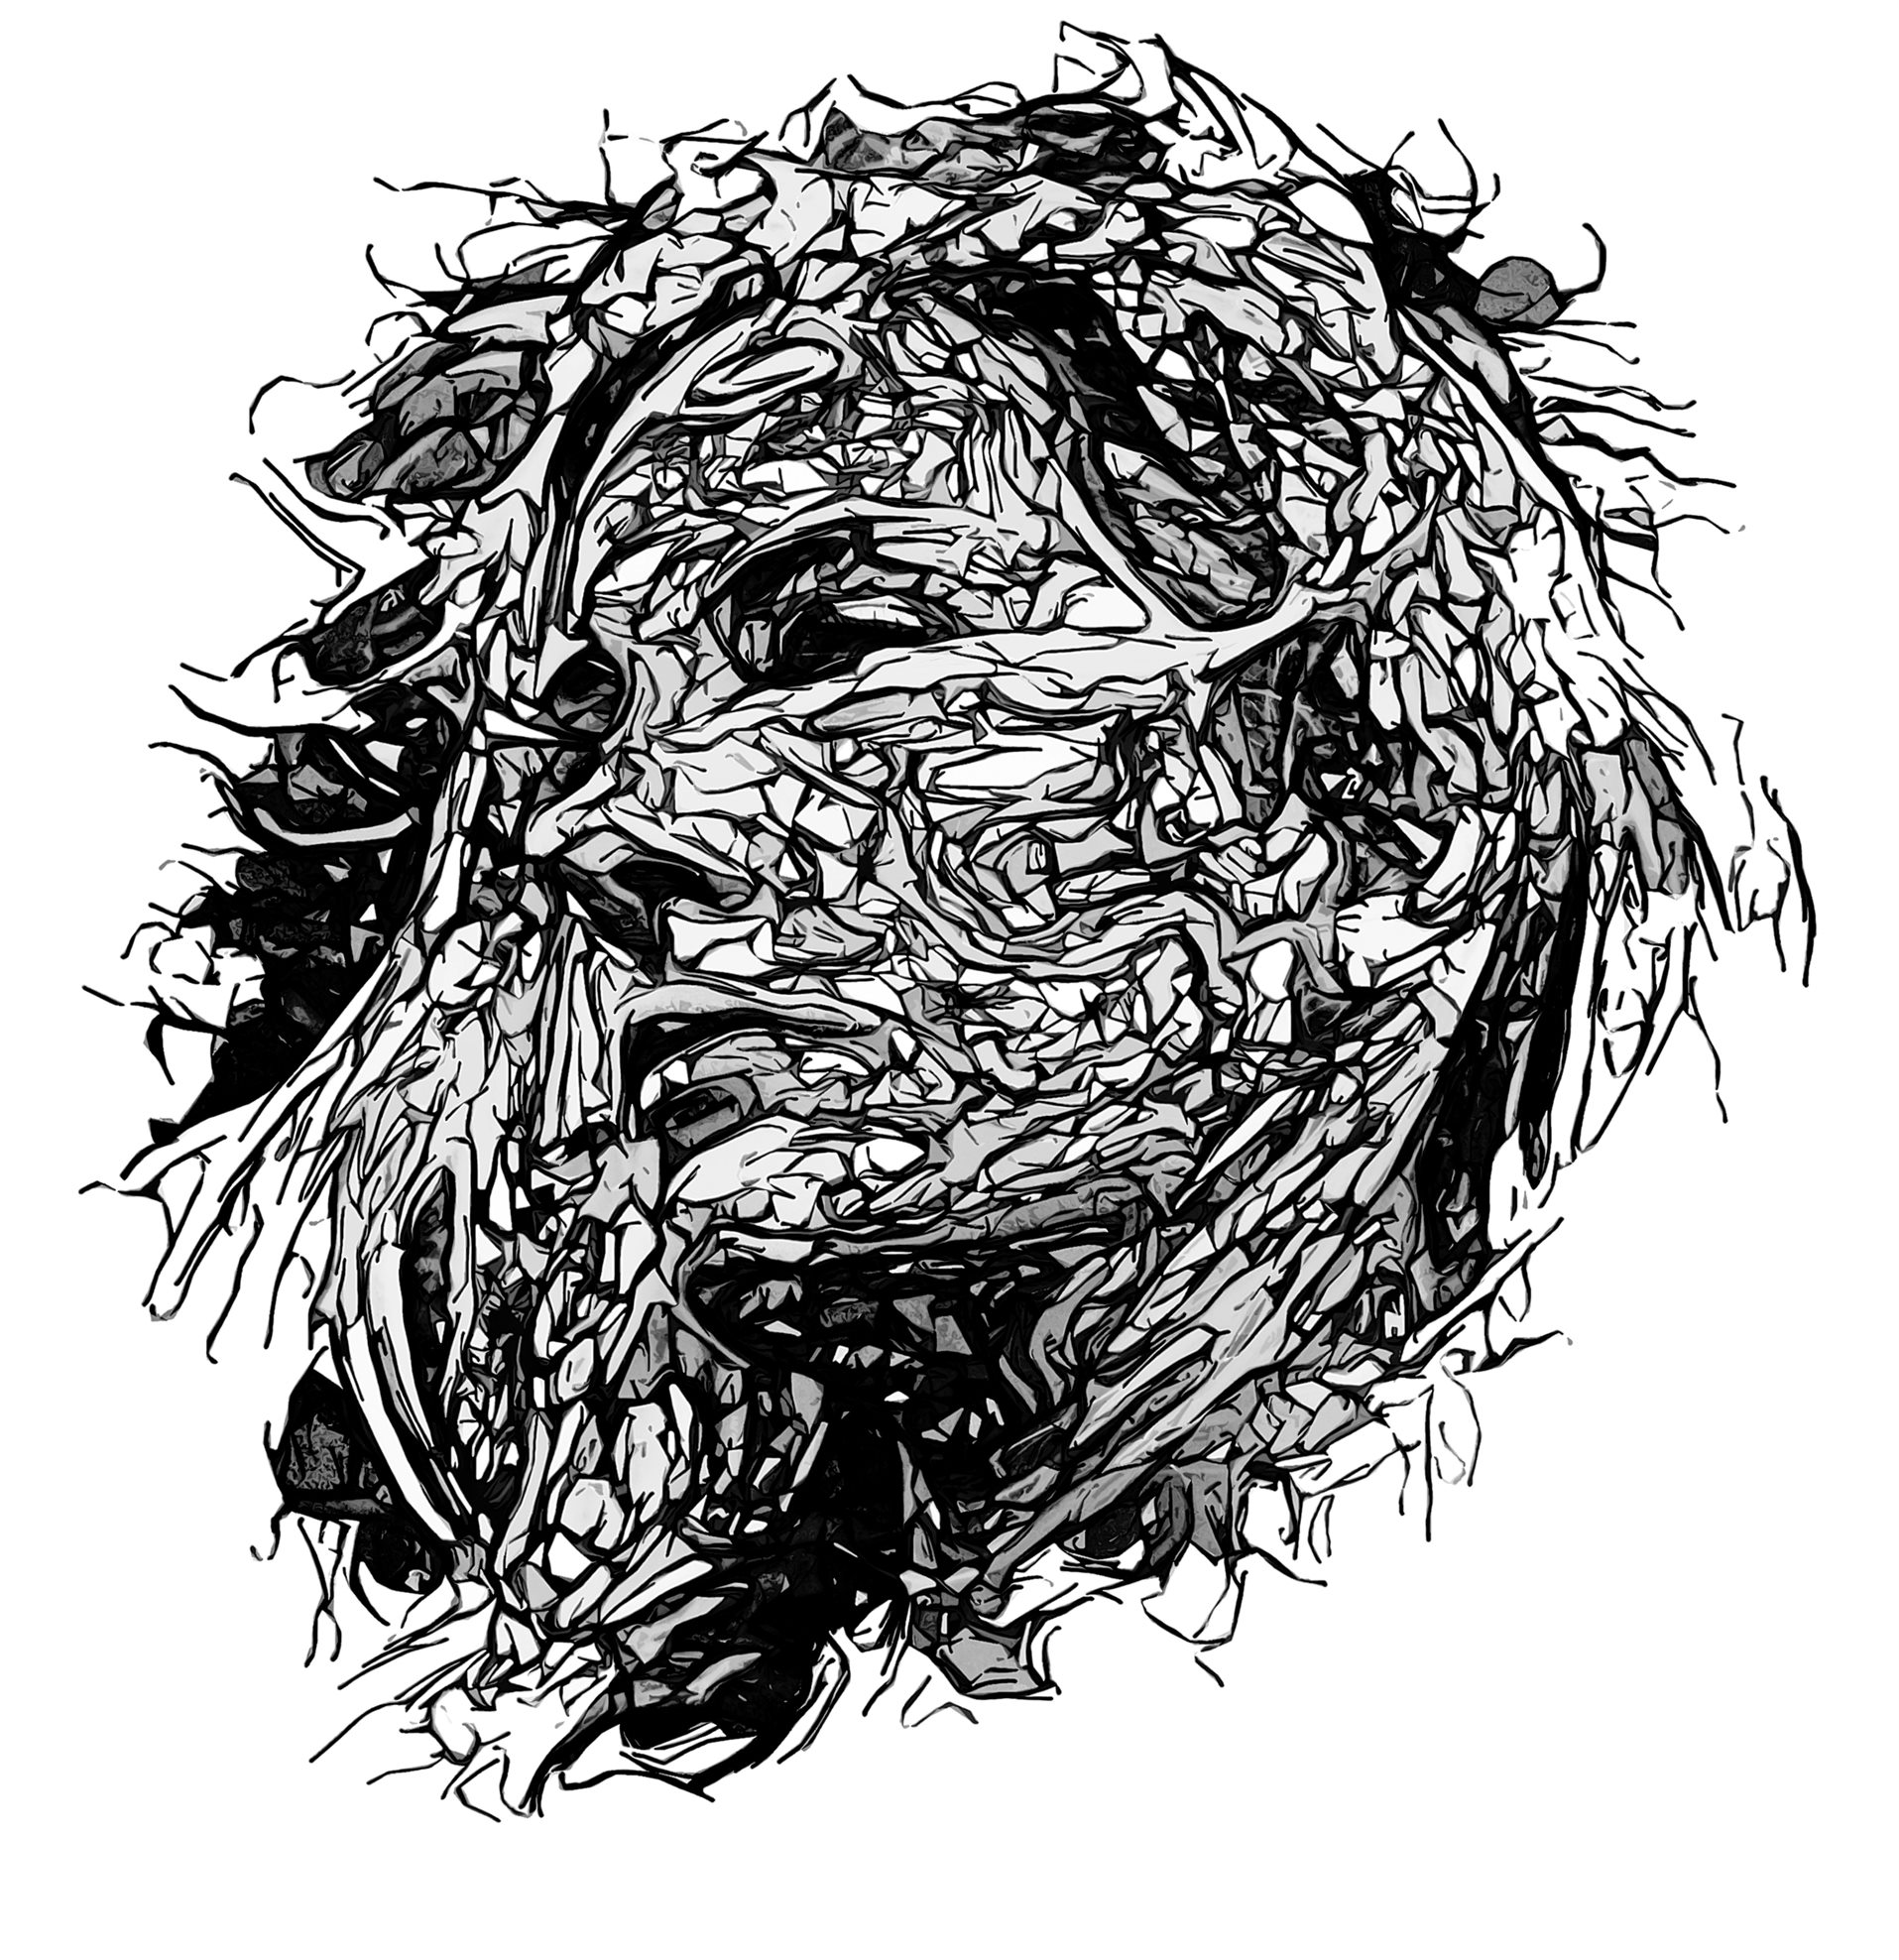
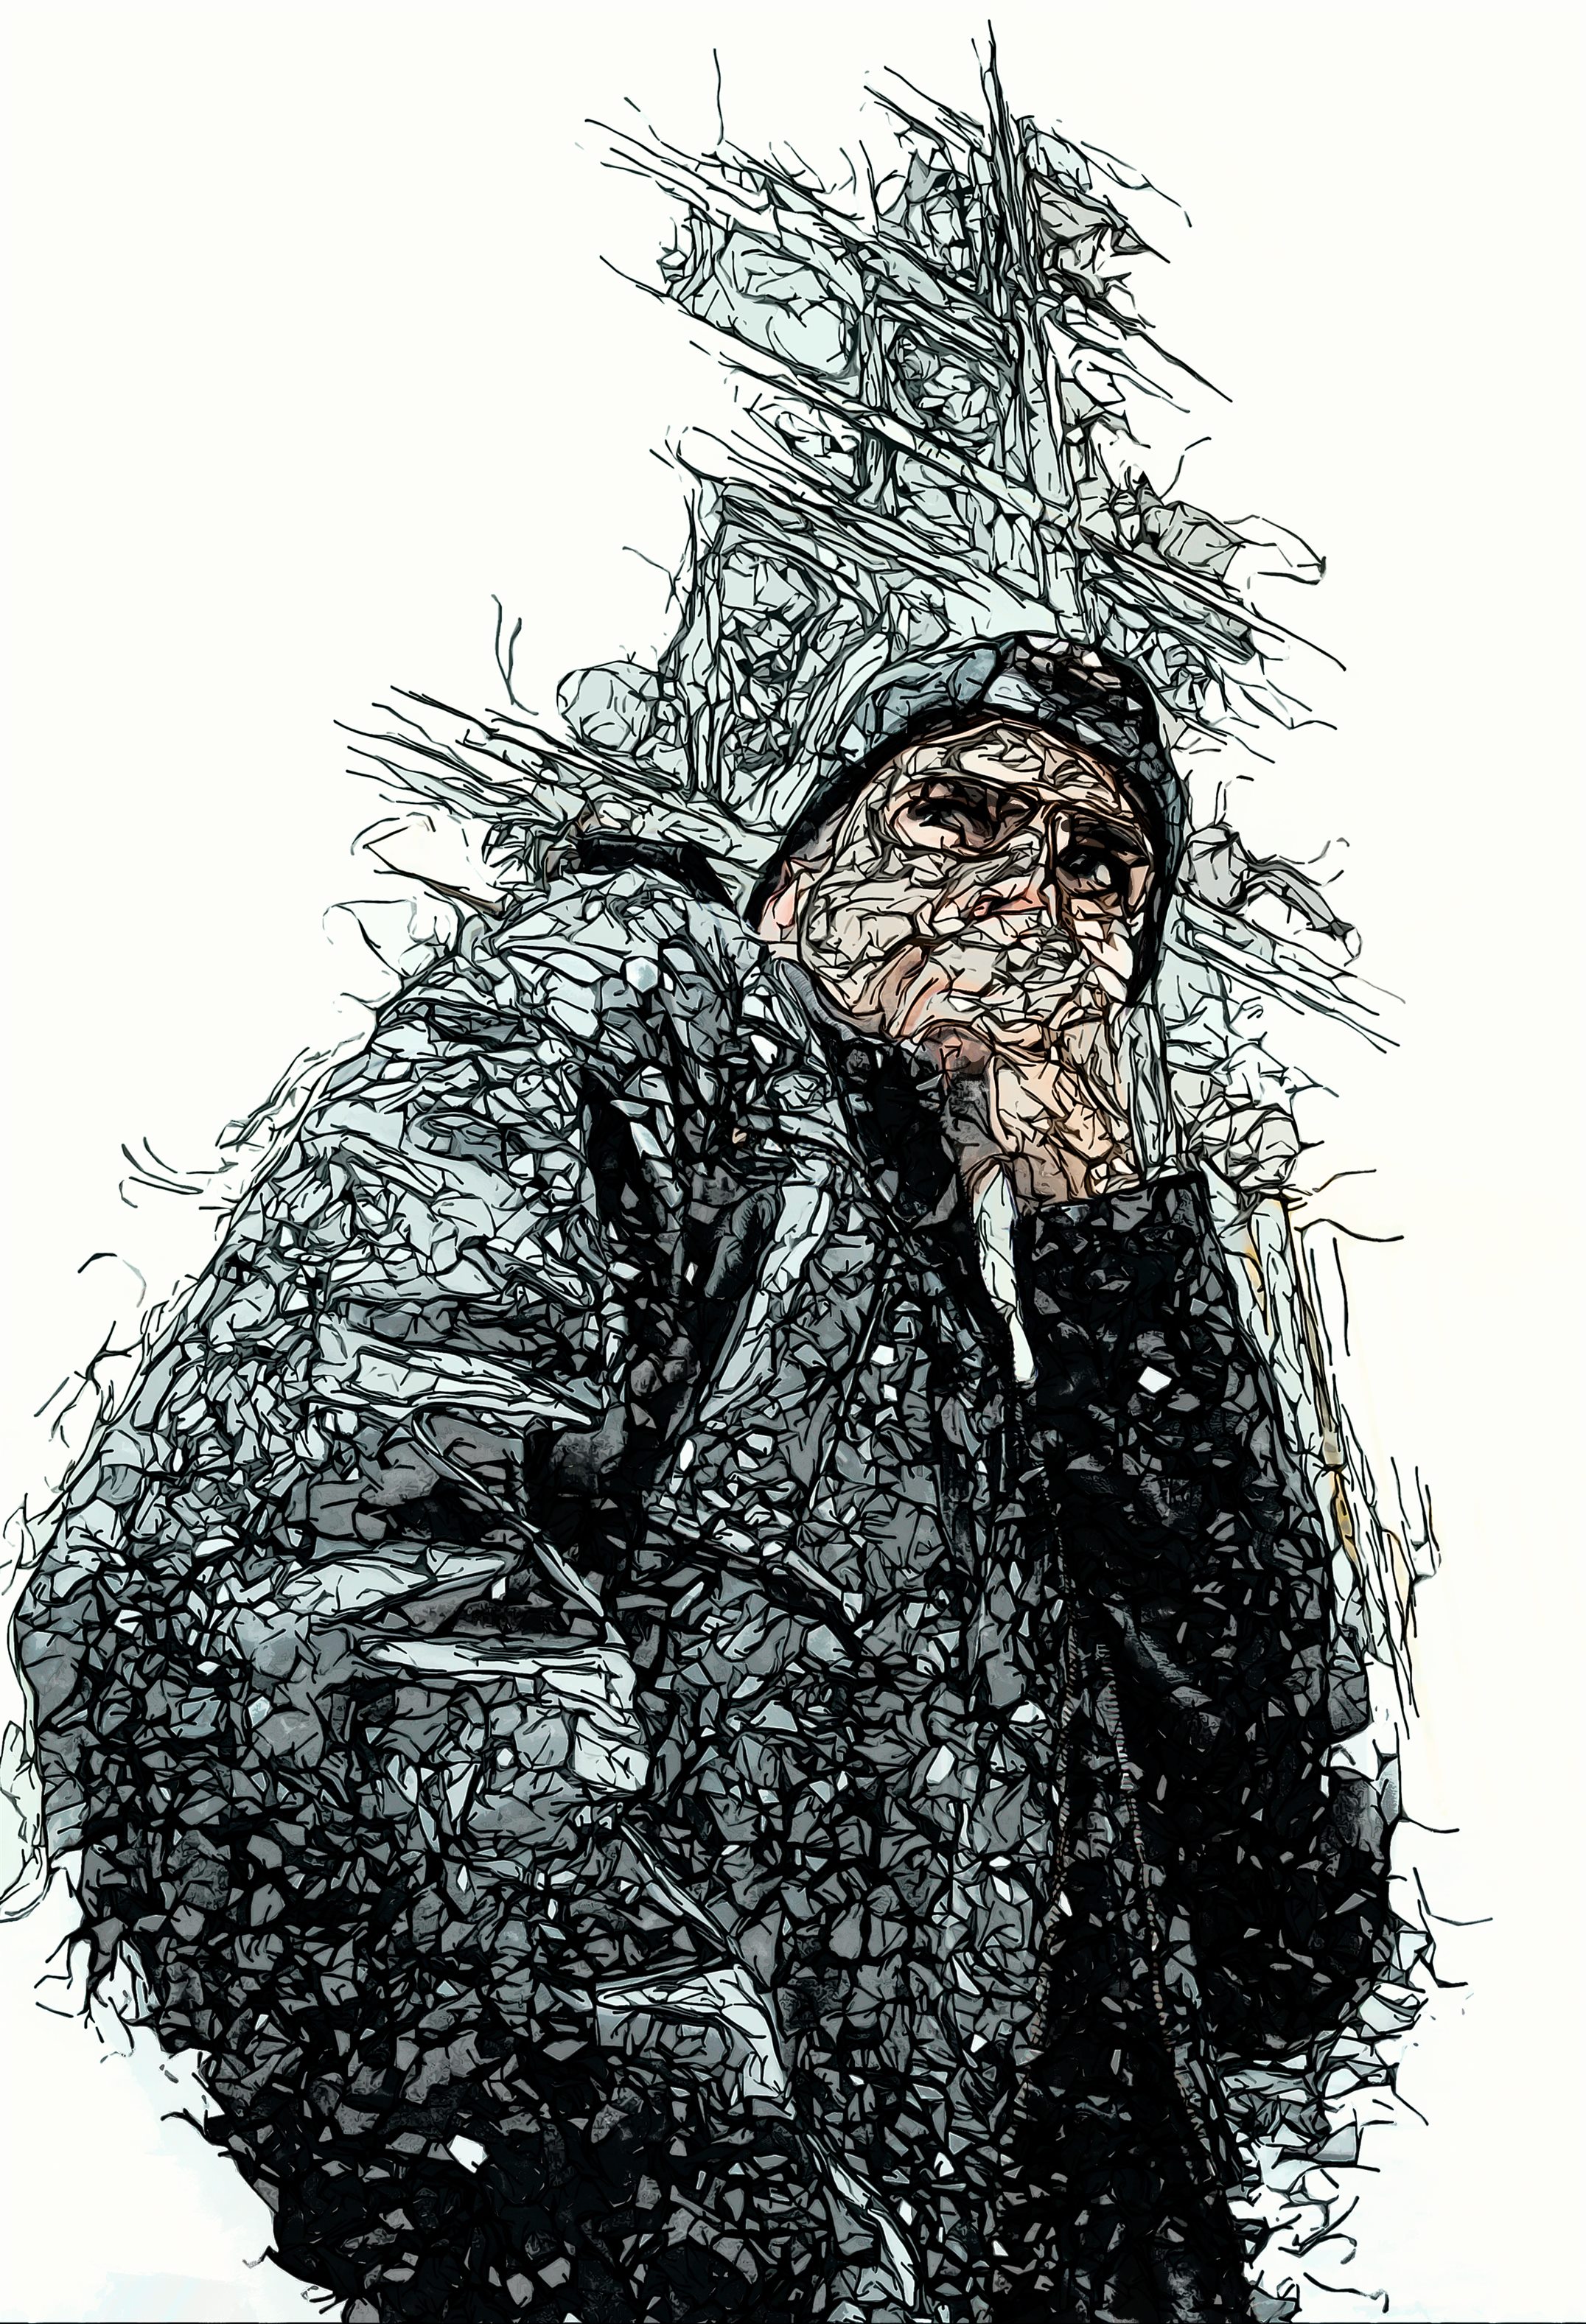
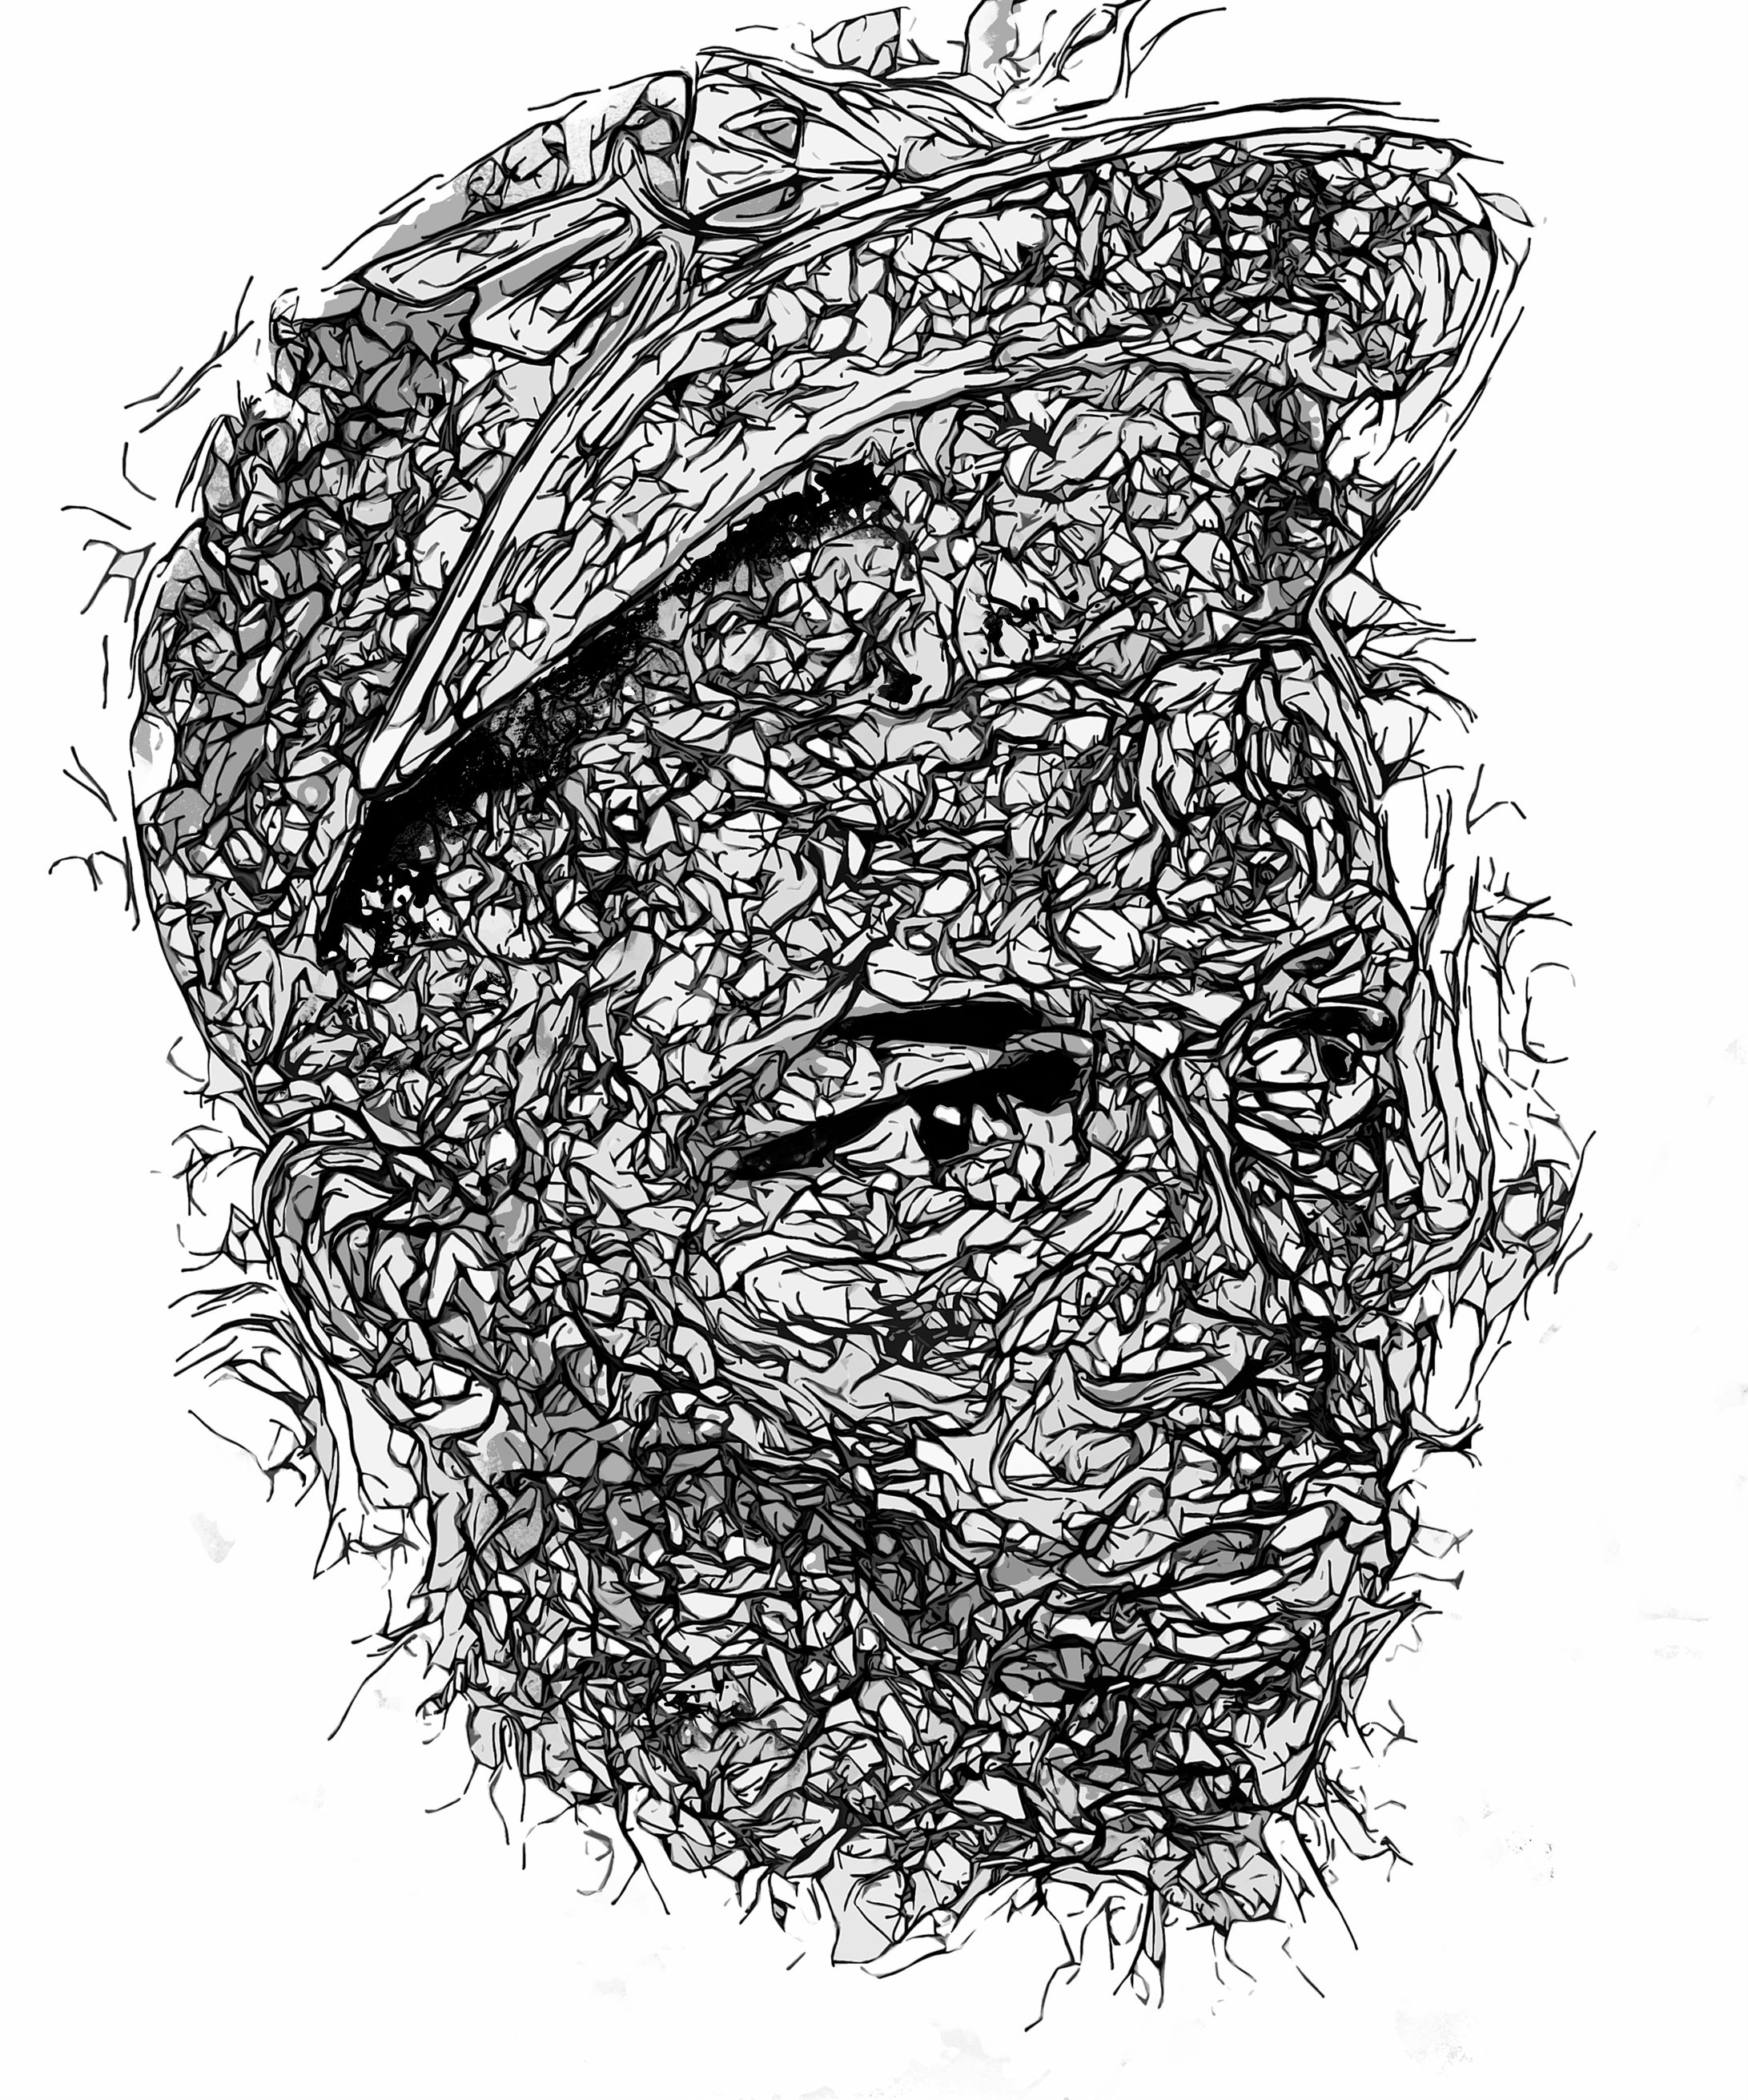
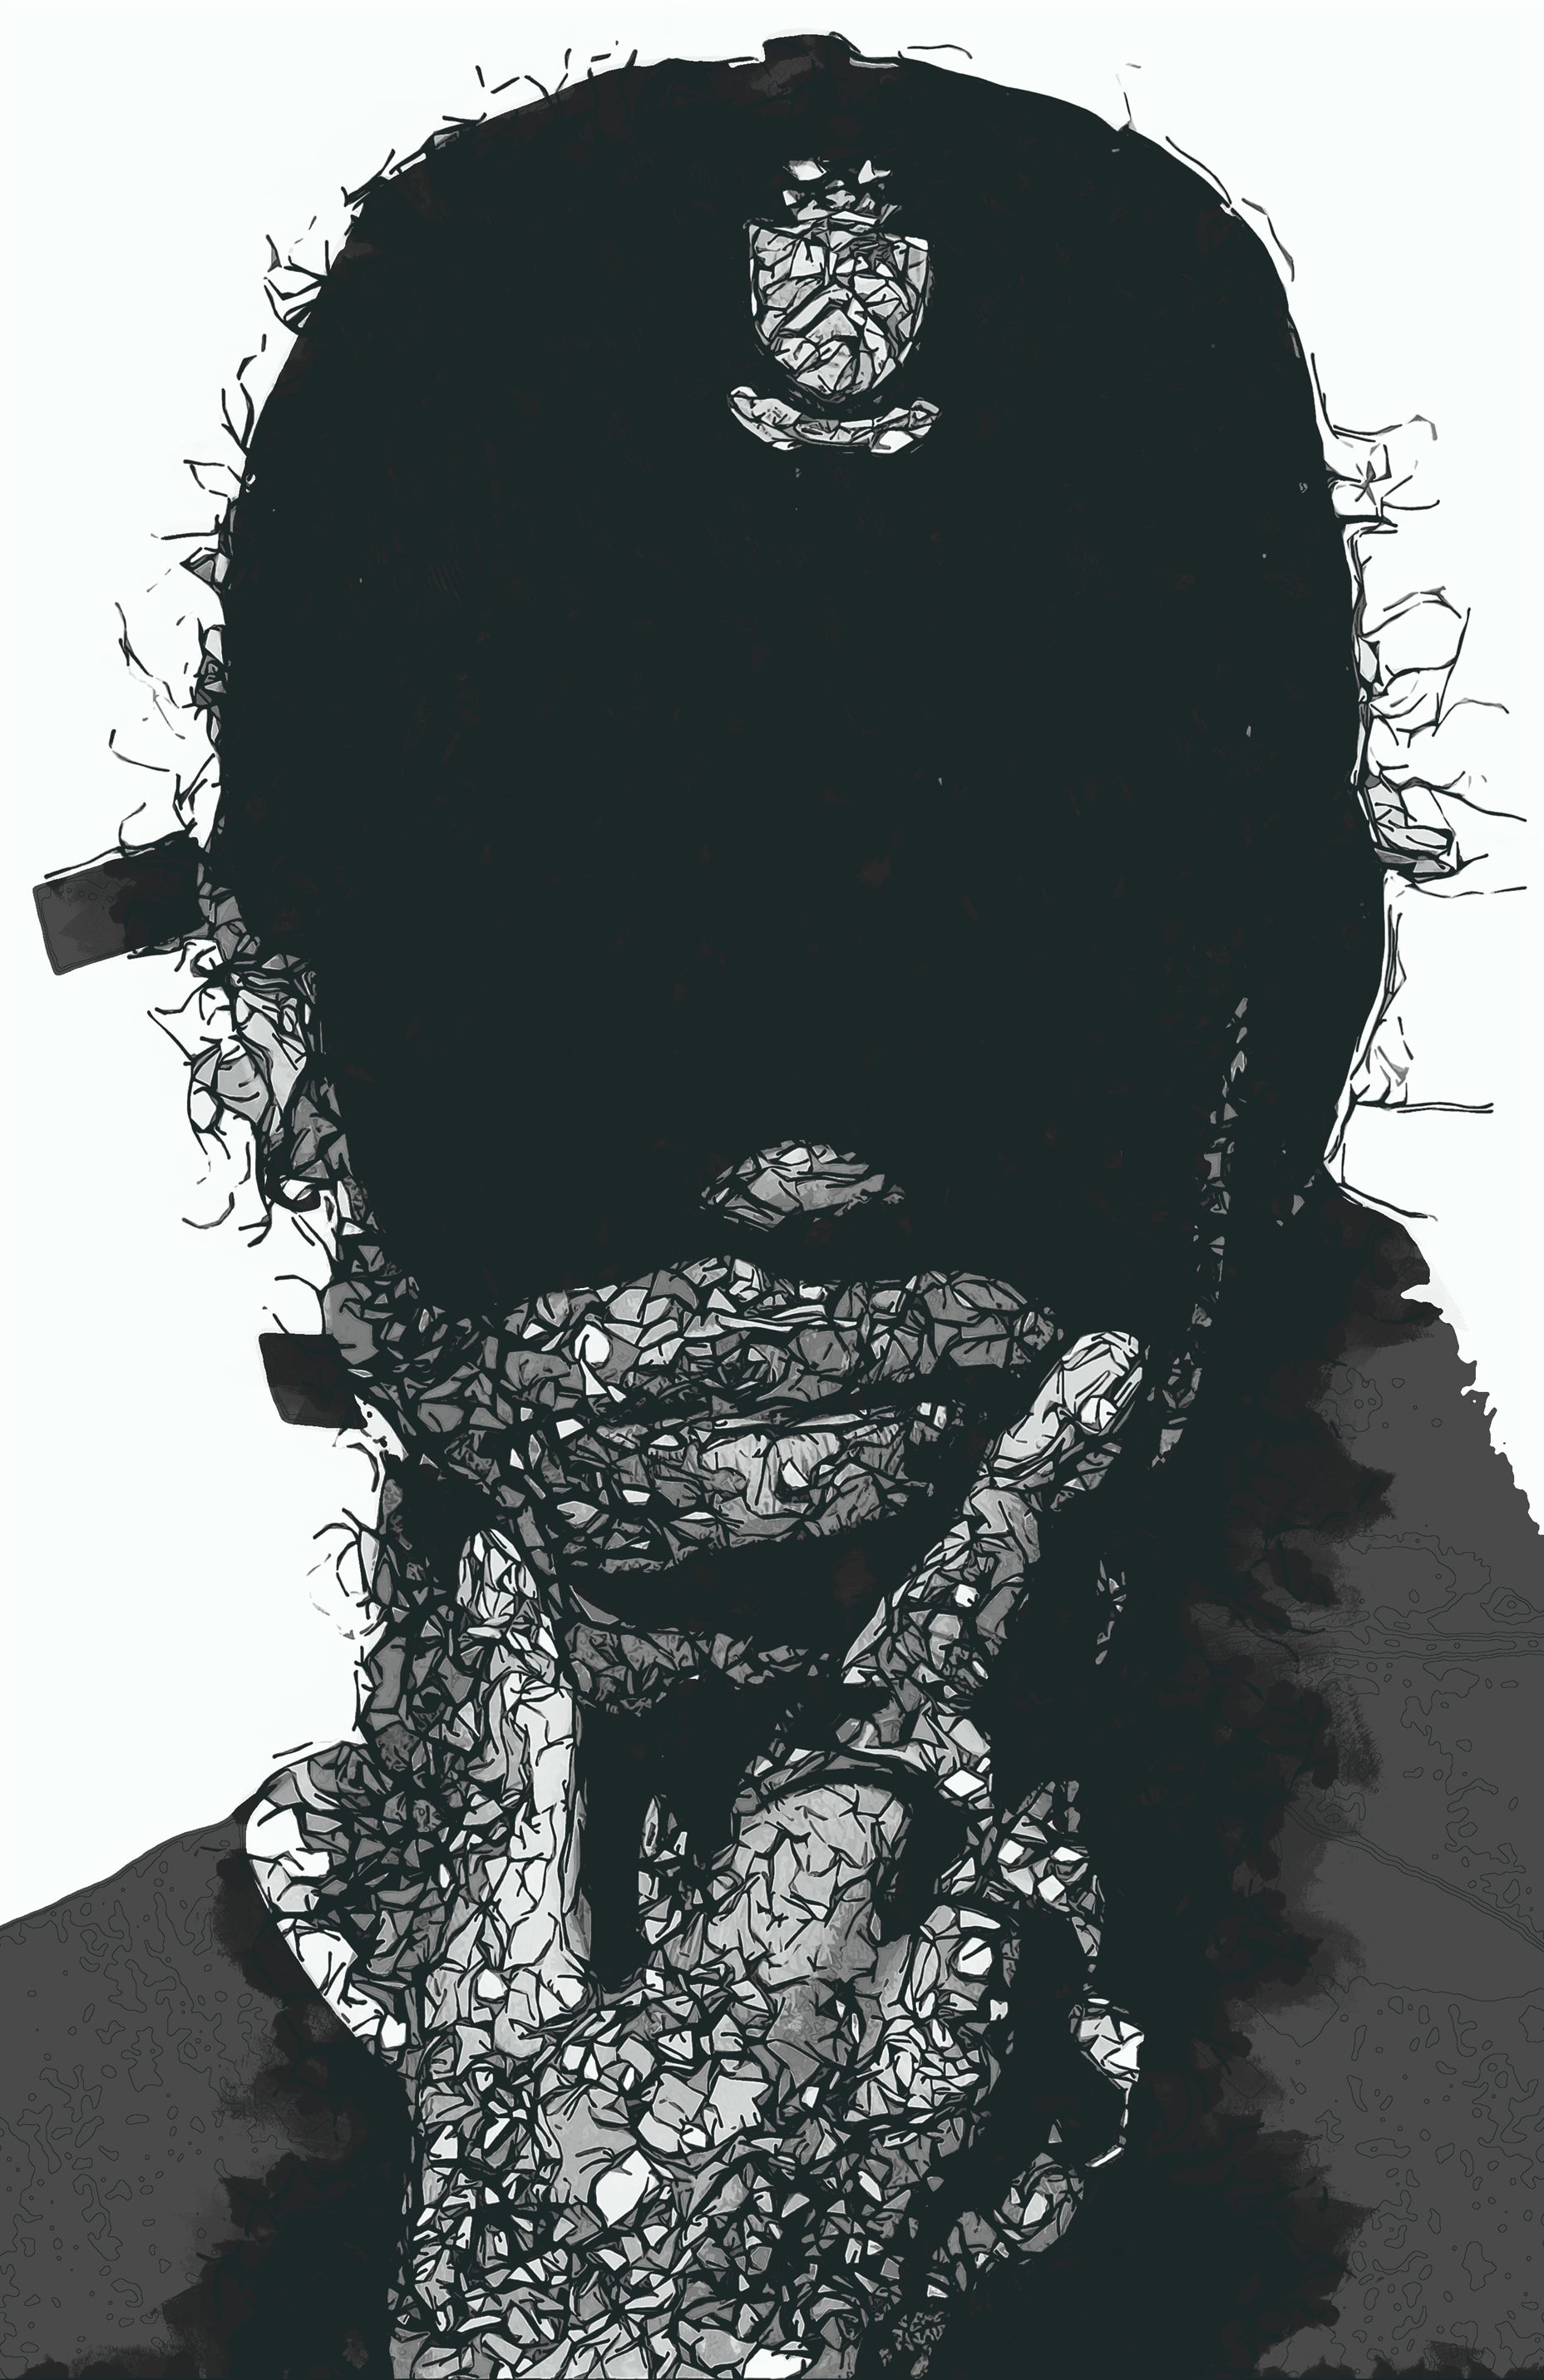
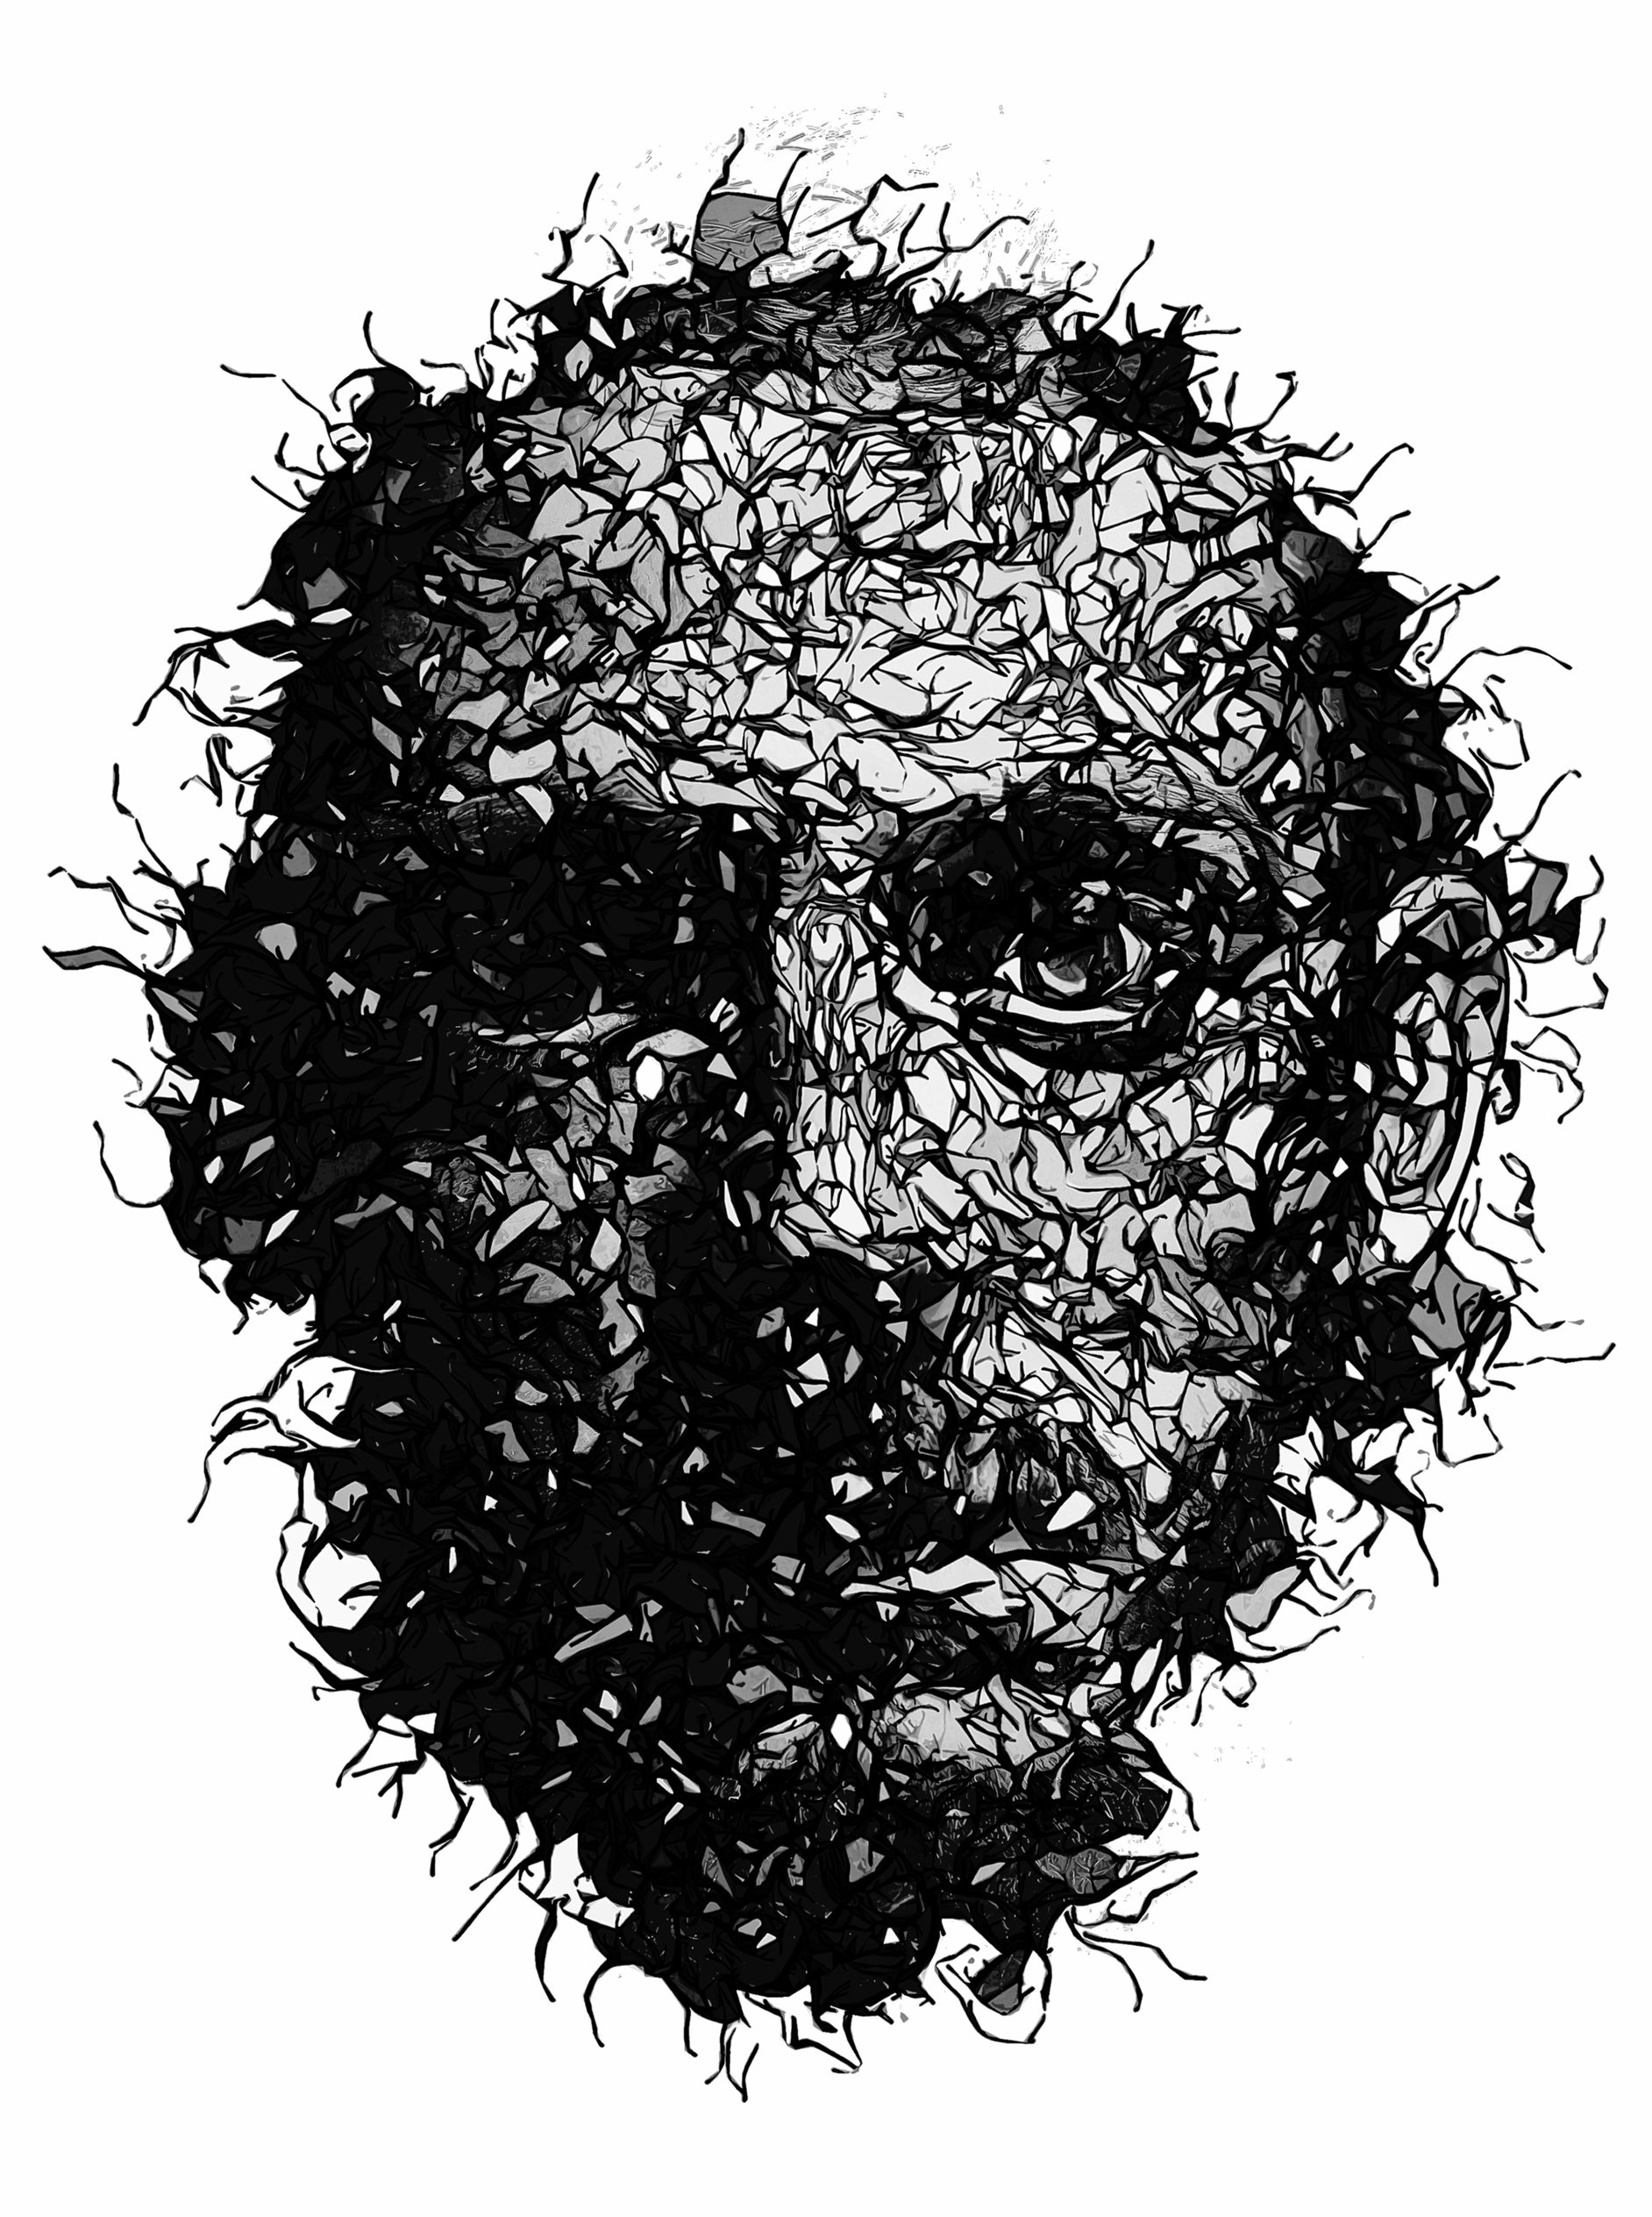
Transform your photos into highly detailed designs fast! Make sure to watch the video tutorial for how to set up your Photoshop file and customise the effect.The Action has been tested and working on Photoshop CS3,CS4,CS5,CS6,CC,CC, CC 2014,2015.5,CC 2017, CC 2018,CC 2019+
Important to know
- Make sure you are using the English version of Photoshop to run the Action on. All Sevenstyles Actions will only work in the English version of Photoshop.
- Check you are using a version of Photoshop that the Action supports.
- Watch the video tutorial to ensure you have your Photoshop file setup correctly. A link to the tutorial is also included in the ‘Readme.txt’ file in the download. You can view all of my Action tutorials here.
- Use high-resolution photos with the Action for the best results and to avoid errors. An optimal photo resolution is between 2000px – 4500px.
- With Adobe Creative Cloud, you can install multiple versions of Photoshop. If you like this Action but is not supported on your version of Photoshop, you can always install an additional version of Photoshop to run the Action on. Once an Action has been tested and working on a version of Photoshop, it will work forever.
- Use Jpeg images to run the Action on. Other file types such as TIFF, BMP, PNG, PSD can cause issues with Actions, as Photoshop disables various features for different file types.
- If a Sevenstyles Action includes a brush (.abr), pattern (.pat) or shapes (.csh) file in the download, then it must be loaded into Photoshop before playing the Action.
- Avoid using the Action on logos or clip art style images as the lack of detail and color contrast can lead to errors.
Having troubles with the Action?
- Double check you have your file setup correctly as shown at the beginning of the video tutorial.
- Check the resolution of your photo. If its a low-resolution photo (<1000px), take the shortest length of your photo and increase it to around 2500px or more. This will help avoid errors and also create far better results.
- Have a look at my support topics here. I list all common errors with solutions.
- If you are still stuck, please email me with a screenshot of your entire Photoshop interface where the error shows. Please let me also know what version of Photoshop you are using so I can help you faster. You can find my email address on the support page.
Create custom effects
Photo effect Actions can be combined to create new effects. Follow these steps below:
- Run the first Action on your photo.
- Once you are happy with the result, save your design as a Jpeg image.
- Close your Photoshop file and re-open the image you just saved.
- Now run another Action over your photo! This will then stack the second effect on top of the first.
There are so many undiscovered effects that can be created!
Thank you for your support and I hope you create some cool effects!