
 Imagine the following scenario.
You want to create a directory where people can create entries for the world to see, but they need to pay to create and edit their own entries. And they can't edit any others. Oh, and you don't want them going into your WordPress admin area.
This was a recent issue posted to one of the facebook groups I spend some time in. And I liked it because a paid directory, if done right, can be truly awesome – like the concierge services at fine hotels. Always ready for a curated recommendation.
But first, a short word about paid directories.
Please, whatever you do, don't create a paid directory on your site (which may have a high page rank) and sell people the right to create an entry with a link back to their own site – as the only value. Not only is it just kind of crappy thing to do, but Google will find you and catch you. Instead, add value – moderate and add to it.
Now, there are three perspectives you can use when thinking about this challenge.
The Programmer approach
For a developer, this isn't that big of a deal. It's a few forms, some payment, and using some hooks. My favorite form solution for WordPress is Gravity Forms. I know many people who could and would code this solution using it. And there's no question you can.
I highlight this because I know some developers will read the rest of this post and simply tell me they could have done it another way. This is me telling you I already know that. Thanks.
The “I don't code” approach
Of course, writing the article for developers is a bit of a waste. Because programmers wouldn't read the post nor would they need it. So another perspective is the non-programmer. The person who wants the entire solution in a plugin.
There is an add-on for Gravity Forms that promises to do something like this, but I tried it and I hated it. Most importantly, it fundamentally didn't solve the main problem of what happens when you come back to edit a post. Because you would end up editing the data, but the post that had been created was never updated. Epic (truly epic) Fail.
The Configurator approach
But see, I know you. You're neither of the above. You've told me before, you know just enough to be dangerous. Well I laugh in the face of such danger. So today I'm going to walk you thru the steps to creating a directory.
The overall solution
First, let me walk you thru the high level solution. After all, maybe that's all you need.
I am using Formidable Pro today to create my form, my list of entries, and the pre-filled out editable form.
I am using WooCommerce for my shopping cart to collect payment.
I am using Groups (free plugin), Groups for WooCommerce (paid extension) for the membership component.
When a person buys a “directory” product, I give them x months to create and edit their entry. As part of their check out, I use Groups for WooCommerce to place them into a Group with certain rights. Then, those rights allow the user to see a page where they can create an entry. I then use Formidable Pro to create a custom display for my directory, and add (only for the right user) an edit link.
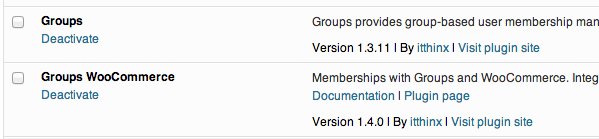
Step One: Install WooCommerce, Groups, Groups for WooCommerce & FormidablePro
This step is pretty easy. Just buy the plugins you need and download the free ones, upload them and activate them.
 Step Two: Create a Group
You'll see a Groups section in your admin. You'll want to click there to create a group. This will be the group that you put purchasers into after they buy access to create/edit directory entries.
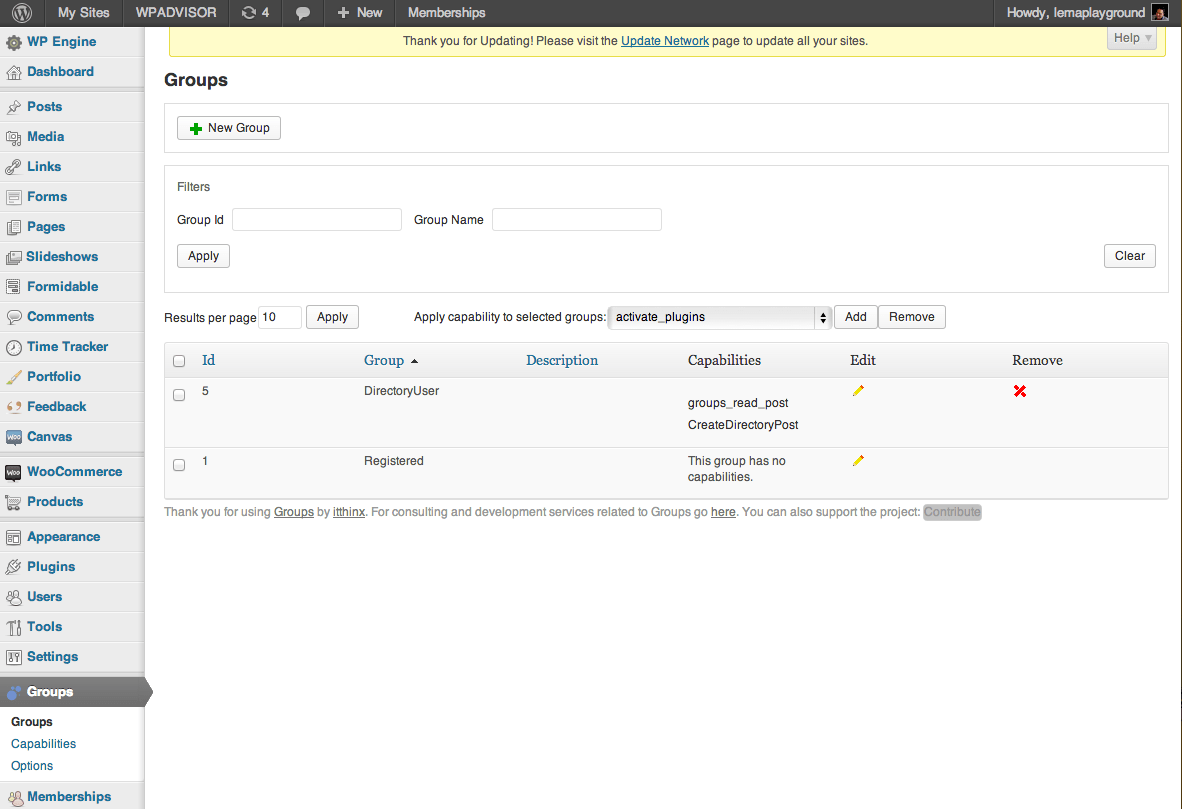 Click on that “+ New Group” and create one. You'll see it below. But to add the capability, you're going to have to first leave this screen and head to the “Capabilities” part of Groups, so you can create a new item (I called mine “CreateDirectoryPost”).
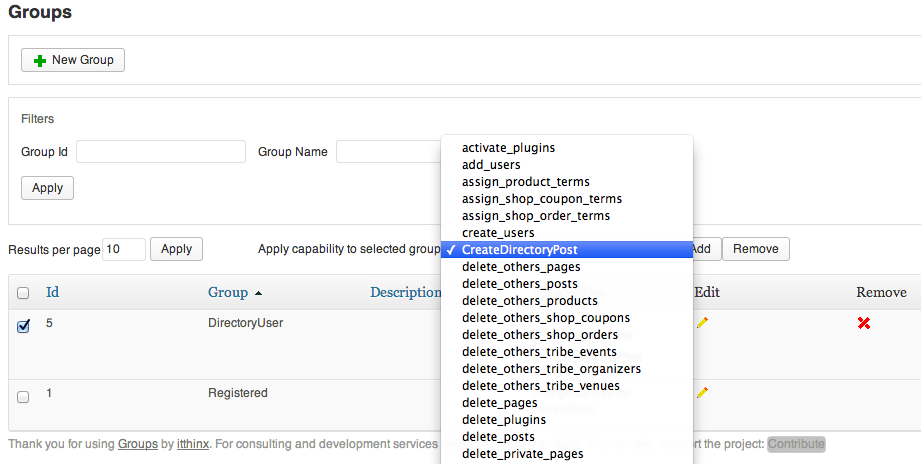
 When you create that name, you'll come back to the Groups area and you'll want to assign that capability to your group. You do that by clicking on the group (selecting it), and then finding the capability in the drop down, and then clicking “add.”
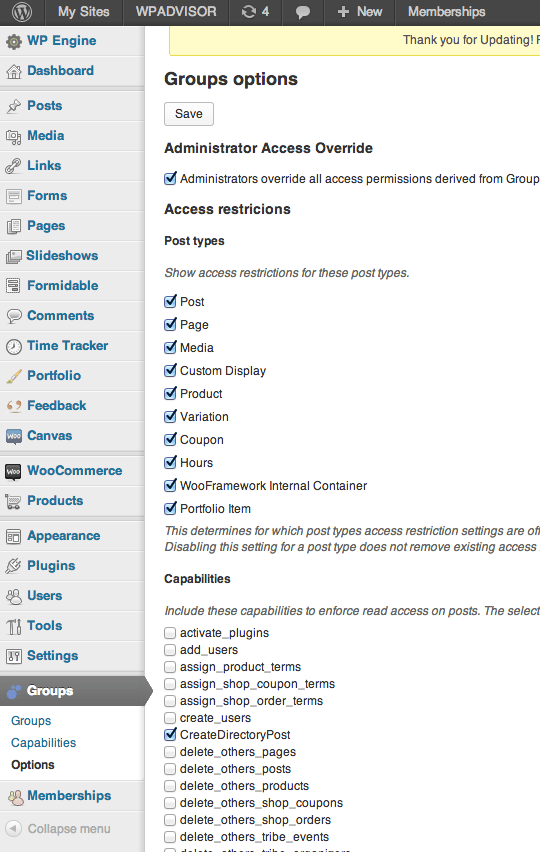
Step Three: Assign that capability to your read access for pages
Now there's one other little thing to do with this newly created capability. That's to make it appear on the pages you create as an option to select – which limits who can and who can't access the page.
So look at the Options of the Groups plugin and you'll see the option to add a capability to read access. Check the box next to your capability.
 You won't feel the power of this until you're creating your “Create Directory Entry” page, but trust me, it's going to be nice that it's all prepped for you.
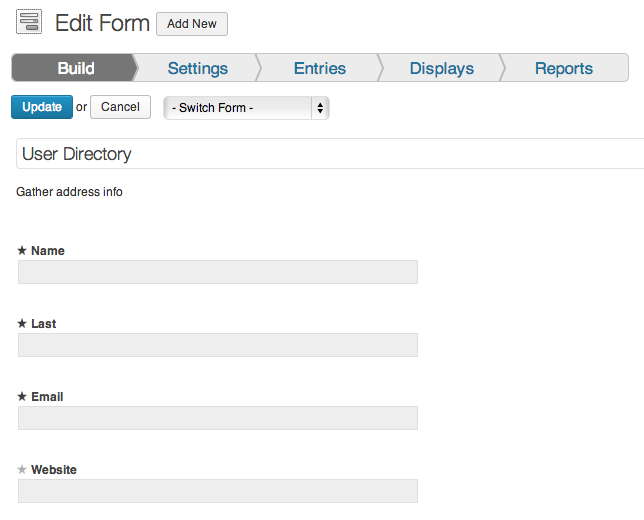
Step Four: Create your form
There are two parts to creating the form in Formidable Pro. The first is creating the actual form. That's not too hard.
 That part is easy. Though I'm not saying that this next part will be tough. Just that it causes you to focus on the details a bit more. It's time to configure the editing access – using form settings.
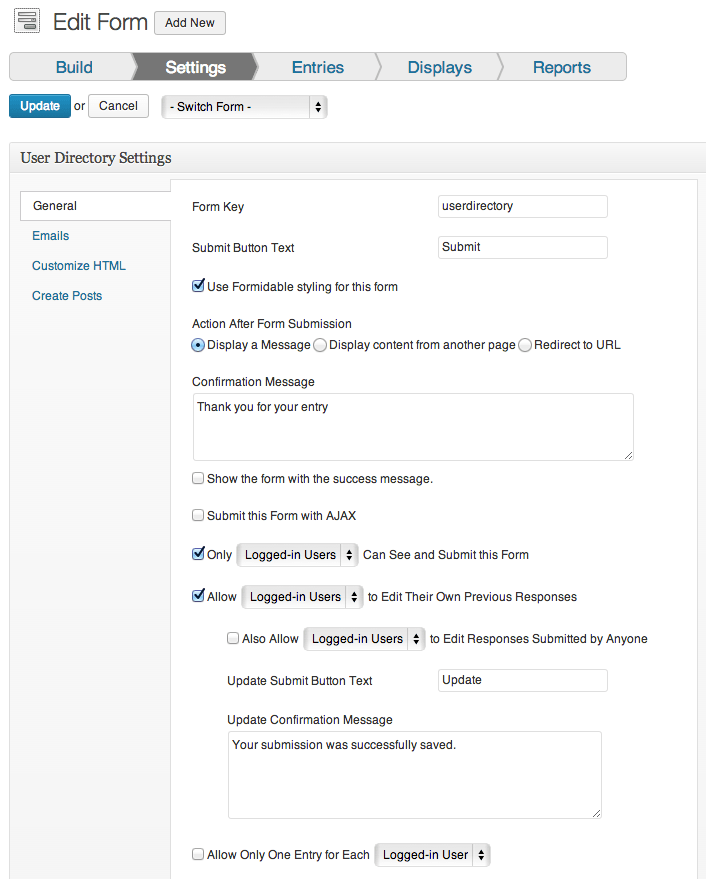 Notice I'm checking the boxes that a person must be logged in to see and submit the form, and that they can edit their own previous responses. That's what gets you the nice pre-filled out forms (plus one more little trick).
You might think that checking the box to only let logged-in users see the form is enough security, but it's not. Because Formidable Pro isn't doing your cart/purchase for you. So all it's doing is making sure that you're logged in.
That's why we use Groups and WooCommerce to limit who sees the “Create Directory Entry” page.
Step Five: Create the page for your form
You can create your form page now. And even put it into your menu. Of course, a logged in user without the correct rights won't see the menu or the page.
 But others will see the page, if they've made the right purchase (which we'll get to). So let's go create the page “Create a Directory Entry”, set it's rights, and add the form.
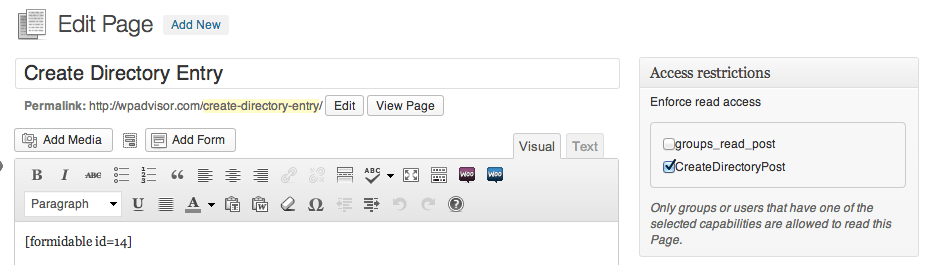 Notice that the page simply has the short code for the form (you can get that by clicking on the Formidable Pro form icon).
It also has that “CreateDirectoryPost” capability checked. That's what protects it for only those who have paid for the right rights.
Step Six: Creating a Custom Display with Formidable Pro
Let's create our directory now. This is the directory that will show all the entries.
To do it, we're going to be creating what Formidable Pro calls a custom display. Clicking on Formidable in the admin menu will show you the various menu options there and that's where you want to click on Custom Displays. Then click on “Add New”
 There's a lot on this screen. So here's some quick things to notice.
First, notice that I didn't click on the read restriction in the upper right. That's because I want everyone (presumably) to see this directory.
Second, notice that I'm linking this custom display to a form (the one that creates all our entries), and that I am saying I want it to display all the entries. This is my list page.
Third, notice that on the lower right, you'll see a scrolling list of all the fields (plus more) of your form. You can use these to construct any display you like. [Note: It doesn't have to be a grid like I've done.]
Fourth, you get pre, content and post sections to create your custom display. I used it to create a grid of data. Mostly because I haven't coded a table in years. And before you comment, yes, I know I didn't create table headers. Thanks for that.
Step Seven: Add the Edit Link
Now, even though I could have tucked this into the last step, it's a big enough deal that I want you to be very clear on it. If you look at that last image, you'll see that the table I created had more than just data in it. There's one funky edit link at the end.
![]()
What we're doing here is several things at once.
1. We're telling Formidable Pro to keep the user on the front end of the form, not the admin area to edit a form.
2. We're linking the link to the right WordPress page (using the page ID), so it knows where to go.
3. We're linking it to the right form (using the Formidable Pro form ID).
This is critical to get right, if you want the user to see their entry, click on “edit” (which you can adjust), and then be taken to their form with all their fields filled out.
Step Eight: Put your custom display on a page
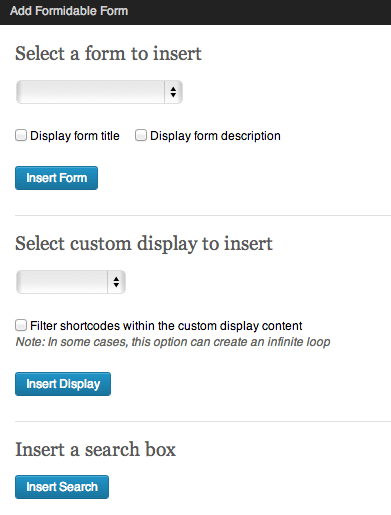
I'm not going to draw you a picture of the create page again, because you know how to do it. When you click on the icon for the form, you get more options than putting a form on a page. You can also add a custom display.
That's what you're doing here.
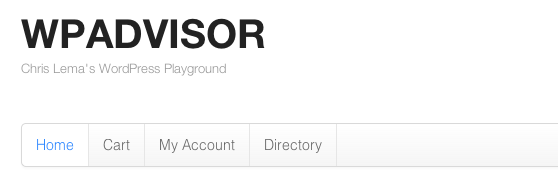
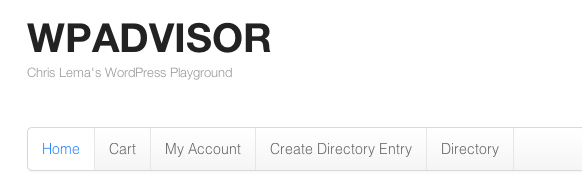
Step Nine: Put both pages into your menu
I'm pretty sure you know how to do this, so I'll just remind you that if you want it in your menu, you're going to want to add both pages you've created into your menu.
Because I'm logged in, with a user that has the group rights, guess what? I can see the menu item that we couldn't see before (the create page).
Step Ten: Create a WooCommerce Product
We're close. Can you feel it. We're on step 10 of 10. You've made it this far and most of the complicated stuff is done.
You need to create a WooCommerce product.
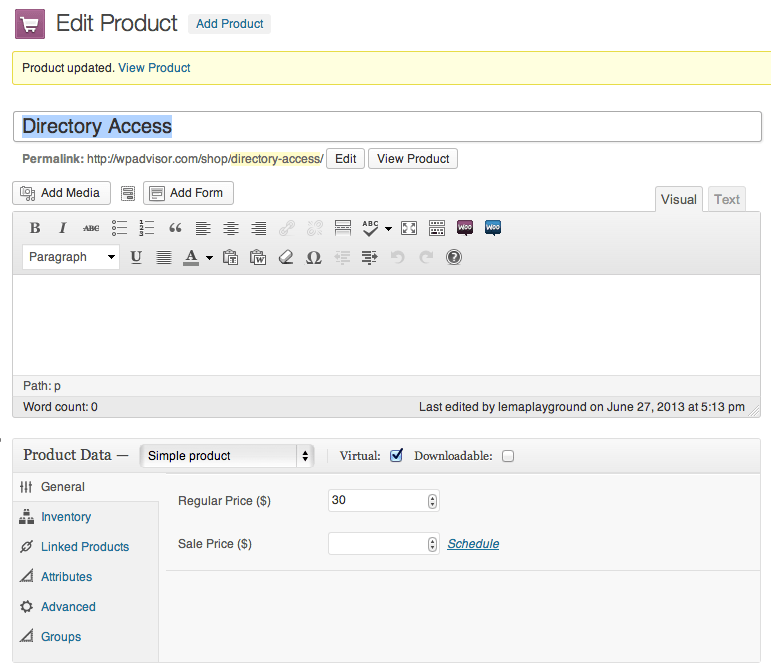 I have checked the “Virtual” because I'm not shipping anything. And I've set up a price.
Notice that “Groups” on the lower left. You'll want to click that too.
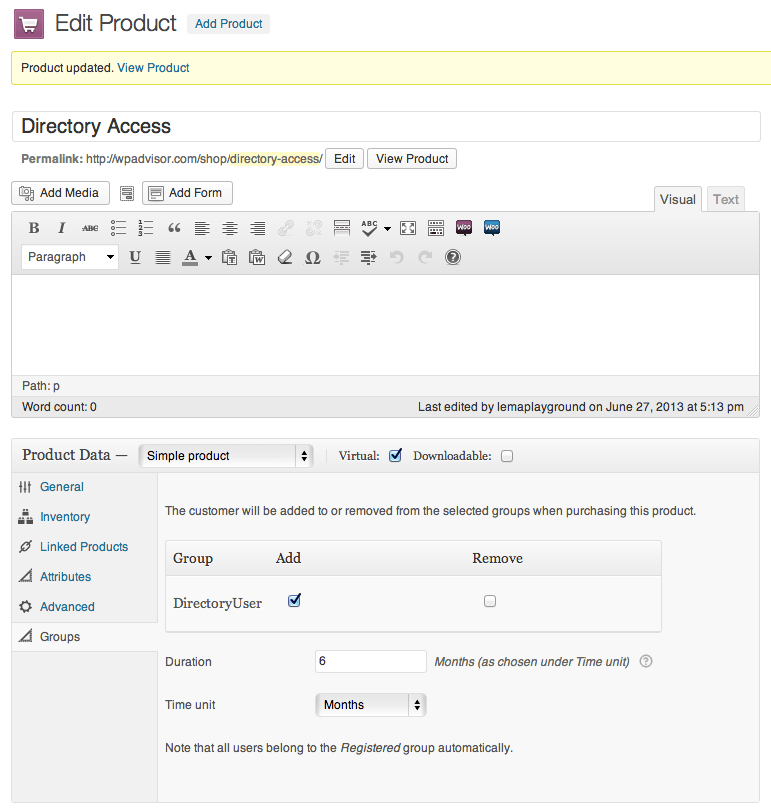 Our final step is telling WooCommerce that anyone who buys this product should be placed into a group, and should be in that group for x months (in this case, I put 6).
That's it. You're all set.
Final Thoughts
Could I have created this as a subscription where I charge people every 12 months? Sure.
In that case, I'd want to add a WooCommerce extension for subscriptions, which would add another step and show you one more part of the WooCommerce product page.
Like I started out saying, none of these steps really required coding, so this is for a person who is pretty comfortable with plugins and configuring them.
But there are ways to do this with more code and less plugins. That's a post I'm sure someone else will write.
So was this helpful? Would you do it differently? Let me know below.