There's a new piece in my living room... can you spot it?
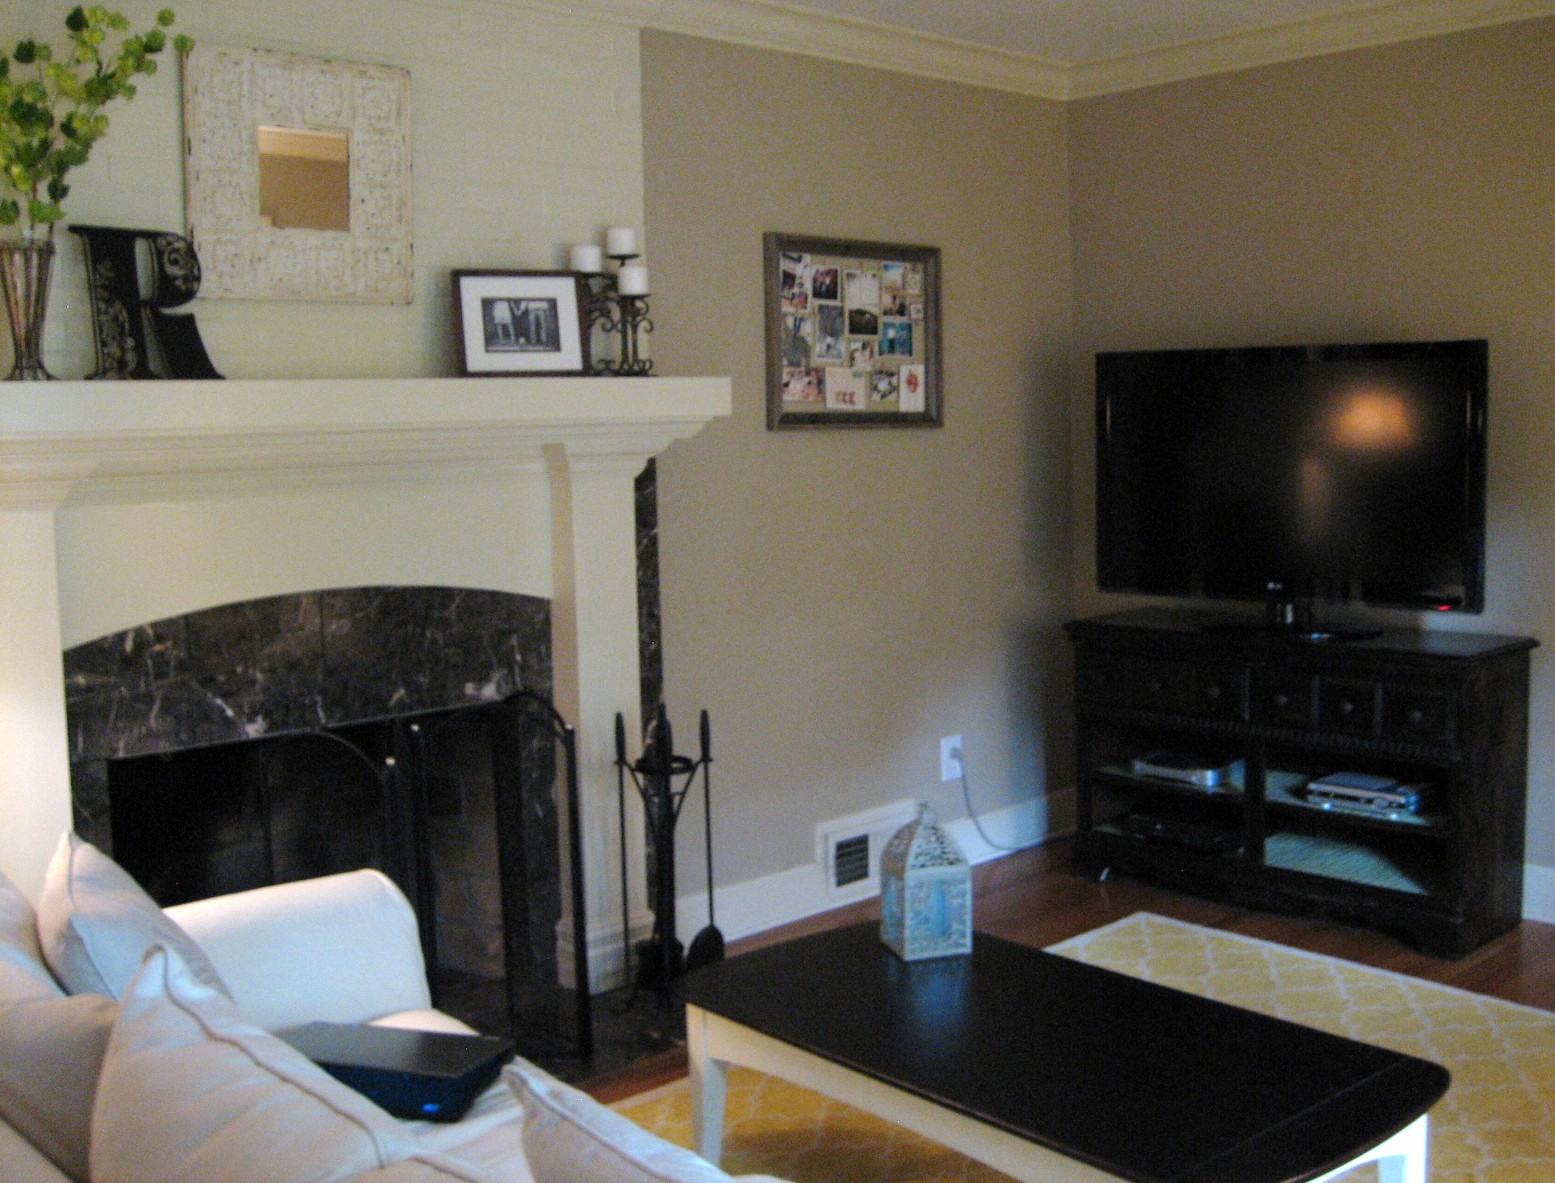
Ten points for you if you guessed the art by the TV! I have been wanting to spruce up this corner of the living room with some larger, fun, rustic art. Here's what it used to look like.
(go ahead, you can shiver while looking at that gross old yellow trim paint)
I love my
DIY clothespin art, but it just wasn't taking up the space like I wanted. I had been brainstorming some ideas to freshen up the space- namely, a gallery wall around the TV. But the hubs didn't like the idea of cluttering up that side of the room (makes sense, got to have maximum viewing potential I suppose?!), so I decided that just one piece would fit the bill. And after seeing
this piece on Pinterest, I knew that a rustic sign was the perfect fit.
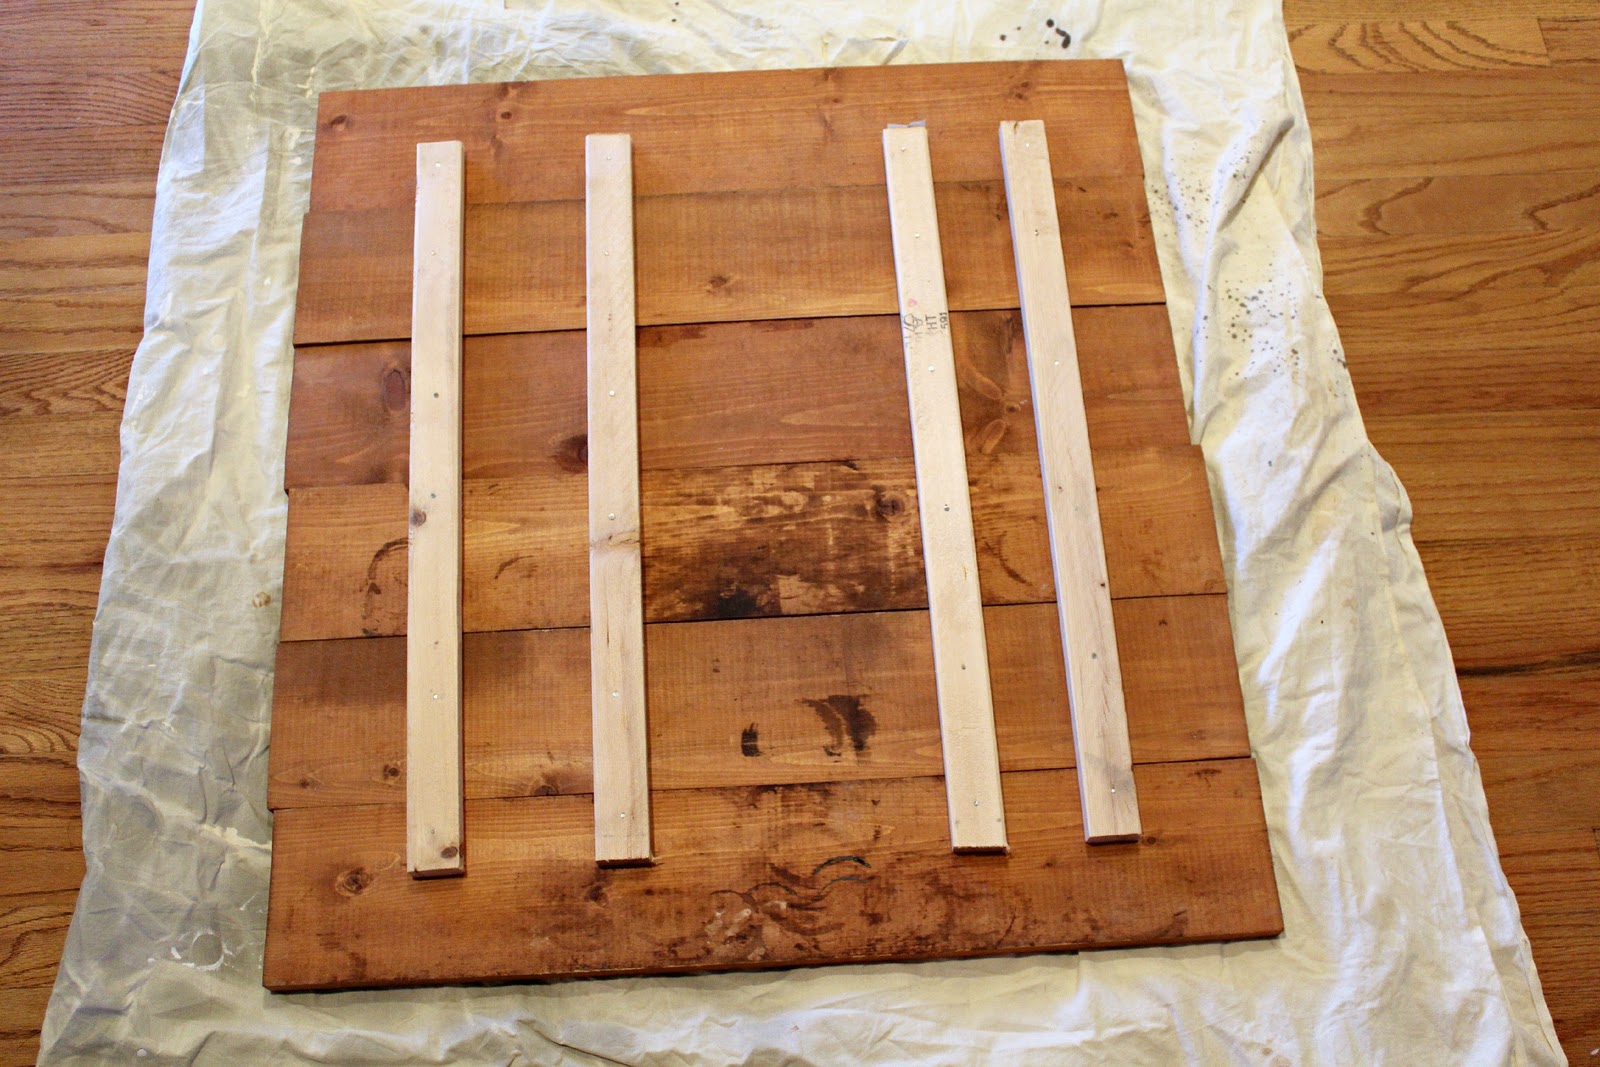
After looking around stores and not seeing a rustic sign that I wanted, I decided to shop my house and make my own sign. What do you know, I found everything I needed to make a rustic wooden wall sign. That means this project was free. I said FREE people! Doesn't get any better than that.
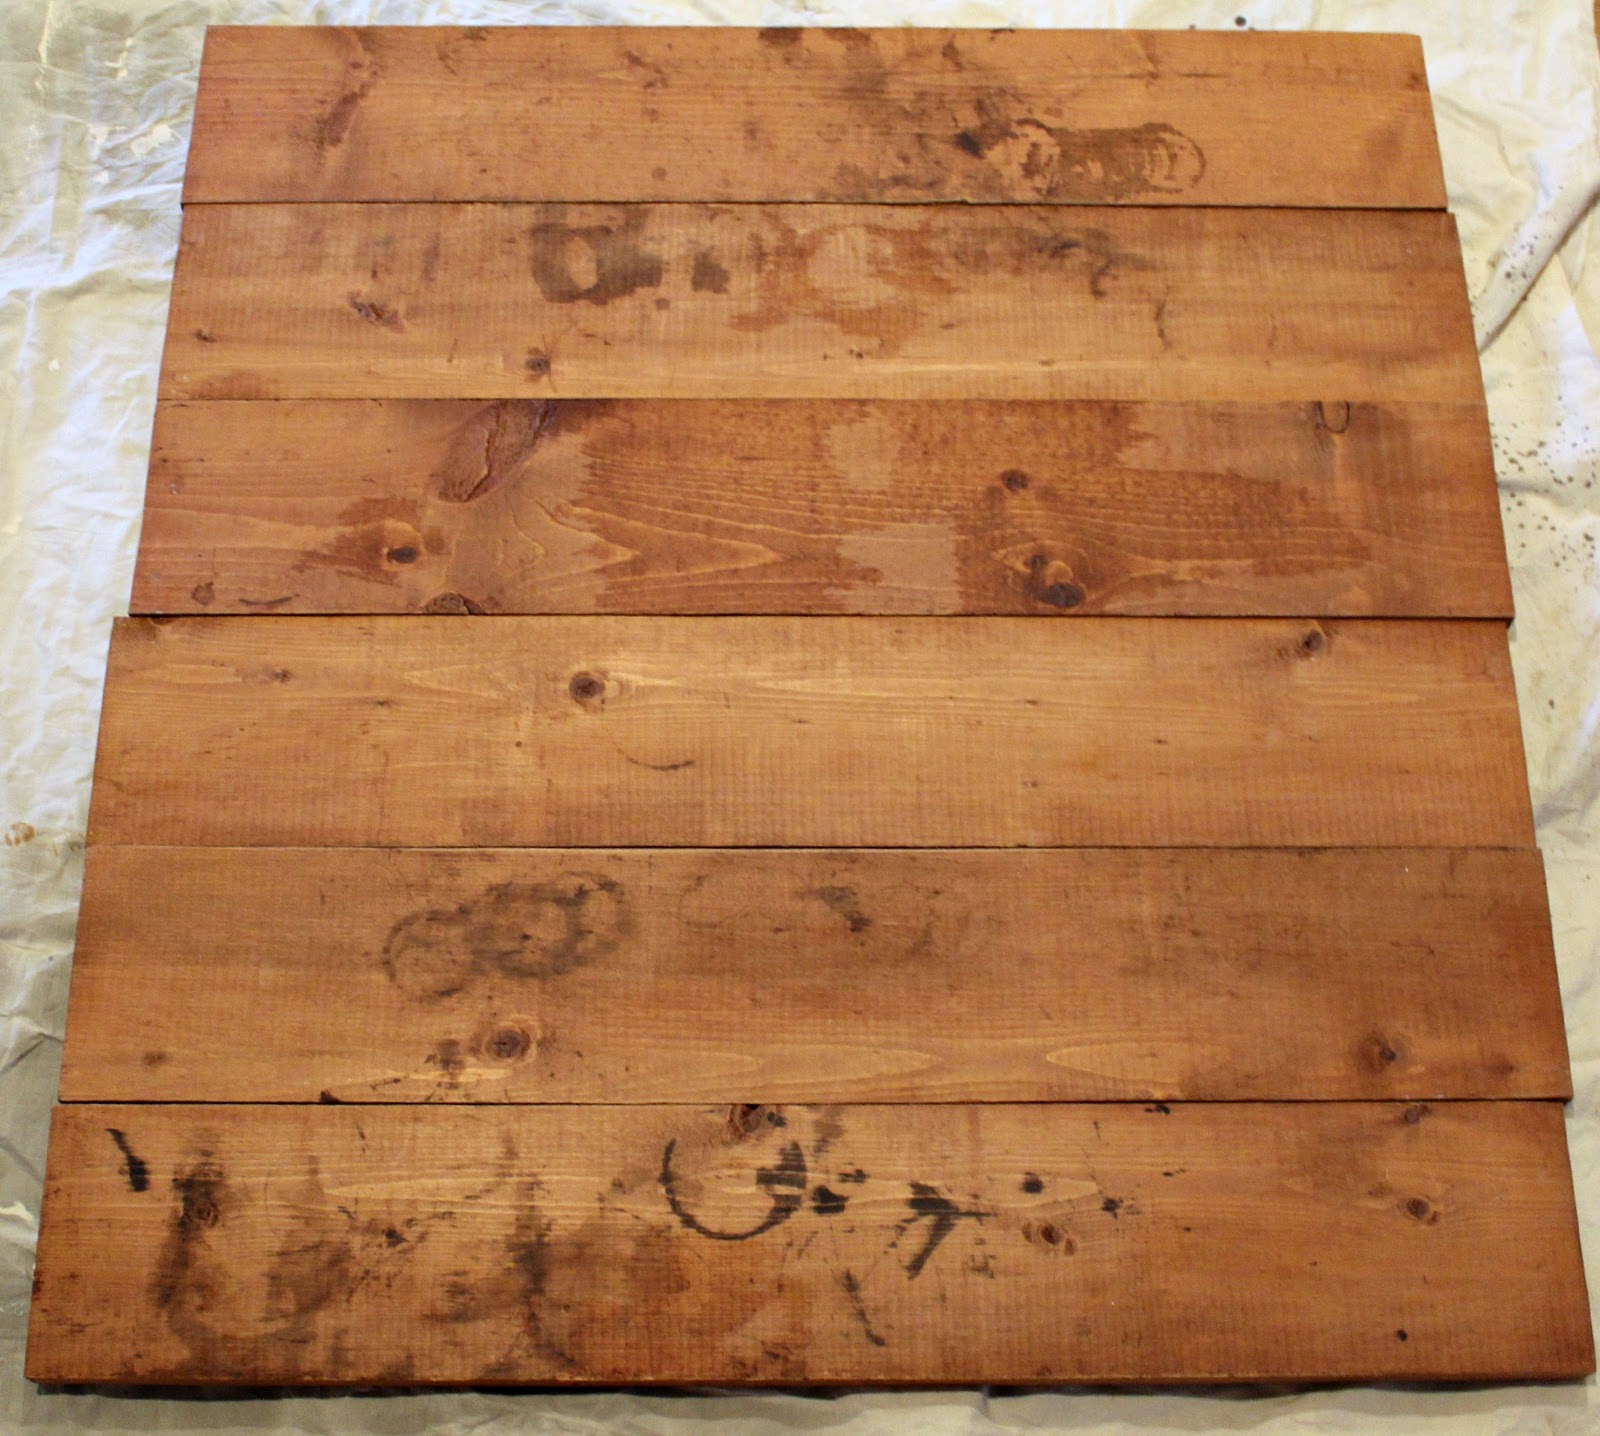
I was thrilled when I found these old wooden boards in my basement- the perfect size, beaten up and rustic looking. Perfect for my project! I simply nailed them together by using support braces on the back. And yes, I do mean me. Prepare to be amazed-- I did this project all by myself.
Next up, it was time to paint these bad boys. Before I painted the entire surface of the sign, I played around with the lettering. I simply printed off the quote I wanted to use and moved the words around (ensuring that the font size I choose- 300!) fit the board the way I wanted it to to.
Once I knew the wording would fit, I got to work on painting the entire surface of the sign. I decided to continue my love affair with all things fresh and white in my living room (yes, we've gone through about 97 gallons of white paint! ha), but decided to go with a whitewash effect instead of simply painting the boards. Gotta let that gorgeous rustic character shine through.
To get the whitewash effect, I simply mixed two parts latex paint with one part water. Then I just slopped it on! The watery paint absorbs easily into the wood, so you might have to do two light coats like I chose to do.
Next it was time to paint the letters. I printed the words onto heavy card stock paper (I thought it would be less resistant to bleeding or tearing once it was covered with wet paint) and then used a craft knife to cut the shape of the words out. The process was a little time consuming, but not too bad... and I promise, I am not a patient person! Then I taped the handmade stencils onto the surface of the boards and used a sponge roller to paint the letters! Easy as pie.
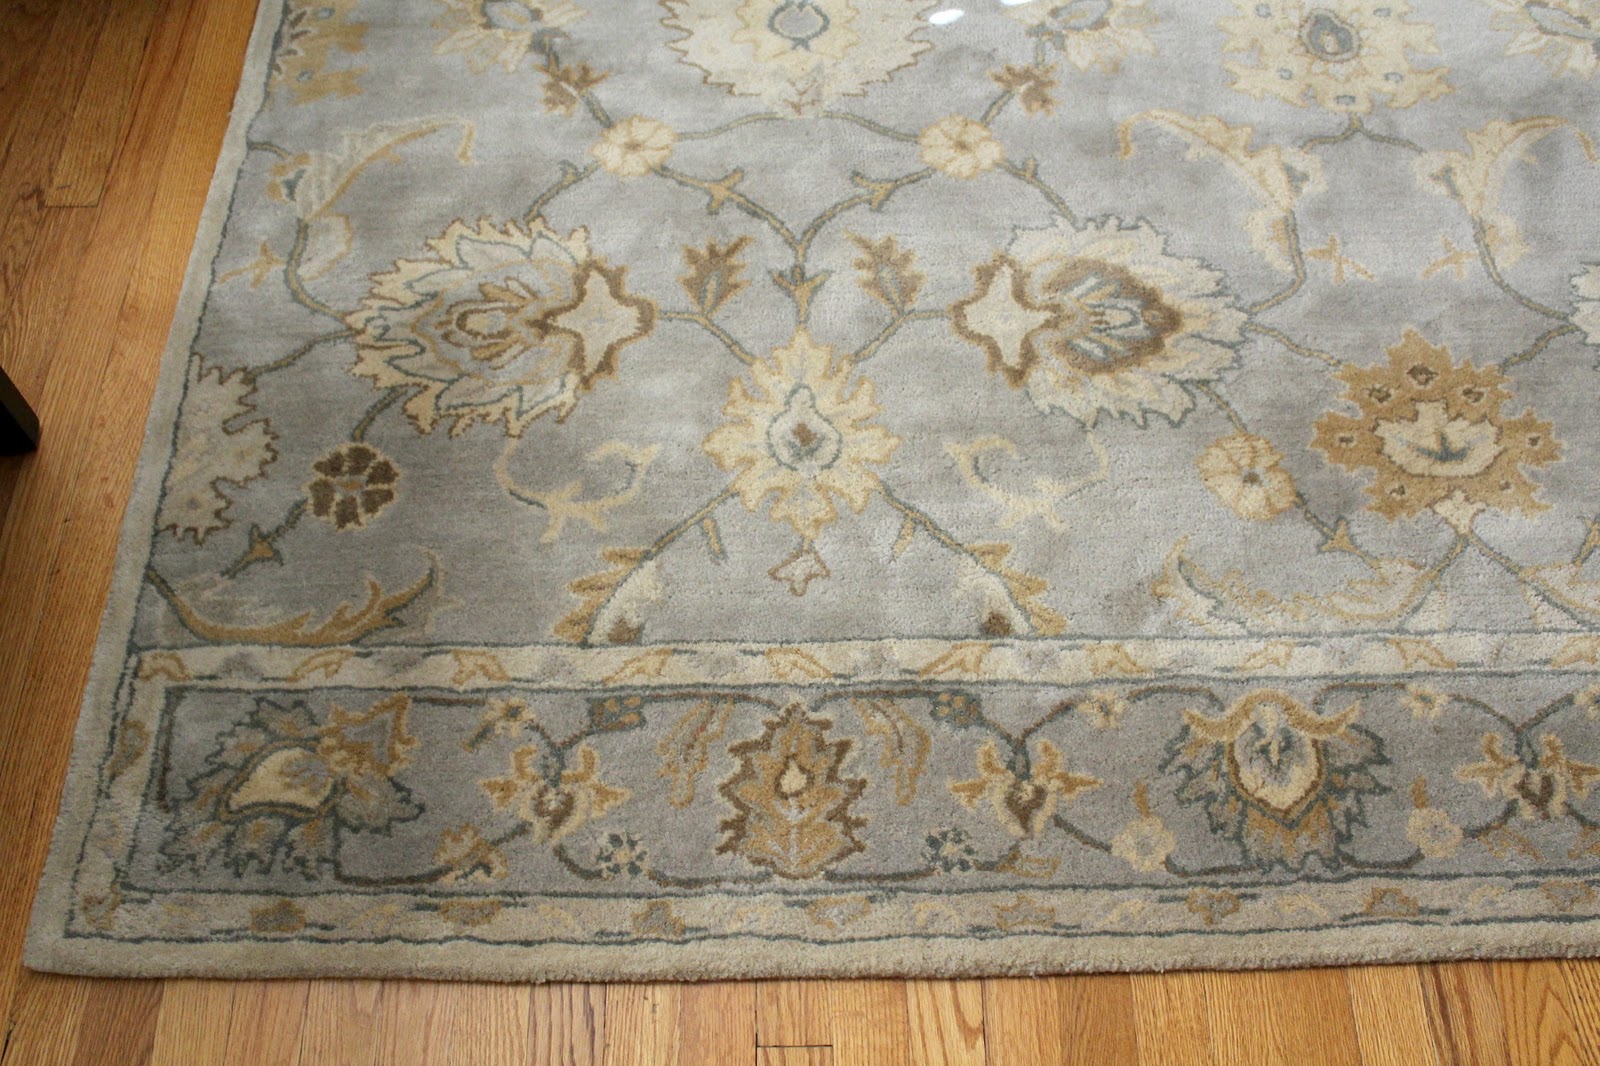
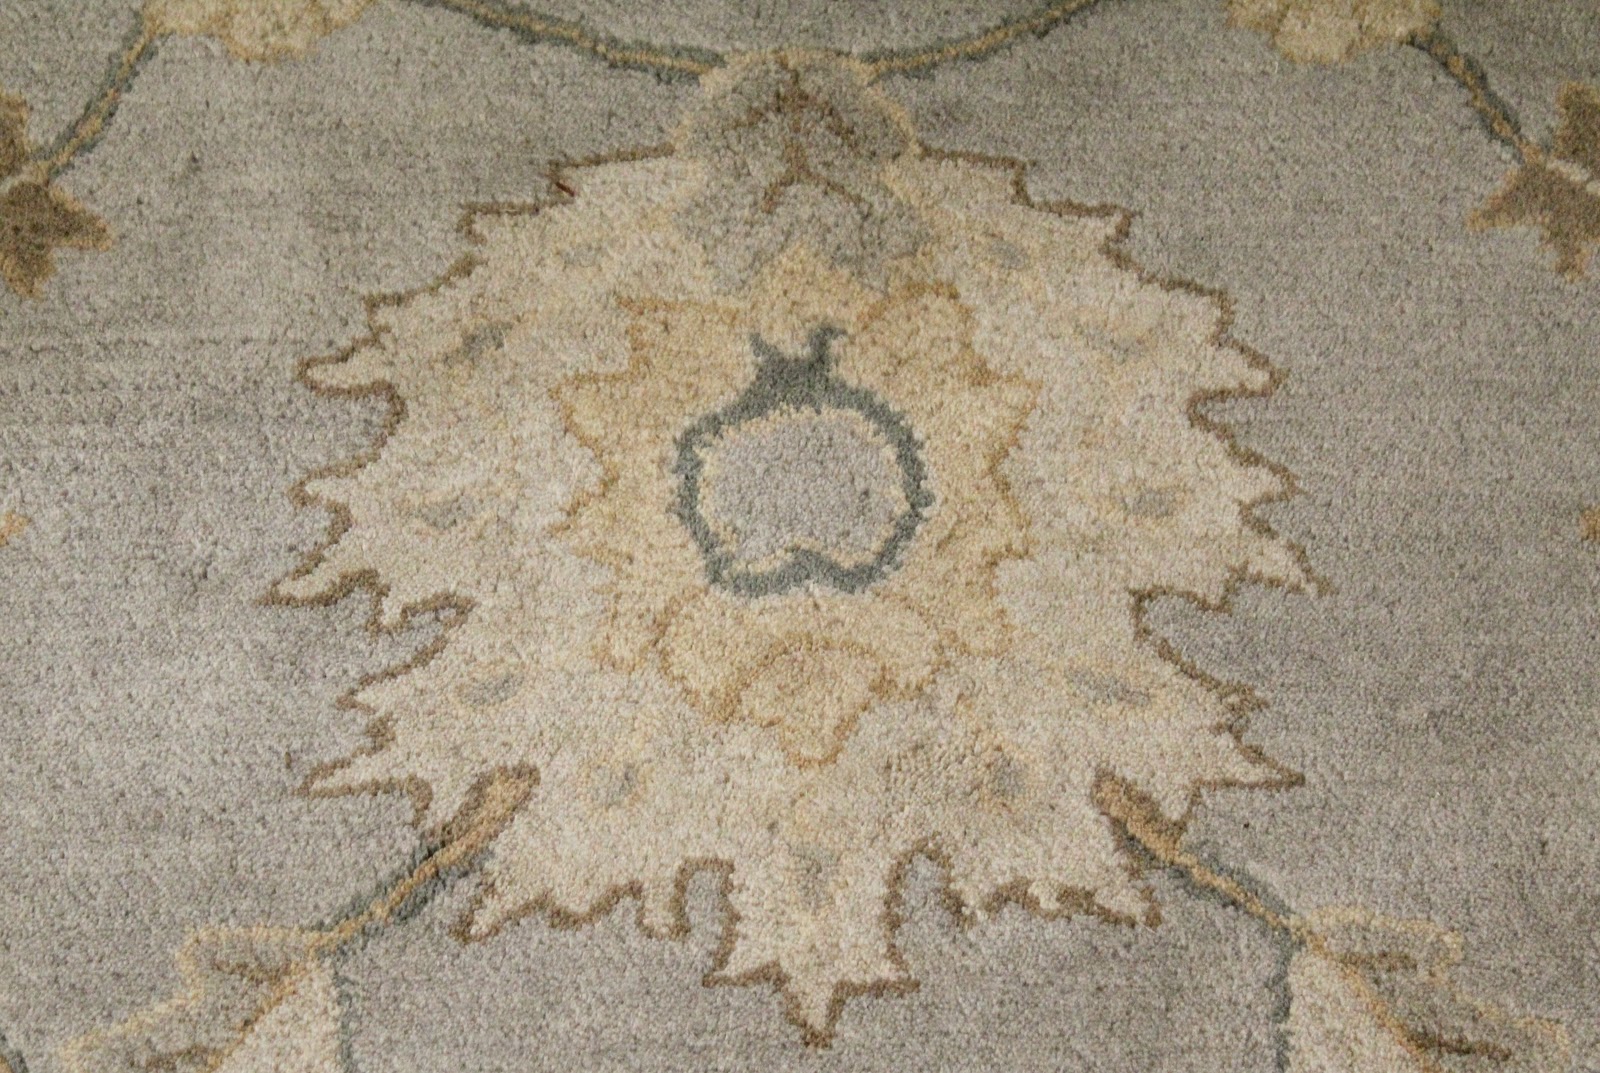
And the final result?
I'm kind of in love. Ok, not kind of.... the piece is maj as Rachel Zoe would say. It's like that wall has been waiting for the sign all along! I chose the navy paint we used in our dining room for the lettering- I thought it would add another element to tie the rooms together.
I couldn't be happier with my new sign! And I just can't believe it was FREE! Love.
I'm linking up this project with the Pinterest Challenge hosted by
Katie,
Ana and
Sherry!
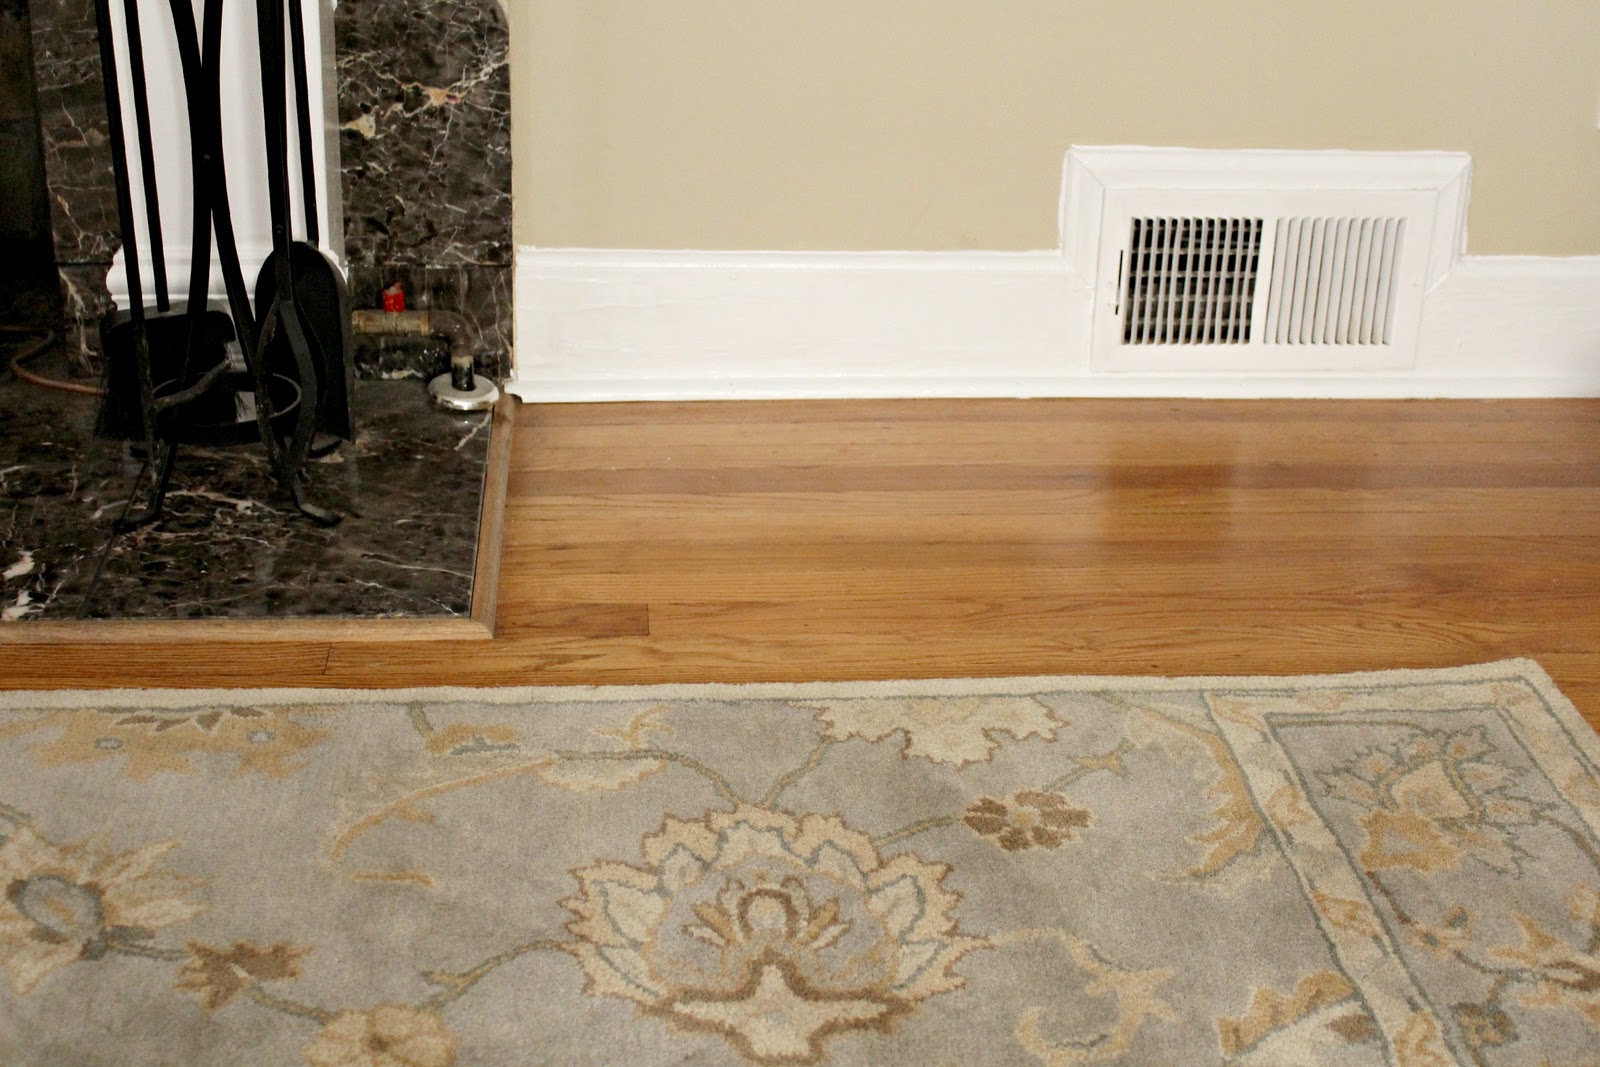
And if the sign isn't exciting on its own, this little guy puts me one step closer to finishing up my living room tweak to do list!
LIVING ROOM TO DO LIST:
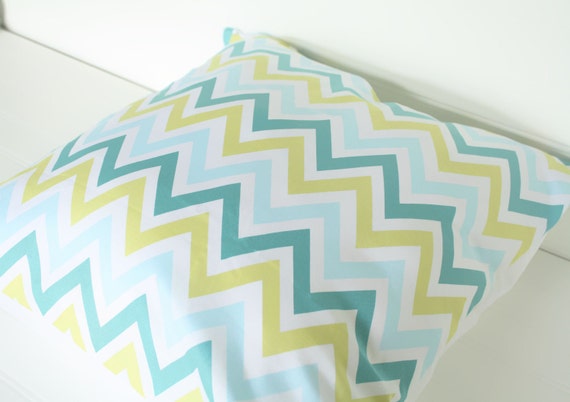
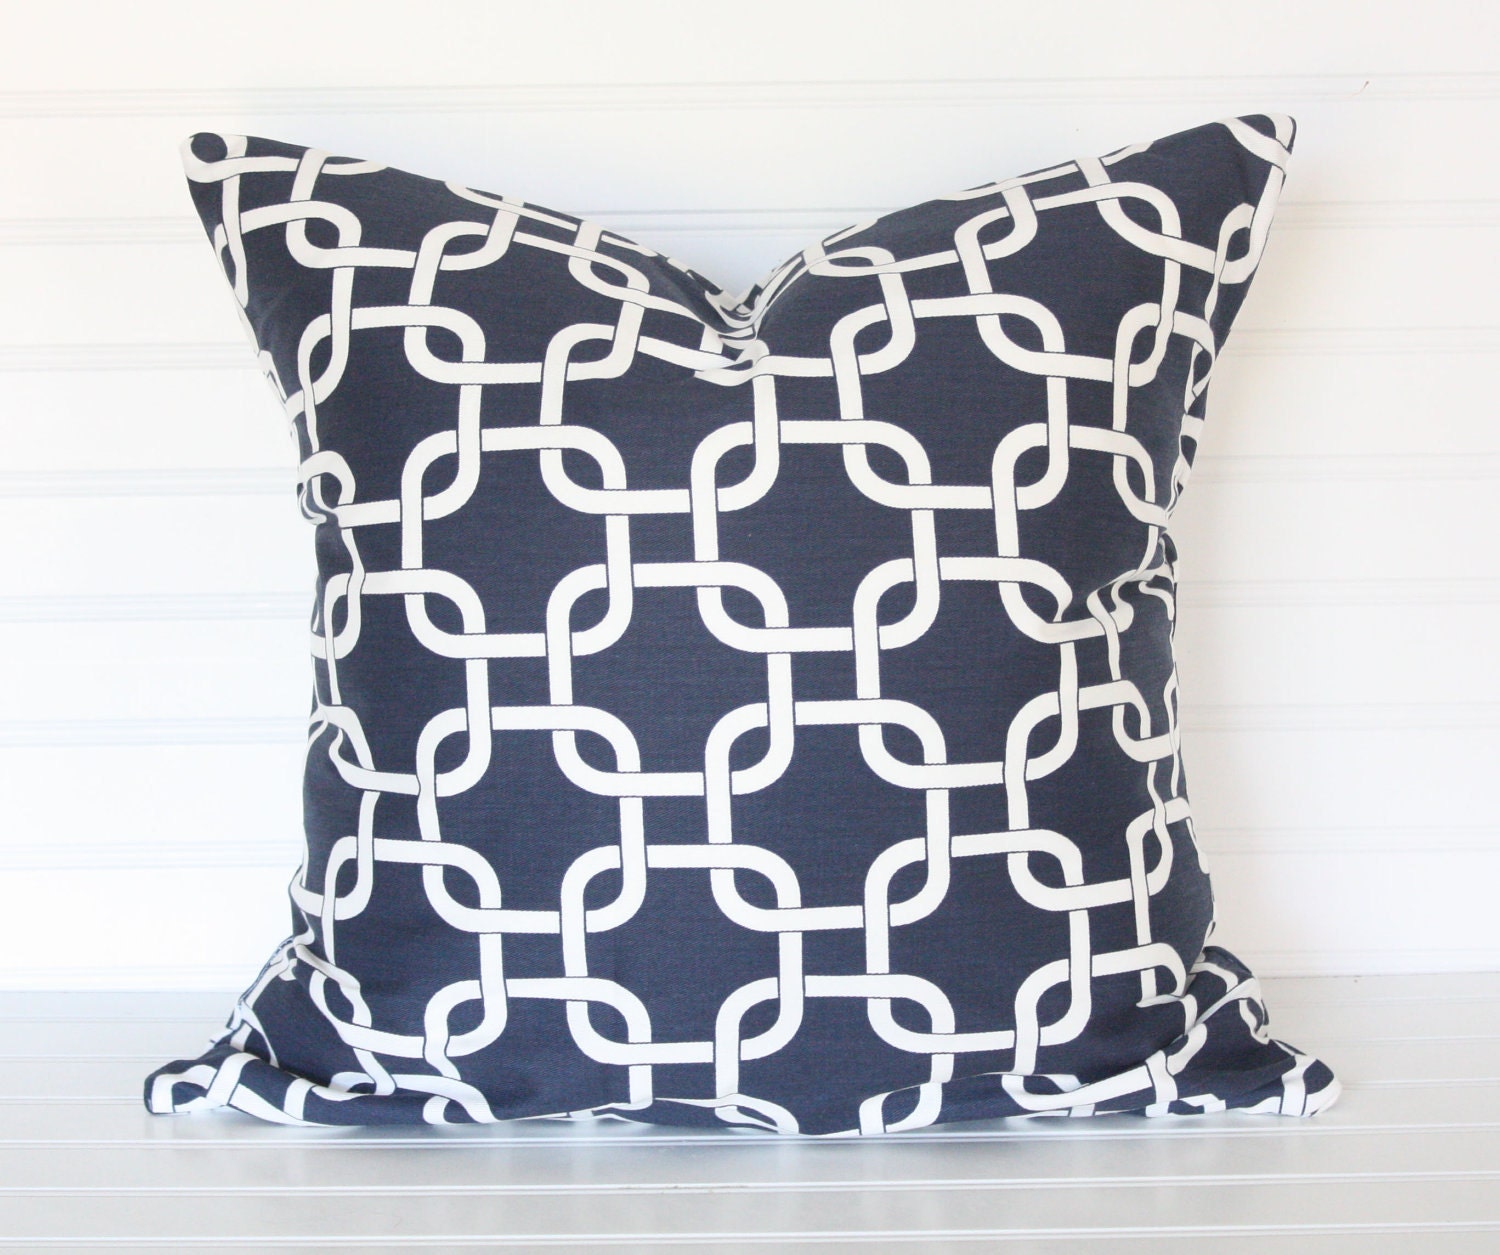
7. figure out pillow sitcheeyation