 3
3
 2
2
 윈도우에서 해킨토시 설치용 OSX 부팅 디스크를 만들어 봅시다.
-
 Mactopia
 - 13387
- 22
Mactopia님의 기기정보
CPU : XEON 1230 V2
MAINBOARD : ZOTAC Z77 ITX WIFI
GRAPHIC : AMD RX 570 4096 MB
MEM : 16GB XMP
HDD : SAMUNG SSD 830 256GB
PSU : SliverStone SX600-G
Cvad 이분이 만드셨네요. 유명하신 분이죠.

cvad
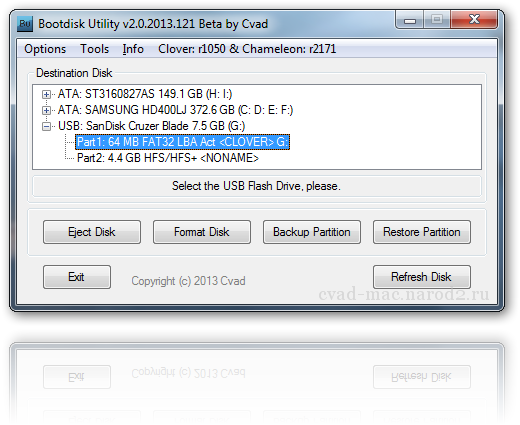
Preparation by cvad's tool:
- requires: one USB stick (around 5GB minimum), cvad's BDUtility.exe, 7-Zip, InstallESD.dmg
- extract InstallESD.dmg with 7-Zip into InstallESD folder
- extract another resulting InstallESD\InstallMacOSX.pkg\InstallESD.dmg into InstallESD\InstallMacOSX.pkg\InstallESD with 7-Zip
- this will result in InstallESD\InstallMacOSX.pkg\InstallESD\3.hfs file - the image of HFS+ volume
- plugin USB stick
- start BDUtility.exe
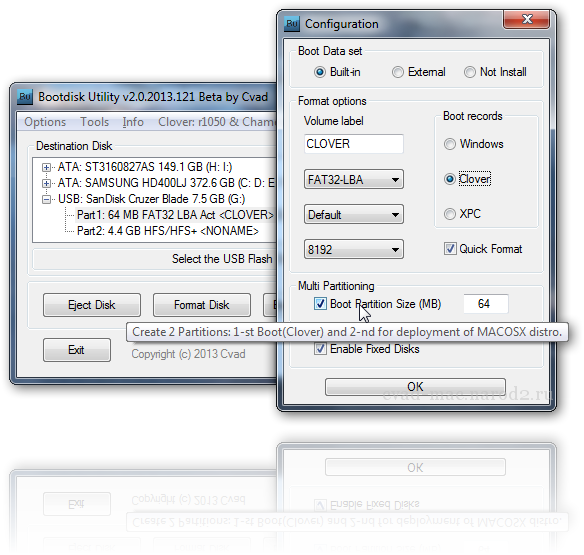
- choose Options/Configuration and check Multipartitioning checkbox
- this will instruct BDUtility.exe to make two partitions on the stick: one for Clover/Chameleon and another for restored InstallESD.dmg
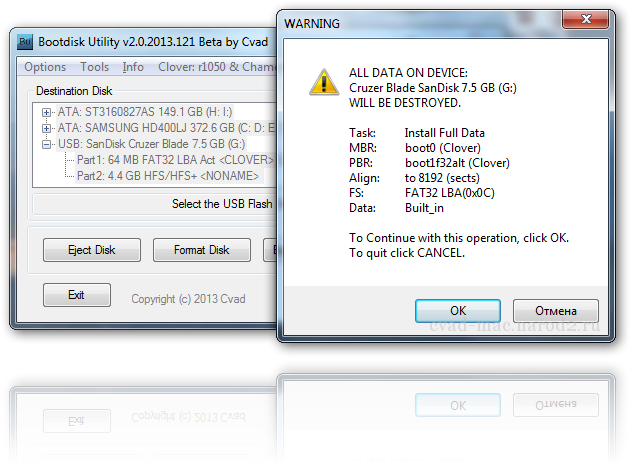
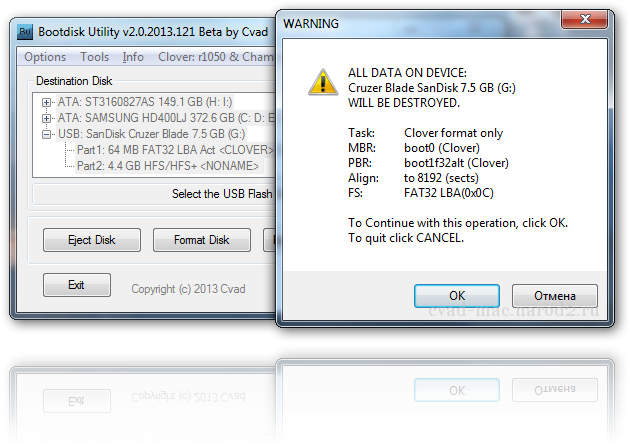
- in the main BDUtility.exe screen select your USB and click "Format Disk"
- when it is done, select second partition for that USB stick, click "Restore Partition" and select InstallESD\InstallMacOSX.pkg\InstallESD\3.hfs as the source
- and that's it
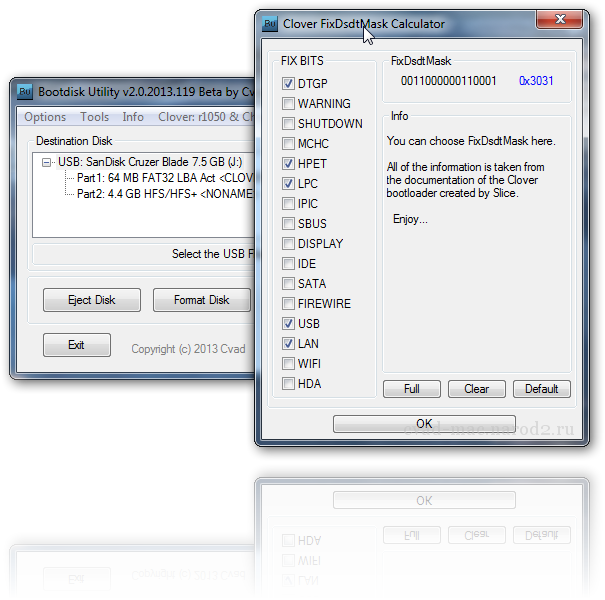
- Clover config is required now, then reboot and boot from that stick
- requires: one USB stick (around 5GB minimum), cvad's BDUtility.exe, 7-Zip, InstallESD.dmg
- extract InstallESD.dmg with 7-Zip into InstallESD folder
- extract another resulting InstallESD\InstallMacOSX.pkg\InstallESD.dmg into InstallESD\InstallMacOSX.pkg\InstallESD with 7-Zip
- this will result in InstallESD\InstallMacOSX.pkg\InstallESD\3.hfs file - the image of HFS+ volume
- plugin USB stick
- start BDUtility.exe
- choose Options/Configuration and check Multipartitioning checkbox
- this will instruct BDUtility.exe to make two partitions on the stick: one for Clover/Chameleon and another for restored InstallESD.dmg
- in the main BDUtility.exe screen select your USB and click "Format Disk"
- when it is done, select second partition for that USB stick, click "Restore Partition" and select InstallESD\InstallMacOSX.pkg\InstallESD\3.hfs as the source
- and that's it
- Clover config is required now, then reboot and boot from that stick
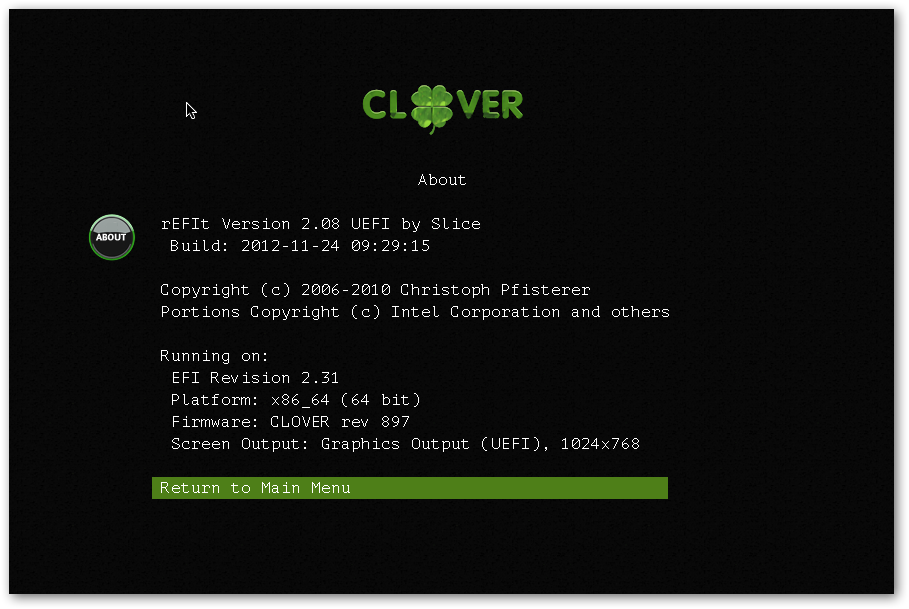
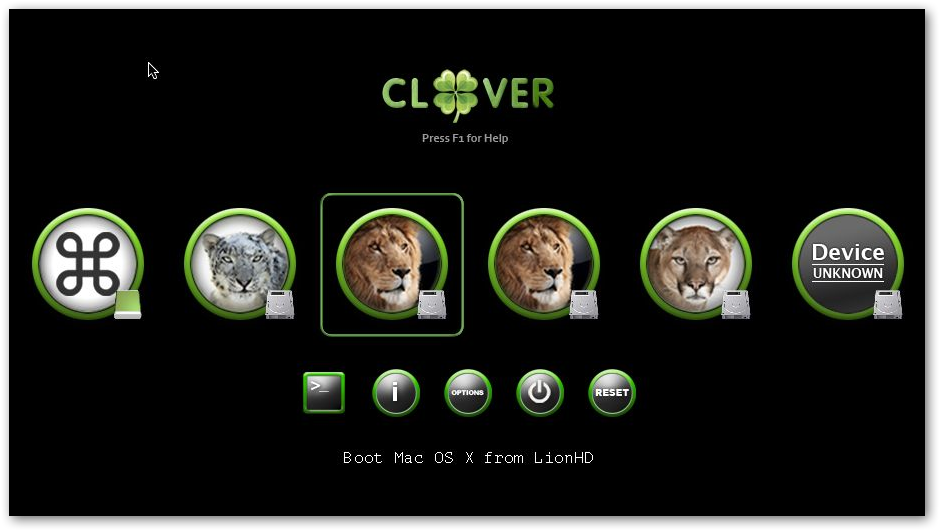
Boot:
In the root directory of the boot disk are numbered boot files. At boot time, for 3 seconds when the flashing line at the top left of the screen, press the corresponding key:
- boot (Clover 64bit-default) - no key
- boot2 (Chameleon) - 2
- boot3 (Clover 32bit - in the last Clover revisions - not included) - 3
- boot6 (Clover 64bit - the same default) - 6
- boot7 (that includes BiosBlockIO driver for RAID controllers, JMicron, NForce and other non-Intel SATA/ATA/SCSI etc.) - 7
Manuals and Installation:
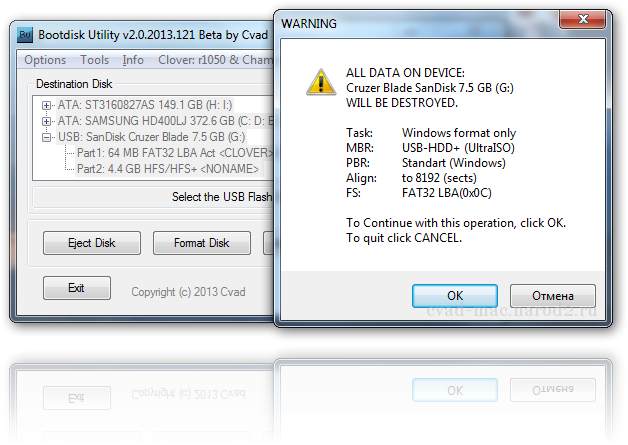
- Format the flash drive into two partitions - 1st Clover, 2nd to deploy a disk image (or final distribution MACOSX installed system).
- Distro, of course, must meet all the requirements for installation on PC (see related topics on installation).
- The image can be saved by itself BDU, to share with friends.
- Download the distribution (*. Dmg), unpack from menu Tools and restore the file with hfs extension to the 2nd flash partition.
- Partition size should be no smaller then original hfs file.
- Prepare your Clover config, as described in the relevant forum threads.
- BDU limitations: For security reasons, completely off the write to all partitions of the Windows system drive. With the other drives you can try to play.
- In test mode, you can work with non-USB (only MBR) disks.
- The info provided is not more than 4 primary partition (Extended partitions are not shown in detail - it makes no sense).
- Attention: If you select Format - All information (all partitions) on the flash drive will be destroyed. Therefore, please save your important partitions to a file.
Enjoy
---
동영상
Mactopia


댓글 쓰기를 허용하지 않았습니다.
참여를 하시면 세상을 바꿉니다.
Mactopia

Mactopia
이걸로 하여금 윈도우와 해킨을 같이 쓴다라는 가정하에 약간 노가다를 줄일수있겠네요. 저처럼 부팅 USB 만들기 어려워하시는분들에게 가뭄의 단비같은 존재군요!
Mactopia(본인)
https://www.x86.co.kr/Filebox/75531
요것과 같이 사용하면 금상첨화!!
Mactopia
일단 부팅 디스크는 이 것으로 만들었습니다. 자기 시스템에 맞게 약간의 수정을 해 주어야 하는군요....
config.plist 안의 언어부분을 ru에서 en으로 변경하여 사용하면 되구요..
설치는 영문으로 설치하고 나서 다 설치되면 한글로 바꾸면 될 듯 합니다.
Mactopia
좋은자료 감사합니다. 오늘 가입한 초보라. 막막했는데 함 도전해 볼게요. 삽질하는 느낌 아니까.
이야...진짜 이거 대박이네요