
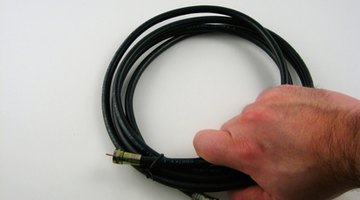
How to Repair a Satellite Cable

A damaged or severed satellite coaxial cable doesn't happen often but requires attention when it does. Whether from a tool nick or an aggressive rodent, damaged RG-6 coax can let in cable-damaging moisture and remove shield protection from the center conduit. Sensitive satellite signals require the signal integrity to be consistent and well-shielded to prevent dropouts and performance anomalies. Splicing a new section of coax onto the damaged piece requires a few tools and new coax. Once completed, the repair will restore satellite viewing and performance to normal standards.
Step 1
Unscrew the connected end of the damaged coaxial cable from the affected decoder box or distribution hub.
Step 2
Cut off the damaged coax immediately behind the cut or abrasion, using the wire cutters.
Step 3
Insert the freshly cut end of coax into the cable stripper 1/2 inch up from the cut. Squeeze the handles and rotate the stripper, listening for the stripping sound to cease and resistance to decrease. Pull the stripper straight away from the cut, still gripping the handles.
Step 4
Fold back the metal braided shield against the outer jacket. Slip the coaxial F connector over the braid and jacket until the inner white plastic surrounding the copper conductor butts up flush against the inner connector collar.
Step 5
Lay the coax connector's collar into the coax crimper. Squeeze firmly to make the connection. Screw in the male-to-male joiner.
Step 6
Screw on the new length of coax leading to the decoder or distribution hub to the other end of the male-to-male joiner. Screw on the other end to the decoder or hub.
Resources
Writer Bio
David Lipscomb is a professional writer and public relations practitioner. Lipscomb brings more than a decade of experience in the consumer electronics and advertising industries. Lipscomb holds a degree in public relations from Webster University.
Photo Credits
- coaxial cable image by Albert Lozano from Fotolia.com
More Articles