やりたいこと
最近話題のGoogleの人工知能エンジン TensorFlow。残念ながら、LinuxとMac OS Xしかサポートしていません。
ところが、Windows上でTensorFlowを使用する環境を作る方法がありました。しかも、10分くらいで簡単に準備出来ます。
必要な動作環境
- Windows7以上 (Windows 8.1で動作確認)
- 仮想化が有効になっていること
タスクマネージャー→パフォーマンス タブ→ CPU → 「仮想化: 有効」となっていることを確認 - OSが64 bitであること
Docker for Windowsの準備
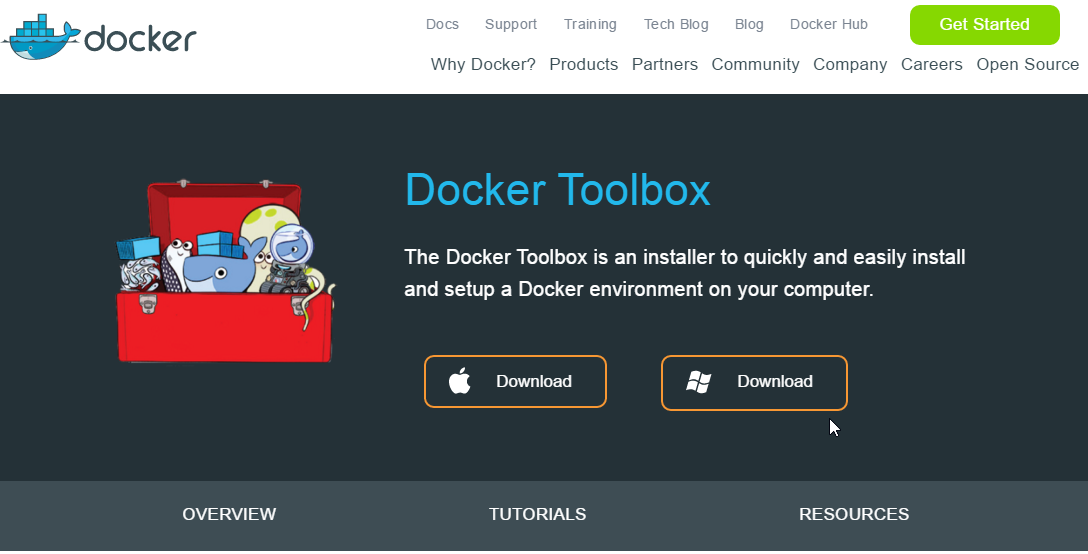
STEP1 Docker Toolboxのダウンロード
Docker Toolboxにアクセスして、ダウンロードします。
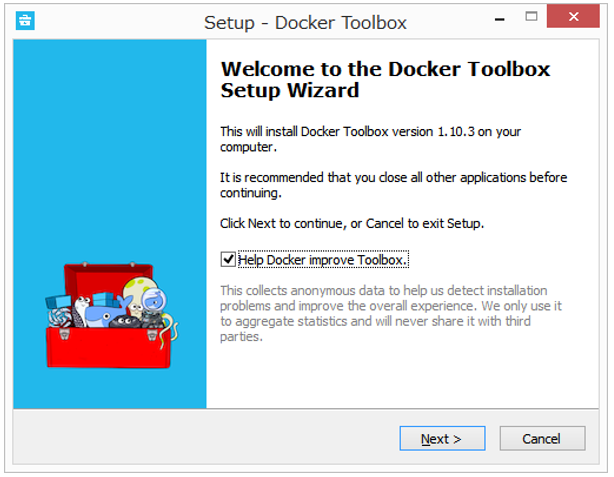
STEP2 Docker Toolboxのインストール
設定はすべてデフォルトで、インストールを行います。
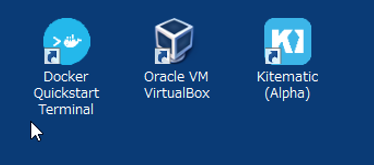
STEP3 Docker Quickstart Terminalの動作確認
インストールが完了すると、デスクトップにショートカットができます。
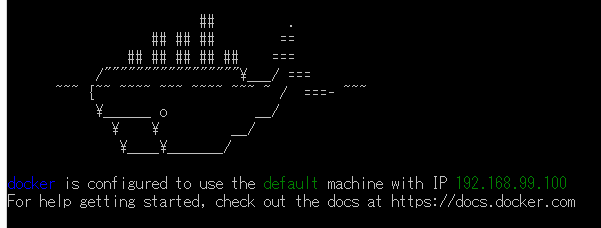
Docker Quickstart Terminalのアイコンをクリックして起動します。
コマンドラインが出て、下のような表示がされていればOK
念のため、Dockerの動作確認をします。ターミナルに下記コマンドを入力します。
$ docker run hello-world
下記のメッセージが返ってくれば、Docker Toolboxのインストールは成功です。
Hello from Docker.
This message shows that your installation appears to be working correctly.

To generate this message, Docker took the following steps:
 1. The Docker client contacted the Docker daemon.
 2. The Docker daemon pulled the "hello-world" image from the Docker Hub.
 3. The Docker daemon created a new container from that image which runs the
    executable that produces the output you are currently reading.
 4. The Docker daemon streamed that output to the Docker client, which sent it
    to your terminal.

To try something more ambitious, you can run an Ubuntu container with:
 $ docker run -it ubuntu bash

Share images, automate workflows, and more with a free Docker Hub account:
 https://hub.docker.com

For more examples and ideas, visit:
 https://docs.docker.com/userguide/
TensorFlowの環境構築
STEP4 TensorFlowのインストール
Docker Quickstart Terminal上で、下記コマンドを入力します。TensorFlowがソースコードと一緒にインストールされます。
$ docker run -it b.gcr.io/tensorflow/tensorflow:latest-devel
次回以降、起動するときも、上のコマンドでTensorFlowが立ち上がります。
STEP5 TensorFlowの動作確認
下記のコマンドを入力して動作を確認します。
$ python
...
>>> import tensorflow as tf
>>> hello = tf.constant('Hello, TensorFlow!')
>>> sess = tf.Session()
>>> print sess.run(hello)
Hello, TensorFlow!
>>> a = tf.constant(10)
>>> b = tf.constant(32)
>>> print sess.run(a + b)
42
>>>
TensorFlowがエラーなくimportできれば、無事にTensorFlowがインストールされています。
Windowsとの共有フォルダを設定
Windows上のエディタで作成したファイルを、TensorFlowで動かしたい場合など。
TensorFlowを起動するときに、下記コマンドで起動すればOK
$ docker run -v /c/Users/(指定したい共有フォルダのパス):(TensorFlow内で作成したい共有フォルダのパス) -it b.gcr.io/tensorflow/tensorflow:latest-devel
Windowsのパスは¥で句切らずに、/で区切ると認識してもらえます。