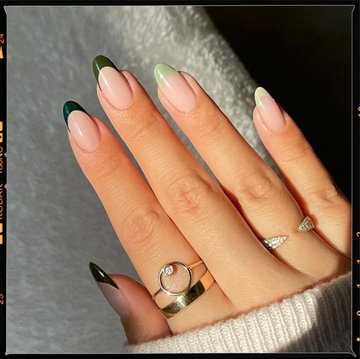
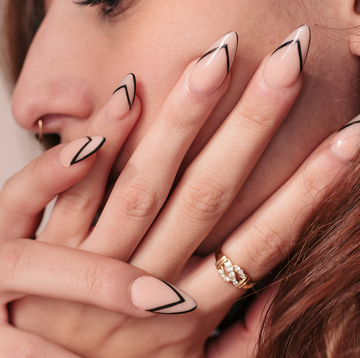
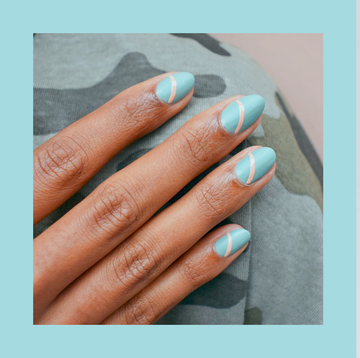
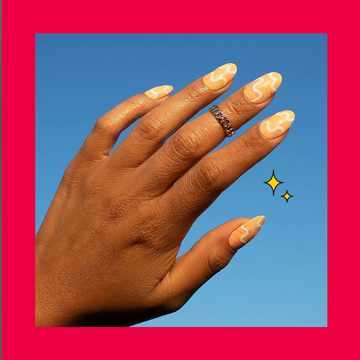
I’ll admit that it’s taken me a looong time to get comfortable with painting my own nails. Like, yes, I’m a beauty editor who writes about nail polish for a living, but that doesn’t mean I came out of the womb with next-level manicure skills. But since going to the nail salon every couple weeks is definitely not in my budget (love you, NYC!), I’ve spent the past couple of years learning everything there is to know about painting your nails at home—no matter your skill set. Ahead, 20 genius hacks and product recs that have helped me along the way.
✨Nail-Painting Tip #1: You only need three strokes
Before you start coating your nails with polish, keep in mind that you only need three strokes to cover your nail. “You want the polish to do the majority of the work and spread out as it’s placed on the nail—the brush is just there to guide the dot of polish into place,” says celebrity nail artist Simcha Whitehill, aka Miss Pop. “Starting at the base of your nail, stroke the brush to the left, to the right, and then down the center, and voilà!”
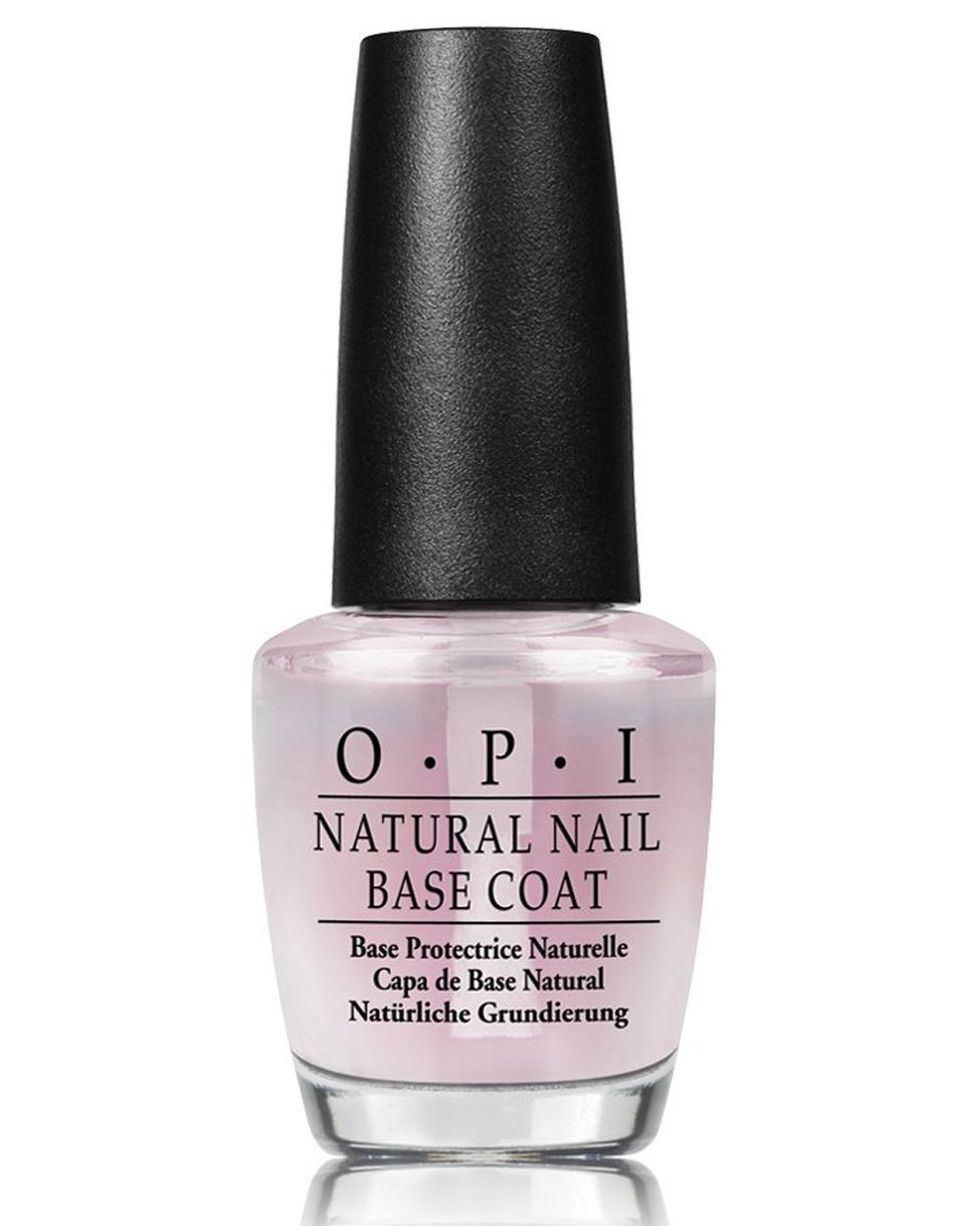
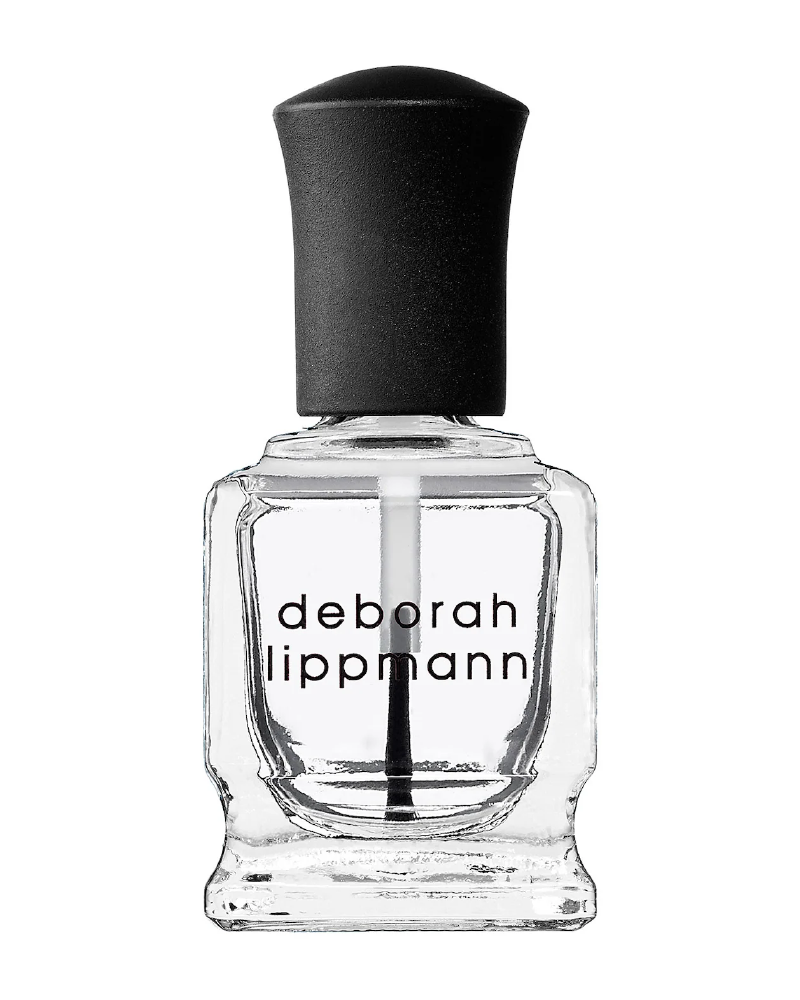
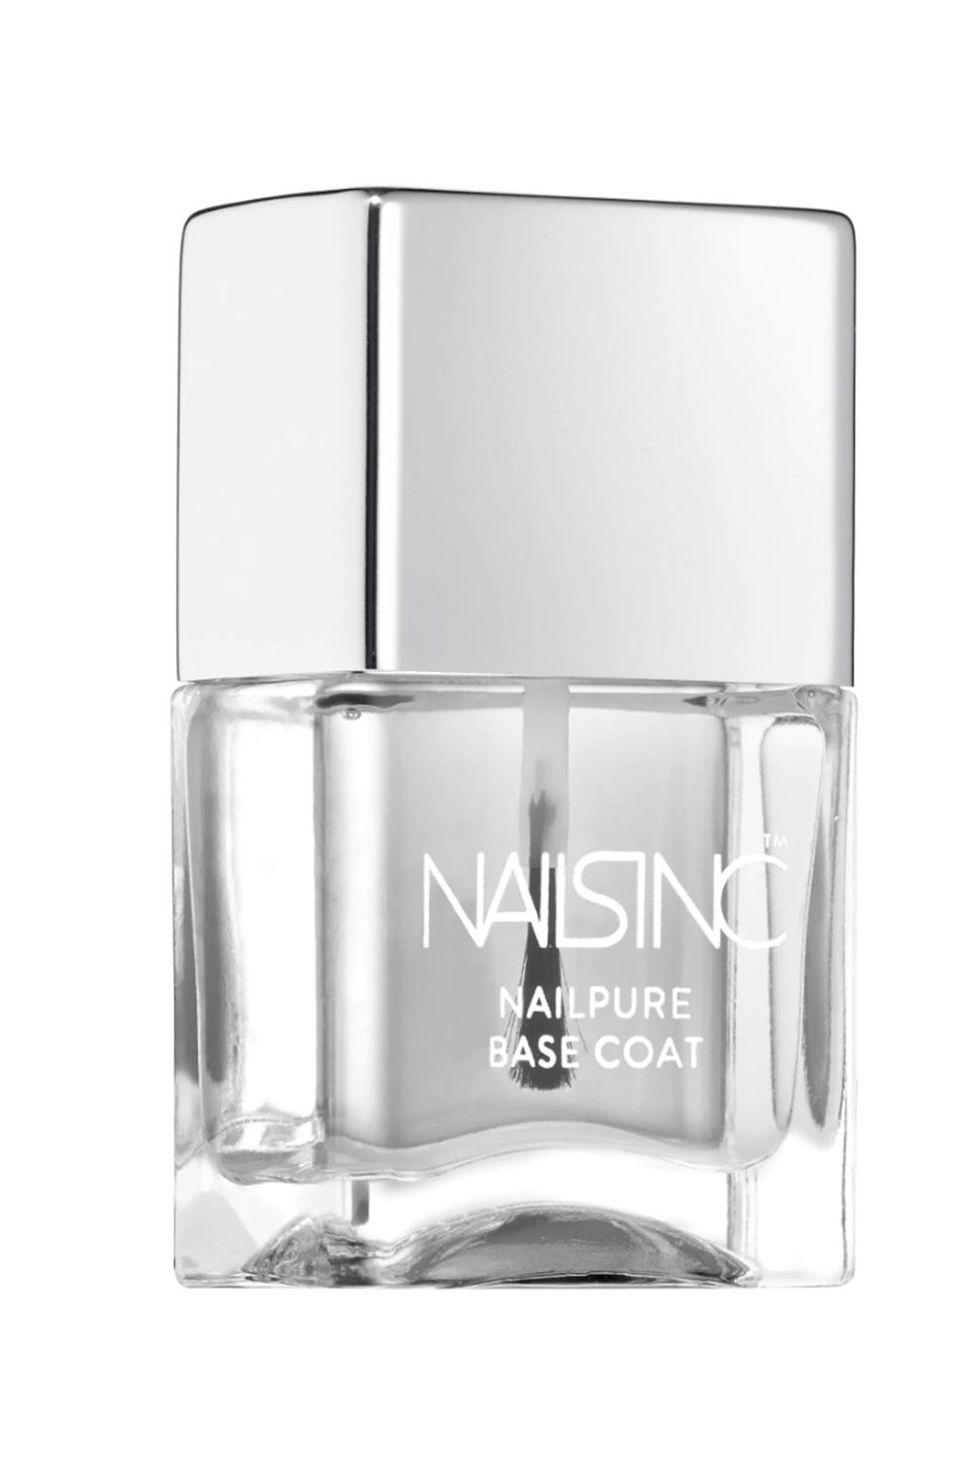
✨Nail-Painting Tip #2: Always use a base coat
“It might take you some extra time, but base coat gives the colored polish something to adhere to, making your manicure last a couple of extra days longer,” says Whitehill. “It also prevents staining on your nails from pigmented paint.”
✨Nail-Painting Tip #3: Don’t forget top coat
Top coat seems like a no-brainer for most, but you’d be surprised how many people skip it. Pro tip: Don’t be one of those people, since top coat is the easiest way to prevent chips. Look toward a basic top coat (I like Zoya Naked Manicure Glossy Seal or Essie No Chips Ahead Top Coat), and paint it all the way to the tip of your nails to lock in your polish.
✨Nail-Painting Tip #4: Clean up your edges
We’ve all colored outside the lines, but when you do it with nail polish, you want to be precise in your cleanup technique. Whitehill suggests dipping an old lip brush into a bottle of nail polish remover and swiping it around your nail bed to clean up the edges.
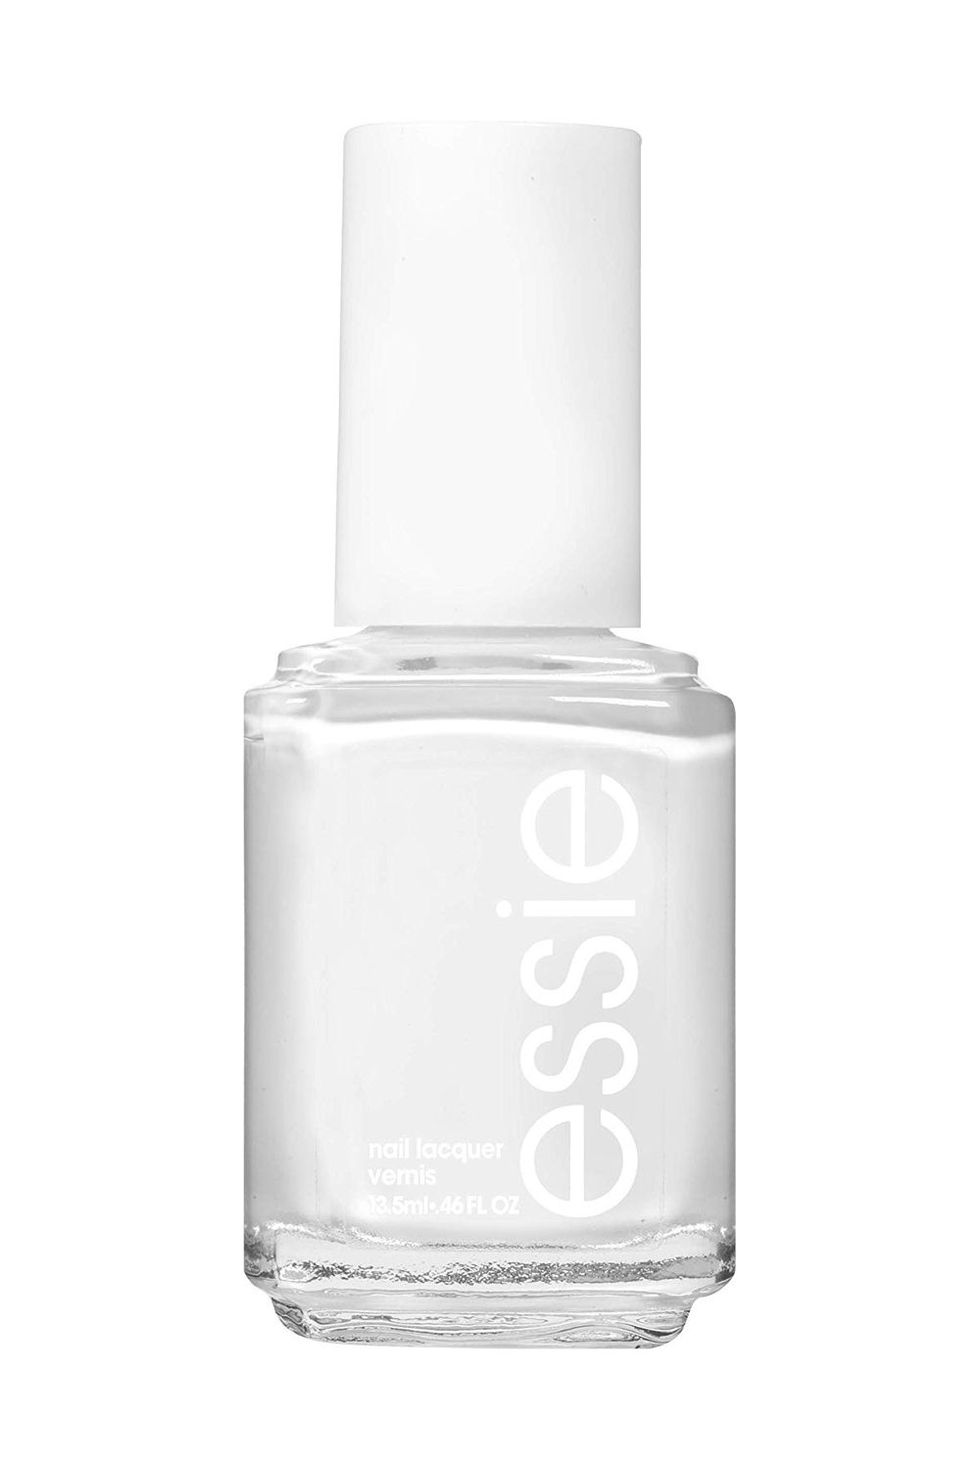
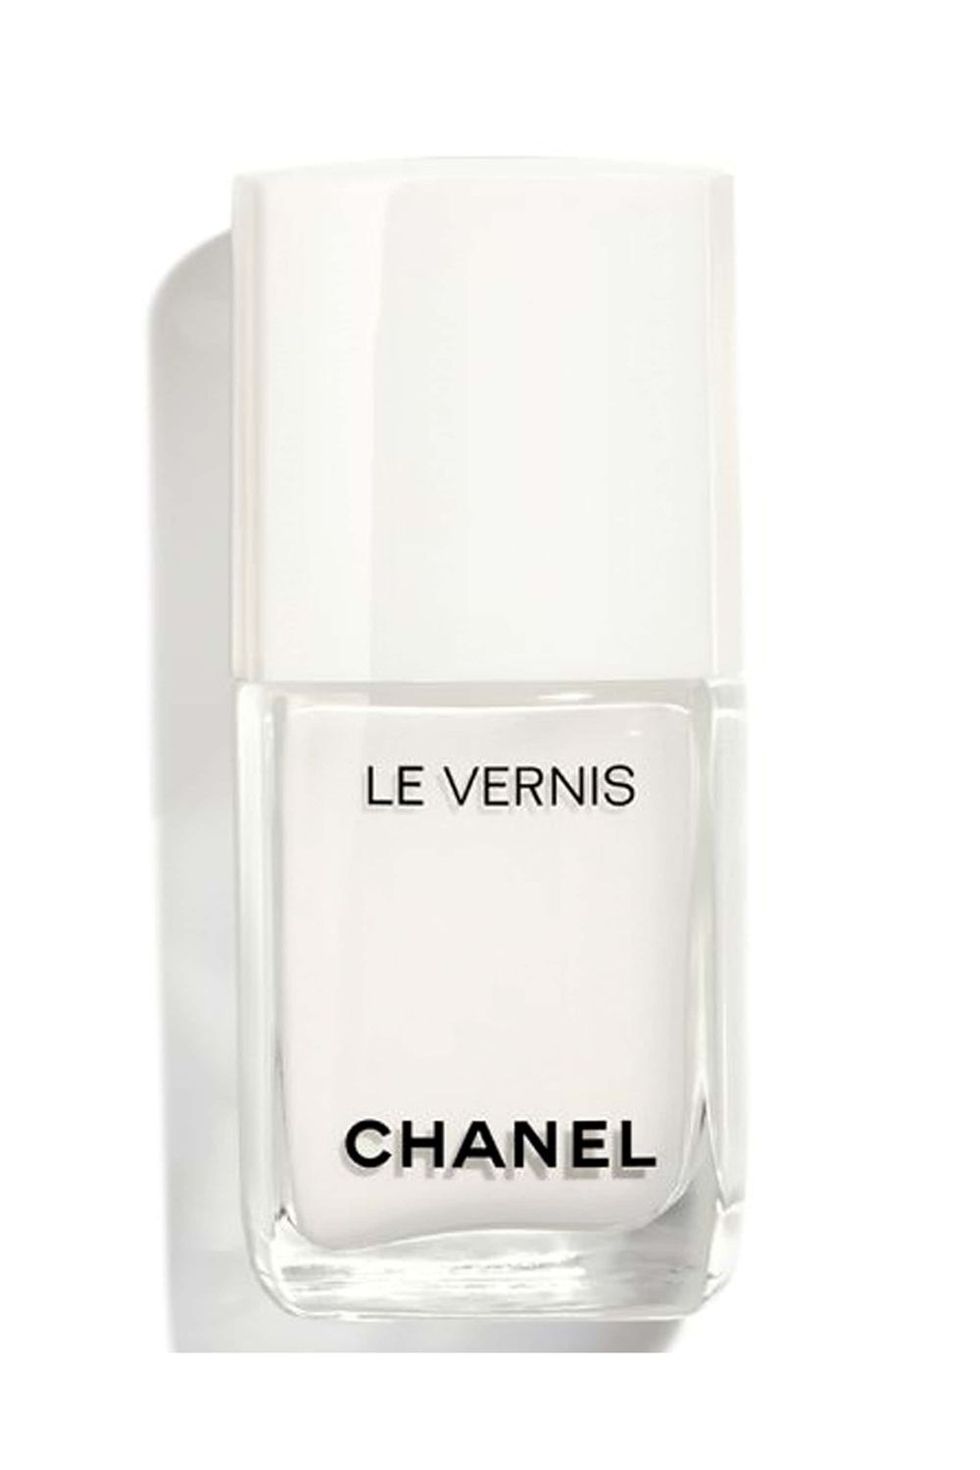
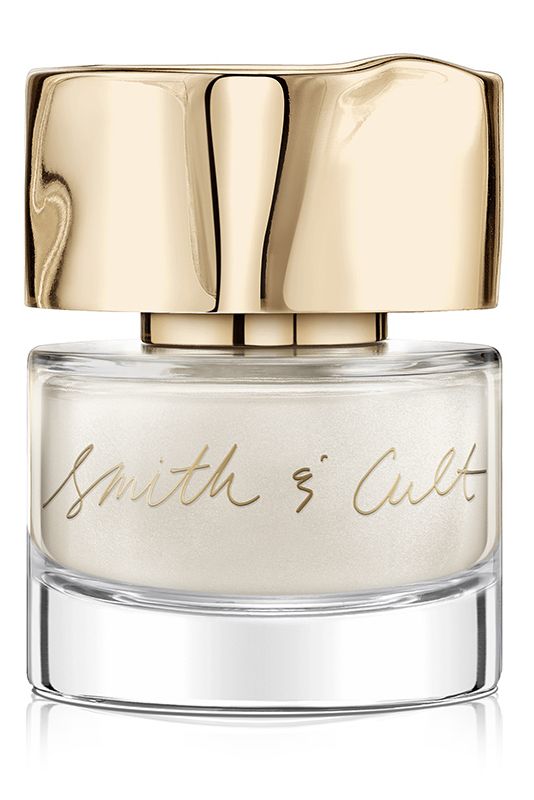
✨Nail-Painting Tip #5: Find the right white
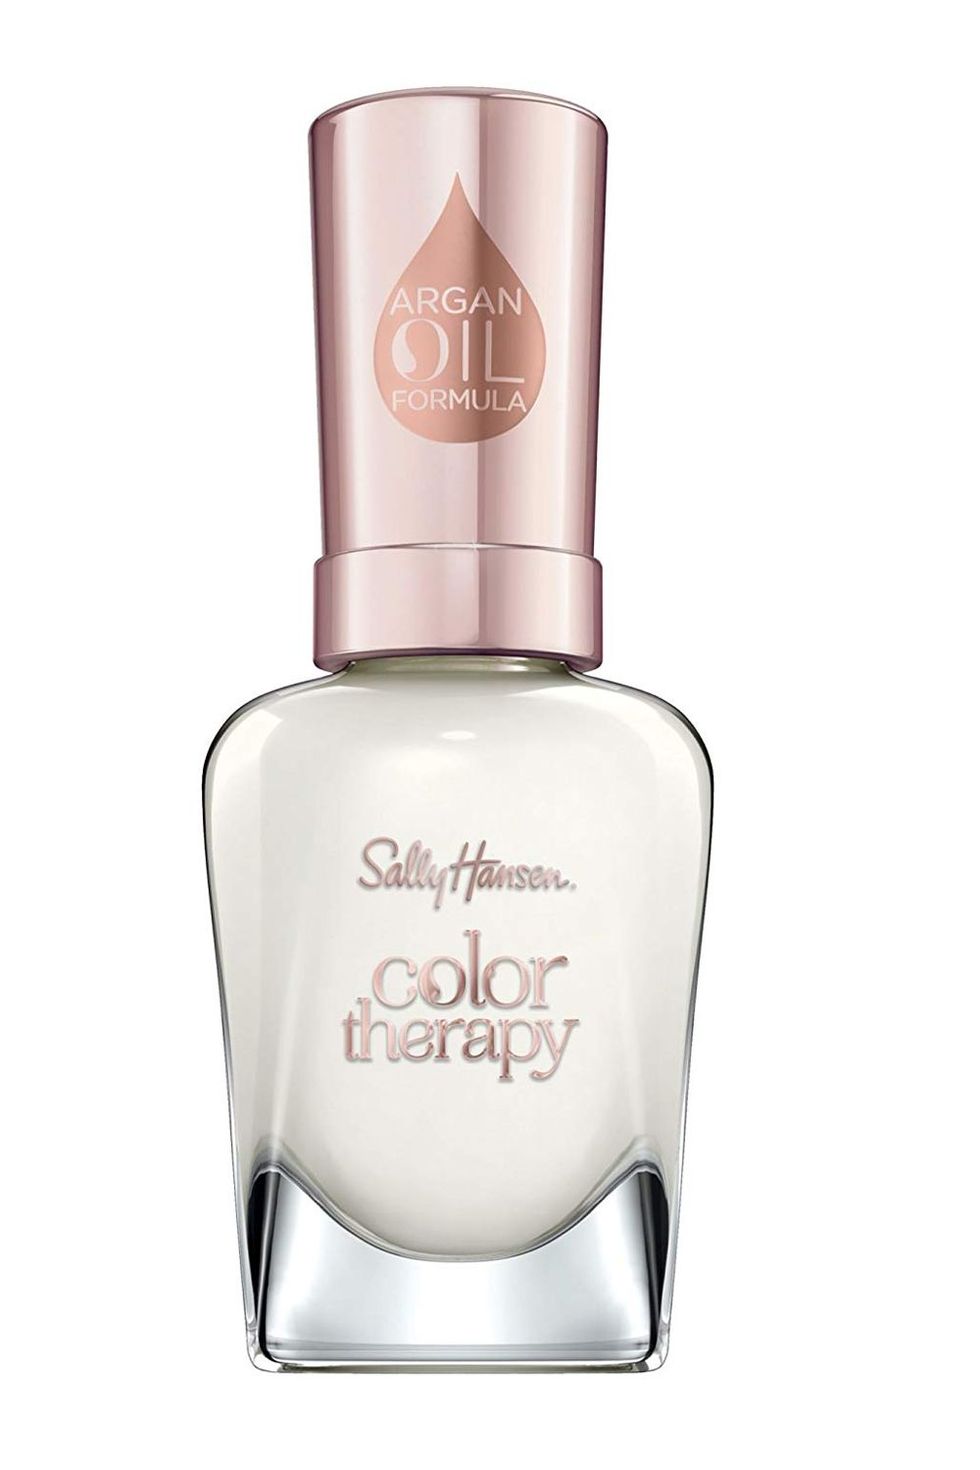
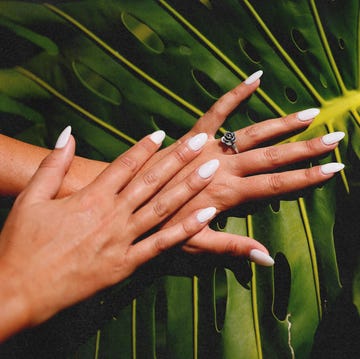
Sooo, you want to recreate that cool-ass white manicure you saw on Instagram. Before you choose your shade, make sure the formula is thick and creamy so it doesn’t go on too sheer or streaky. If you aren’t sure how opaque the shade is by looking at the bottle, take the brush and wipe it against the inside of the cap. Or, you know, pick up one of my personal favorite white nail polishes, below.
✨Nail-Painting Tip #6: Skip the quick-dry polish
I know, I know—waiting around for your nails to dry is an actual b*tch. Even though that quick-dry nail polish seems like the move, keep in mind that the formulas are usually loaded with harsh ingredients that weaken your nails. And IMO, healthy nails > everything else, so make the most out of your drying time by queuing up Netflix and cracking open some wine.
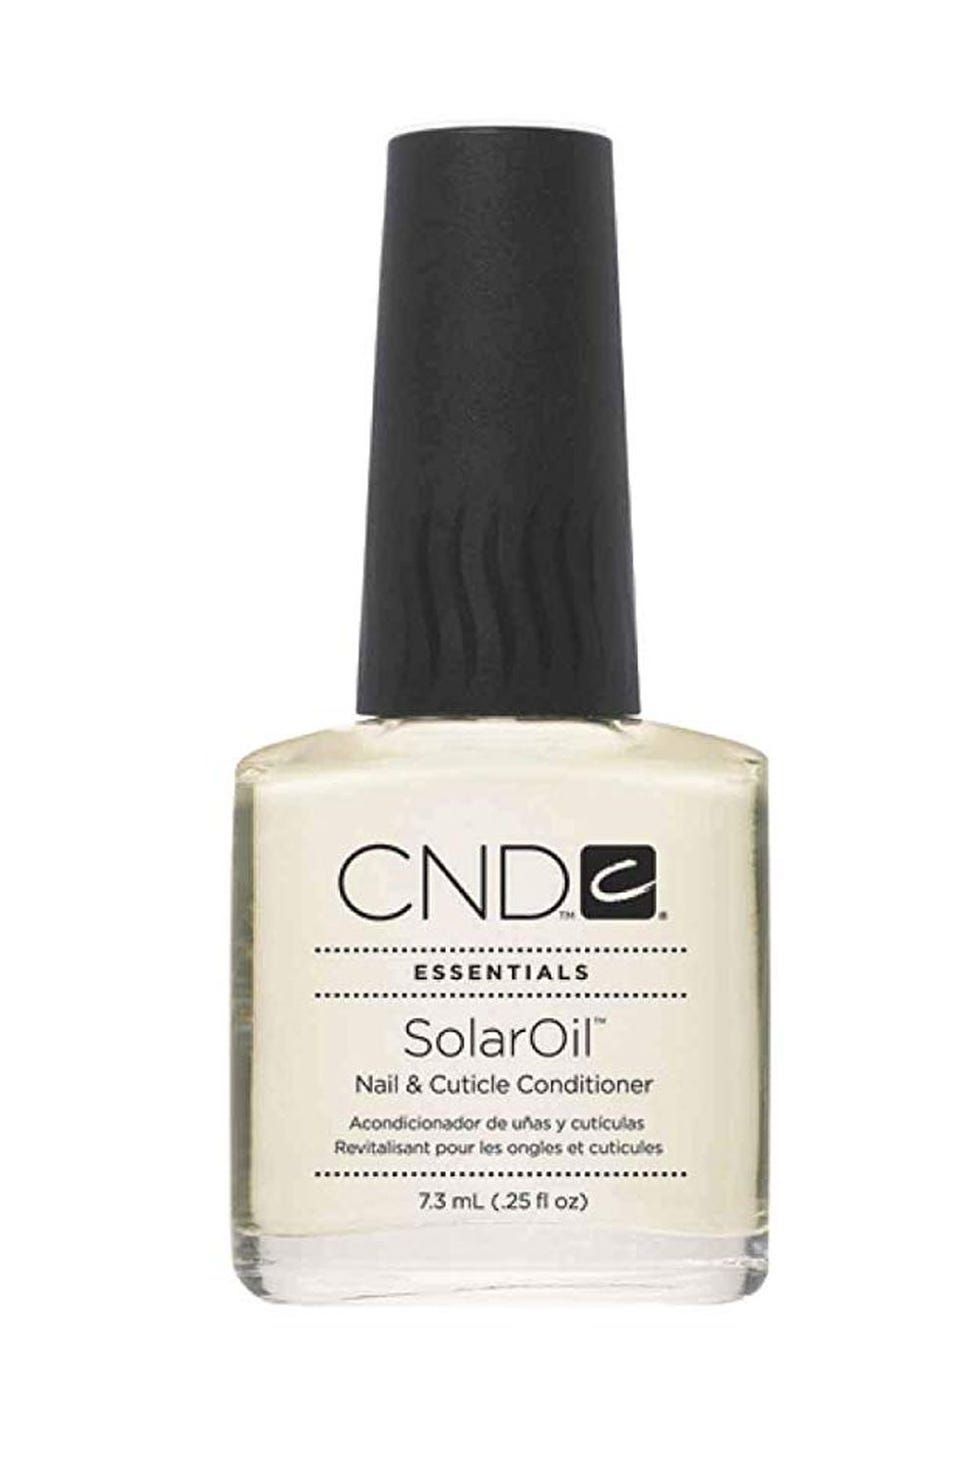
✨Nail-Painting Tip #7: Use cuticle oil religiously
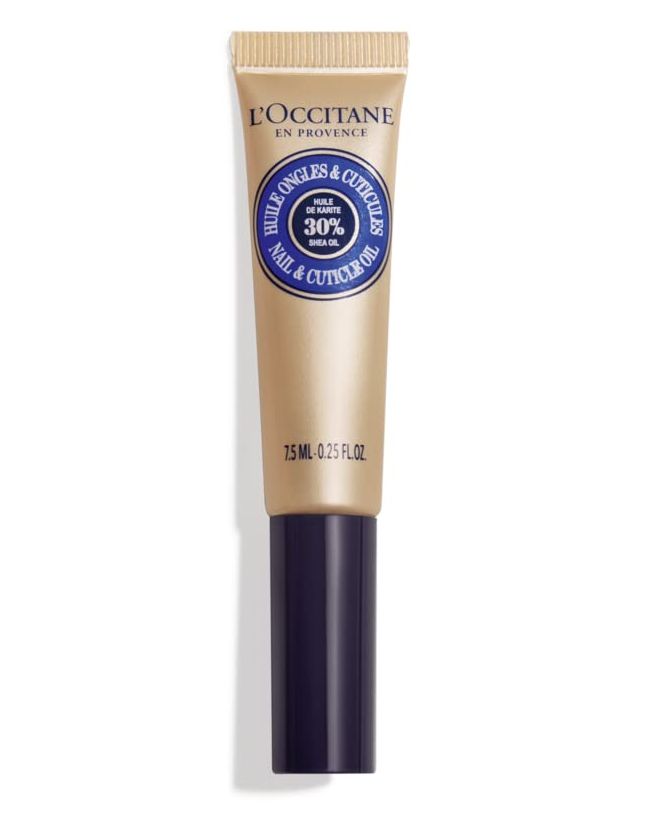
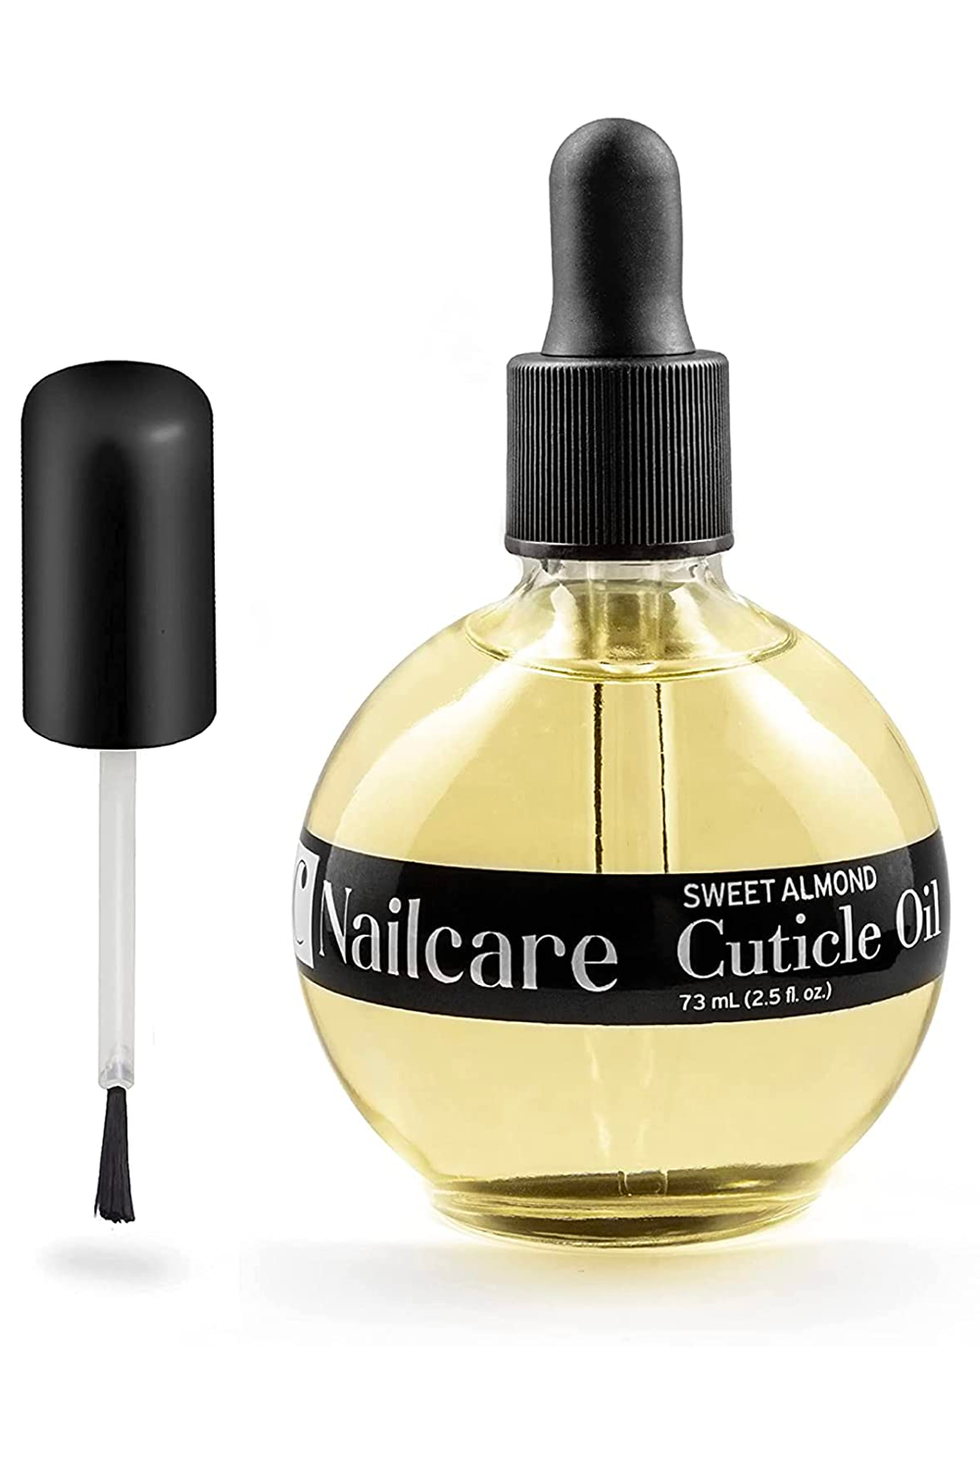
“An easy way to look like you’ve just stepped out of the salon is to use cuticle oil, which instantly hydrates your nails,” Whitehill says. “Apply the oil over your entire nail after you’ve painted it—if you accidentally hit your nails against something, the oil offers some slip, so they’re less likely to nick.”
✨Nail-Painting Tip #8: Dry with cold water
Okay, it sounds a little weird, but hear me out: Holding your hands under cold water or dipping your fingertips into ice water for a minute or two helps your polish dry faster. So, fill up a small bowl with cold water and chill out (literally).
✨Nail-Painting Tip #9: Ground your neon polish
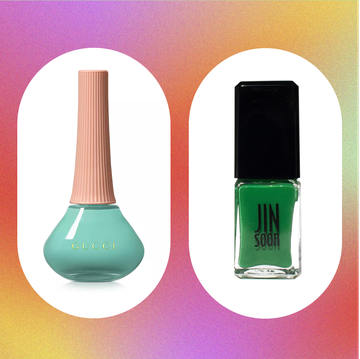
Sure, neon nail polish is trending right now, but getting your manicure to look salon-worthy is harder than it seems. To make your neon polish look even brighter, use an opaque white polish as your base. Neon looks a little sheer at first, so a solid base will make your polish look richer and thicker.
✨Nail-Painting Tip #10: Thin out your polish
You know that thick and gloopy nail polish that’s sitting in your bathroom cabinet? It’s actually salvageable. “You can pick up nail polish thinner at your local beauty store,” says Whitehill. “Just add a few drops to any nail polish that’s too thick.”
✨Nail-Painting Tip #11: Use only three coats
Resist the urge to layer it on, people! Three thin (not thick and gloopy!) coats is all you need for the perfect manicure—anything more than that will take way too long to dry.
✨Nail-Painting Tip #12: Store your nail polish wisely
Fun fact: Storing your nail polish in the refrigerator helps the formula last longer, because heat and direct sunlight can alter the thickness and color. Turns out, there is a reason to buy that cute lil beauty fridge that’s sitting in your Amazon cart.
✨Nail-Painting Tip #13: Never cut your cuticles
Ugh, I know. There’s something so satisfying about cutting your cuticles, but it actually does way more harm than good. To avoid any bacteria or infection, push back your cuticles with an orange stick and some oil.
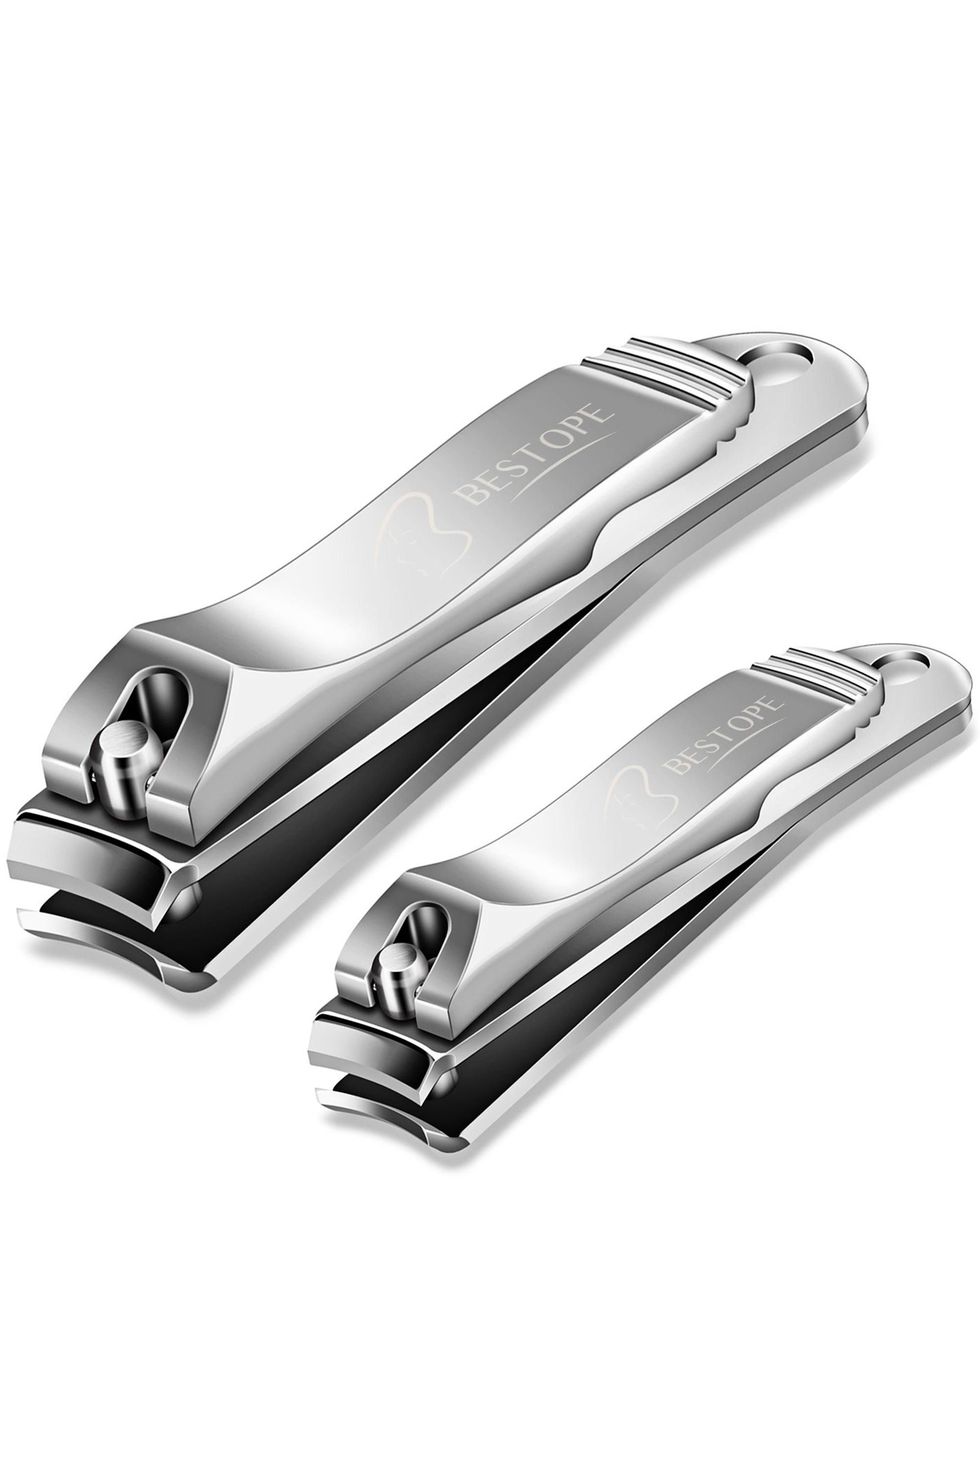
✨Nail-Painting Tip #14: Clip your hangnails
This is the only time you should be reaching for your cuticle nippers. “Hangnails are inevitable, even if you use moisturizer often, and unfortunately, the only way to get rid of them is to trim them away,” says Whitehill.
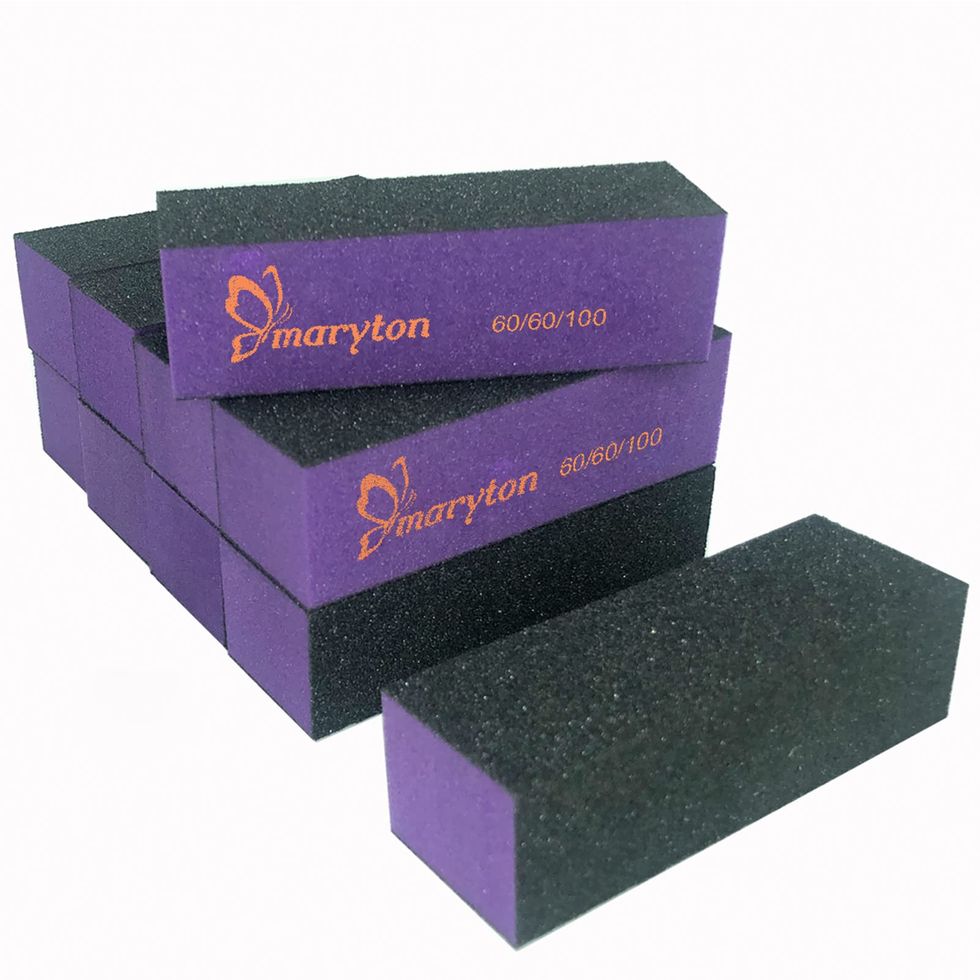
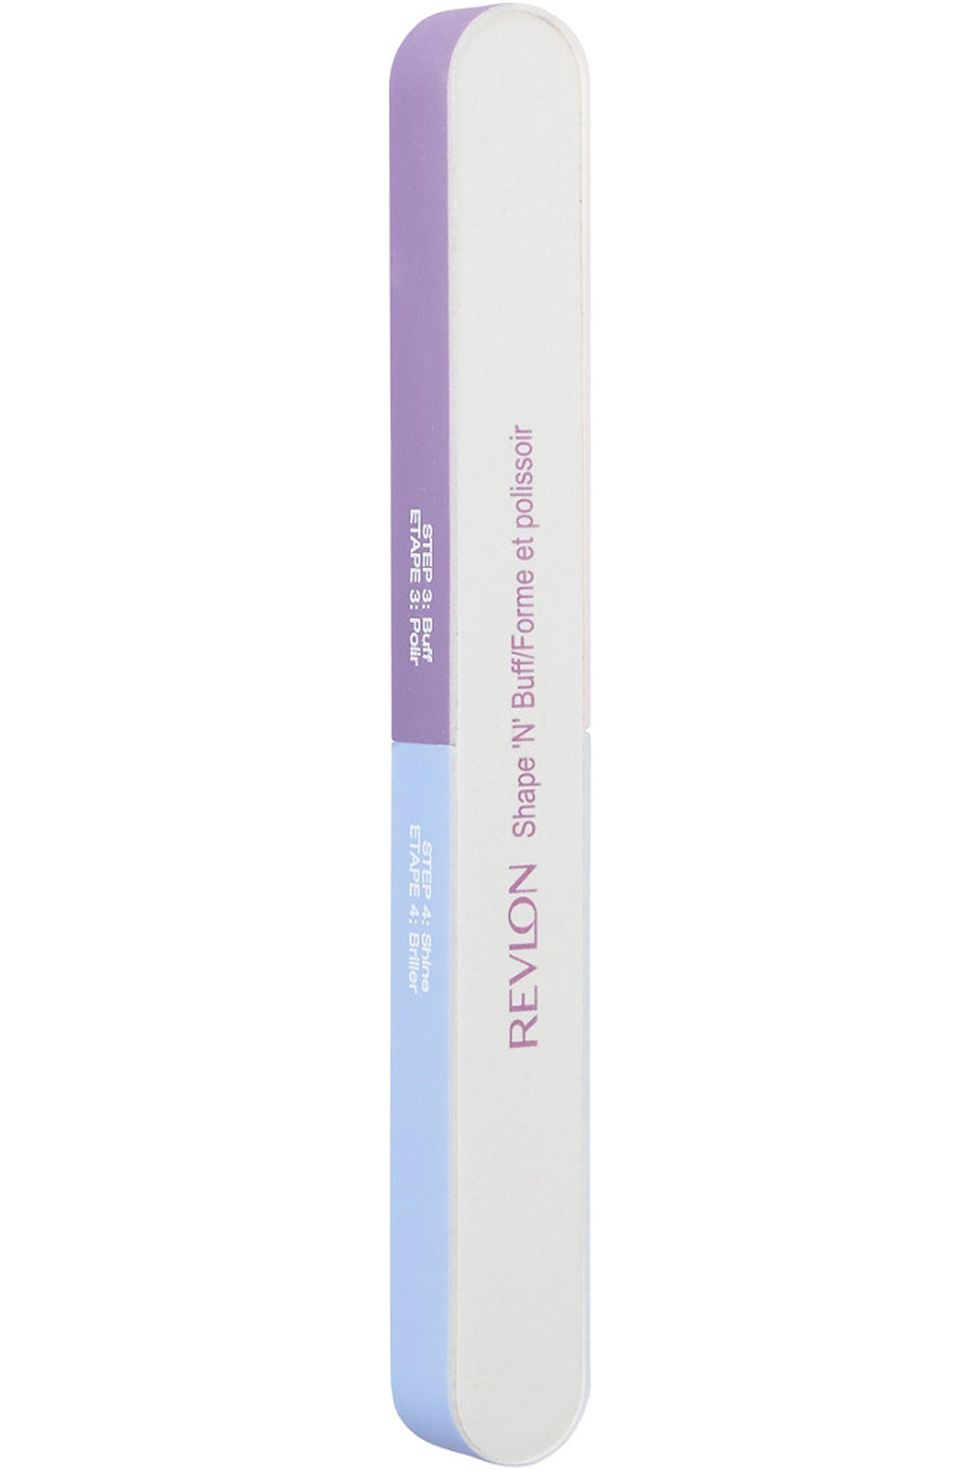
✨Nail-Painting Tip #15: File carefully
“Always stroke your file in one direction, otherwise it’ll tear the tip of your nail and leave it jagged,” she says. “Filing your nails incorrectly can lead to splitting, peeling, and breaking.”
✨Nail-Painting Tip #16: Don’t shake the bottle
“Instead of shaking your nail polish bottle, hold it vertically and role it back and forth between your hands,” says Whitehill. “This ensures there will be no air bubbles in the lacquer or on your nails as you paint it on.”
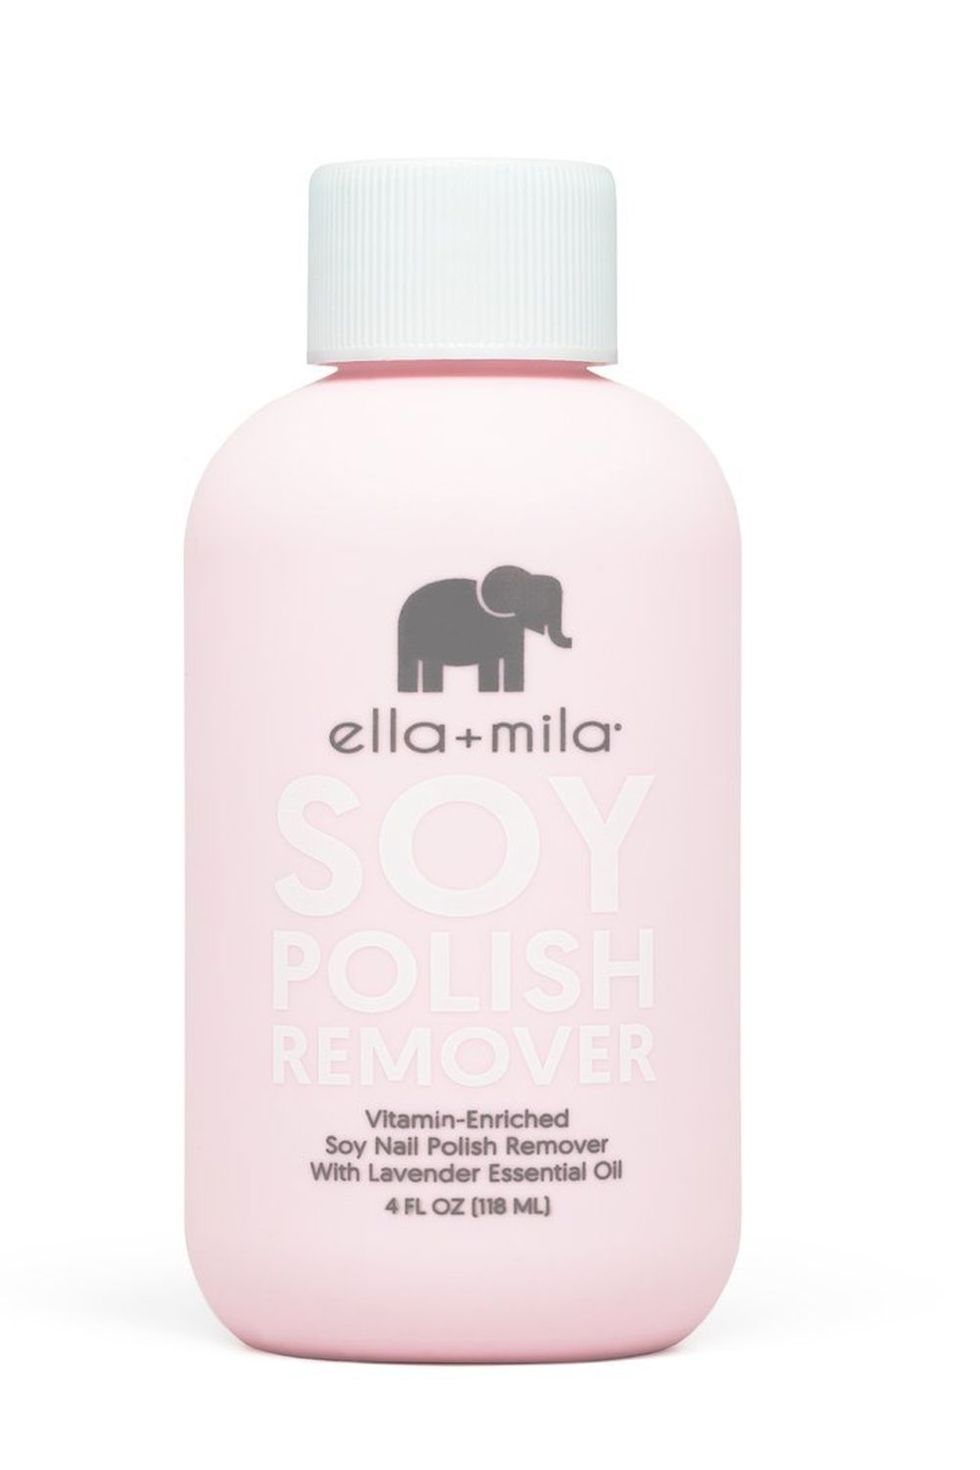
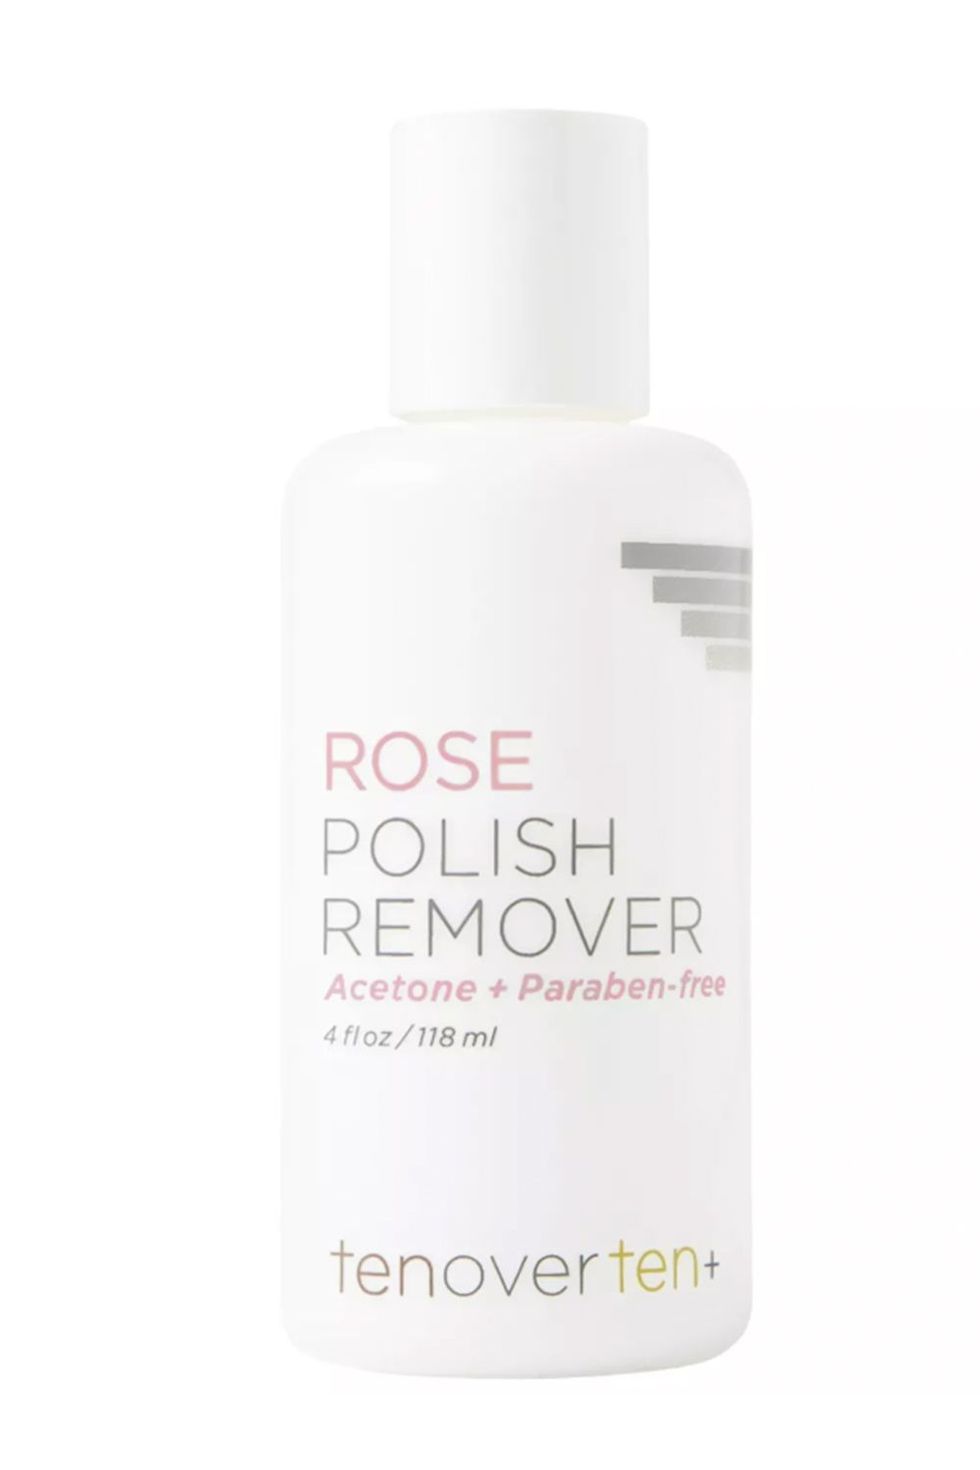
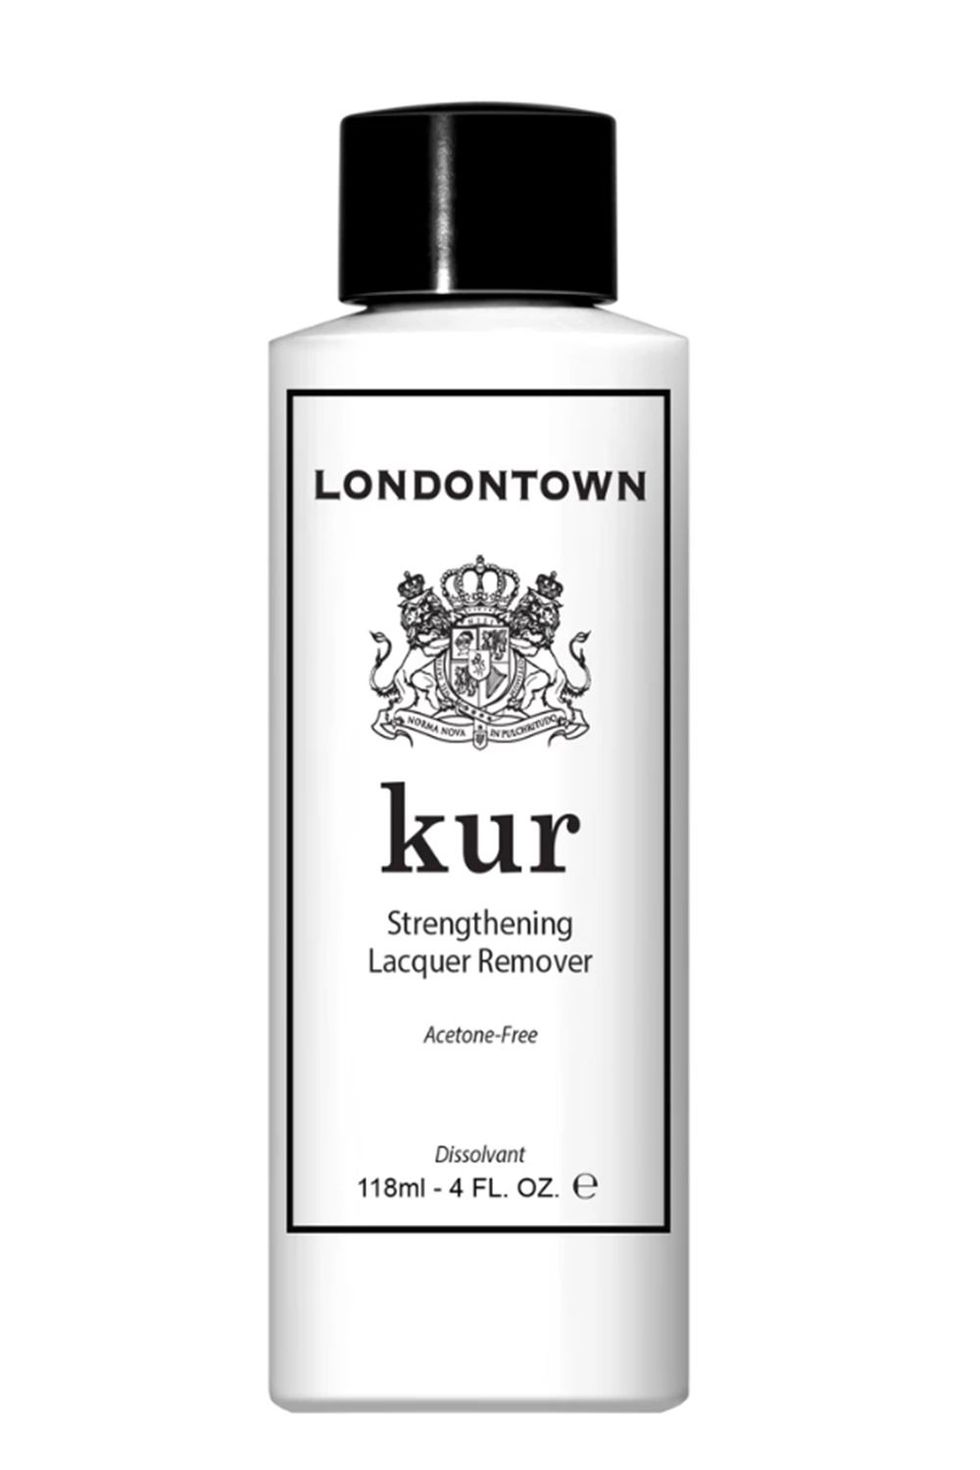
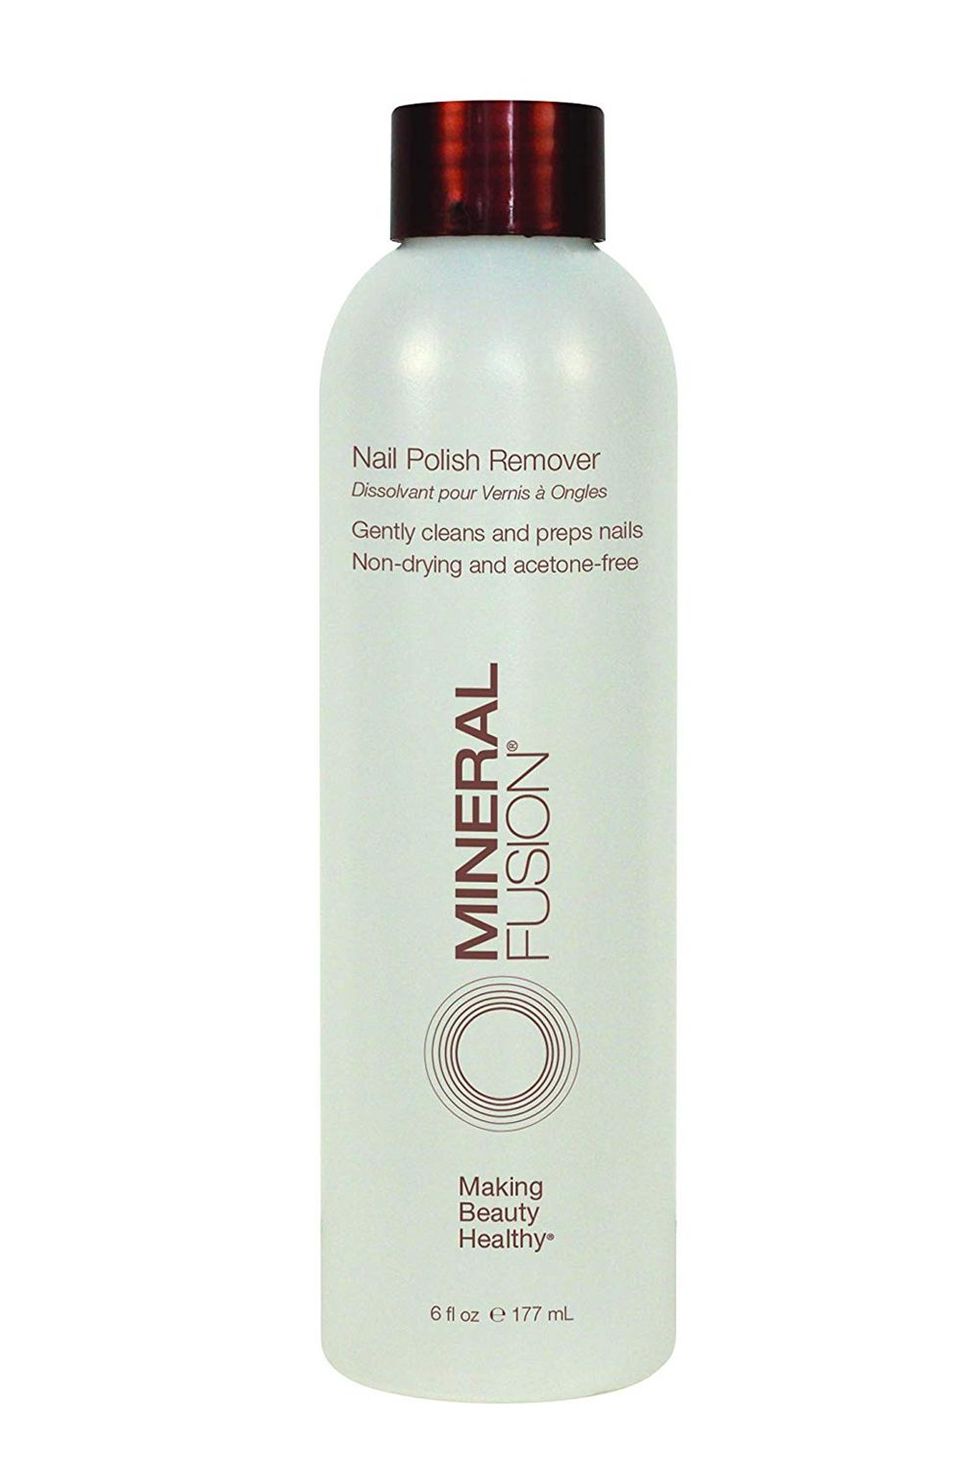
✨Nail-Painting Tip #17: Use non-acetone remover
“Non-acetone isn’t as drying to the nail, so if you have a problem with peeling or dry nails, you’ll want to use this formula, especially if you’re trying to strengthen your nails,” she says. Some of the top-rated non-acetone removers, below:
✨Nail-Painting Tip #18: Stay away from hot water
“Don’t do your nails and then do the dishes or hop into the shower,” Whitehill says. “Hot water is nail polish’s natural-born enemy—it causes the nail bed to expand, forcing the polish to expand with it and cracking in the process.” You heard her! It’s your roomie’s night for the dishes.
✨Nail-Painting Tip #19: Go for glitter
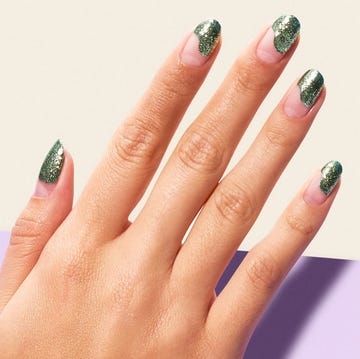
If you feel like your manicure chips immediately, try using a glitter or shimmery nail polish, which not only lasts longer than regular formulas but also disguises chips and nicks pretty easily.
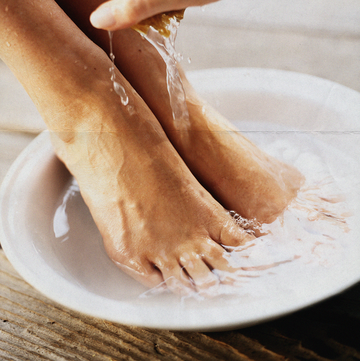
✨Nail-Painting Tip #20: Soak before removing
The only downside to longer-lasting nail polish? It’s harder to take off. Whitehill suggests soaking a cotton ball in nail polish remover, forming the cotton ball over each glittery nail, and then letting it sit on your fingertips for a few minutes. “Then, gently apply some pressure and wipe the polish off with the cotton ball—the glitter should slip right off with it,” she says.
Ruby was the beauty editor at Cosmopolitan, where she covered beauty across print and digital. Her work has appeared on The Zoe Report, Fashionista, and StyleCaster. Follow her on Instagram.
Carly Cardellino was the beauty director at Cosmopolitan. If you follow her Instagram, then you know she'll try just about any beauty trend or treatment once (the pics of her purple hair are on IG to prove it). But her favorite part about being in beauty is finding the most effective products, and then sharing that intel with others—because who wants to spend money on stuff that doesn't work? No one, that's who. Her most recent discovery: De La Cruz Sulfur Ointment, which will change your blemish-clearing game! Hopefully through the beauty stories she writes—and the experiences she shares—you can see exactly why she's in this business.
