
While other little girls were playing with dolls, I was howling at the moon.
See more posts like this on Tumblr
#makeup #eye shadowMy bestie is fantastic and she uploaded a blog about how to apply eye shadow. She’s brilliant. Literally. ;)
Here’s the thing…there’s no wrong way to wear your eye makeup. Makeup is about personal preference and expression. However, if you’re a beginner or just void of where to start, doing your makeup can be quite the challenge. If that describes you, knowing the parts of your eye area and eyeshadow placement can be incredibly helpful. So if you’re wondering how to apply eyeshadow, here are some tips for you.
1. Inner Corner: The inner corner of the eye is exactly where it sounds like it is; Just at the inner corner of the eye near the nose. Placing a color here that is lighter than your skin tone really brightens up the eye. The color can be matte of have a shimmer to it. Using a pale colorful eyeshadow on the inner corner is beautiful as well; think pale gold or a shimmery mint green. Also, if your eyes are close together, highlighting your inner corner will make them seem farther apart.
2. Lid: Your eyelid can be divided into as many portions as you please depending on the look you’re going for. For a basic lid placement use one color all the way cross. You can also use a light color on the inner half of your lid and a darker color on the outer half. This will add dimension to your eyes and can make them appear larger.
3. Outer V: The outer V is basically the outer corner of your lid. To apply color here, you’ll start at the outer corner of your eye (or outer upper lashline) and create a V up and into your crease. Applying a dark eyeshadow to your outer V creates a smokey eye.
4. Crease: You can find your crease just above your lid (2) but just below your browbone/optical bone (5). If you look down into a mirror while keeping your head straight, your crease is the indentation right above your lid. Applying color here adds dimension the the overall look you’re going for.
5. Browbone/Optical Bone/Transition Area: Directly above your crease is your browbone, or optical bone. This is typically the transition area where your lid and crease colors fade into the highlight color. Any color can be used here but I prefer to use one that is just ever-so-slightly darker than my skintone. This allows your brow highlight (6) to pop and your main lid/crease colors to blend better.
6. Browbone Highlight: Your browbone highlight should be applied just below your brow. You can use any light-colored eyeshadow that you feel works with the look you’re trying to achieve. It can be a matte highlight like I tend to use, or something on the shimmery side like pictured here.
7. Bottom/Lower Lashline: The bottom lashline is the lower portion of your eye where the lashes begin. Just as with the lid and other areas, how you place color here totally depends on your personal preferences. You can use eyeliner, eyeshadow, or both for long-lasting wear. Thicken the color you place here for a smokey look, or you can skip this area altogether. It just depends on you and the look you’re going for.
8. Top/Upper Lashline: The top lashline, like the bottom, is where the lashes begin. Smudging a dark eyeliner or eyeshadow along your top lashline can make your lashes appear thicker. Also, it’s always best to get your liner as close as possible to your lashline, where your lashes meet the skin. Avoiding spaces void of color gives a flawless look.
**Waterline (not numbered): The waterline is the part of your eye directly above your bottom lashline, closest to your eyeball. For a smokey look, use a dark eyeliner. To brighten your eyes use a white or creamy eyeliner. If you have sensitive eyes you may choose to avoid this area altogether.
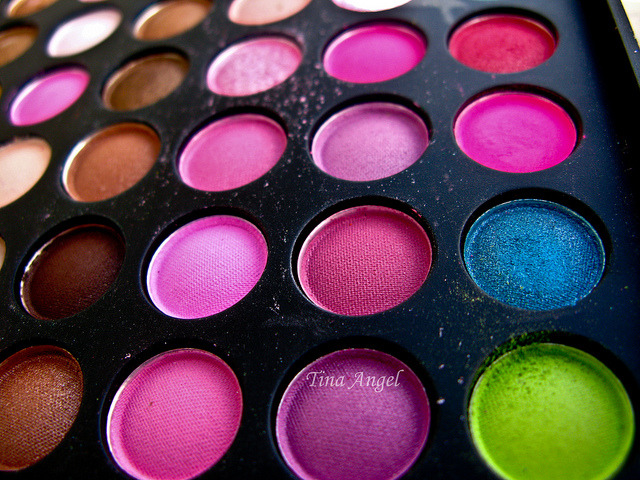
168 Full Color Makeup Eyeshadow Palette Eye Shadow. on Flickr.
I’m not sure how I feel about this palette. I don’t hate it but I don’t love it either. I think the 88 ones are much nicer. A few of these colors can be chalky and have a lot of fallout. Still, the color payoff is amazing and they’re very pigmented, just difficult to work with sometimes.
**I put my name on them. It’s not much of a watermark because I really just have no idea what kind of watermark I want but I’m a little frustrated with people taking credit for my photos. It’s what originally made me quit taking photos of my eye makeup.**
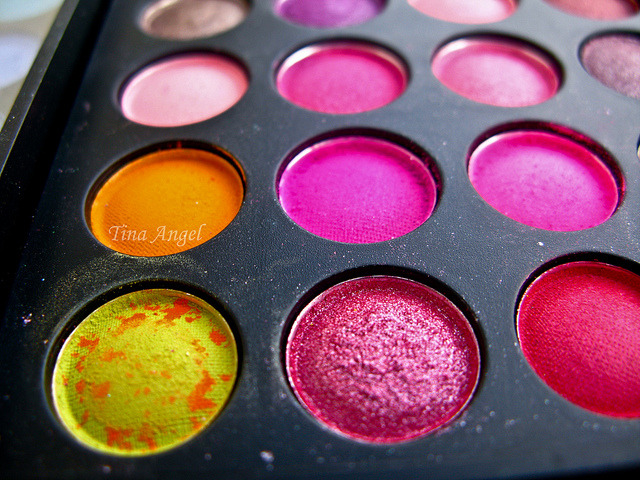
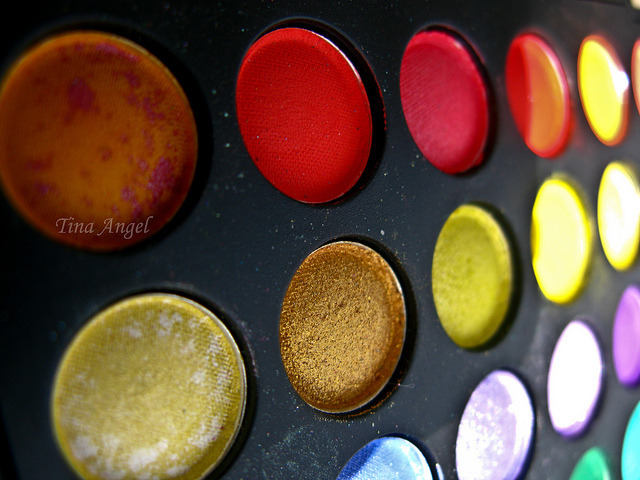
A lot of people have been wondering how you can get your colors to be as vibrant as some of the ones I’ve posted from various MUA’s.
The very best thing you can do is have a good primer and a good base.
Two Faced Shadow Insurance for me personally has been the best. It always prevents my eye shadow from creasing and has a smooth satiny texture. Other products work for other people (I’ve heard great things about E.L.F’s primer) but in the end this works best for me and works extremely well with my preferred base.

Also a good base is key to really brightening those eye shadows. NYX’s Jumbo Pencil is fantastic for that and works well on all skin tones. I often use the color Milk because white tends to make the colors really pop. I’ll also use Black Bean when I want a very smokey look or pat a darker color over it (such as purple or deep blue) when I want a nice dramatic look.

I’ve used these two products with everything from Make Up Forever, and Urban Decay to Wet n’ Wild, Covergirl, and mostly with the Coastal Scents 88 palettes which are my favorites, and never had a problem. Both products last me about 3 months and I do my eye makeup on a near daily basis.
I hope this helps anyone looking to brighten their eye shadows and if anyone has any helpful tips feel free to reblog and add your own and what works best for you.
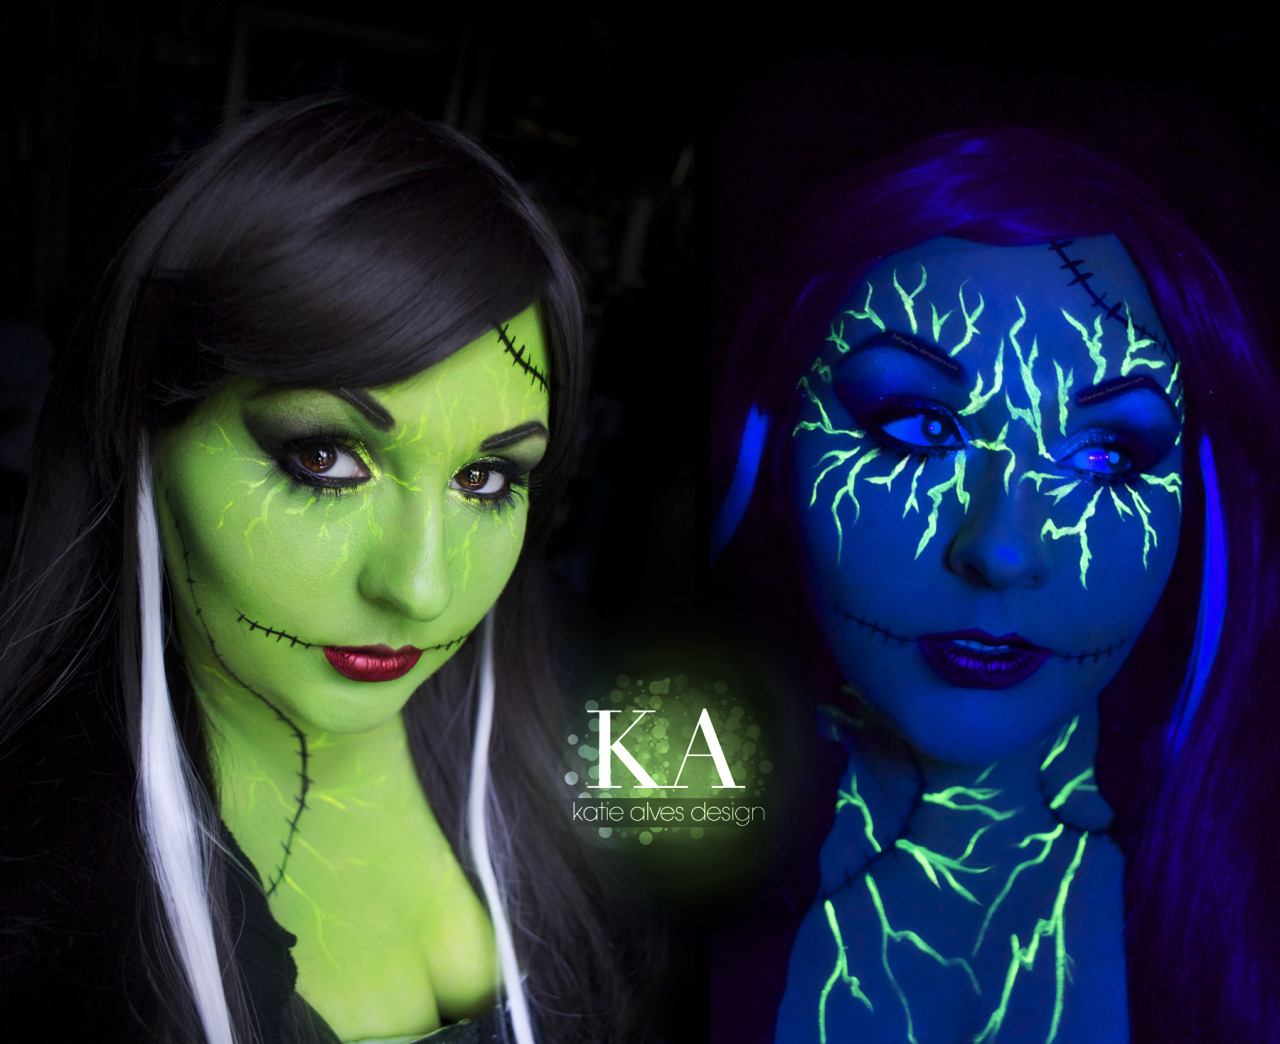
The Bride of Frankenstein - Black Light Makeup Tutorial: https://www.youtube.com/watch?v=eDpVFAOtYq4
Black light paints are way too fun not to do makeup tutorials with! Go check out the tutorial on how I created this!
Don’t my eyes look so strange with the black light?
I used my regular black wig and added white extensions to it that was originally for my Ursula cosplay, but they were too straight and didn’t match my wig. I’m happy I was finally able to use them!
Have suggestions for my next Halloween looks? Let me know!
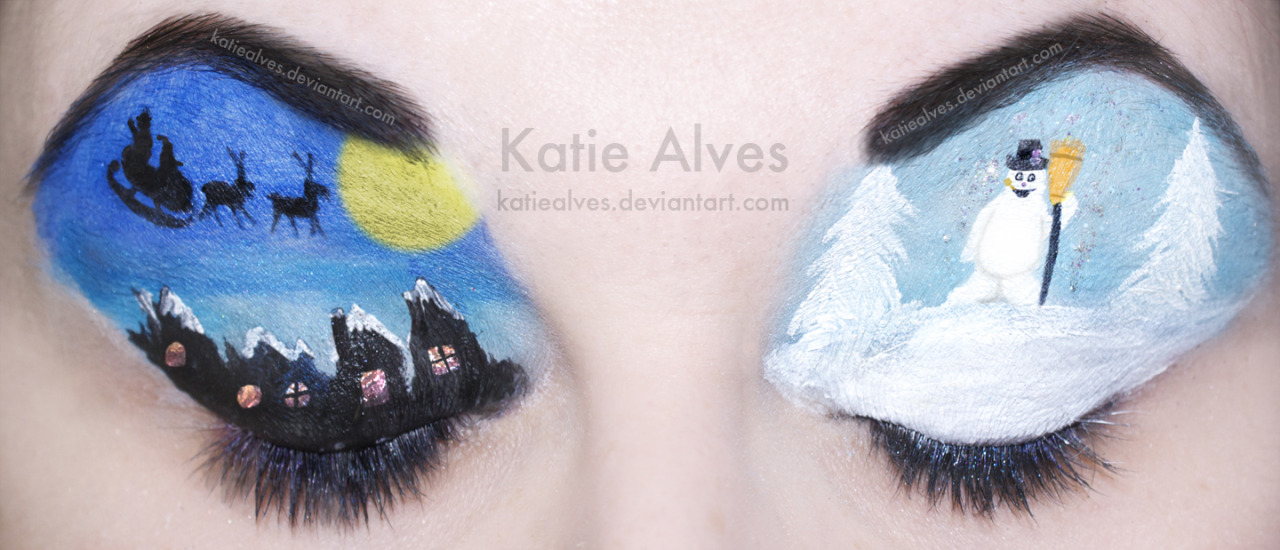
Frosty the Snowman!
It’s Christmas Time! :D
I did this for a collaboration. We each chose a christmas song and designed a makeup around that. If you want to see what the other artists created, check it out here: https://www.facebook.com/photo.php?fbid=591899584210973&set=a.156127264454876.39949.156123881121881&type=1&theater
