
Bitmain Antminer S4+ Setup Guide
|
Contents
0) Introduction 0b) What You Need 1) Powering 2) Cooling 3) Case 4) Configuration 5) Troubleshooting 6) Where to buy |
|
0) Introduction
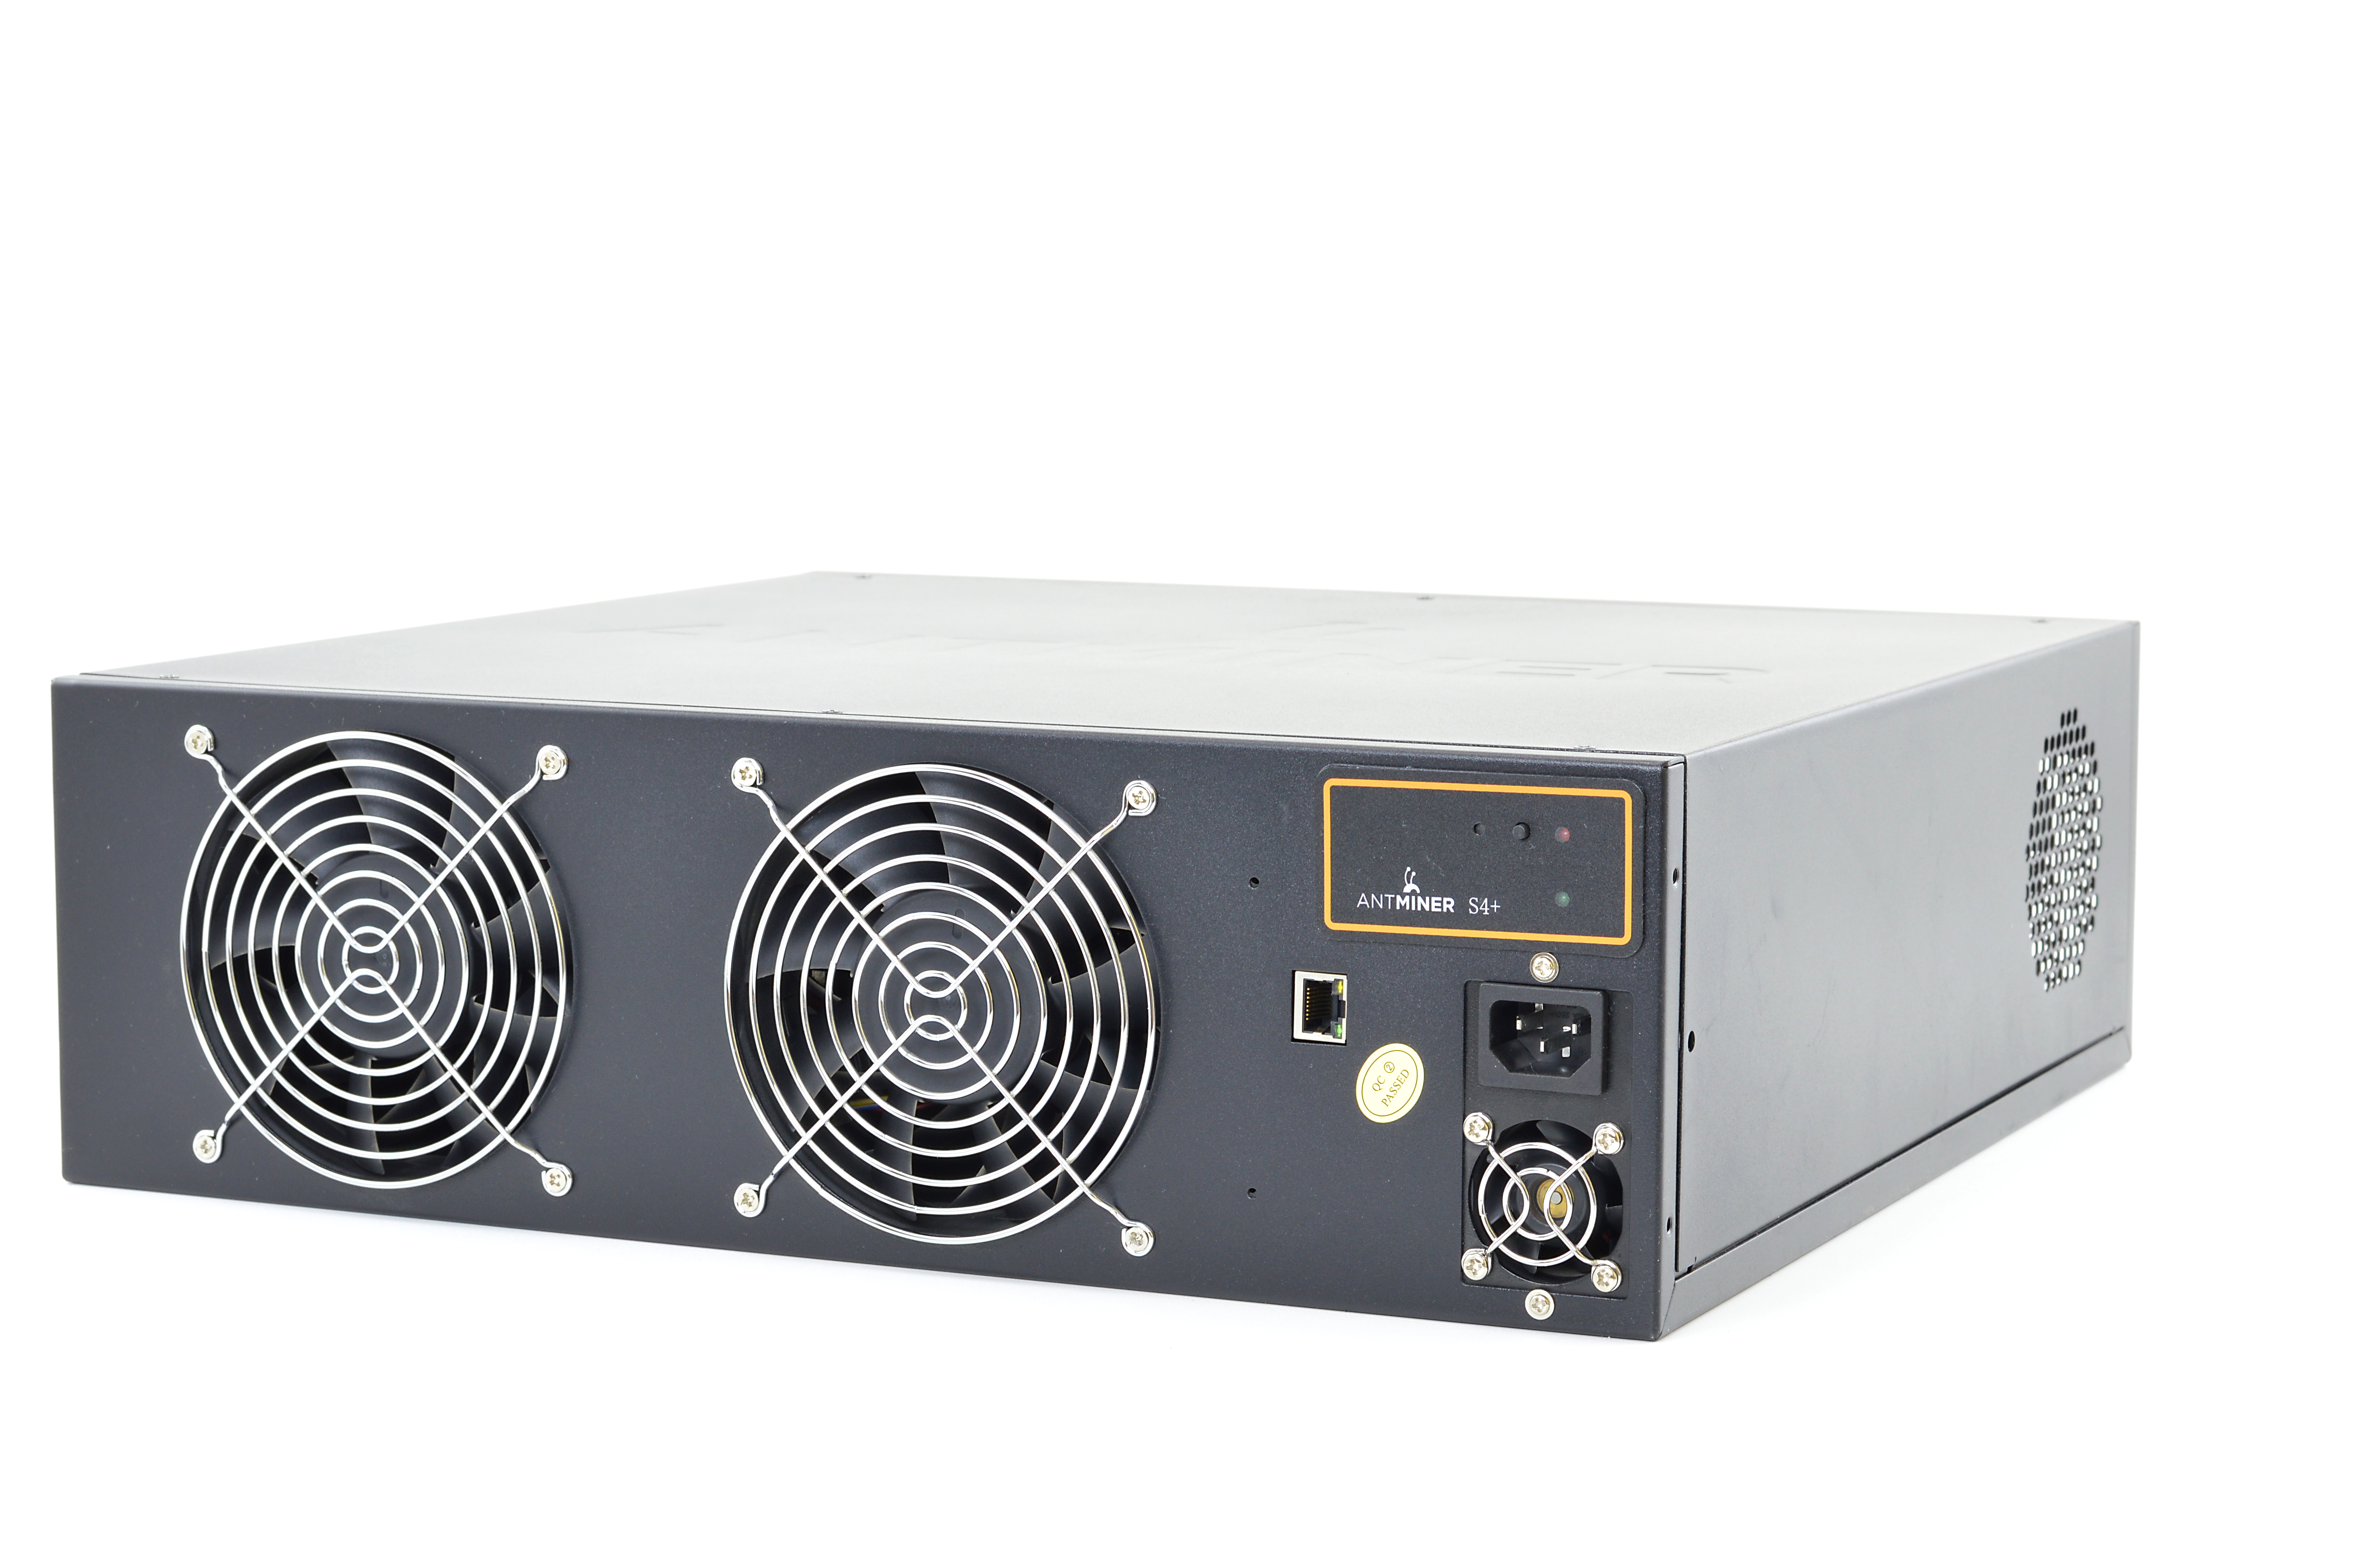
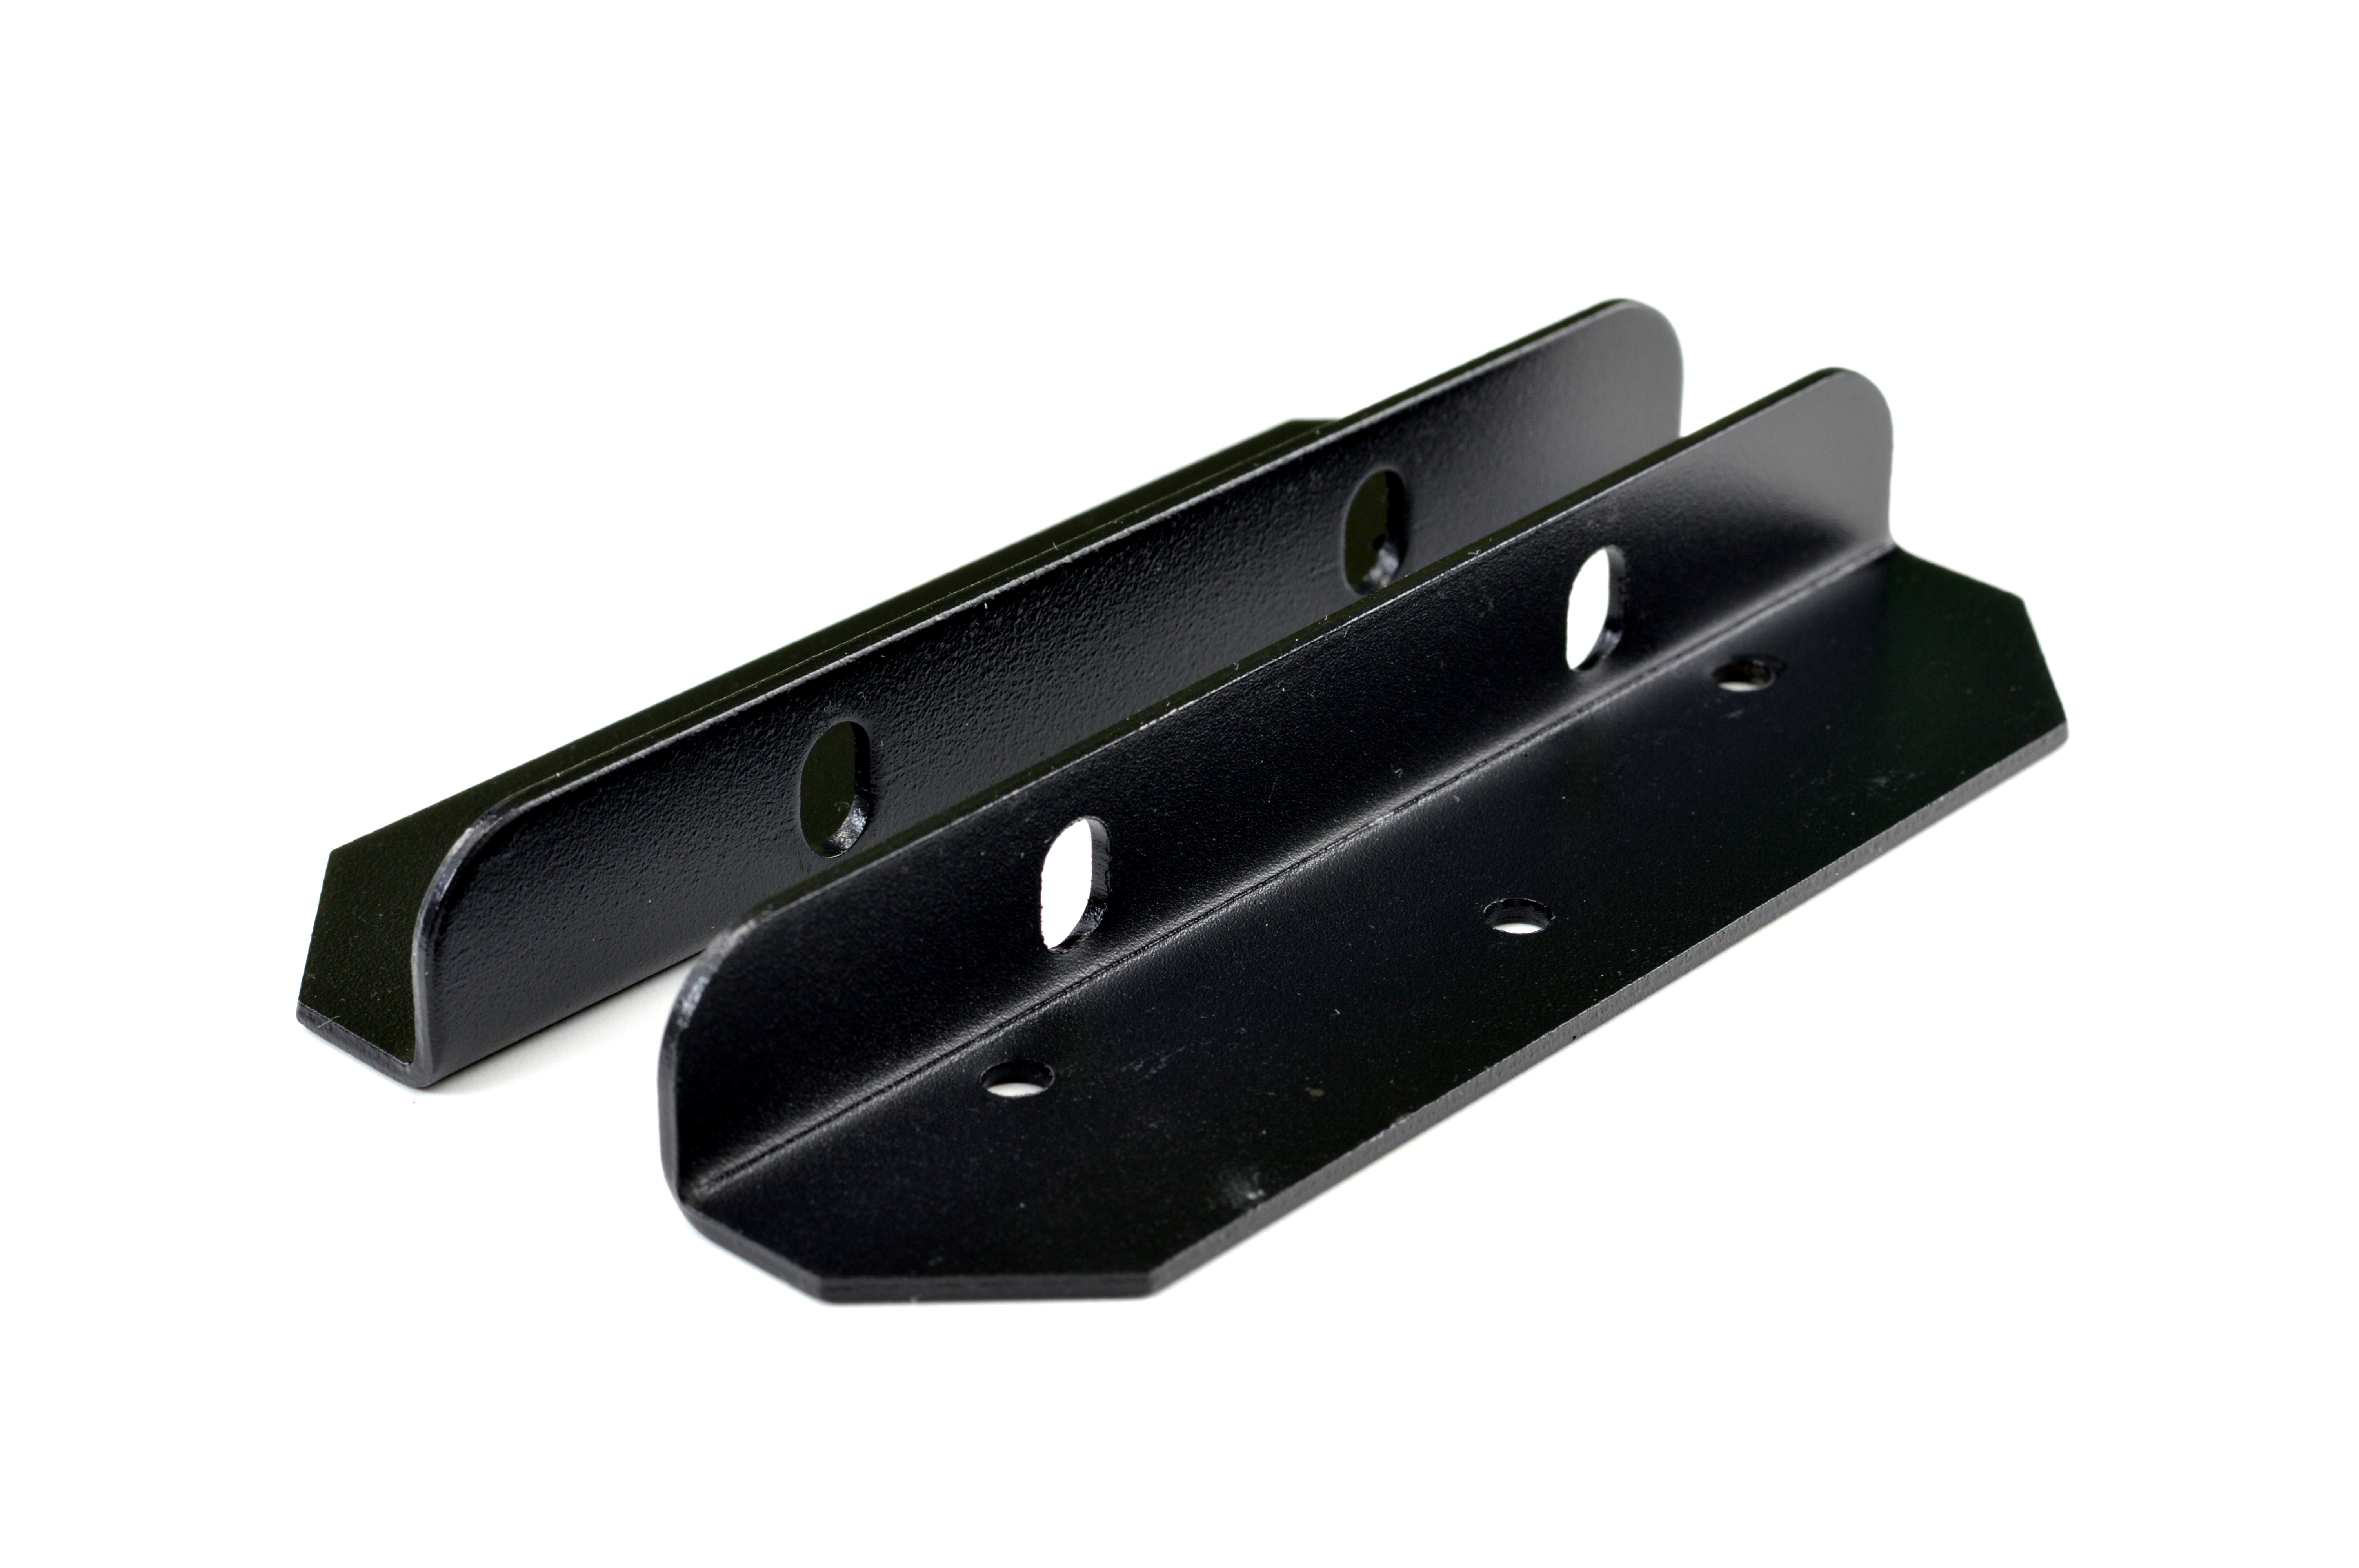
Bitmain's AntMiner S4+ upgrades the original by adding an additional 44 chips across the 4 mining boards which are cooled by 4 powerful 120mm fans. A power efficient string design is utilised along with an internal 1600W PSU. The S4+ is standalone and does not require an external controller. Mounting ears are included.
Bitmain's AntMiner S4+ upgrades the original by adding an additional 44 chips across the 4 mining boards which are cooled by 4 powerful 120mm fans. A power efficient string design is utilised along with an internal 1600W PSU. The S4+ is standalone and does not require an external controller. Mounting ears are included.
|
Chips
Rated Hash Rate Rated Voltage Rated Current Power Consumption |
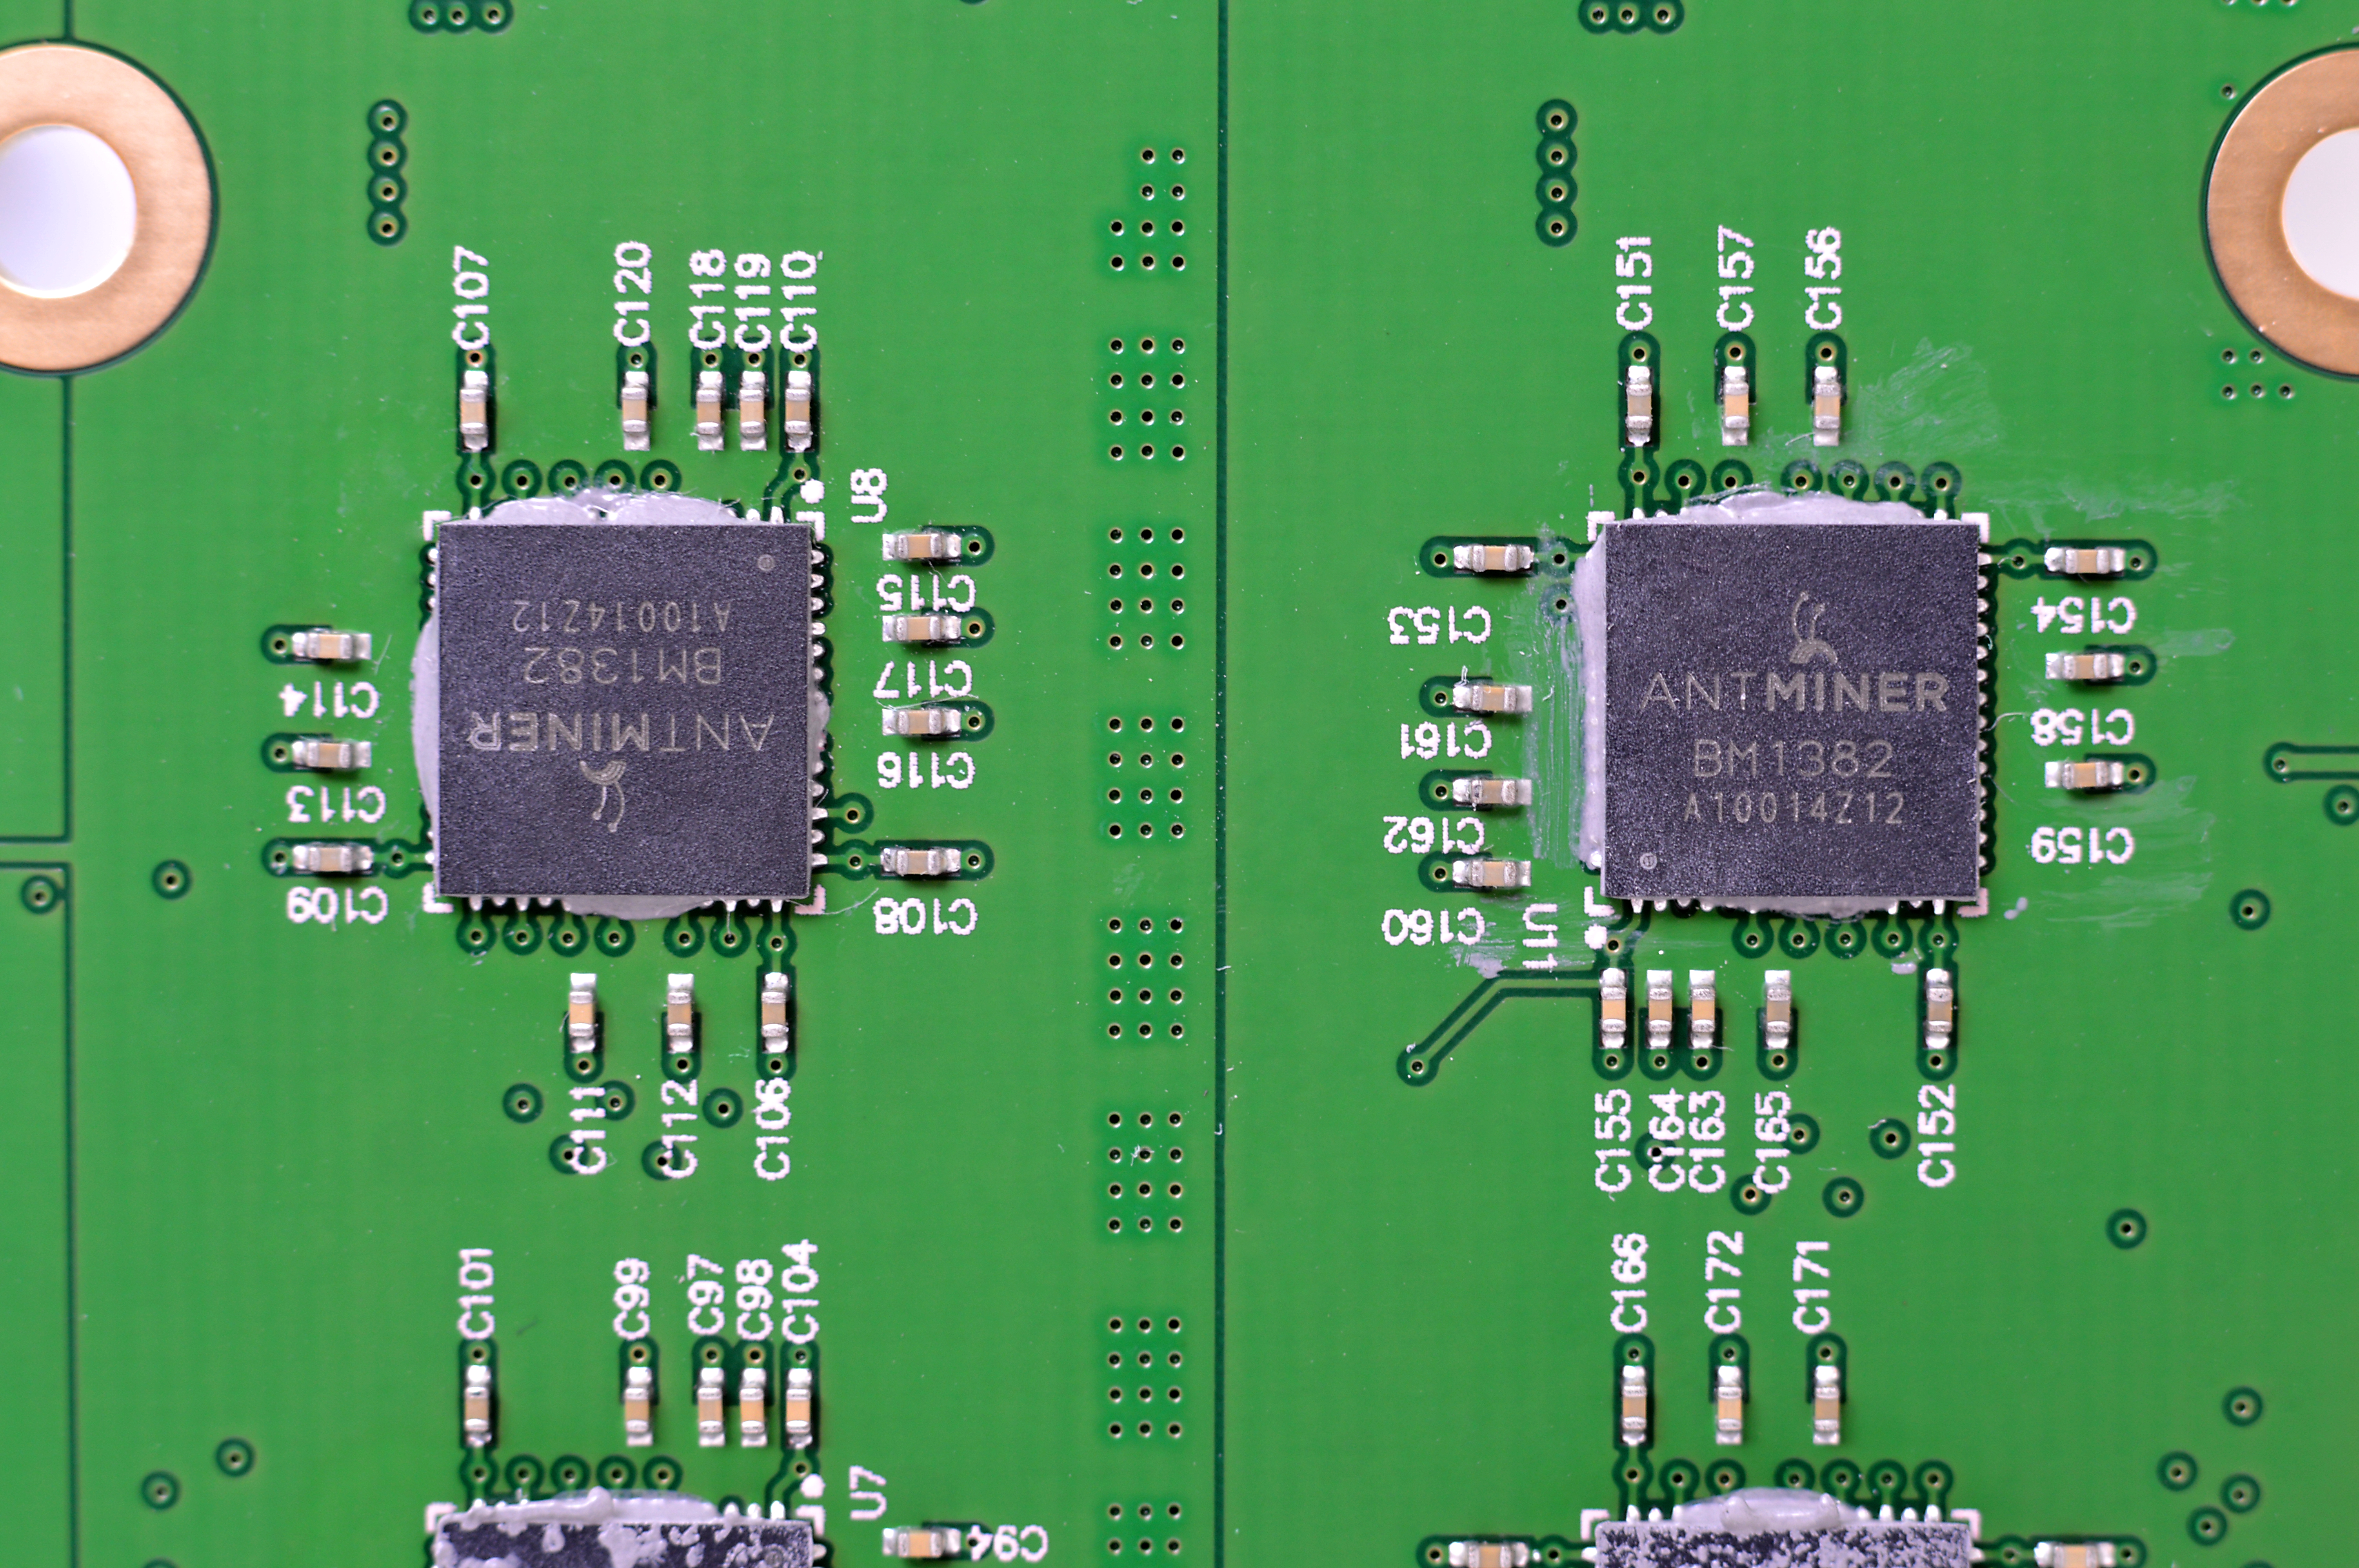
- 204x BM1382 Gen2
- 2570GH - 12V - 115A - ~1480W |

|

|
0b) What You Need
You will need a few accessories to get started.
You will need a few accessories to get started.
Click your flag to find everything you need to get started at Amazon!


|


|


|
1) Powering
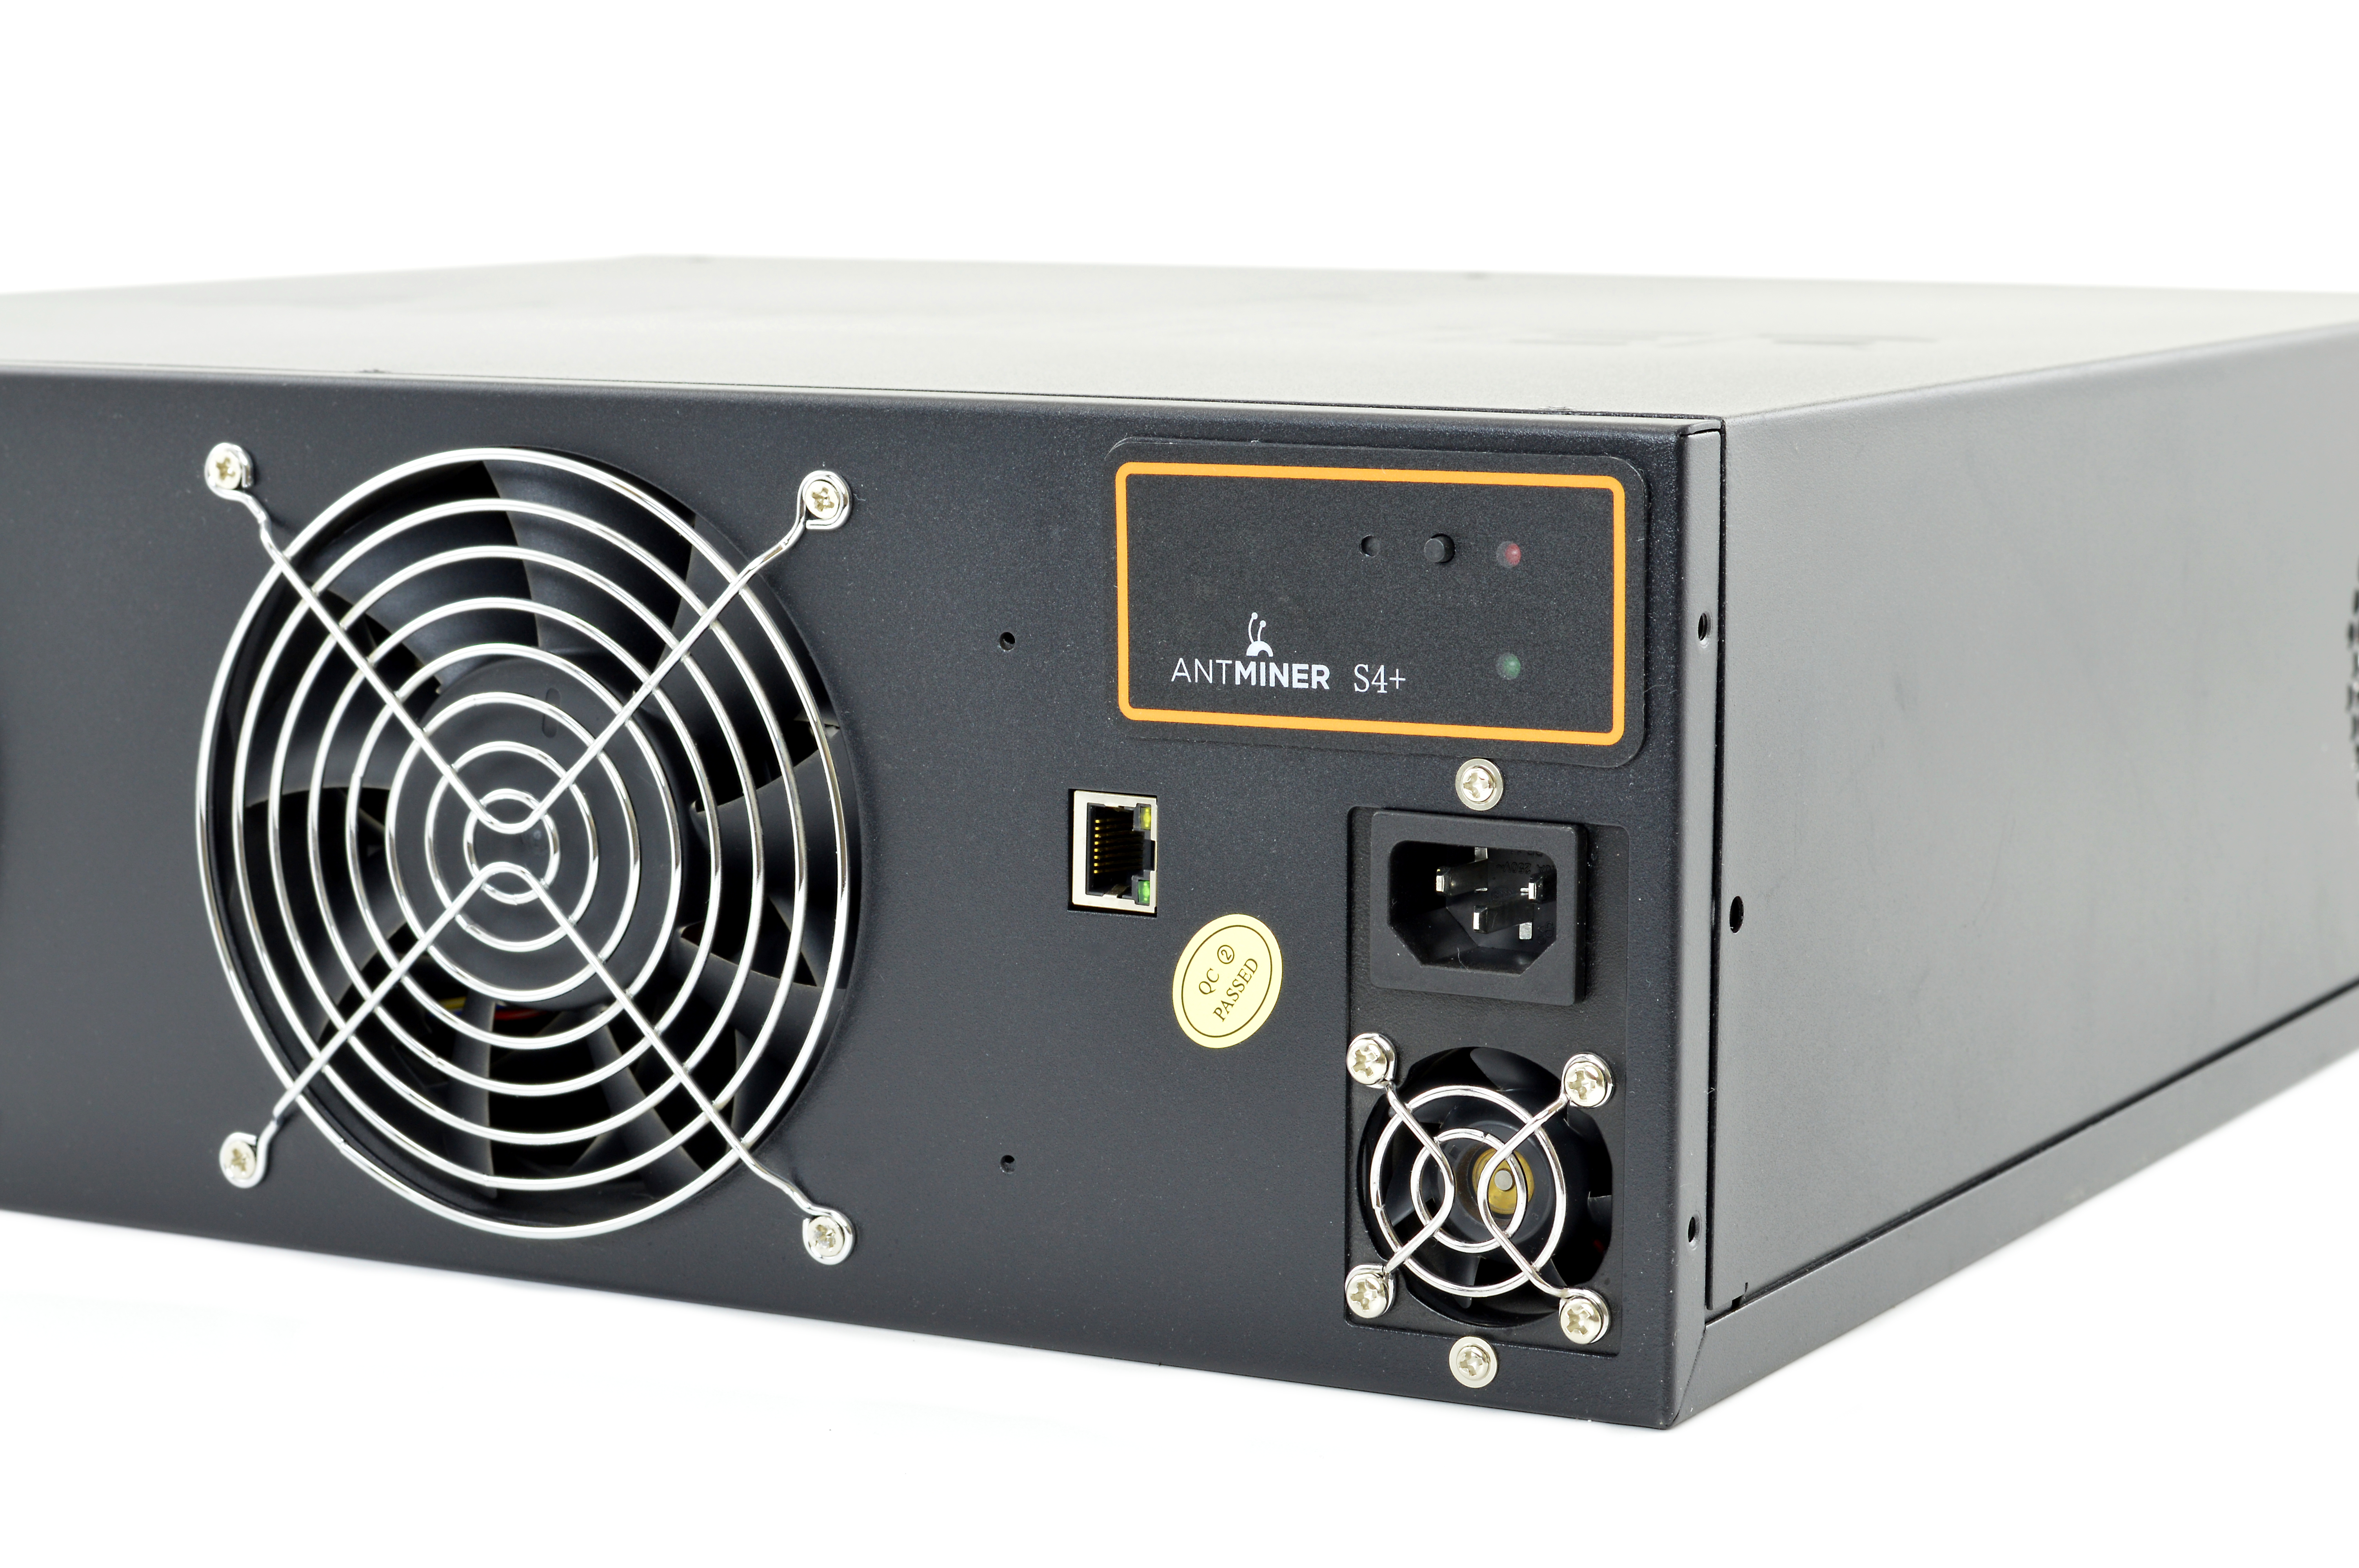
S4+'s come with a internal 1600W APW3-12-1600-B1 / B2 power supply which will power on automatically once plugged in. Please note that this PSU is ONLY compatible with high voltage mains, between 205V and 264V. The unit will not operate outside of this range. The B1 variant utilises 12 PCI-E connectors while the B2 variant utilises 4 pairs of M4 10 AWG spade connectors to power the hashing boards and a single PCI-E connector to power the controller and fans.
S4+'s come with a internal 1600W APW3-12-1600-B1 / B2 power supply which will power on automatically once plugged in. Please note that this PSU is ONLY compatible with high voltage mains, between 205V and 264V. The unit will not operate outside of this range. The B1 variant utilises 12 PCI-E connectors while the B2 variant utilises 4 pairs of M4 10 AWG spade connectors to power the hashing boards and a single PCI-E connector to power the controller and fans.


|

|
2) Cooling
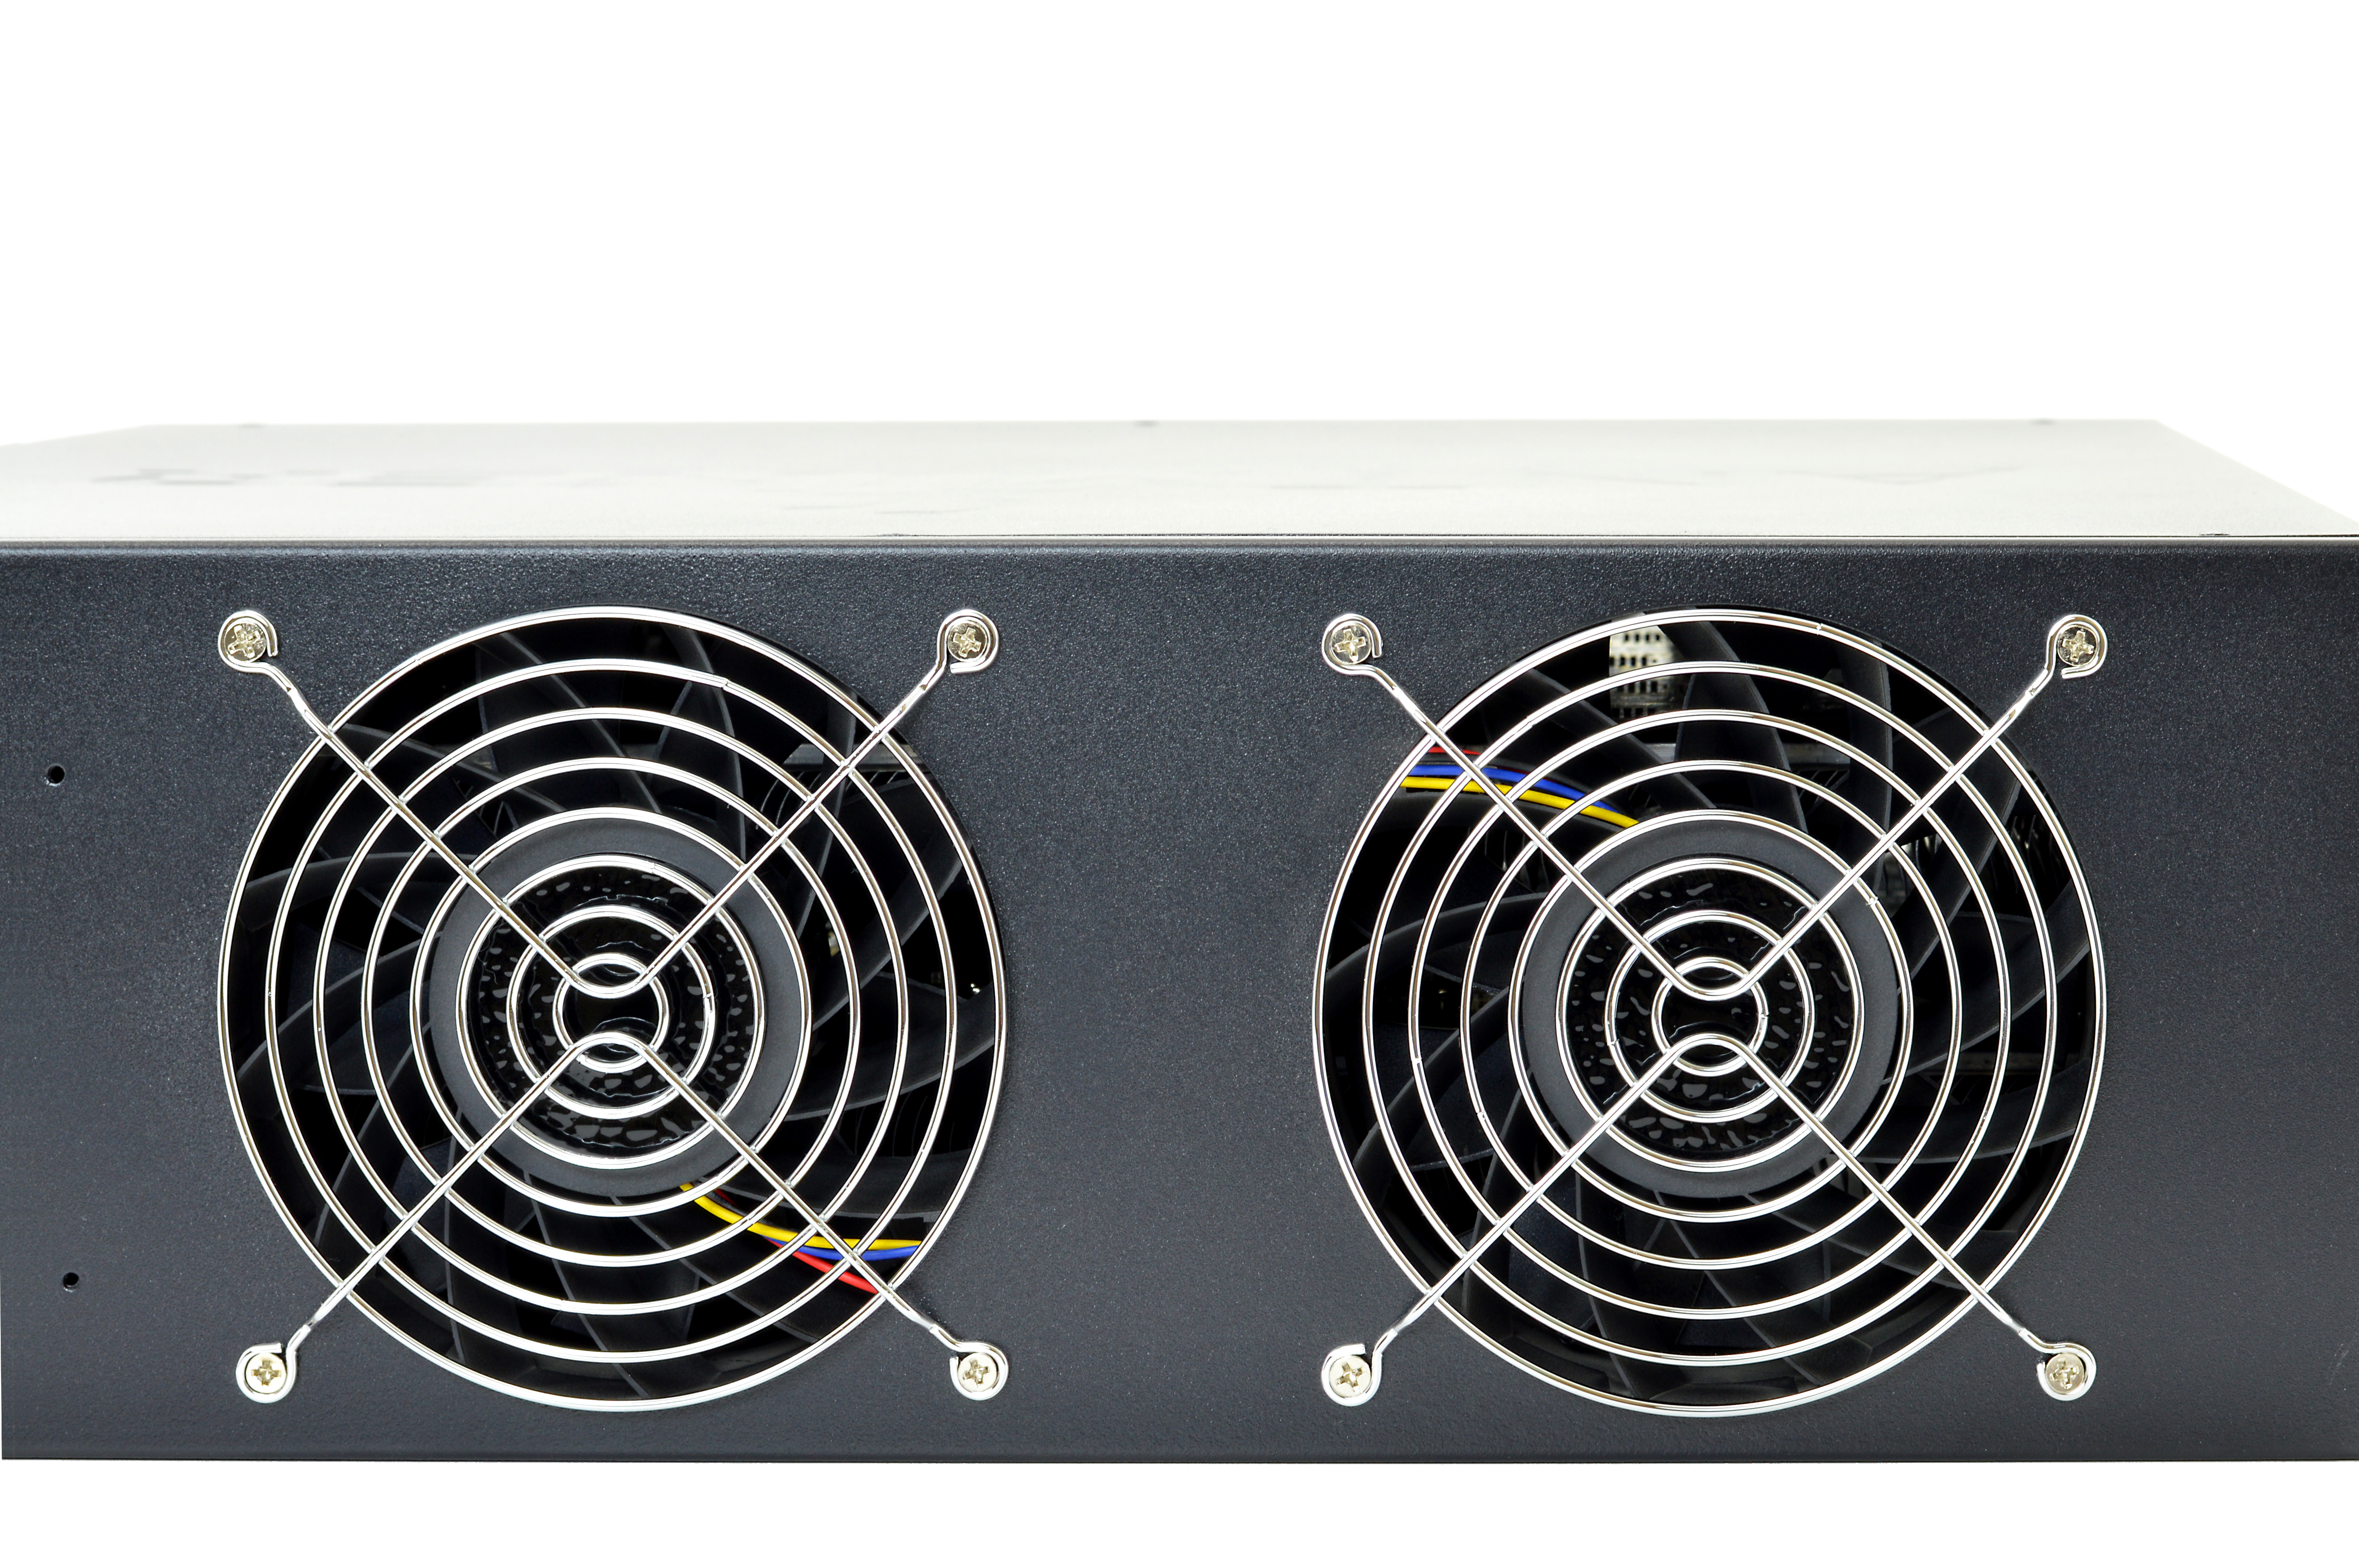
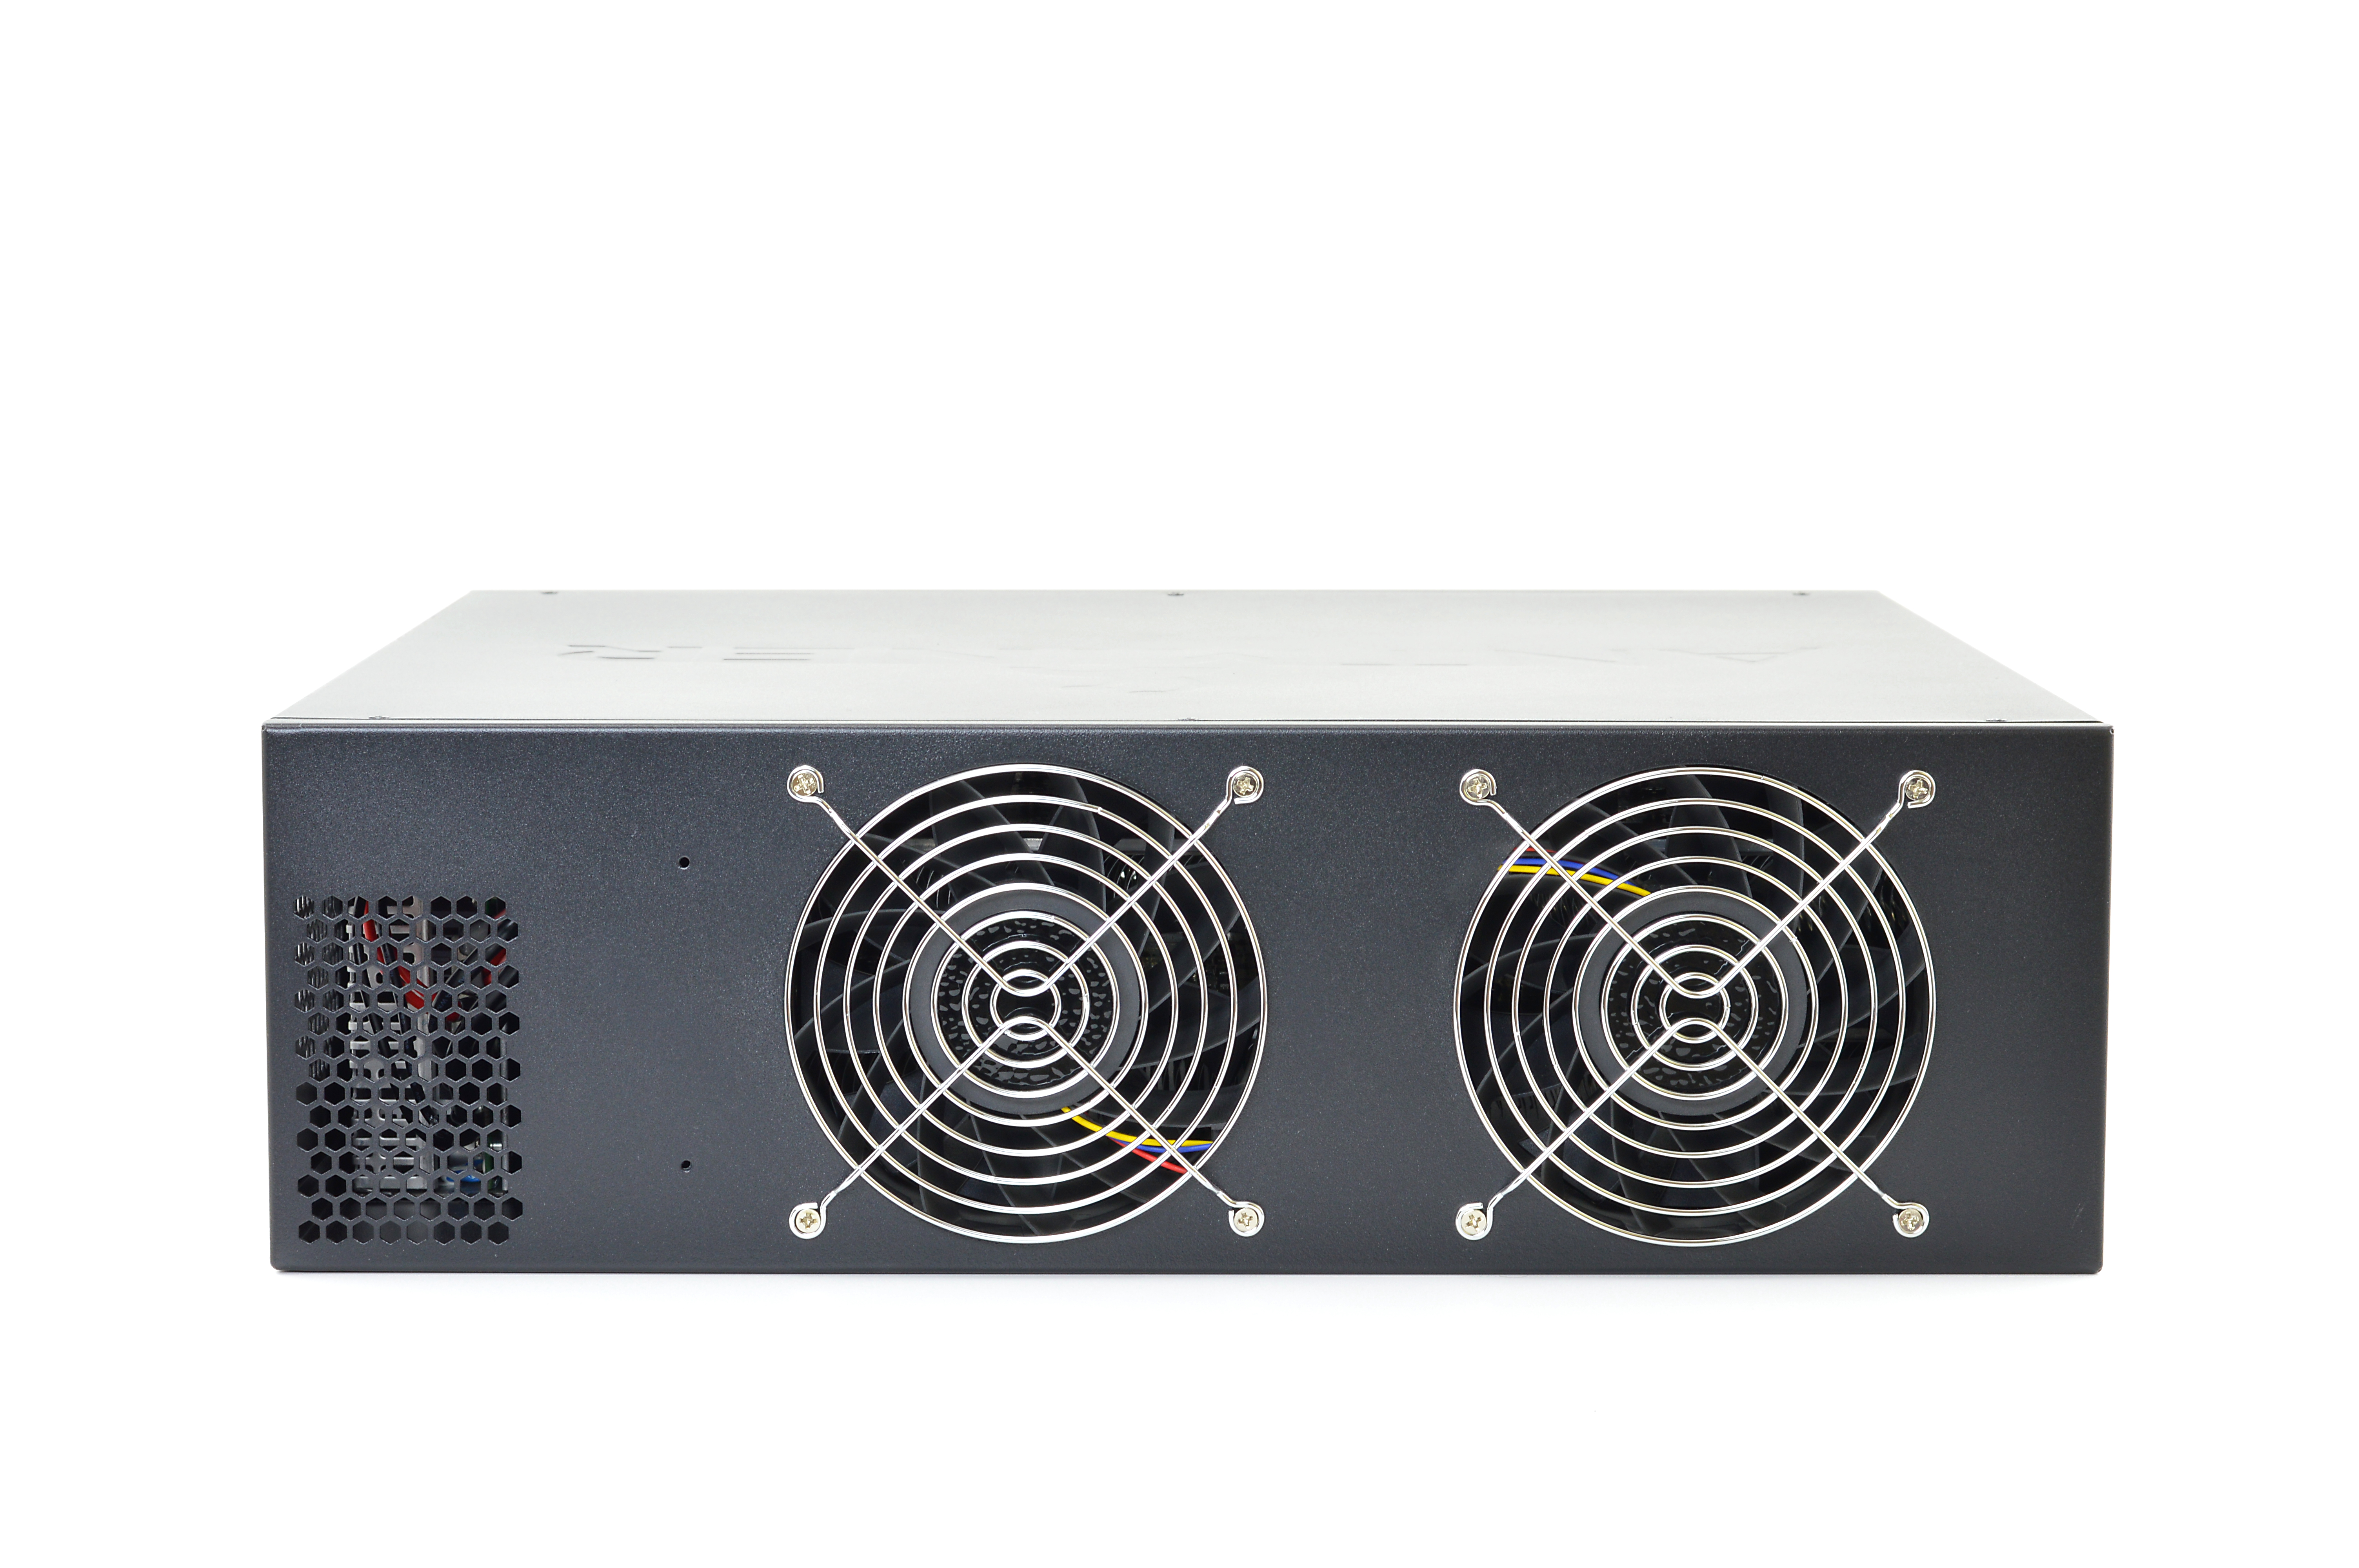
The S4+ is self sufficient in cooling terms and utilises four 120x38mm fans which operate between 3500 and 4200rpm. All four are PWM controlled and automatically react to increased temperatures. Noise levels are very high but of reasonable tone, and identical to that of the original S4. The PSU is cooled by its own 40mm fan which remains inaudible over the main fans at all temperatures.
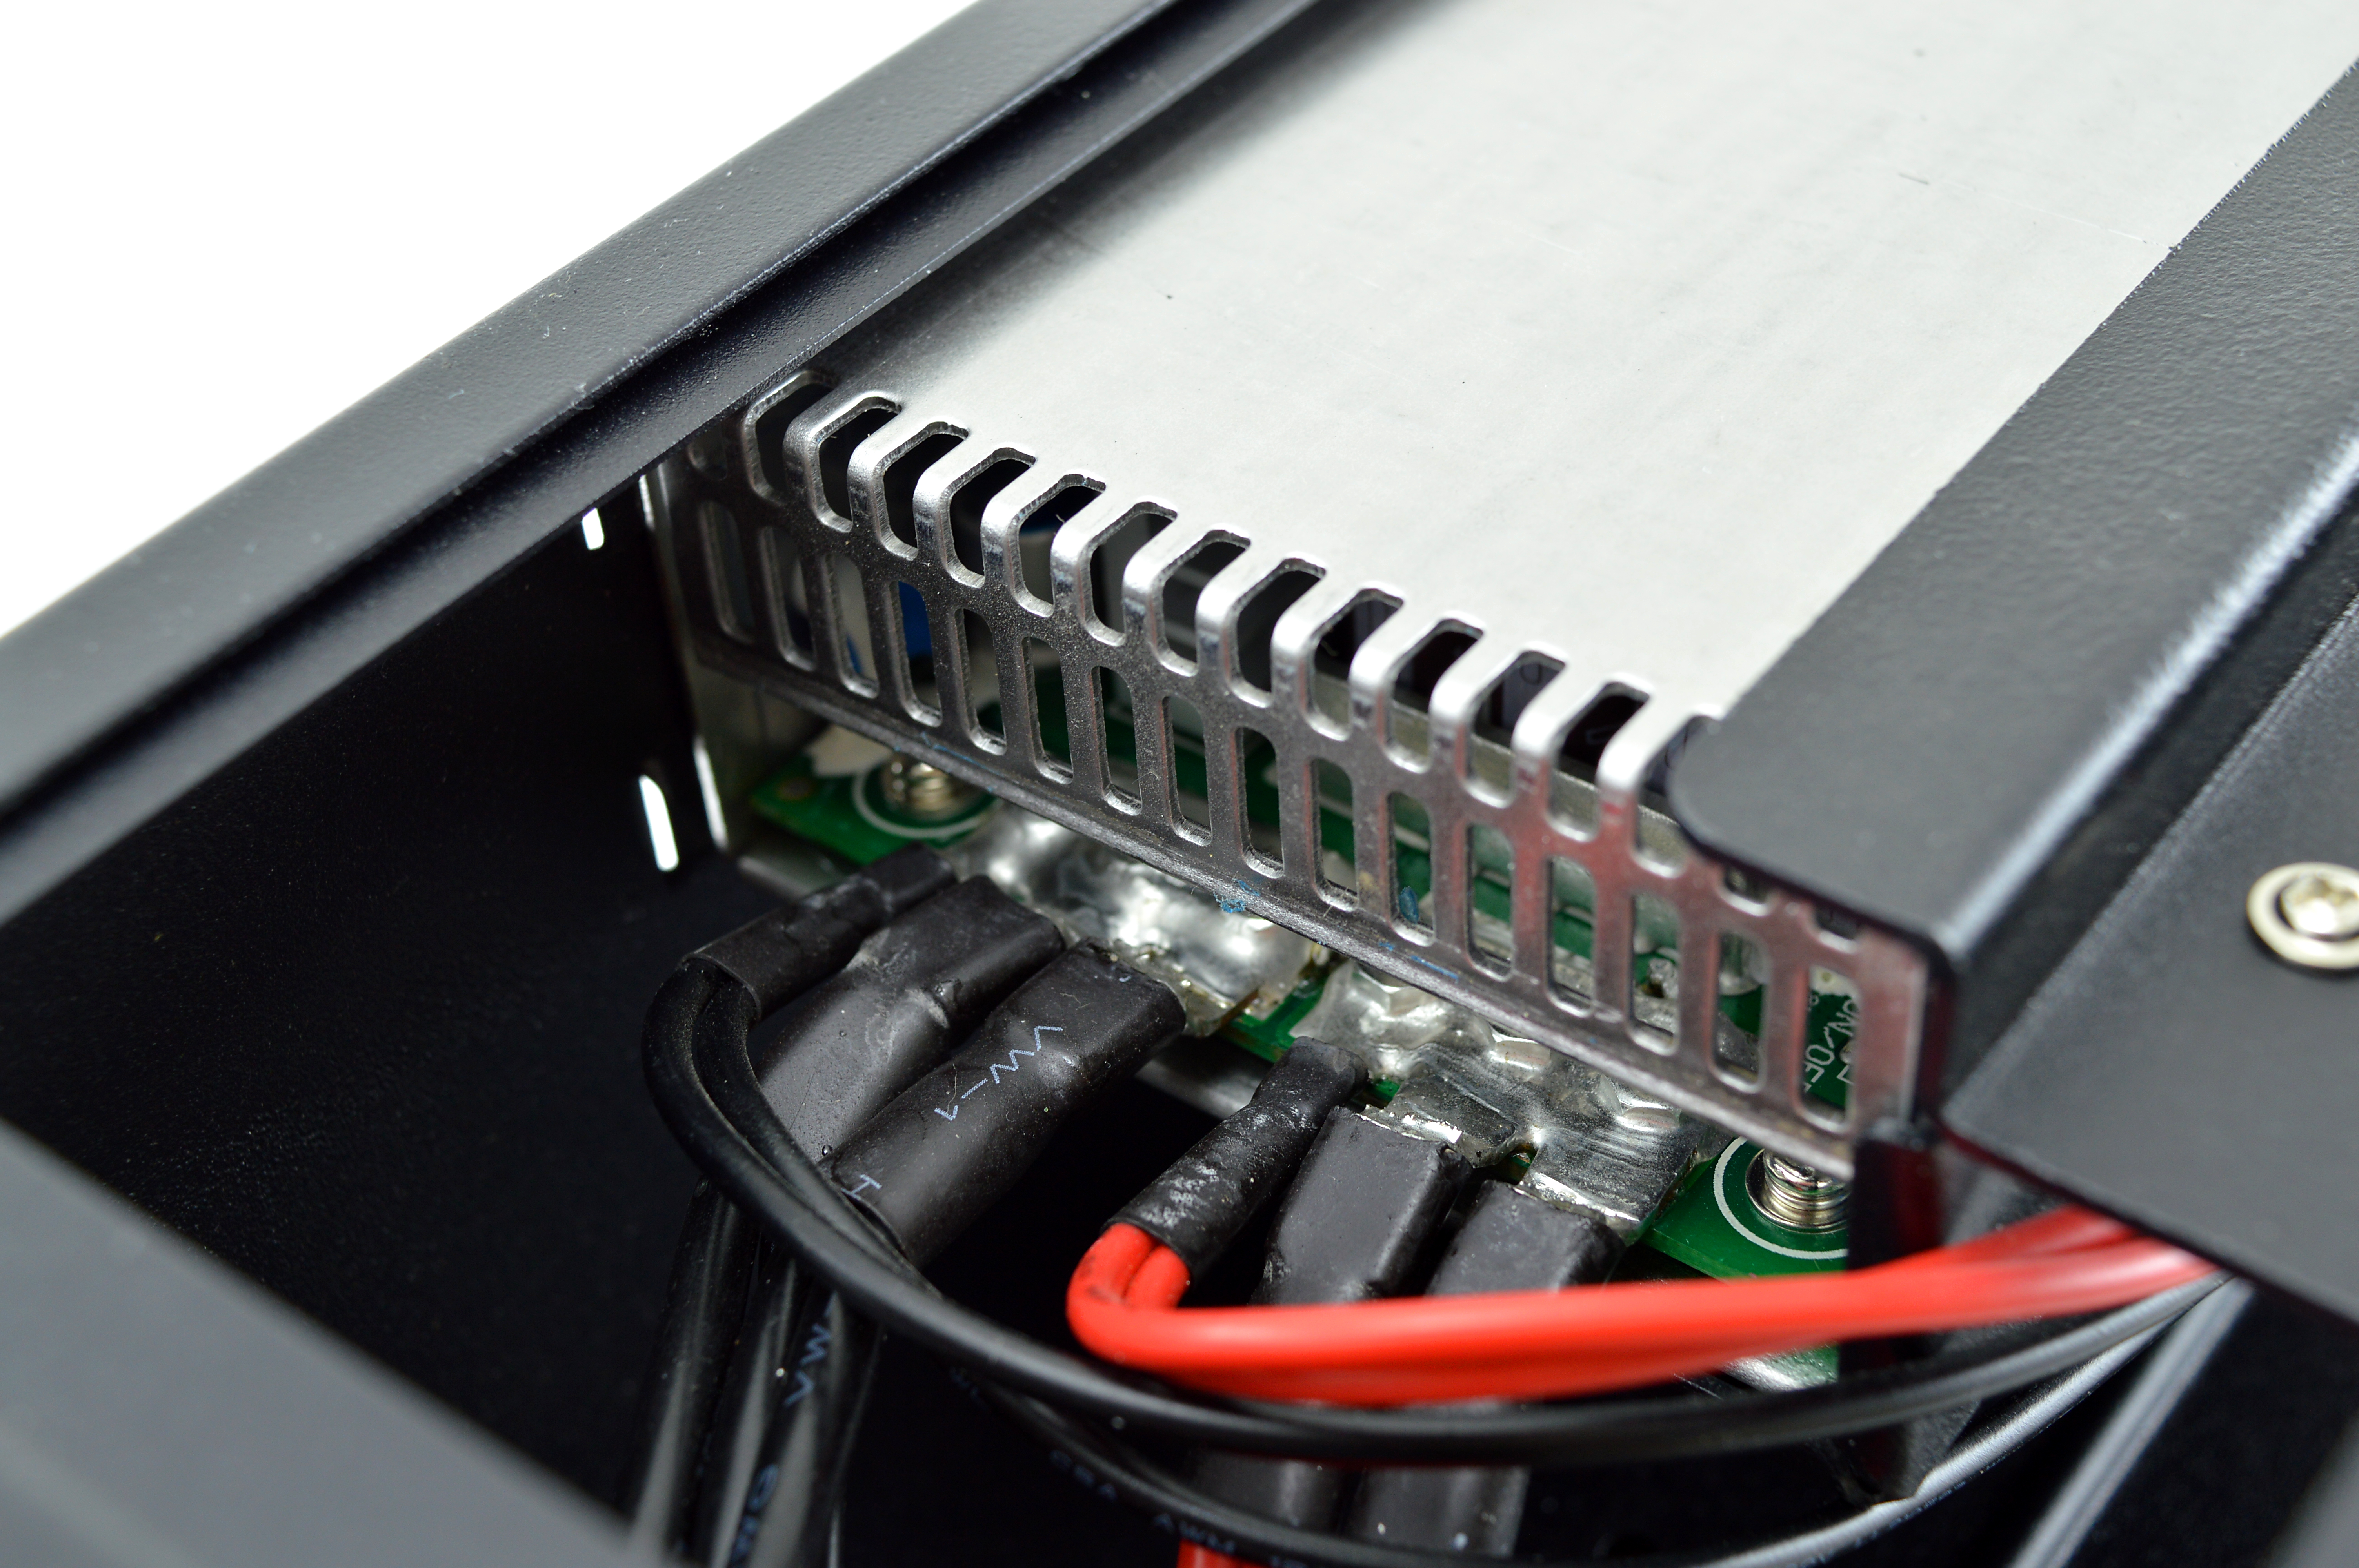
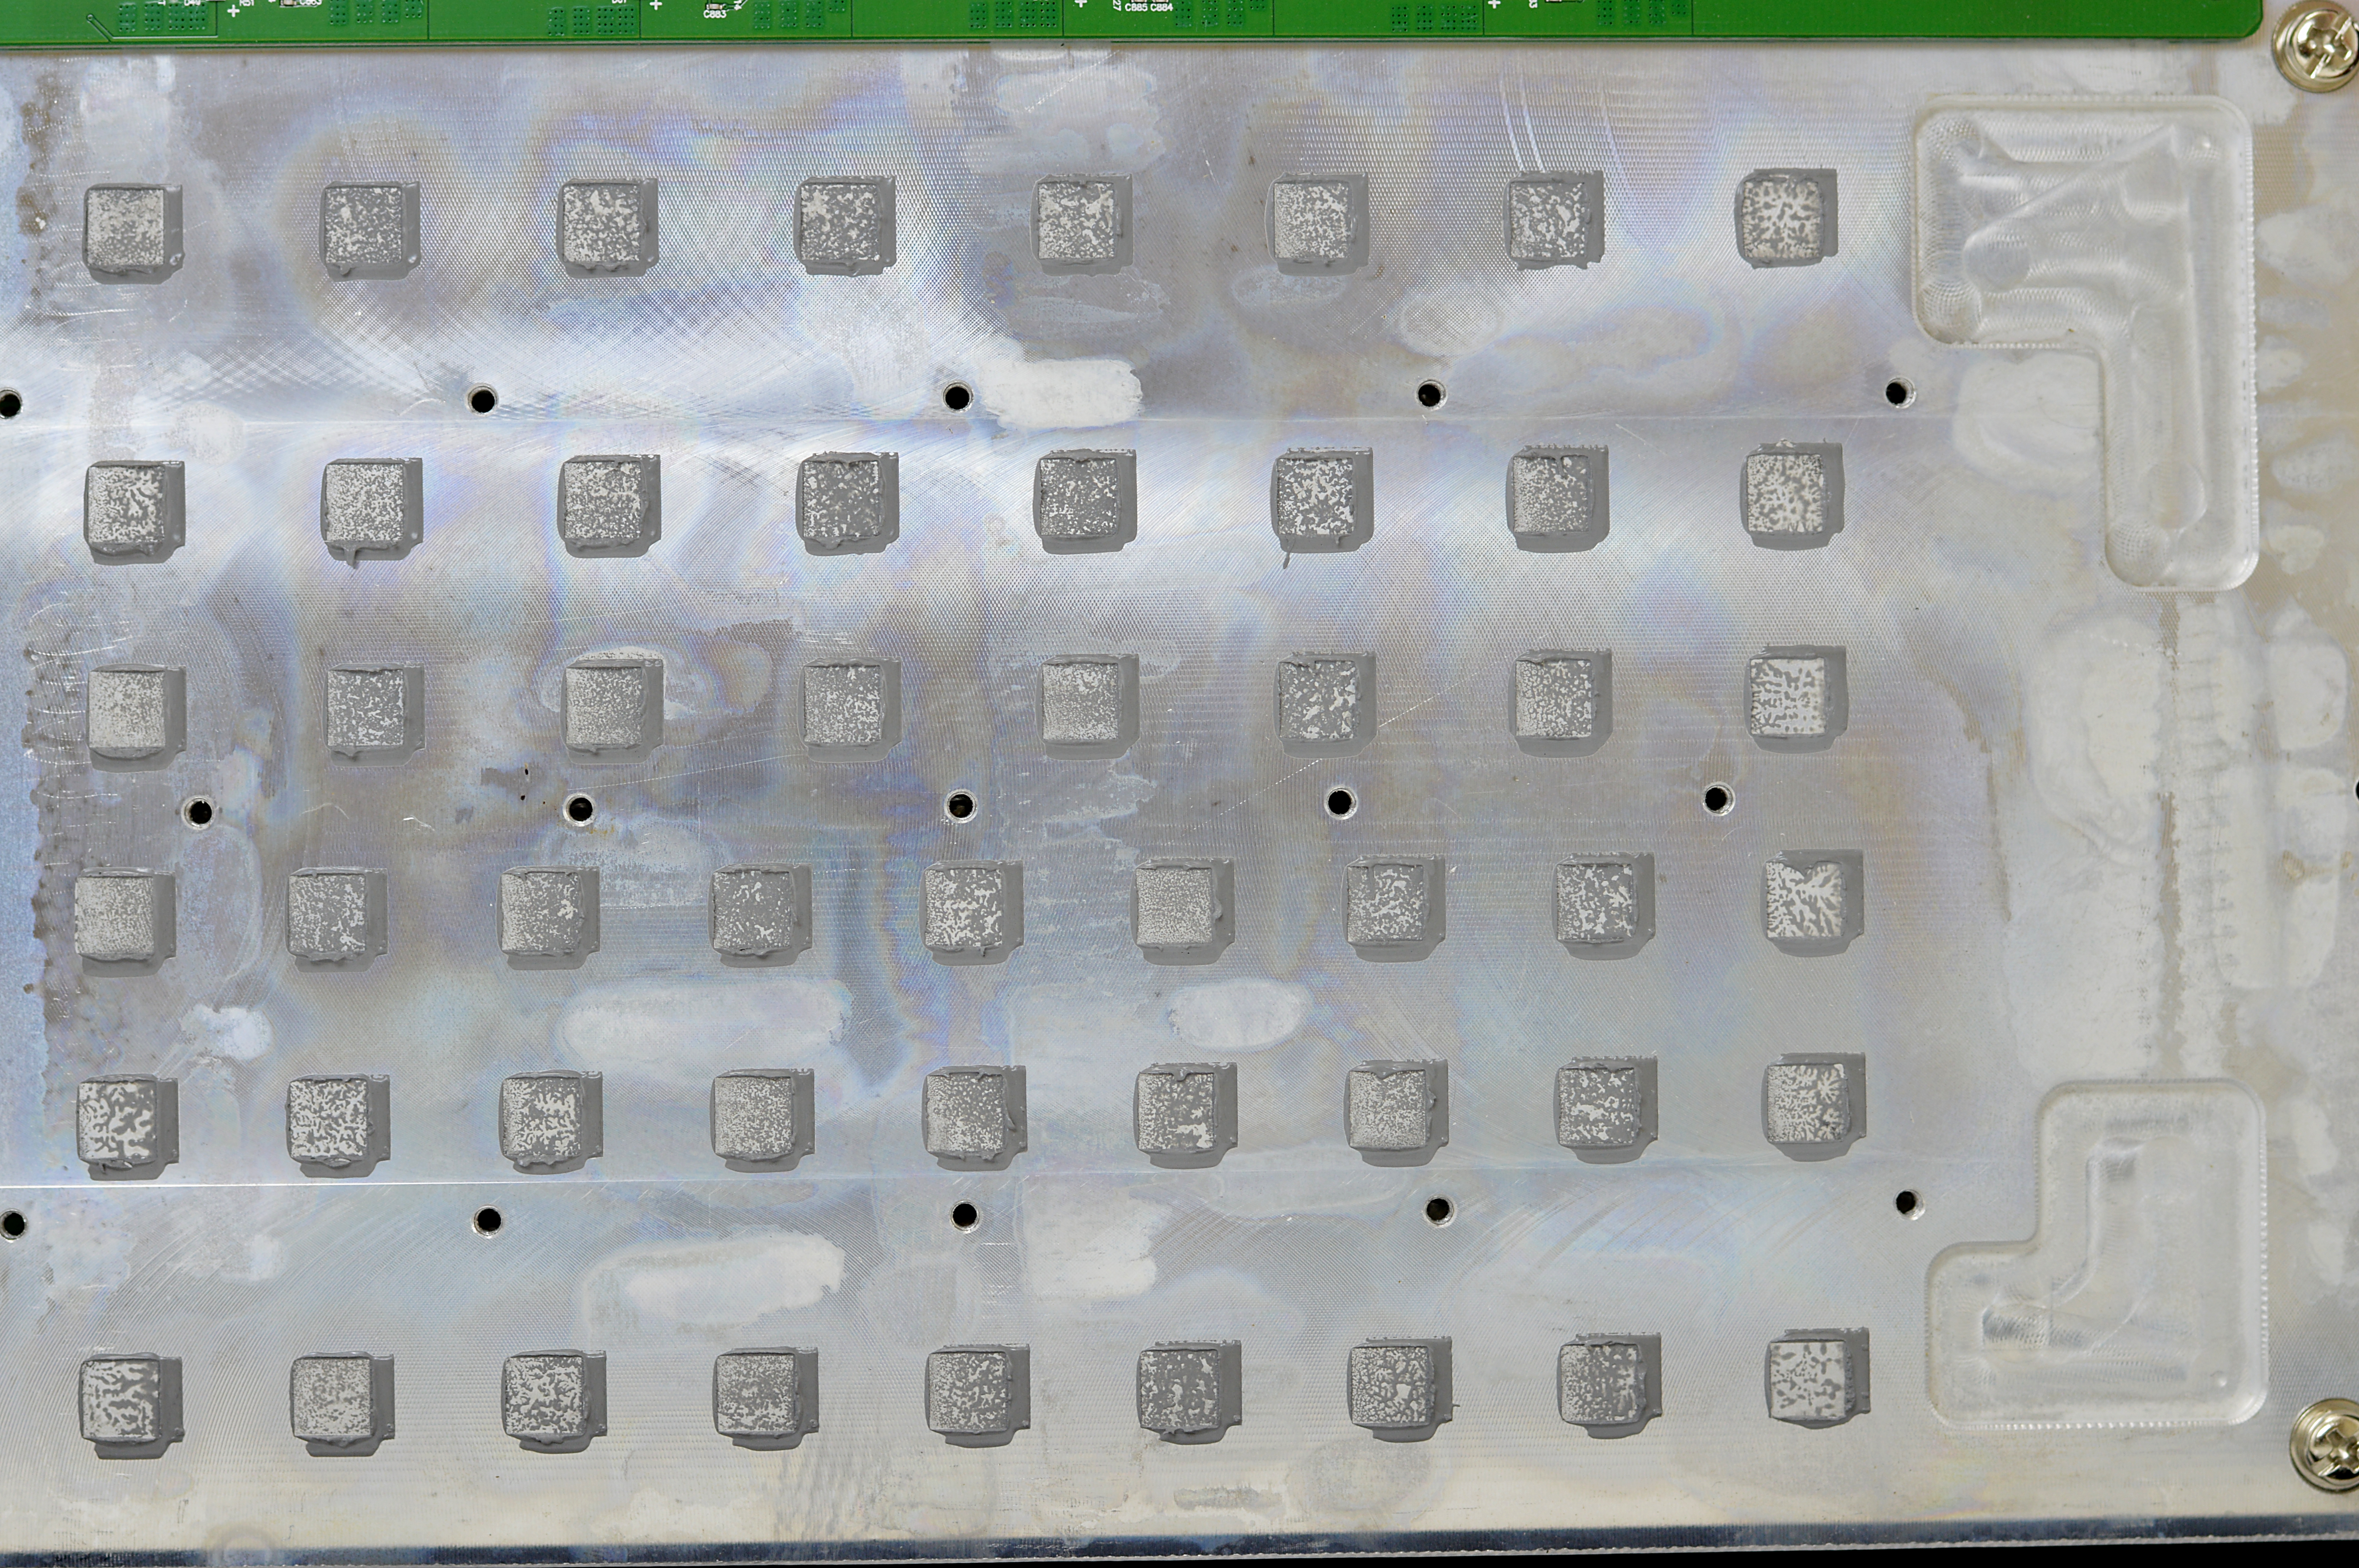
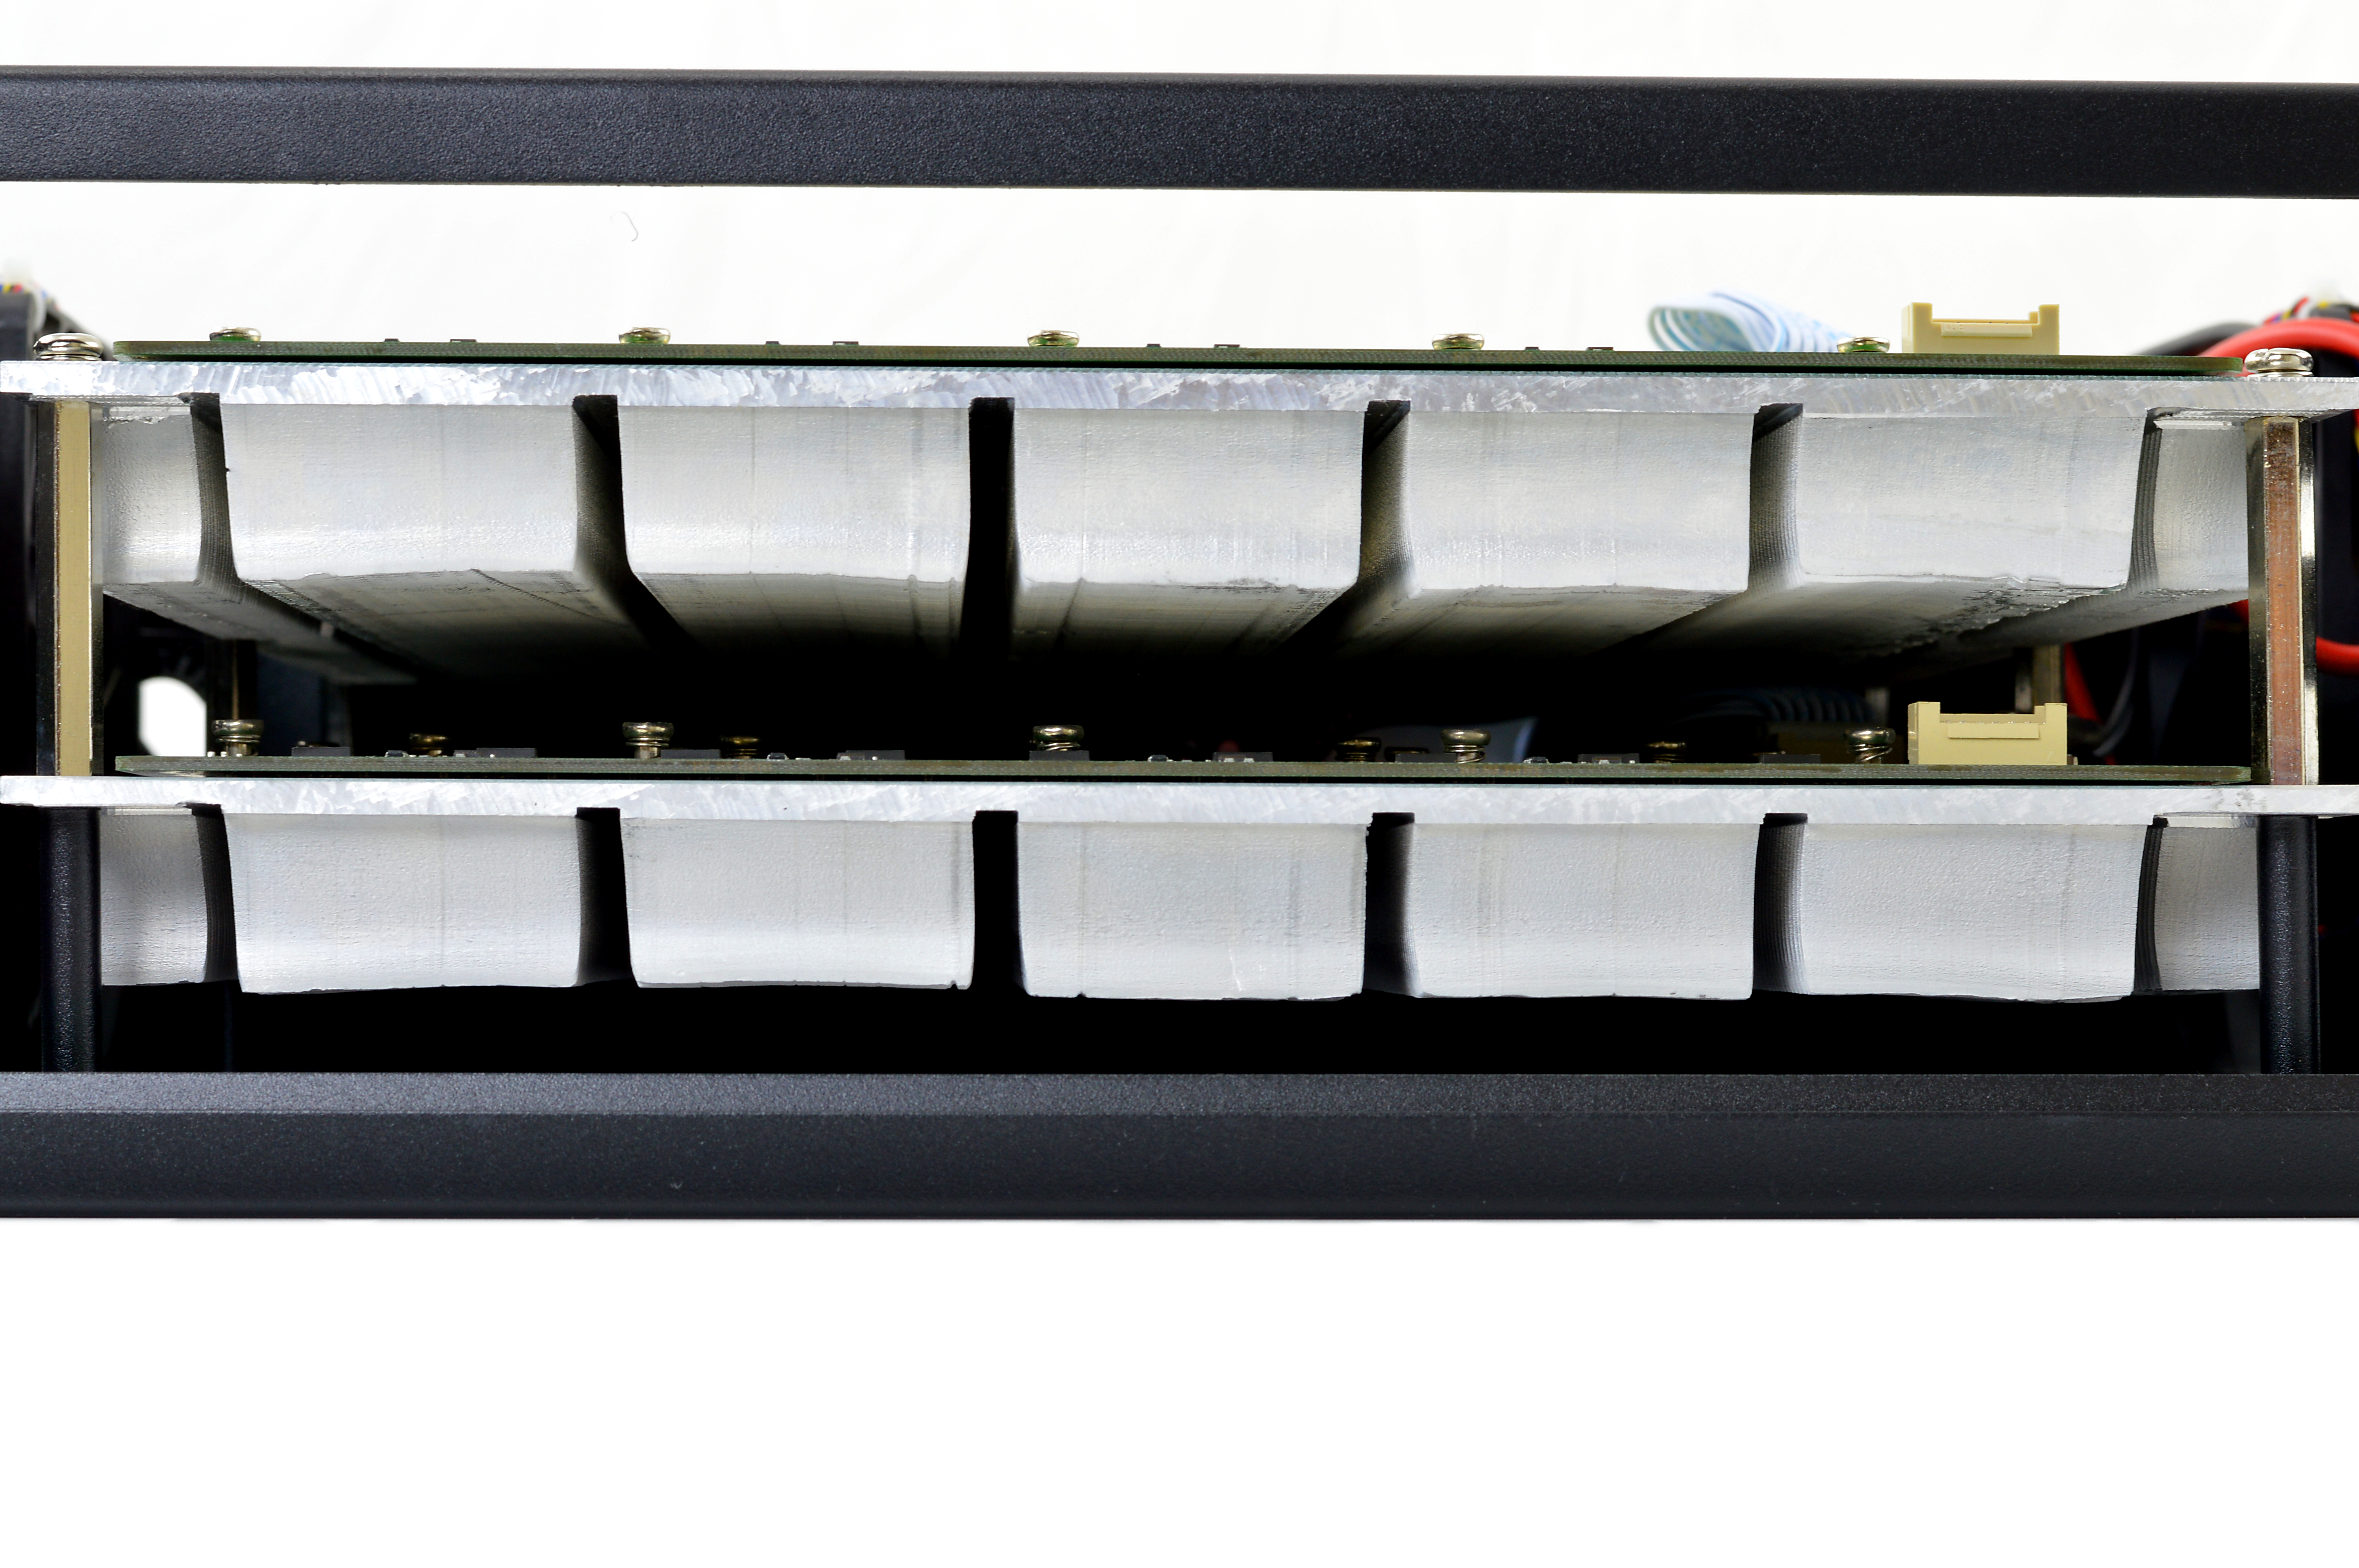
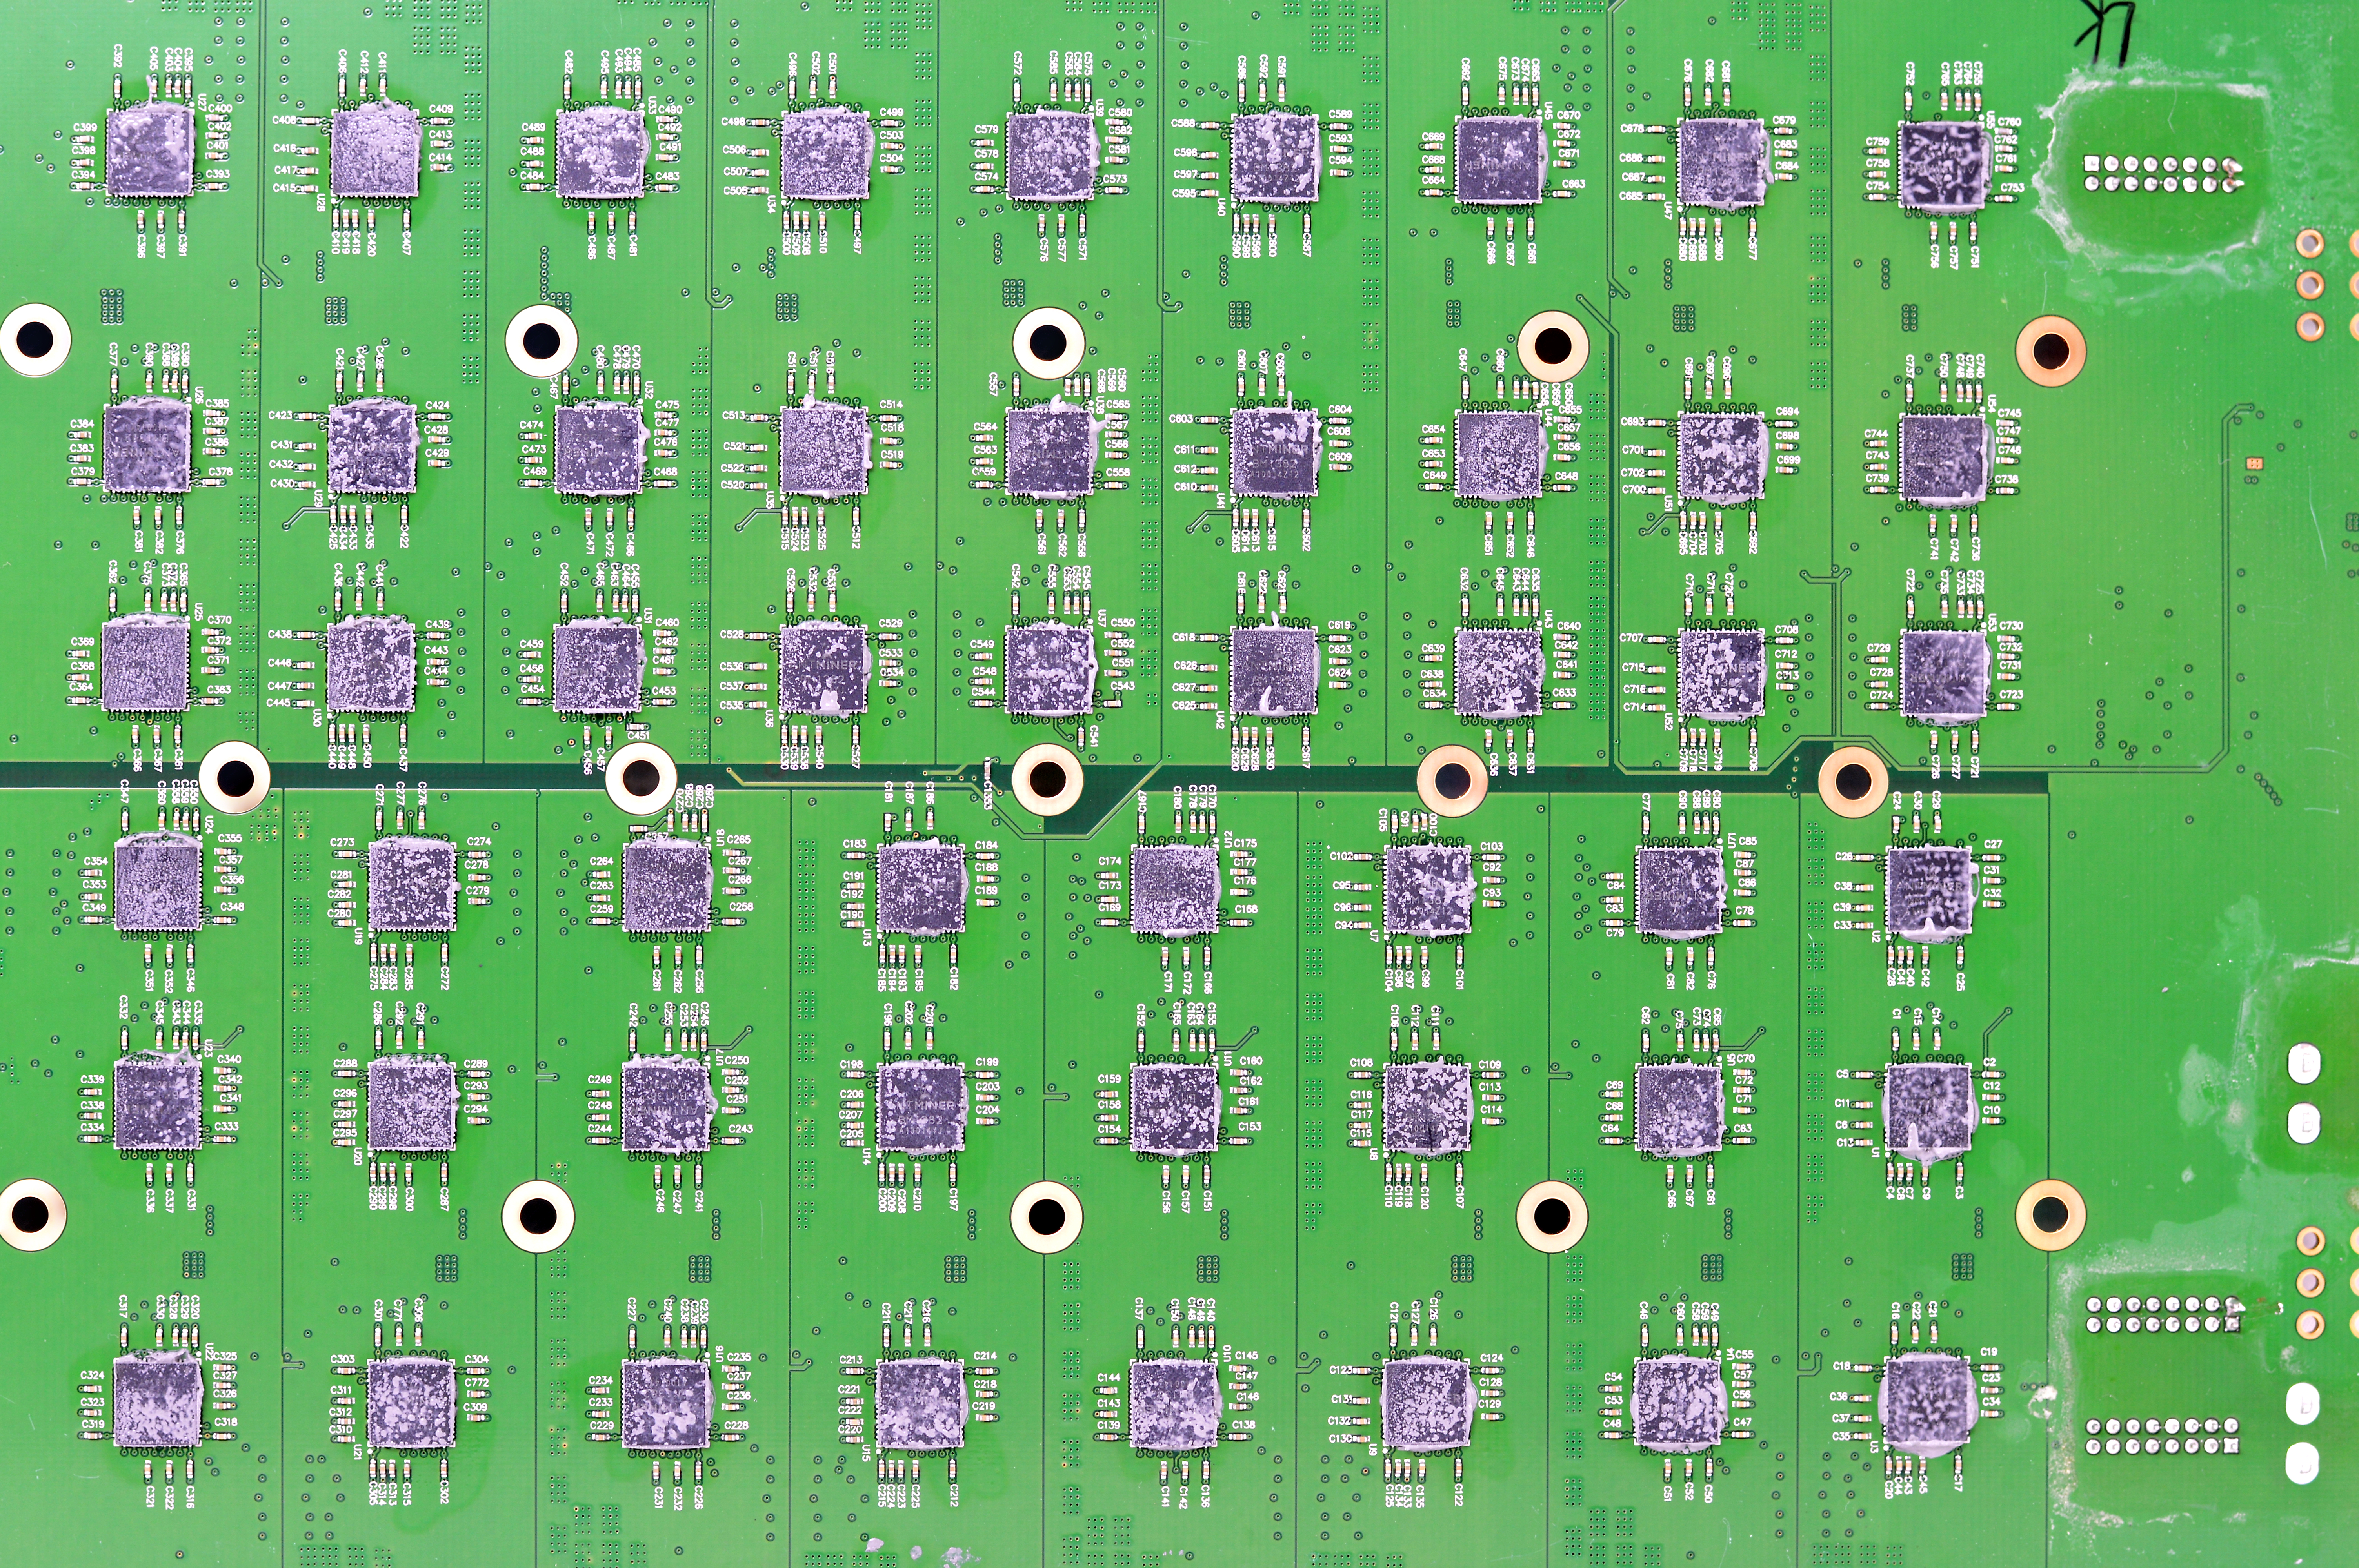
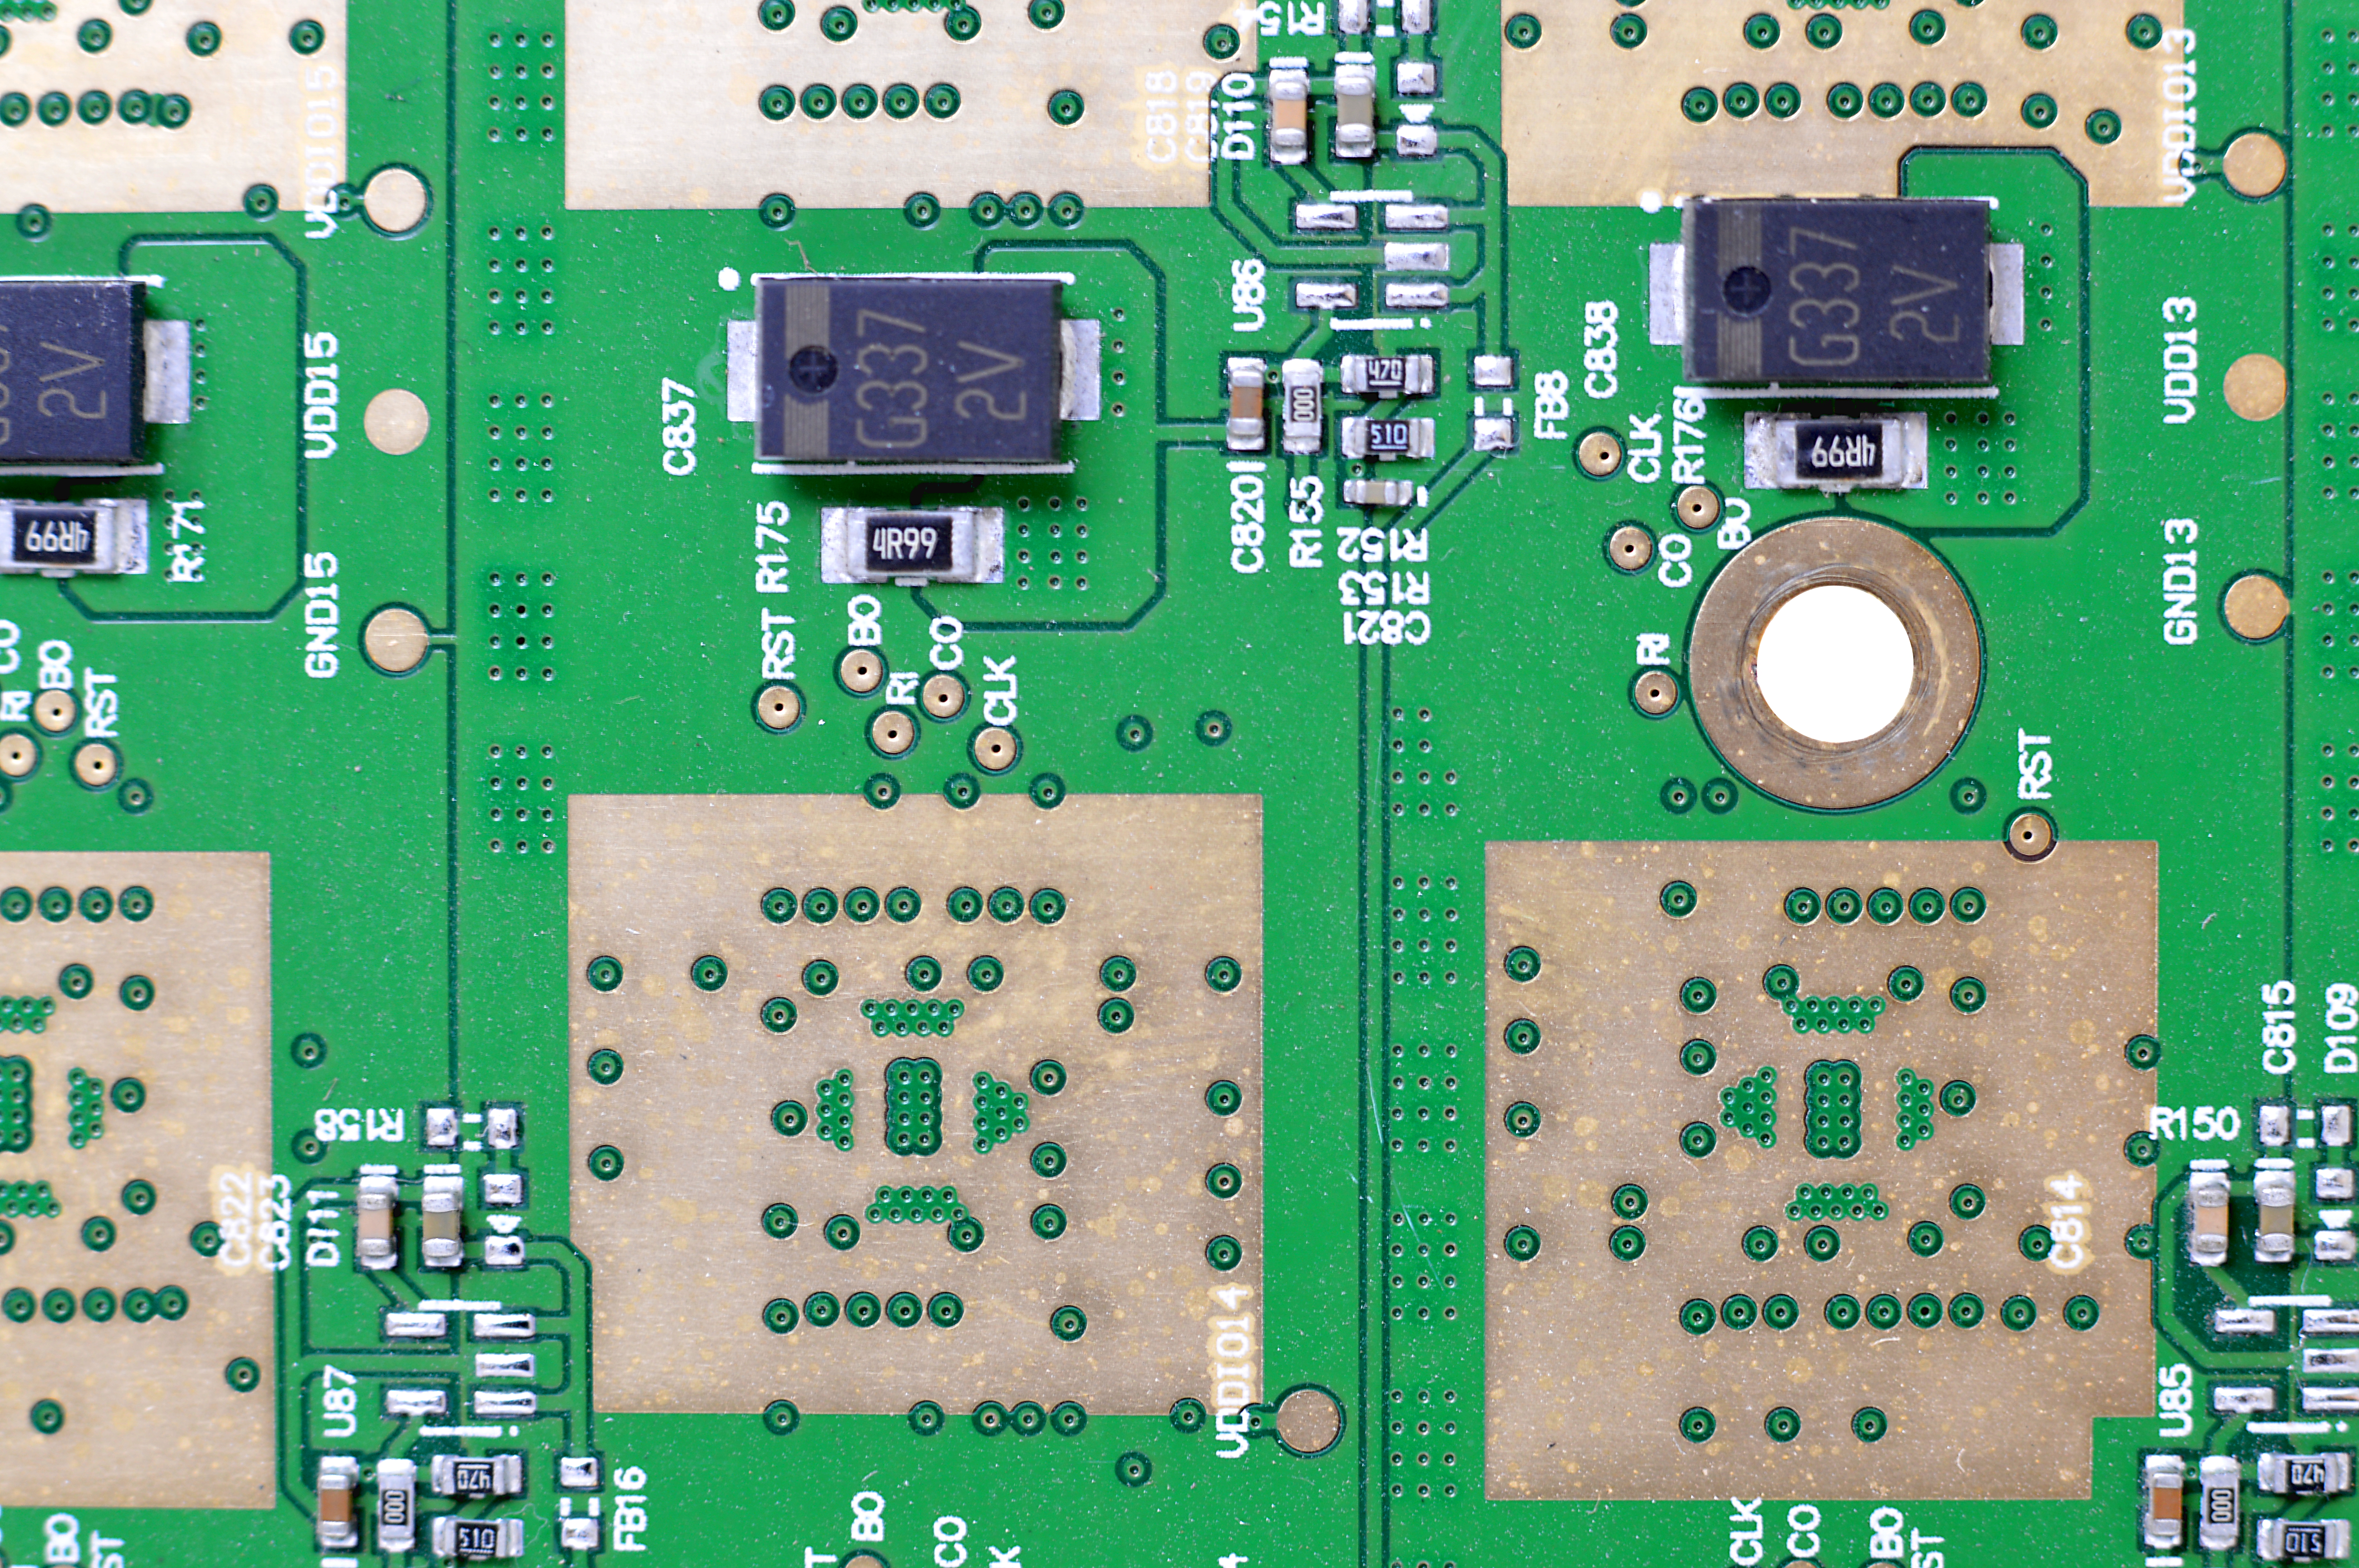
The rear of each hashing board is covered by a full cover aluminium heatsink with a reasonable polished finish. Each chip has individually applied thermal paste to provide good contact. Please be careful when handling these heatsinks, they are extremely sharp.
The S4+ is self sufficient in cooling terms and utilises four 120x38mm fans which operate between 3500 and 4200rpm. All four are PWM controlled and automatically react to increased temperatures. Noise levels are very high but of reasonable tone, and identical to that of the original S4. The PSU is cooled by its own 40mm fan which remains inaudible over the main fans at all temperatures.
The rear of each hashing board is covered by a full cover aluminium heatsink with a reasonable polished finish. Each chip has individually applied thermal paste to provide good contact. Please be careful when handling these heatsinks, they are extremely sharp.
|
|
|
|
3) Case
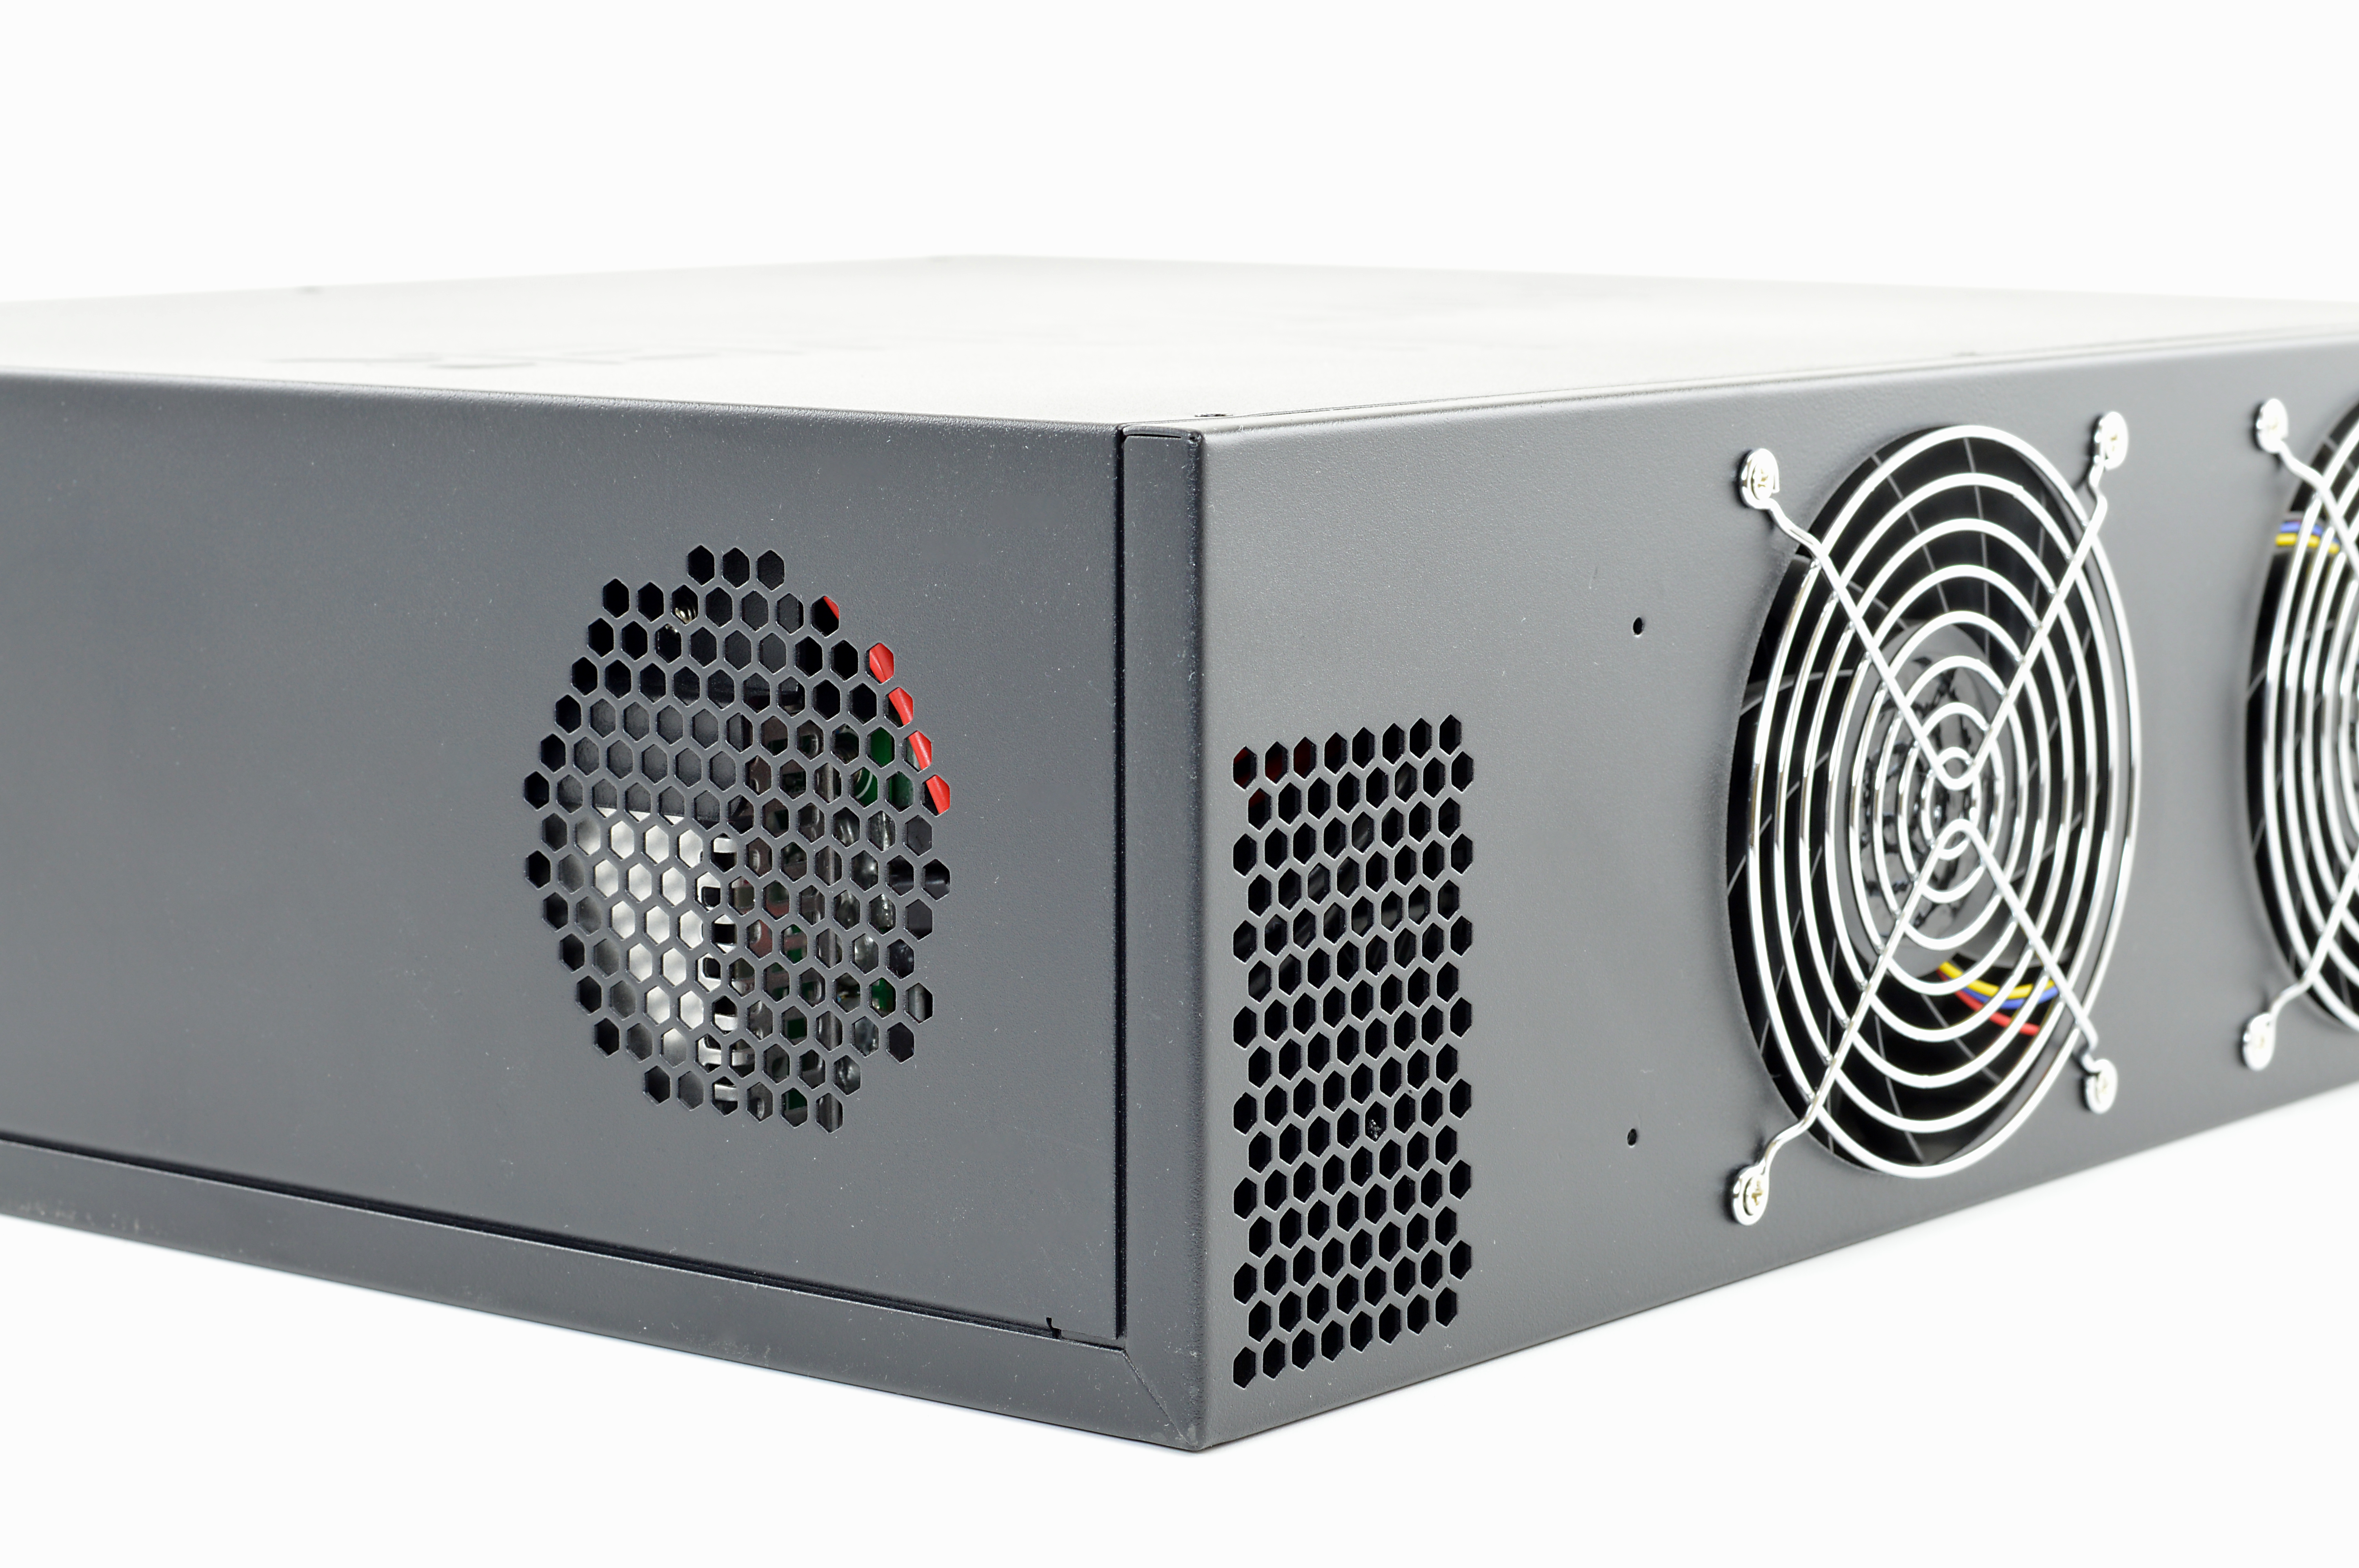
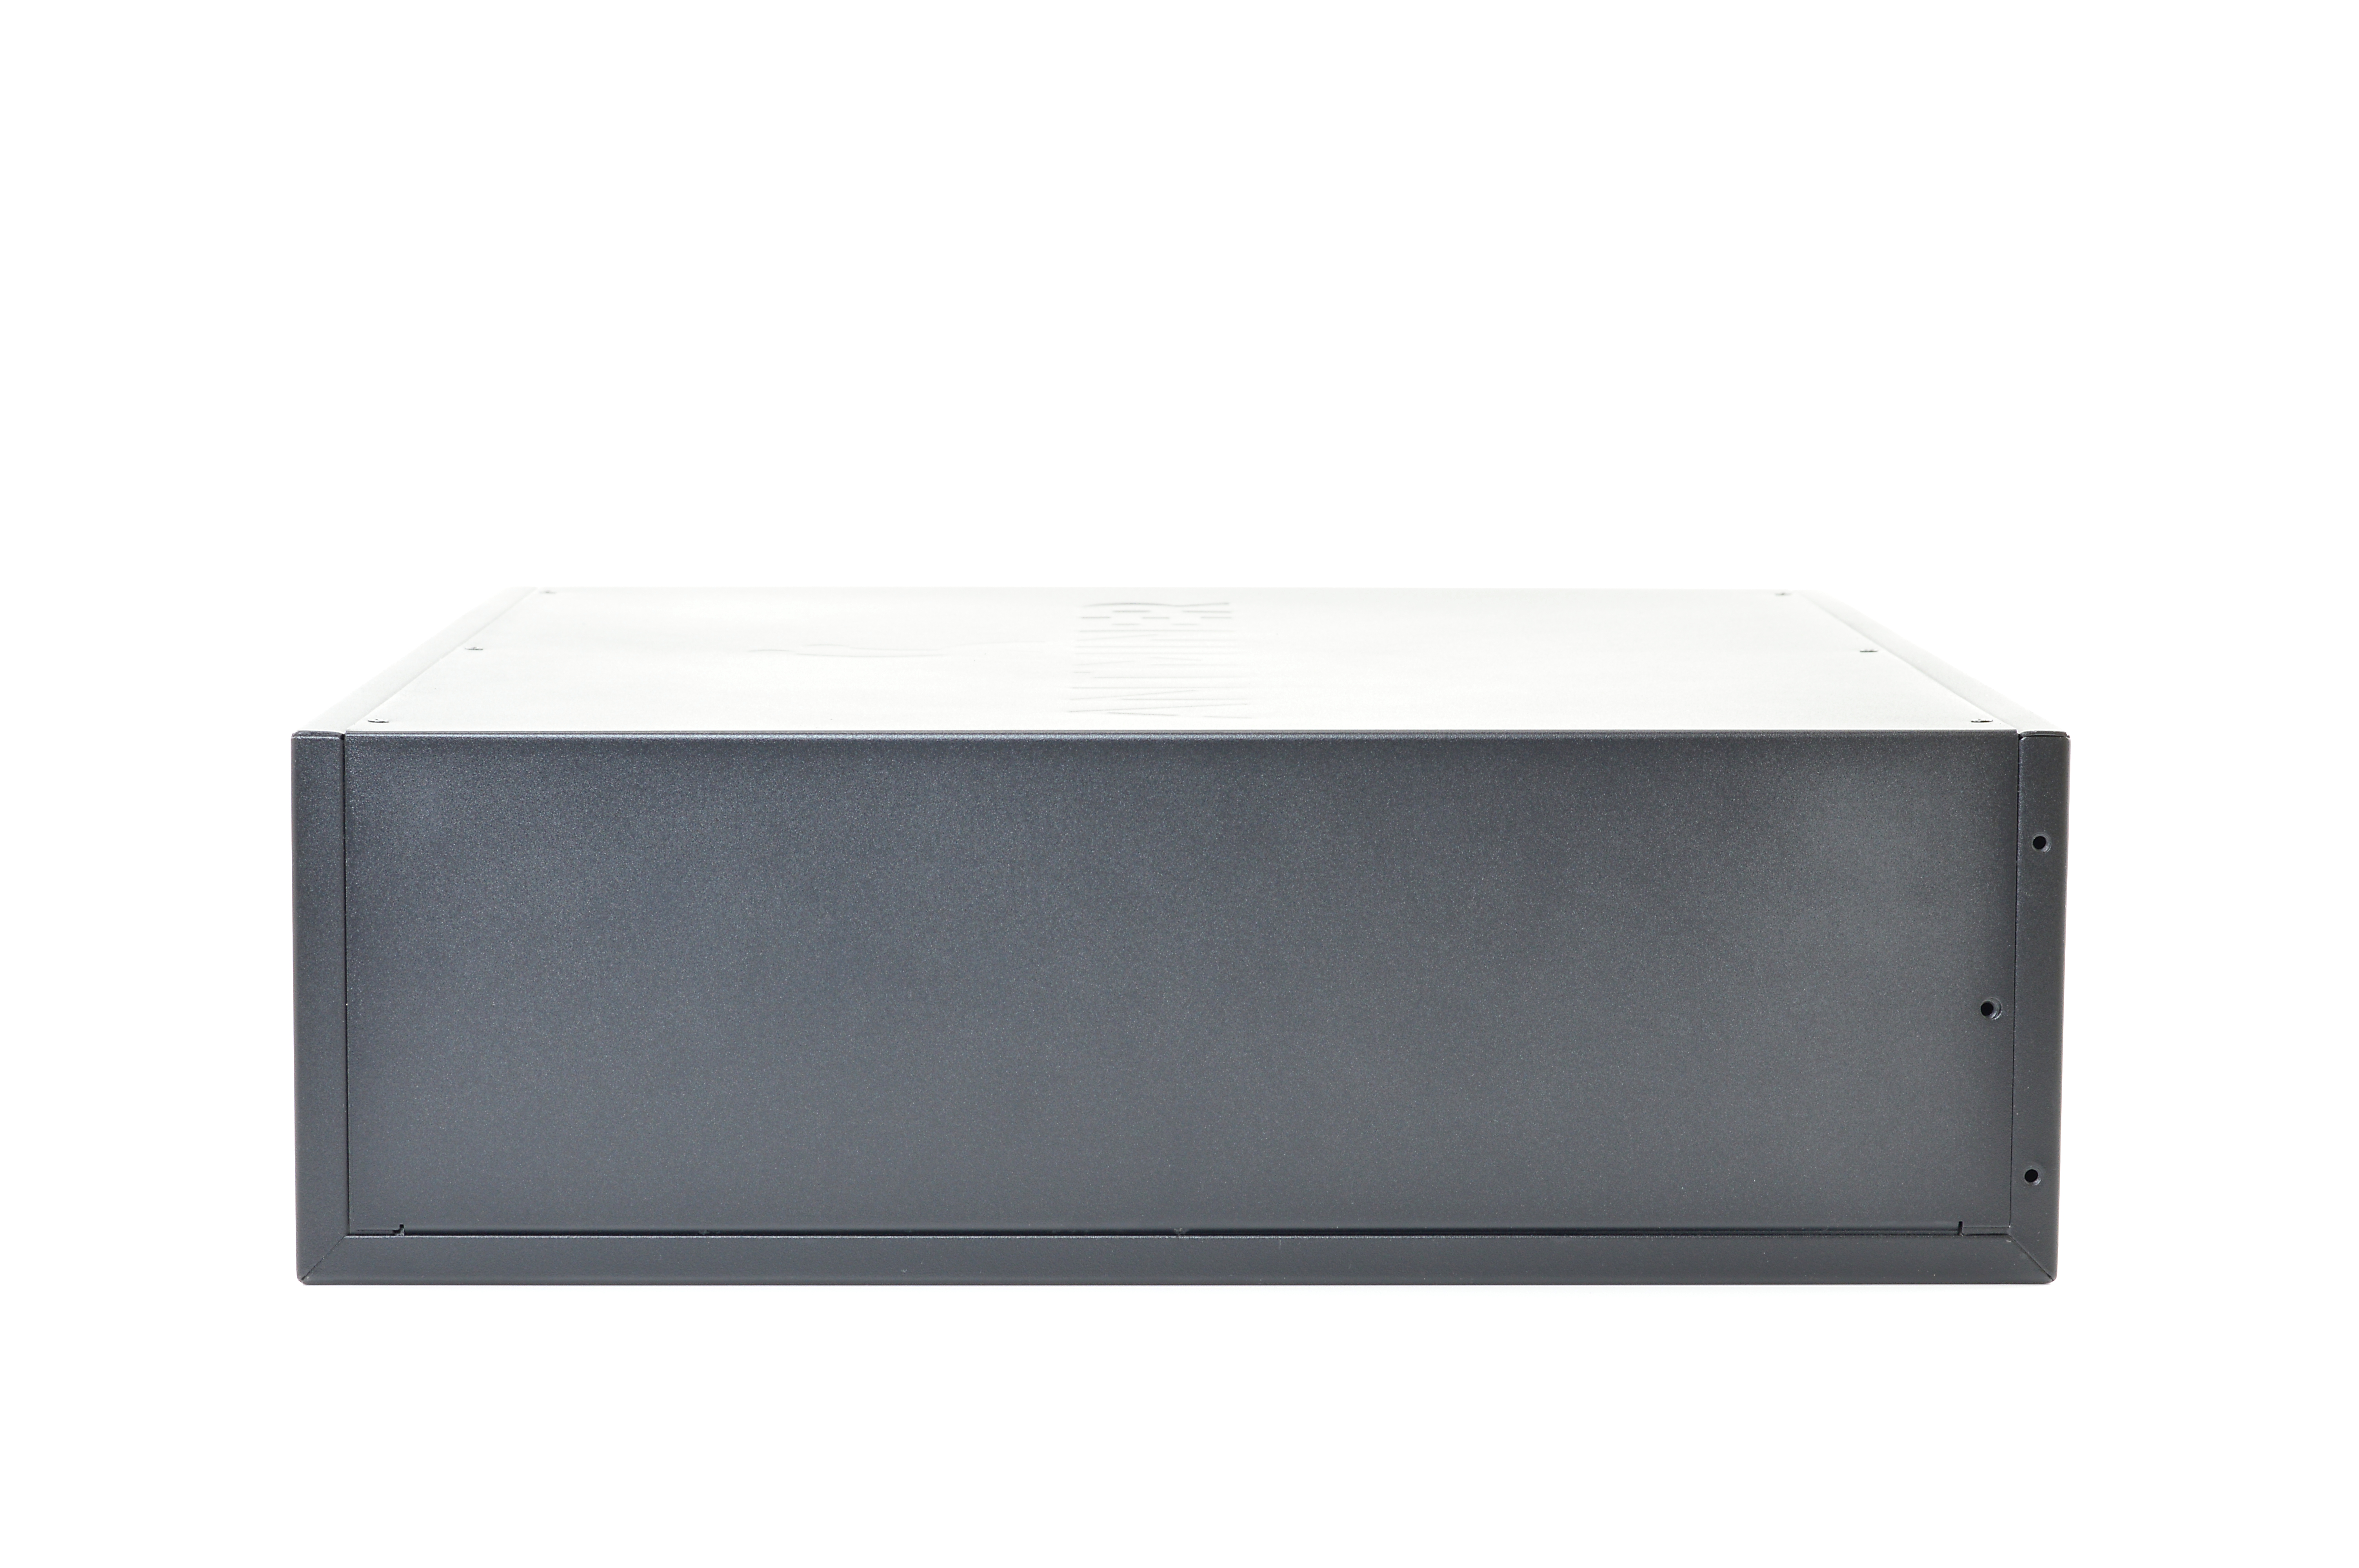
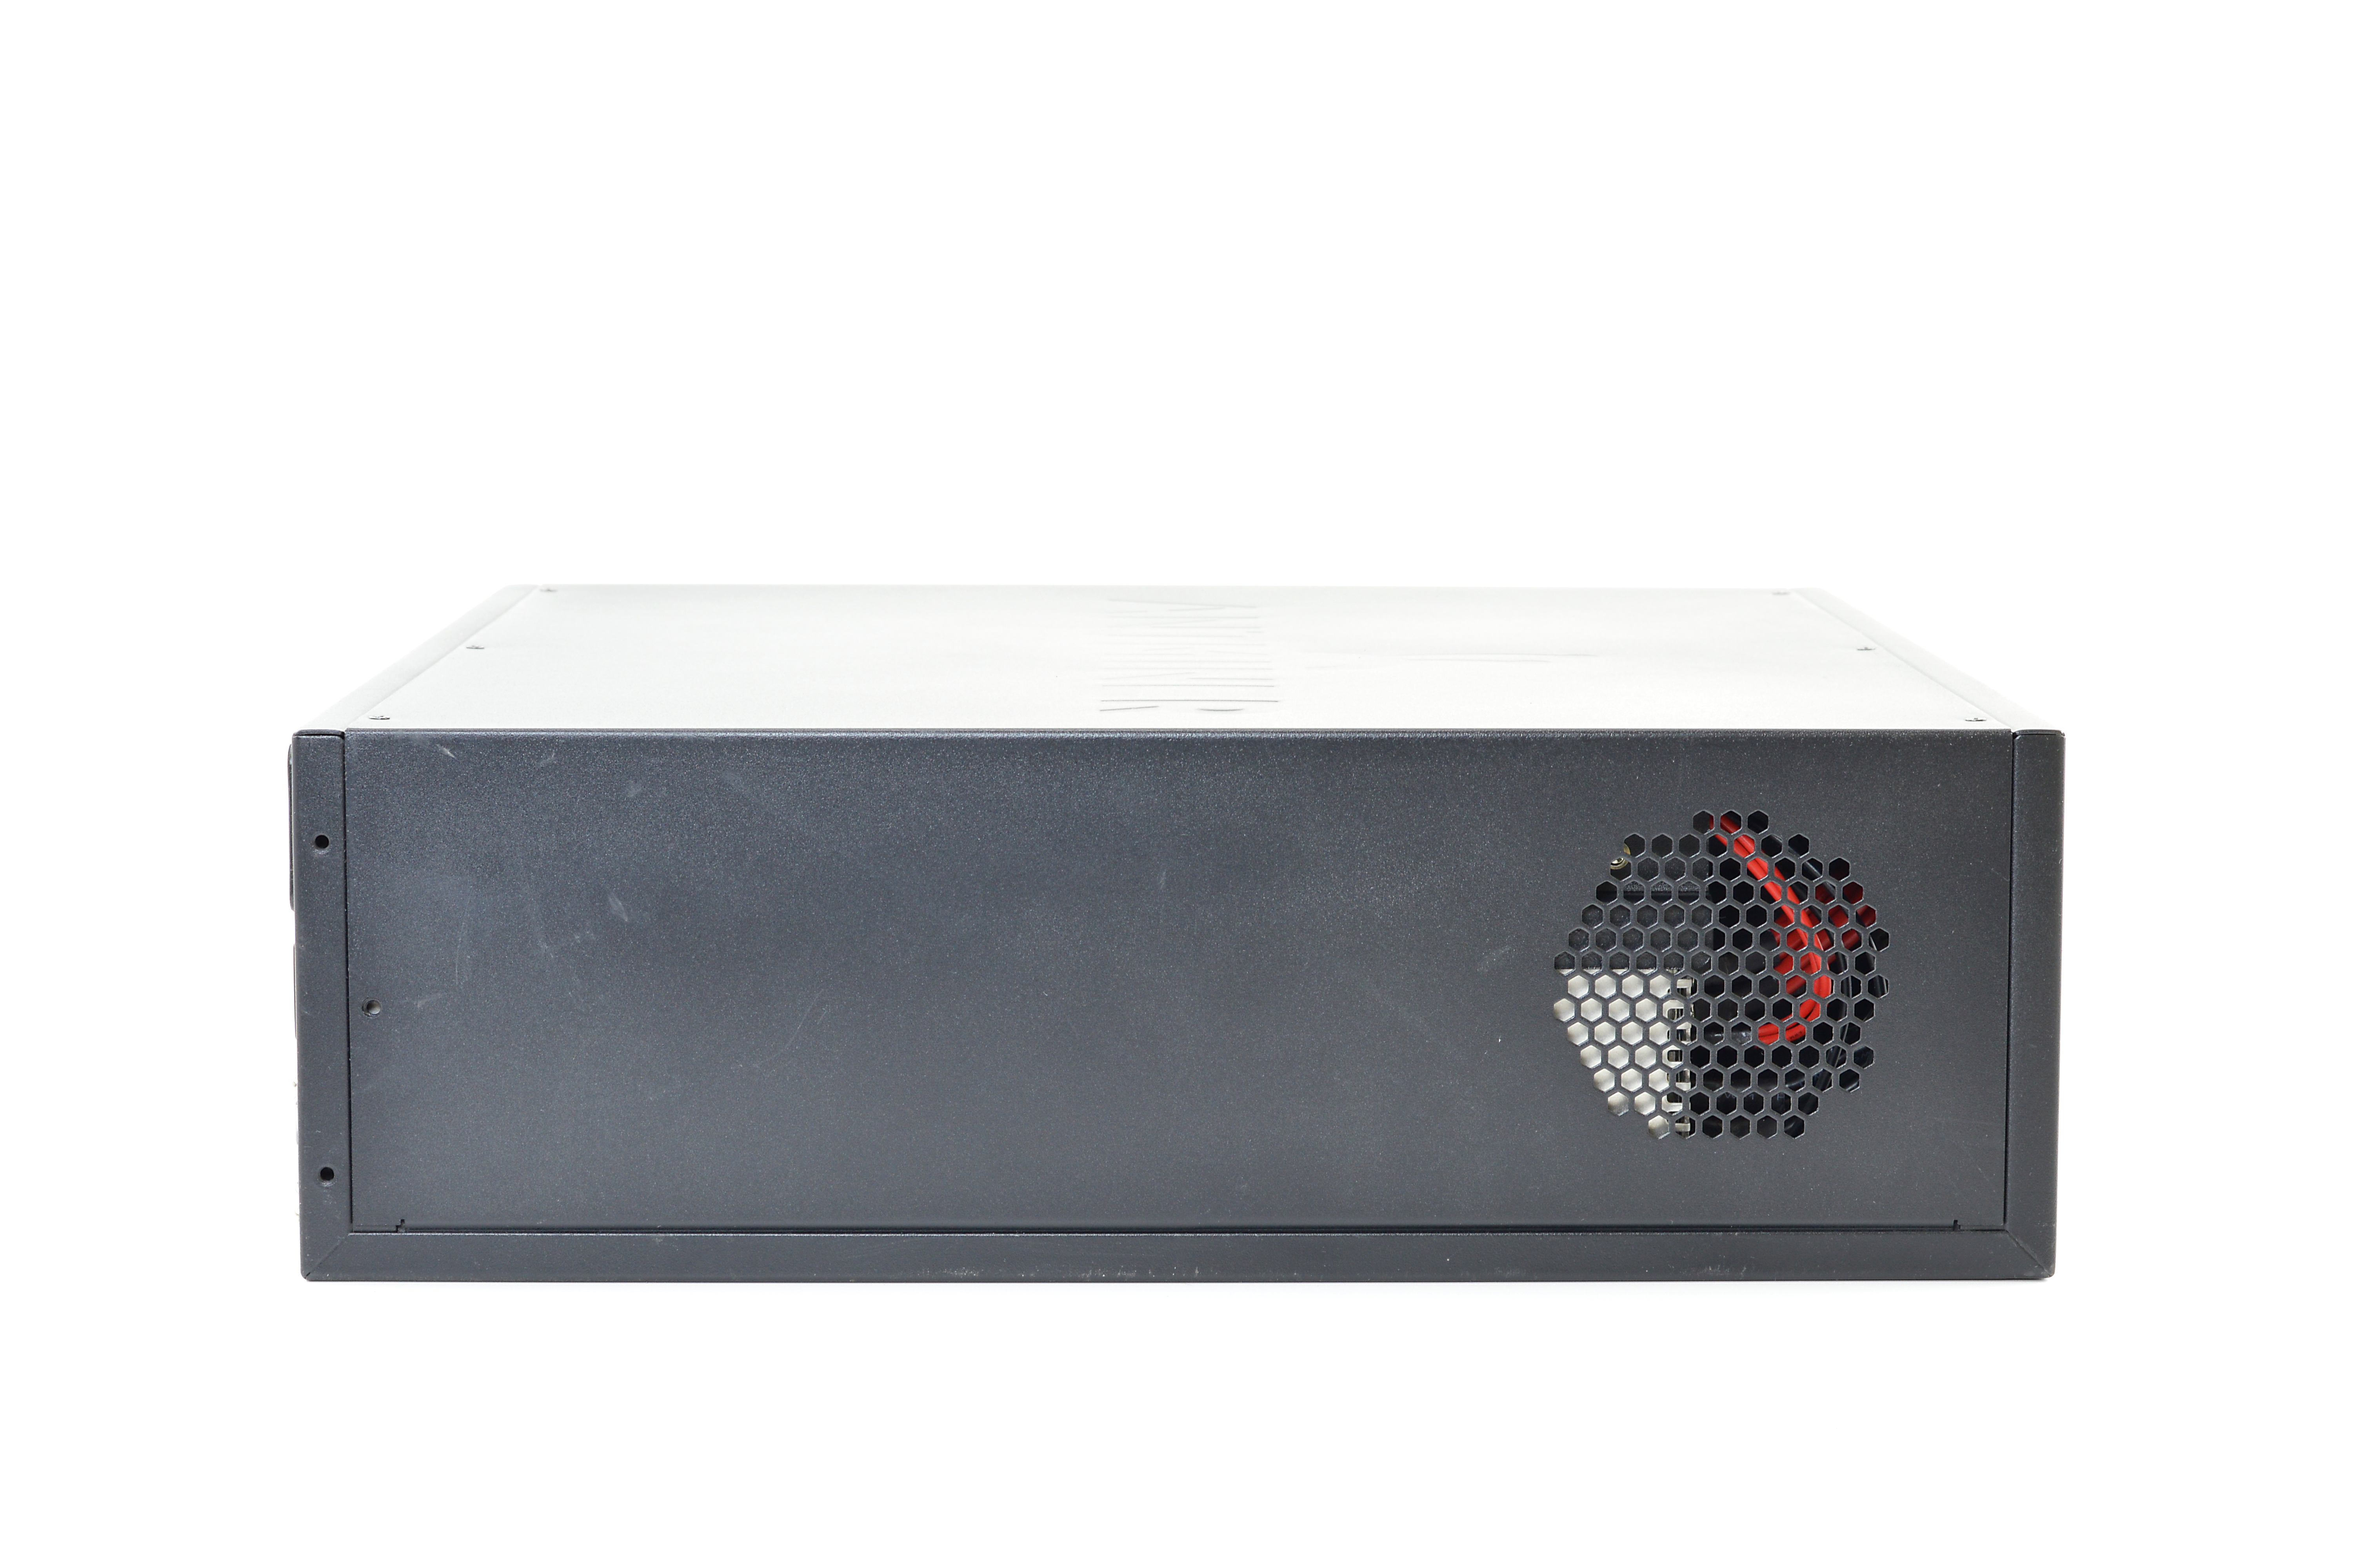
The S4+ retains the same lightweight steel case as the original and is easy to lift and install. The case is held closed by 6 screws placed on the top for easy internal access. The PSU's compartment is separated from the mining area and cables are neatly routed out of the way. Please be careful when replacing the case lid, that you make sure the grill on the lid is aligned with the PSU, else the PSU will be suffocated and may overheat.
A boxed S4+ weighs 14.4kg and measures 580mm x 5650mm x 265mm while the unit alone weighs 12.4kg and measures 440mm x 425mm x 132mm.

|
|
4) Configuration
The S4+ is standalone and does not require an external controller.
Wiring:
Configuration:
The S4+ is standalone and does not require an external controller.
Wiring:
- Plug in a power cable from the AntMiner to the mains
- Plug in an ethernet cable from the AntMiner to you router.
Configuration:
- The unit will automatically power on when you provide it power.
- Make sure that your router's DHCP table is turned on. You can assume it is already on if you have a typical router.
- Using a browser, navigate to your router and find the IP it has assigned the S4+ and navigate to that IP.
- Login using "root" as both the username and password.
- Navigate to the page Status -> Miner Configuration. Enter your pool information in the below format. Click "Save & Apply".
- Navigate to the page "Miner Status" to check mining has started.
Servers : stratum.antpool.com:3333
User : username.worker or username_worker - auto creates workers!
Password: anypassword
Servers : stratum.btcguild.com:3333
User : username_worker
Password: anypassword
Servers : us1.ghash.io:3333
User : username.worker - auto creates workers!
Password: anypassword
|
|
5) Troubleshooting
|
Problem
Under ASIC status, one chip is always an "x"? Under ASIC status, one row is almost all "x"es? How do I reset settings to default? How do I change the login password? What is the SSH login? What do the LEDs on the front mean? Will the miner ever beep? I can connect to the Antminer but the status page is blank? What temperatures should I aim for? Where can I get the latest firmware? How can I tell what firmware version I have now? How do I install the latest firmware? |
Solution
- There is a faulty chip - nothing we can do. Hash rate will be affected by ~1%. - One board may have dropped temporarily. Try hard resetting the miner by powering it on and off. - Use a paper clip to press the reset button - located next to the LEDs and ethernet connector - down for 5-10 seconds. The miner will then reset with stock settings. - Navigate to System -> Administration. Enter the current password and enter your new one twice. - Username "root", password "admin". - The green LED will flash when mining, and the red LED will remain on while in an error or overheat state. - No, the beeper was removed on the S4+. The Miner configuration option of "Beeper Ringing" does not do anything. - You may have entered an incorrect miner setting causing cgminer to crash. Post a screenshot of your configuration page if still unsure. - Try and achieve <75°C for best hash rates, and <85°C for long lifetimes. Temperatures over 90°C will cause an overheat warning to be issued and over 95°C will cause the miner to stop. - Download from Bitmain's site. - Navigate to System -> Overview and look at "File System Version". - Download firmware as above. Navigate to System -> Upgrade and click "browse". Select the downloaded file and click "Flash image". Do NOT interrupt this process or you will brick the unit. |
|

|

6) Where to buy


General Safety Tips


|
Do not touch equipment while powered, exposed electrical contacts may shock.
Fans may cause injury or shatter if material is ingested.
|


|
Sharp edges may be cut, especially around any internal casing or heatsinks.
If you are unsure of what to do, STOP and consult an expert.
|
|
|
|
Legal disclaimer: This information is for general guidance and does not constitute expert advice. We are not responsible if you, your property or a third party is injured or damaged as a result of any interaction with this information, and no warranty is provided. All text and images are covered under copyright law, dogiecoin.com.
|